Swagger + Knife4j 接口文档的整合
发布时间:2024年01月20日
Swagger 接口文档的整合:
- 引入依赖(Swagger 或 Knife4j)。
- 自定义 Swagger 配置类。
- 定义需要生成接口文档的代码位置(Controller)。
- 注意:线上环境不要把接口暴露出去!!!可以通过在 SwaggerConfig 配置文件开头加上 @Profile({“dev”, “test”}) 限定配置仅在部分环境开启。
- 启动接口文档。
- 可以通过在 controller 方法上添加 @Api、@ApiImplicitParam(name = “name”,value = “姓名”,required = true) @ApiOperation(value = “向客人问好”) 等注解来自定义生成的接口描述信息
Swagger
- 依赖引入
      <!-- swagger 接口文档 -->
        <dependency>
            <groupId>io.springfox</groupId>
            <artifactId>springfox-swagger2</artifactId>
            <version>2.9.2</version>
        </dependency>
        <dependency>
            <groupId>io.springfox</groupId>
            <artifactId>springfox-swagger-ui</artifactId>
            <version>2.9.2</version>
        </dependency>
- 创建 config 文件
package com.heo.matchmatebackend.config;

import org.springframework.context.annotation.Bean;
import org.springframework.context.annotation.Configuration;
import org.springframework.context.annotation.Profile;
import springfox.documentation.builders.ApiInfoBuilder;
import springfox.documentation.builders.PathSelectors;
import springfox.documentation.builders.RequestHandlerSelectors;
import springfox.documentation.service.ApiInfo;
import springfox.documentation.service.Contact;
import springfox.documentation.spi.DocumentationType;
import springfox.documentation.spring.web.plugins.Docket;
import springfox.documentation.swagger2.annotations.EnableSwagger2;

/**
 * 自定义 Swagger 接口文档的配置
 */
@Configuration // 配置类
@EnableSwagger2 // 开启 swagger2 的自动配置
@Profile({"dev", "test"})   //版本控制访问
public class SwaggerConfig {
    @Bean(value = "defaultApi2")
    public Docket docket() {
        // 创建一个 swagger 的 bean 实例
        return new Docket(DocumentationType.SWAGGER_2)
                .apiInfo(apiInfo())
                // 配置接口信息
                .select() // 设置扫描接口
                // 配置如何扫描接口
                .apis(RequestHandlerSelectors
                                //.any() // 扫描全部的接口,默认
                                //.none() // 全部不扫描
                                .basePackage("com.heo.matchmatebackend.controller") // 扫描指定包下的接口,最为常用
                        //.withClassAnnotation(RestController.class) // 扫描带有指定注解的类下所有接口
                        //.withMethodAnnotation(PostMapping.class) // 扫描带有只当注解的方法接口
                )
                .paths(PathSelectors
                                .any() // 满足条件的路径,该断言总为true
                        //.none() // 不满足条件的路径,该断言总为false(可用于生成环境屏蔽 swagger)
                        //.ant("/user/**") // 满足字符串表达式路径
                        //.regex("") // 符合正则的路径
                )
                .build();
    }

    /**
     * api 信息
     * @return
     */
    private ApiInfo apiInfo() {
        Contact contact = new Contact(
                "heo", // 作者姓名
                "https://blog.csdn.net/XiugongHao", // 作者网址
                "xxx@qq.com"); // 作者邮箱
        return new ApiInfoBuilder()
                .title("matchmate") // 标题
                .description("matchmate 接口文档") // 描述
                .termsOfServiceUrl("https://blog.csdn.net/XiugongHao") // 跳转连接
                .version("1.0") // 版本
                .contact(contact)
                .build();
    }
}
- yml 配置(如果 springboot version >= 2.6,需要添加如下配置 pathmatch)
spring:
  mvc:
    pathmatch:
      matching-strategy: ant_path_matcher
  profiles:
    active: dev
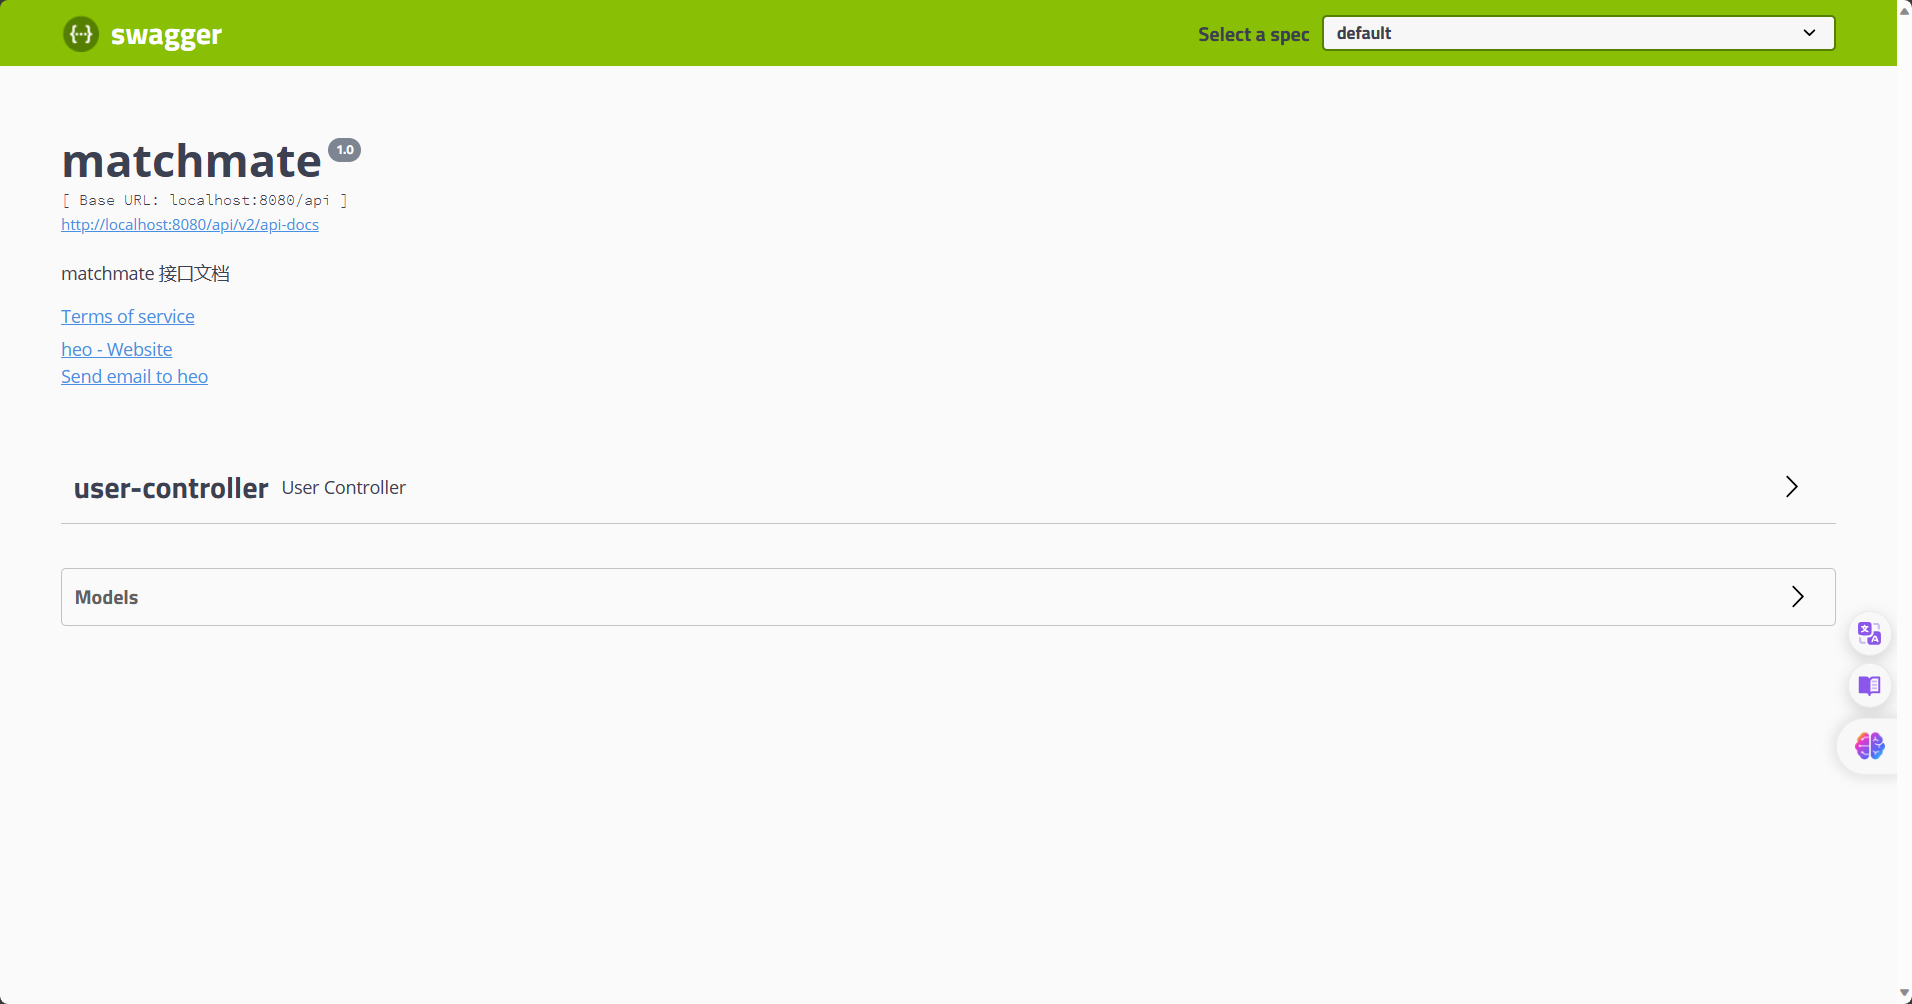
- 最后运行启动。
http://localhost:8080/api/swagger-ui.html

Knife4j
- 依赖引入。
        <!-- knife4j 接口文档 -->
        <dependency>
            <groupId>com.github.xiaoymin</groupId>
            <artifactId>knife4j-spring-boot-starter</artifactId>
            <version>2.0.7</version>
        </dependency>
- config 文件配置。
package com.heo.matchmatebackend.config;

import org.springframework.context.annotation.Bean;
import org.springframework.context.annotation.Configuration;
import org.springframework.context.annotation.Profile;
import springfox.documentation.builders.ApiInfoBuilder;
import springfox.documentation.builders.PathSelectors;
import springfox.documentation.builders.RequestHandlerSelectors;
import springfox.documentation.service.ApiInfo;
import springfox.documentation.service.Contact;
import springfox.documentation.spi.DocumentationType;
import springfox.documentation.spring.web.plugins.Docket;
import springfox.documentation.swagger2.annotations.EnableSwagger2;

/**
 * 自定义 Swagger 接口文档的配置
 */
@Configuration // 配置类
@EnableSwagger2 // 开启 swagger2 的自动配置
@Profile({"dev", "test"})   //版本控制访问
public class SwaggerConfig {
    @Bean(value = "defaultApi2")
    public Docket docket() {
        // 创建一个 swagger 的 bean 实例
        return new Docket(DocumentationType.SWAGGER_2)
                .apiInfo(apiInfo())
                // 配置接口信息
                .select() // 设置扫描接口
                // 配置如何扫描接口
                .apis(RequestHandlerSelectors
                                //.any() // 扫描全部的接口,默认
                                //.none() // 全部不扫描
                                .basePackage("com.heo.matchmatebackend.controller") // 扫描指定包下的接口,最为常用
                        //.withClassAnnotation(RestController.class) // 扫描带有指定注解的类下所有接口
                        //.withMethodAnnotation(PostMapping.class) // 扫描带有只当注解的方法接口
                )
                .paths(PathSelectors
                                .any() // 满足条件的路径,该断言总为true
                        //.none() // 不满足条件的路径,该断言总为false(可用于生成环境屏蔽 swagger)
                        //.ant("/user/**") // 满足字符串表达式路径
                        //.regex("") // 符合正则的路径
                )
                .build();
    }

    /**
     * api 信息
     * @return
     */
    private ApiInfo apiInfo() {
        Contact contact = new Contact(
                "heo", // 作者姓名
                "https://blog.csdn.net/XiugongHao", // 作者网址
                "xxx@qq.com"); // 作者邮箱
        return new ApiInfoBuilder()
                .title("matchmate") // 标题
                .description("matchmate 接口文档") // 描述
                .termsOfServiceUrl("https://blog.csdn.net/XiugongHao") // 跳转连接
                .version("1.0") // 版本
                .contact(contact)
                .build();
    }
}
- yml 配置。
spring:
  mvc:
    pathmatch:
      matching-strategy: ant_path_matcher
  profiles:
    active: dev
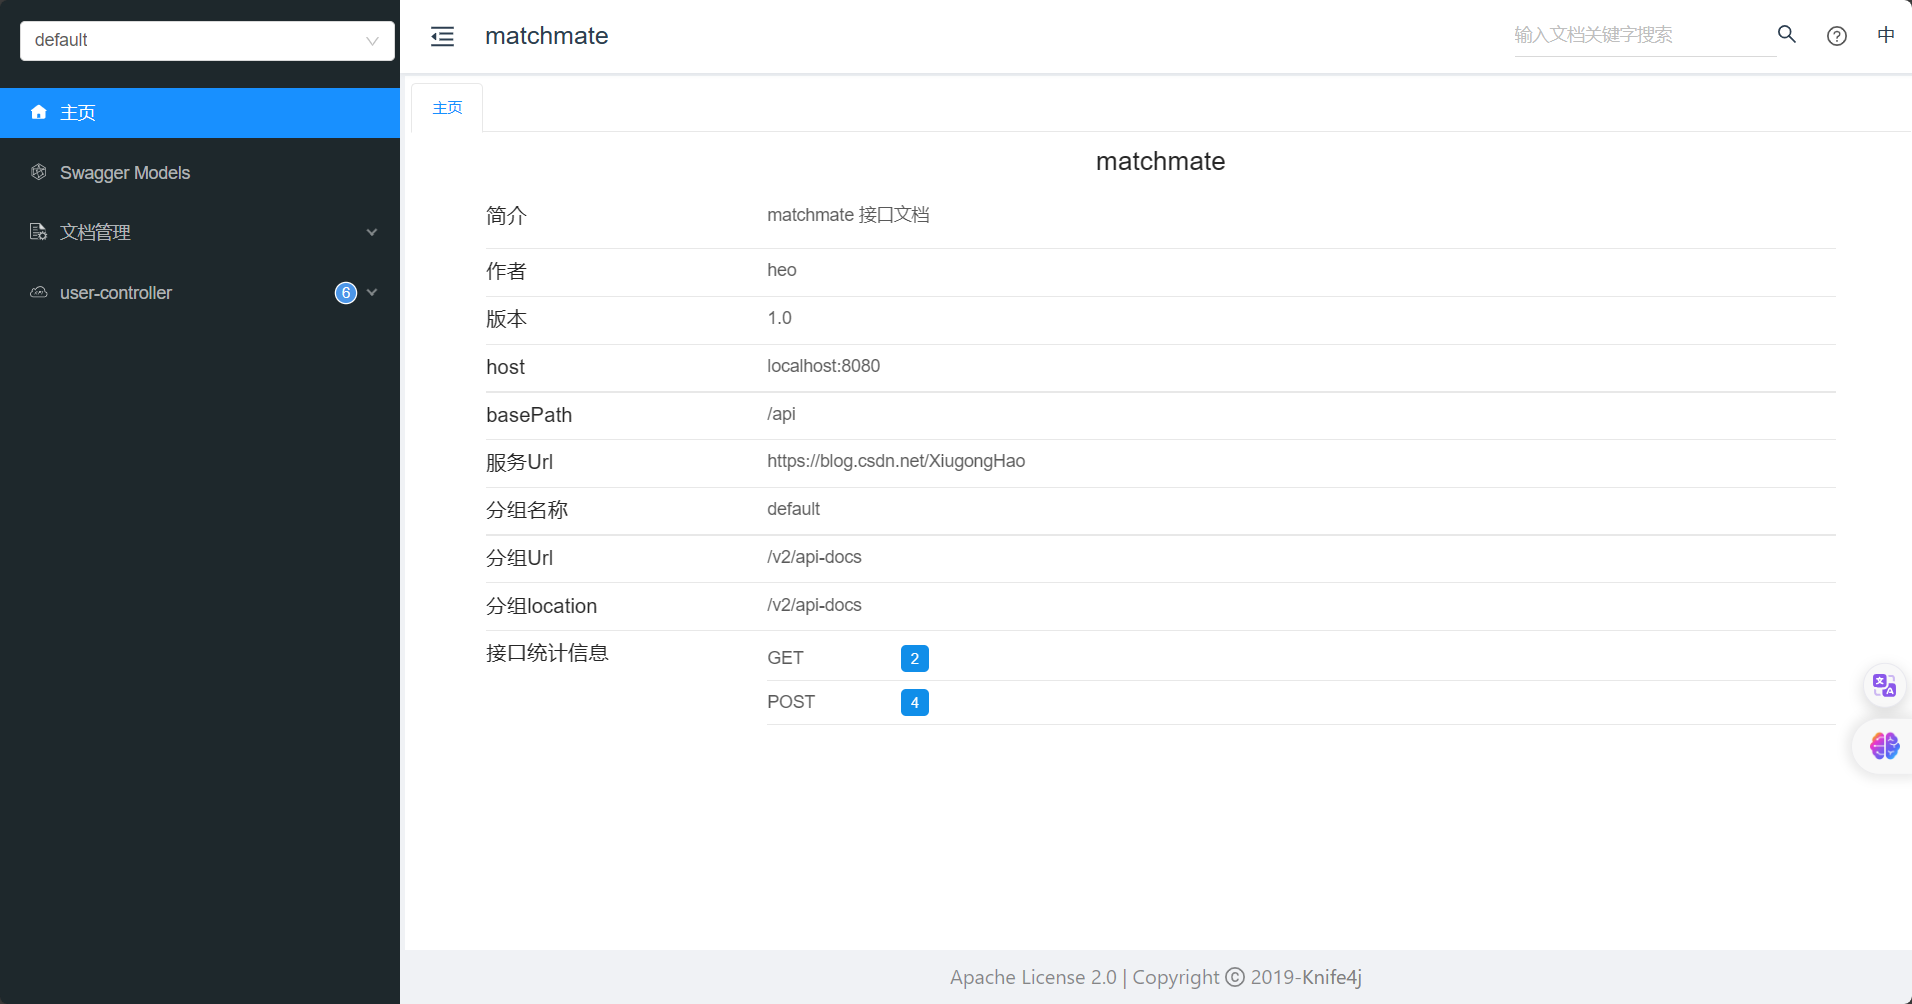
- 启动。
http://localhost:8080/api/doc.html#/home

文章来源:https://blog.csdn.net/XiugongHao/article/details/135711388
本文来自互联网用户投稿,该文观点仅代表作者本人,不代表本站立场。本站仅提供信息存储空间服务,不拥有所有权,不承担相关法律责任。 如若内容造成侵权/违法违规/事实不符,请联系我的编程经验分享网邮箱:chenni525@qq.com进行投诉反馈,一经查实,立即删除!
本文来自互联网用户投稿,该文观点仅代表作者本人,不代表本站立场。本站仅提供信息存储空间服务,不拥有所有权,不承担相关法律责任。 如若内容造成侵权/违法违规/事实不符,请联系我的编程经验分享网邮箱:chenni525@qq.com进行投诉反馈,一经查实,立即删除!