JUC AQS ReentrantLock源码分析
AQS
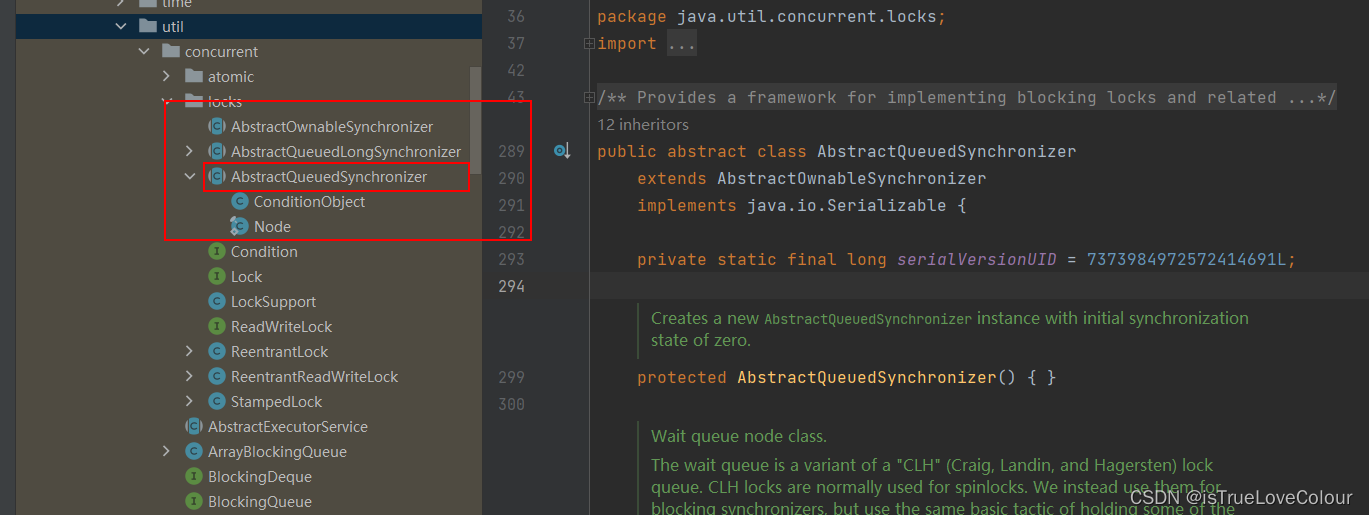
java.util.concurrent.locks.AbstractQueuedSynchronizer

AQS (抽象队列同步器): AbstractQueuedSynchronizer 是什么
- 来自jdk1.5,是用来实现锁或者其他同步器组件的公共基础部分的抽象实现,是重量级基础框架以及JUC的基石,主要用于解决锁分配给谁的问题
- 整体是通过一个抽象的FIFO队列来完成资源获取线程的排队工作,并通过一个int变量表示持有锁的状态
- 锁是面向开发人员的,而同步器是JDK统一规范并简化了锁的实现,并抽象出来的公共基础部分,屏蔽了同步状态、同步队列的管理,和线程排队、通知、唤醒等机制
和AQS相关的类:
- ReentranLock
- CountDownLatch
- ReentrantReadWriteLock
- Semaphore
- 等

AQS 原理
- 整体是通过一个抽象的FIFO队列来完成资源获取线程的排队工作,并通过一个int变量表示持有锁的状态
- 如果共享资源被占用,就需要阻塞唤醒机制来保证锁的分配,这个机制主要是通过CLH队列的变体实现的,将暂时获取锁失败的线程,以及自身的等待状态封装成队列的节点对象node,放入队列中
- 通过CAS、自旋等维护共享资源的状态,达到并发效果
- 内部结构:
- 队列的 头指针、尾指针
- int 类型的同步状态的标识 state ,默认值0代表没有被占用,大于等于1代表被占用
- 内部类node,将暂时获取锁失败的线程,以及自身的等待状态封装成队列的节点对象node
- int类型变量 waitStatus 当前节点再队列中的等待状态,默认为0
- 1表示线程被取消
- -1表示后继线程需要被唤醒
- -2表示等待conditon唤醒
- -3表示共享式(锁分为共享和独占)同步状态获取将无条件地传播下去
- 前一个节点的指针和后一个节点的指针
- 请求线程
- int类型变量 waitStatus 当前节点再队列中的等待状态,默认为0
ReentrantLock
- 是lock的实现类,构造器可以传入一个boolean值,true创建的就是公平锁,false为非公平锁,默认为非公平锁
- 内部有一个静态内部类sync,继承了 AbstractQueuedSynchronizer ,用于锁的各种操作
lock
-
当调用 lock 方法加锁时
- 非公平锁,会先尝试通过cas 比较并交换的操作把 states 的状态值从 0更新为1,如果更新成功,就把持有锁的线程设置为自己
- 更新失败就和公平锁一样,执行 AQS 的 acquire方法
- 除此之外,公平和非公平锁的区别就是,再获取同步状态时,公平锁需要判断等待队列中再自己之前是否存在有效节点,如果有公平锁就需要排队
- 因为公平锁讲究先到先得,线程再获取锁时,如果这个锁的等待队列已经有线程再等待,当前线程就会直接进入等待队列
- 而非公平锁,不管是否有队列,如果可以获取锁,就会立刻占有锁的对象,所以第一个在队列里排队的线程苏醒后,仍然需要去竞争锁,且不一定能竞争到锁
acquire 方法源码:
    public final void acquire(int arg) {
        if (!tryAcquire(arg) &&
            acquireQueued(addWaiter(Node.EXCLUSIVE), arg))
            selfInterrupt();
    }
acquire
-
调用lock方法加锁,除非是非公平锁能直接拿到锁,其他情况下都是在调用acquire 方法
-
acquire 方法分为三种情况:
-
调用 tryAcquire 方法尝试加锁;
-
加锁失败,调用 addWaite方法,进入等待队列;
-
进入队列之后,调用acquireQueued 方法,线程进入阻塞状态,等待唤醒后才能继续执行
非公平锁的 tryAcquire 方法源码
-
AQS类的tryAcquire方法只是做了规范,方法内直接抛出异常,所以这个方法需要由子类去实现
-
非公平锁的tryAcquire 方法会先判断锁的状态state是否为0,为0说明没有被其他线程占用,就立即使用cas操作变更state为1,变更成功就把持有锁的线程设置为自己,变更失败就表示加锁失败
-
如果锁的状态为1,说明锁已经被占用,在比较当前线程和持有锁的线程是否一致,不一致就加锁失败
-
tryAcquire 方法公平和非公平锁的区别是
- 再获取同步状态时,公平锁需要判断等待队列中再自己之前是否存在有效节点,如果有公平锁就需要排队
- 非公平锁,不管是否有队列,如果可以获取锁,就会立刻占有锁的对象
-
如果 tryAcquire 方法抢锁失败,就需要调用 addWaiter加入到等待队列
        final boolean nonfairTryAcquire(int acquires) {
            final Thread current = Thread.currentThread();
            int c = getState();
            //先判断锁的状态state是否为0,为0说明没有被其他线程占用
            if (c == 0) {
                //为0说明没有被其他线程占用,使用cas操作变更state为1
                if (compareAndSetState(0, acquires)) {
                    //变更成功就把持有锁的线程设置为自己,变更失败就表示加锁失败
                    setExclusiveOwnerThread(current);
                    return true;
                }
            }
            //如果锁的状态为1,说明锁已经被占用,在比较当前线程和持有锁的线程是否一致
            else if (current == getExclusiveOwnerThread()) {
                int nextc = c + acquires;
                if (nextc < 0) // overflow
                    throw new Error("Maximum lock count exceeded");
                setState(nextc);
                return true;
            }
            //加锁失败
            return false;
        }
addWaiter(Node.EXCLUSIVE) 加入等待队列 源码:
- Node.EXCLUSIVE 代表的是独占的节点,也就是排他锁
- acquire 方法的 addWaiter 方法创建的是独占的node节点,节点中封装的是当前线程
- addWaiter方法首先要判断 链表的尾指针是否为空
- 如果为空,就需要初始化链表,首先new一个空的哨兵节点,这个节点并不存储信息,只是作为占位使用,然后设置哨兵节点为头节点,然后把头节点赋值给尾节点
- 当链表初始化完成后,或者链表中已经由其他节点时,就用CAS操作把新节点加入到链表尾部,如果节点加入链表失败就进行下一次循环,直到把节点加入成功为止
- 如果不为空,直接用CAS操作把新节点加入到链表尾部,同样如果节点加入链表失败就进行循环,直到把节点加入成功为止
- 节点成功入队后,需要调用acquireQueued 方法
private Node addWaiter(Node mode) {
    //node节点中封装的是当前线程
    Node node = new Node(Thread.currentThread(), mode);
    //尾指针
    Node pred = tail;
    //链表的尾指针是否为空
    if (pred != null) {
        node.prev = pred;
        //如果加入失败,就会走下面的循环,直到把节点加入链表为止
        if (compareAndSetTail(pred, node)) {
            pred.next = node;
            return node;
        }
    }
    enq(node);
    return node;
}


    private Node enq(final Node node) {
        for (;;) {
            //尾节点
            Node t = tail;
            //如果尾节点为null
            if (t == null) { // Must initialize
                //就需要new一个node节点,并且设置为头节点,然后把头节点赋值给尾节点
                if (compareAndSetHead(new Node()))
                    tail = head;
            } else {
                //当链表初始化完成后,或者链表中已经由其他节点时
                //把要加入链表的新节点的前指针设置为尾节点
                node.prev = t;
                //并且把新加入的节点设置为尾节点
                if (compareAndSetTail(t, node)) {
                    //设置成功就之前尾节点的后指针指向新节点,这样新节点就变成了新的尾节点,如果设置失败,就继续循环,直到把新节点加入到链表尾部为止
                    t.next = node;
                    return t;
                }
            }
        }
    }
acquireQueued 源码
- 首先获取当前节点的前置节点,如果前置节点是头节点,就尝试去获取锁
- 如果获取锁成功,就把自己设为头节点,就把锁的state改为1,设置当前线程为持有锁的线程
- 如果前置节点不是头节点,或者获取锁失败
- 就需要判断前置节点的waitStatus状态值,waitStatus值默认为0,第一次进入循环,会把前置节点的waitStatus的值改为-1后,继续下一次循环后,会调用 LockSupport.park 方法阻塞当前线程,需要等待其他线程释放锁后,再唤醒阻塞的线程
- 当持有锁的线程释放锁,且调用LockSupport.unpark 唤醒该线程后才能继续执行,LockSupport.unpark 唤醒的是头节点的下一个节点
- 线程被唤醒后,检查线程是否被中断,如果线程没有被中断,就继续进行循环
- 继续尝试去加锁,因为是非公平锁,所以有可能会加锁失败
- 如果加锁成功,就把锁的state改为1,设置当前线程为持有锁的线程,并且把当前线程的节点设置为链表的头节点,原本的头节点会从链表中剔除
- 因为每次唤醒的都是头节点的下一个节点,所以成功抢到到锁后,被唤醒的节点会成为新的头节点,后续会唤醒链表的下一个节点
- 如果线程在等待过程中取消,没有获取到锁就跳出了循环,failed值为默认的true,就会执行cancelAcquire方法,取消正在排队的节点
- 首先设置当前节点的线程为null,然后获取上一个没有取消的前置节点,
- 把当前节点的 waitStatus 设置为1(1就是要取消的节点)
- 如果当前节点是尾节点,就把上一个有效的节点设置为尾节点
- 如果不是尾节点,并且满足出队条件,就变更链表中相关节点的前置和后置引用,剔除要取消的节点
	//arg为1,独占锁
	final boolean acquireQueued(final Node node, int arg) {
        boolean failed = true;
        try {
            boolean interrupted = false;
            for (;;) {
                //获得node节点的前置节点
                final Node p = node.predecessor();
                //node节点的前置节点是否为头节点,如果是就尝试去获取锁
                if (p == head && tryAcquire(arg)) {
                    setHead(node);
                    p.next = null; // help GC
                    failed = false;
                    return interrupted;
                }
                //判断node节点的前置节点的waitStatus状态,默认情况下都是0,在第二次循环的时候,就会改成-1,然后执行parkAndCheckInterrupt方法
                //parkAndCheckInterrupt方法会阻塞当前线程
                //也就是后面的节点会把前面节点的 waitStatus 改为-1
                if (shouldParkAfterFailedAcquire(p, node) &&
                    parkAndCheckInterrupt())
                    interrupted = true;
            }
        } finally {
            if (failed)
                cancelAcquire(node);
        }
    }

	/**
	* waitStatus 当前节点再队列中的等待状态
		默认为0
		1表示线程获取锁的请求被取消
		-1表示线程已经准备好了
		-2表示节点在等待队列中,等待唤醒
		-3表示共享式(锁分为共享和独占)同步状态获取将无条件地传播下去
	*/
    private static boolean shouldParkAfterFailedAcquire(Node pred, Node node) {
        //前置节点的状态
        int ws = pred.waitStatus;
        // SIGNAL= -1 , 当线程再次进行循环的时候,前一个节点的waitStatus已经被设置为-1,就返回true
        if (ws == Node.SIGNAL)
            return true;
        //线程被取消
        if (ws > 0) {
            do {
                node.prev = pred = pred.prev;
            } while (pred.waitStatus > 0);
            pred.next = node;
        } else {
            //如果前置节点的 waitStatus不等于-1也不大于0,就把waitStatus的值改为-1后,返回false
            compareAndSetWaitStatus(pred, ws, Node.SIGNAL);
        }
        return false;
    }

	//阻塞当前线程
    private final boolean parkAndCheckInterrupt() {
        //验证当前线程的通行证,阻塞当前线程
        LockSupport.park(this);
        //被唤醒后,检查线程是否被中断,如果线程没有被中断,就返回 false
        return Thread.interrupted();
    }
取消正在进行的获取尝试
	// node 为需要取消的节点
 	private void cancelAcquire(Node node) {
        // Ignore if node doesn't exist
        if (node == null)
            return;
    	//设置当前节点的线程为null
        node.thread = null;
        //获取上一个节点
        Node pred = node.prev;
        //waitStatus > 0 ,表示上一个节点也要取消
        while (pred.waitStatus > 0)
            //那么就一直向上找,直到找到没有取消的前置节点
            node.prev = pred = pred.prev;
		//获取不会取消的前置节点的下一个节点
        Node predNext = pred.next;
		//把当前节点的 waitStatus 设置为1,1就是要取消的节点
        node.waitStatus = Node.CANCELLED;
		//如果当前节点是尾节点,就把上一个还有效的节点设置为尾节点
        if (node == tail && compareAndSetTail(node, pred)) {
            //设置成功,就把上一个节点的后置节点设置为null,这样上一个还有效的节点就成为了尾节点
            compareAndSetNext(pred, predNext, null);
        } else {
       		//否则
            int ws;
            //前置节点不能是头节点,因为头节点只是占位节点,并且满足出队条件
            if (pred != head &&
                ((ws = pred.waitStatus) == Node.SIGNAL ||
                 (ws <= 0 && compareAndSetWaitStatus(pred, ws, Node.SIGNAL))) &&
                pred.thread != null) {
                //变更链表中相关节点的前置和后置引用,剔除要取消的节点
                Node next = node.next;
                if (next != null && next.waitStatus <= 0)
                    compareAndSetNext(pred, predNext, next);
            } else {
                unparkSuccessor(node);
            }

            node.next = node; // help GC
        }
    }
unlock
unlock 源码,其实是再调用release方法
    public void unlock() {
        sync.release(1);
    }
release方法会首先尝试释放锁
- tryRelease 会把持有锁的线程为null,并且把锁的state设置为0
- 如果链表被初始化过,有在等待的线程节点,头节点就不为空,且waitStatus值为-1
- 接下来会把头节点的waitStatus的改为0,如果头节点的下一个节点不为null,就调用LockSupport.unpark 方法,唤醒头节点的下一个节点
    public final boolean release(int arg) {
        if (tryRelease(arg)) {
            Node h = head;
            if (h != null && h.waitStatus != 0)
                unparkSuccessor(h);
            return true;
        }
        return false;
    }
AQS的tryRelease方法,同样没有做实现,需要子类自己去实现,下面是ReentrantLock的实现
		protected final boolean tryRelease(int releases) {
            //传入的releases为1,持有锁的线程State为1,所以C为0
            int c = getState() - releases;
            //如果当前线程不等于持有锁的线程会抛出异常,这种情况一般不会出现
            if (Thread.currentThread() != getExclusiveOwnerThread())
                throw new IllegalMonitorStateException();
            boolean free = false;
            //c等于0,就设置持有锁的线程为null,并且把state设置为0,返回true
            if (c == 0) {
                free = true;
                setExclusiveOwnerThread(null);
            }
            setState(c);
            return free;
        }
unparkSuccessor
    private void unparkSuccessor(Node node) {
        int ws = node.waitStatus;
        if (ws < 0)
            //重新把头节点的waitStatus值改为0
            compareAndSetWaitStatus(node, ws, 0);
        //头节点的下一个节点
        Node s = node.next;
        //如果链表被初始化过,有在等待的线程节点,头节点的后置节点就不为null
        //如果链表后面还有其他节点,那么头节点的后置节点waitStatus值就为-1
        if (s == null || s.waitStatus > 0) {
            s = null;
            for (Node t = tail; t != null && t != node; t = t.prev)
                if (t.waitStatus <= 0)
                    s = t;
        }
        //如果头节点的下一个节点不为null,就直接调用 LockSupport.unpark 方法,唤醒头节点的下一个节点
        if (s != null)
            LockSupport.unpark(s.thread);
    }
本文来自互联网用户投稿,该文观点仅代表作者本人,不代表本站立场。本站仅提供信息存储空间服务,不拥有所有权,不承担相关法律责任。 如若内容造成侵权/违法违规/事实不符,请联系我的编程经验分享网邮箱:chenni525@qq.com进行投诉反馈,一经查实,立即删除!
- Python教程
- 深入理解 MySQL 中的 HAVING 关键字和聚合函数
- Qt之QChar编码(1)
- MyBatis入门基础篇
- 用Python脚本实现FFmpeg批量转换
- 网工每日一练(1月22日)
- 人工智能深度学习:探索智能的深邃奥秘
- 如何利用视频号爆款数据分析平台,实现播放变现?
- 【力扣算法日记】无重复字符的最长子串
- SAP PP 配置学习(二)
- GRAPH SLAM新手指南
- NTC和温度的关系
- AttributeError: module ‘torch‘ has no attribute ‘rfft‘
- SecurityException: JCE cannot authenticate the provider BC
- 基于Java开发的智慧养老管理系统详细设计和实现【附源码】