添加购物车的小效果
发布时间:2024年01月19日
绘制添加购物车抛物线的动画 然后可以进行拖拽
一般如果要做一些简单的动画css3就可以了,但是如果要绘制一些复杂的动画那就得用到js,在这里我们会css和js结合一起制作动画
通过css的自定义变量计算距离,然后通过动画帧@keyframes和transform来实现
通过自定义变量在行内样式中添加变量 <div :style="{'--w':'100px','--h':'100px'}"></div>
然后在css样式中就可以直接使用了 .box{width:var(--w);height:var(--h);}
效果
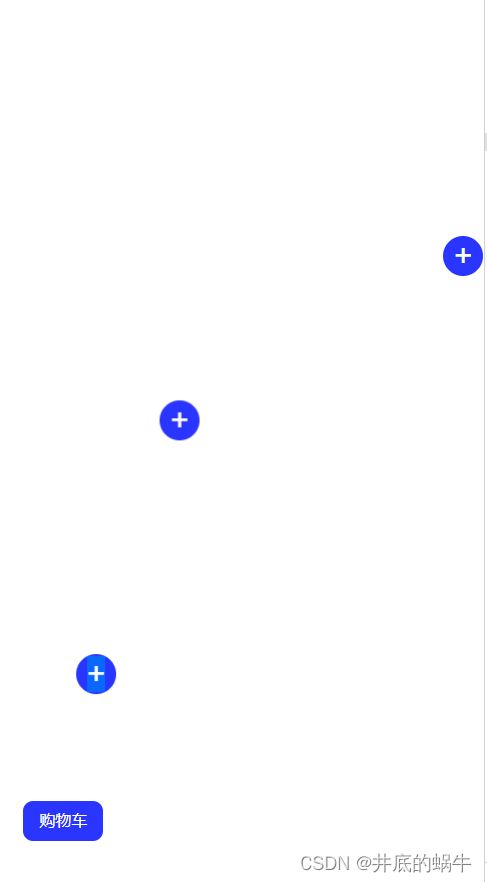

html
<template>
    <!--  添加购物测的按钮-->
    <div class="addShop" @mousedown="handleMousedown" @mousemove="handleMousemove" @mouseup="handleMouseup"
         ref="addShop"
         @click="handleAddShop">+
    </div>
    <!--购物车-->
    <div class="shopCar" ref="shopCar">购物车</div>
</template>
js代码
<script setup>
    import {onMounted, ref, reactive, onUnmounted} from "vue";

    const addShop = ref(null)
    const shopCar = ref(null)
    //添加按钮的尺寸
    const PLUS_SIZE = 40

    const isDragging = ref(false)
    const handleAddShop = () => {
    //添加移动的按钮
    const plusDiv = document.createElement('div')
    plusDiv.className = "plus";
    plusDiv.id = "plus";
    plusDiv.innerHTML = `<span class="plusIcon">+</span>`;
    //获取添加购物元素的范围信息
    const addShopRect = addShop.value.getBoundingClientRect();
    //计算该元素到视口左边的距离
    const left = addShopRect.left + addShopRect.width / 2 - PLUS_SIZE / 2, top = addShopRect.top - PLUS_SIZE;
    //获取购物测元素的范围信息
    const shopCarRect = shopCar.value.getBoundingClientRect();
    //计算添加元素与购物车元素的距离x和高度
    const x = shopCarRect.left + shopCarRect.width / 2 - PLUS_SIZE / 2 - left,
    y = shopCarRect.top - PLUS_SIZE / 2 - top;
    //给移动的动画添加属性
    plusDiv.style.setProperty('--left', `${left}px`)
    plusDiv.style.setProperty('--top', `${top}px`)
    plusDiv.style.setProperty('--x', `${x}px`)
    plusDiv.style.setProperty('--y', `${y}px`)
    //在动画结束后移除元素
    plusDiv.addEventListener('animationend', () => {
    plusDiv.remove()
})
    isDragging.value = false
    //把元素添加到视口
    const appDiv = document.getElementById('app')
    appDiv.appendChild(plusDiv)
}

    onMounted(() => {
    document.addEventListener('mousemove', handleMousemove)
    document.addEventListener('mouseup', handleMouseup)
})

    onUnmounted(() => {
    document.removeEventListener('mousemove', handleMousemove)
    document.removeEventListener('mouseup', handleMouseup)
})

    //记录鼠标移动的距离
    const x = ref(0)
    const y = ref(0)


    const handleMousedown = (event) => {

    isDragging.value = true
    x.value = event.clientX
    y.value = event.clientY
}

    const handleMousemove = (event) => {
    if (isDragging.value) {
    if (event.clientY > 0 && (event.clientY <= (document.body.getBoundingClientRect().height - PLUS_SIZE)) && event.clientX > 0 && (event.clientX <= (document.body.getBoundingClientRect().width - PLUS_SIZE))) {
    y.value = event.clientY
    addShop.value.style.top = `${event.clientY}px`
    addShop.value.style.left = `${event.clientX}px`
}
}
}

    const handleMouseup = () => {
    isDragging.value = false
}


</script>
css代码
这里的css 不能加scoped,因为加上这个,在vue中就会加上一个data-v-XXXX的值,然而在js中添加的css样式是没法添加这个值的,所以在之前写好的样式则无效,所以就不能加上scoped,否则css样式会失效
.plus {
    position: fixed;
    left: 0;
    top: 0;
    width: 40px;
    height: 40px;
    display: flex;
    justify-content: center;
    align-items: center;
}

.plusIcon {
    display: flex;
    justify-content: center;
    align-items: center;
    width: 100%;
    height: 100%;
    background: #2a36ff;
    color: #FFFFFF;
    font-size: 32px;
    border-radius: 50%;
}

.plus {
    left: var(--left);
    top: var(--top);
}

.shopCar {
    position: fixed;
    bottom: 5%;
    left: 5%;
    background: #2a36ff;
    color: #FFFFFF;
    height: 40px;
    width: 80px;
    display: flex;
    justify-content: center;
    align-items: center;
    border-radius: 10px;
    cursor: pointer;
}

.addShop {
    position: fixed;
    right: 0;
    top: 30%;
    background: #2a36ff;
    color: #fff;
    width: 40px;
    height: 40px;
    display: flex;
    font-size: 32px;
    justify-content: center;
    align-items: center;
    border-radius: 50%;
    cursor: pointer;
    user-select: none;
}

@keyframes moveY {
    to {
        transform: translateY(var(--y));
    }
}

.plus {
    --duration: 0.8s;
    animation: moveY var(--duration) cubic-bezier(.5, -0.5, 1, 1);
}

@keyframes moveX {
    to {
        transform: translateX(var(--x));
    }
}

.plusIcon {
    animation: moveX var(--duration) linear;
}
加了scoped 就无法样式就无法作用到了


文章来源:https://blog.csdn.net/weixin_41277748/article/details/135697787
本文来自互联网用户投稿,该文观点仅代表作者本人,不代表本站立场。本站仅提供信息存储空间服务,不拥有所有权,不承担相关法律责任。 如若内容造成侵权/违法违规/事实不符,请联系我的编程经验分享网邮箱:chenni525@qq.com进行投诉反馈,一经查实,立即删除!
本文来自互联网用户投稿,该文观点仅代表作者本人,不代表本站立场。本站仅提供信息存储空间服务,不拥有所有权,不承担相关法律责任。 如若内容造成侵权/违法违规/事实不符,请联系我的编程经验分享网邮箱:chenni525@qq.com进行投诉反馈,一经查实,立即删除!