最火爆的持续集成工具 jenkins ,详细教程来啦(傻瓜式教程)
发布时间:2024年01月10日
很多小伙伴在安装以及配置jenkins的时候,总会遇到一些问题。
今天在这边特地把jenkins的安装,以及常用的一些功能的配置整理到了这篇文章中,希望对大家有所帮助!
1安装JDK
- JDK安装完需要配置环境变量,大家可以自行百度解决
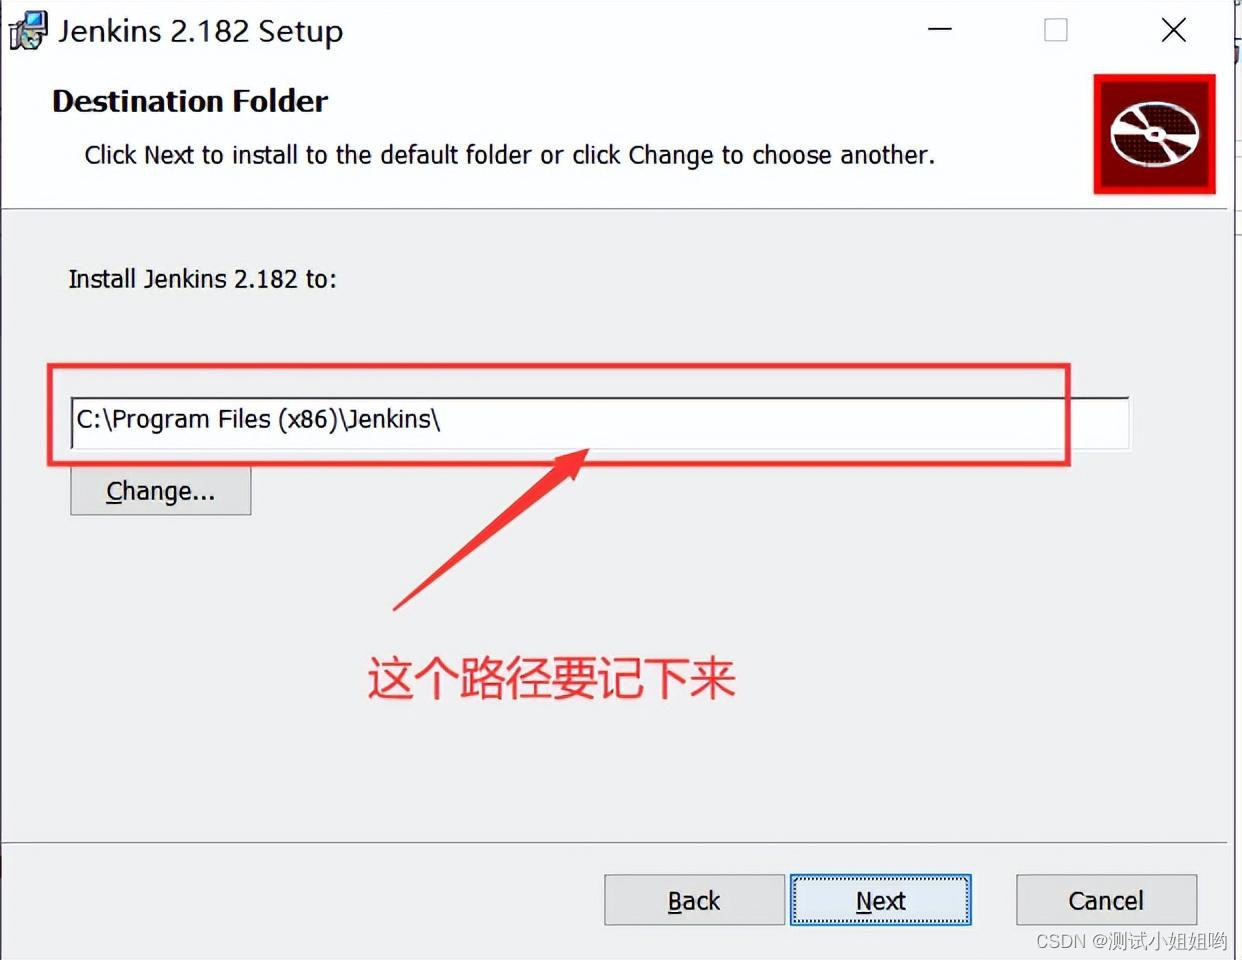
2安装jenkins
- 注意:jenkins需要java环境,所以先安装jDK
![]()
- 运行安装程序直接点下一步就可以了.....过于简单 请自行解决


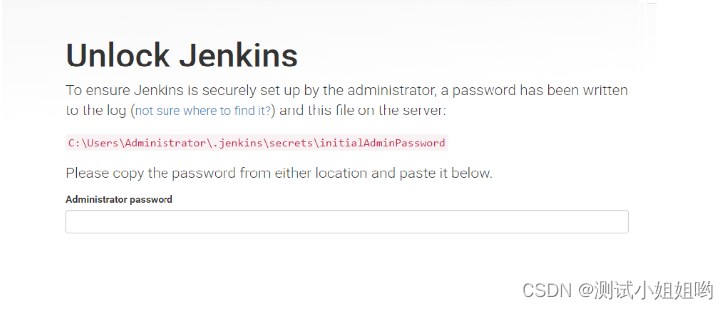
3启动jenkins
1、浏览输入127.0.0.1:8080。Windows环境下。

- 上面等待页面加载完毕之后,会出现以下界面
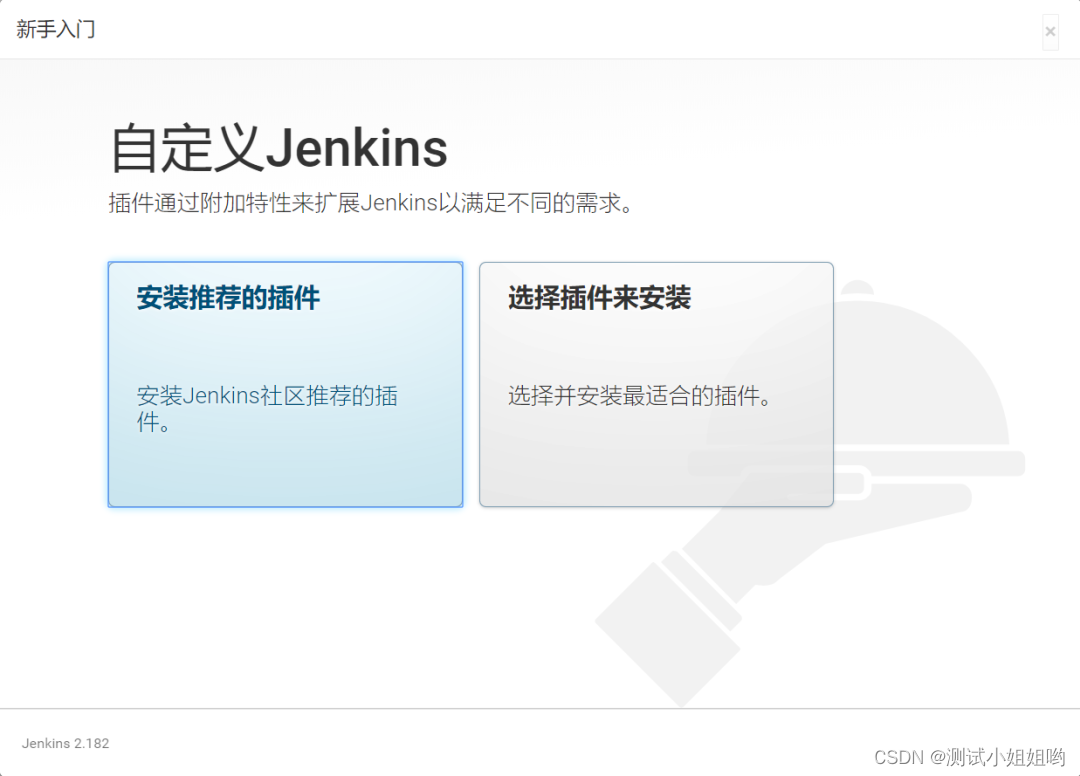
2、选择安装插件

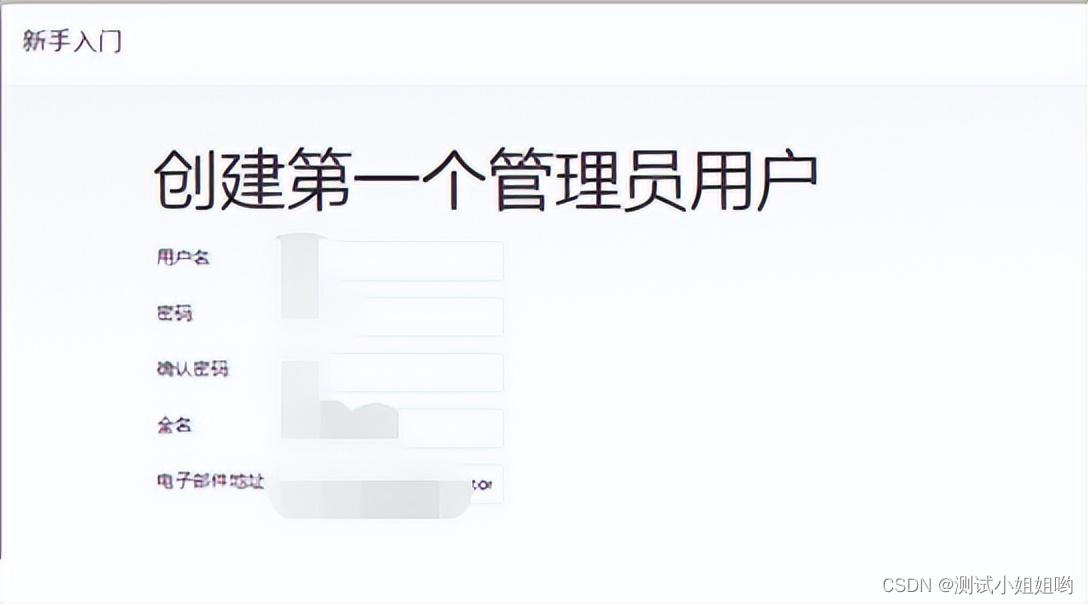
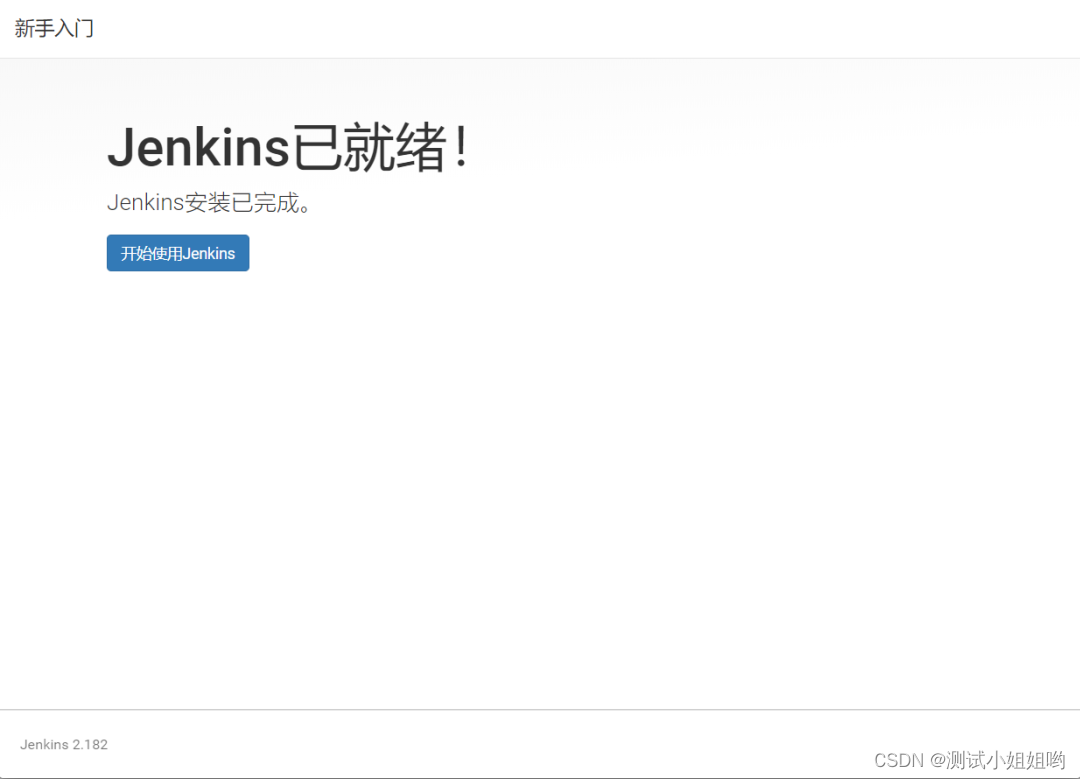
3、创建用户

4jenkin构建项目(源码管理)
1、代码在本地
- 直接将项目的代码复制到项目的工作区间中
2、从svn拉取代码
- svn插件

3、git上拉取代码

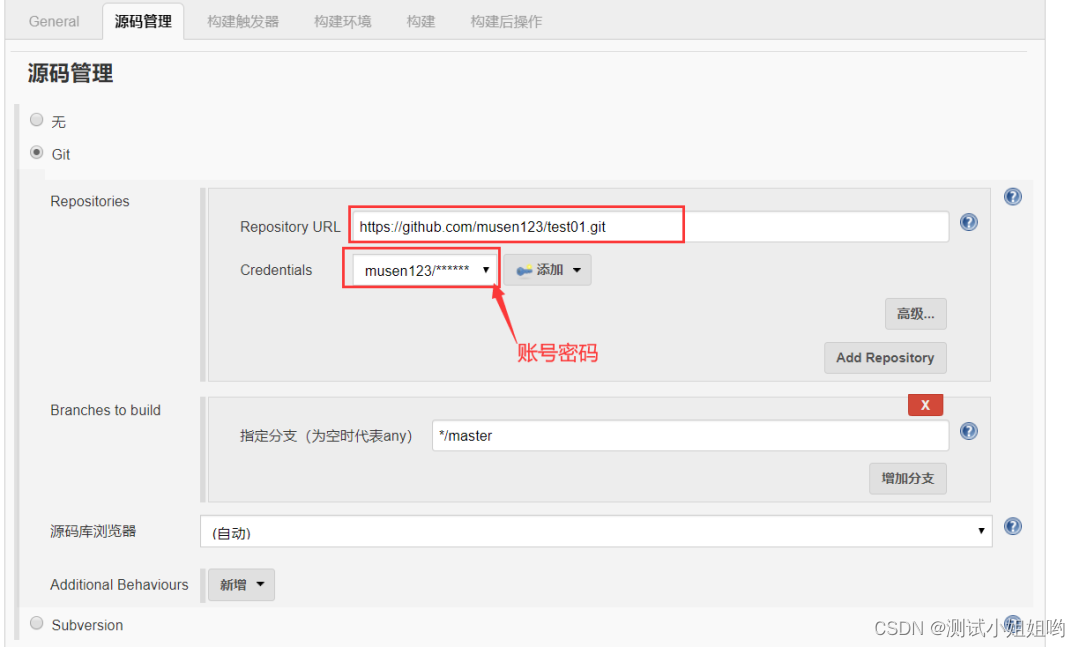
- 关于git的使用可以留言私信,免费获取相关的视频教程
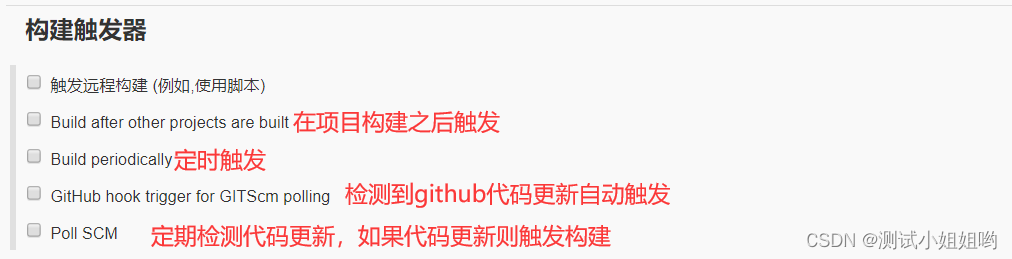
5jenkins构建触发器
6jenkins发送邮件
1、安装插件

2、配置smtp服务器
a.打开系统设置

b.设置管理员邮箱地址

c.配置smtp服务器地址

- 点开高级配置一下选项

3、项目中发送测试报告
?
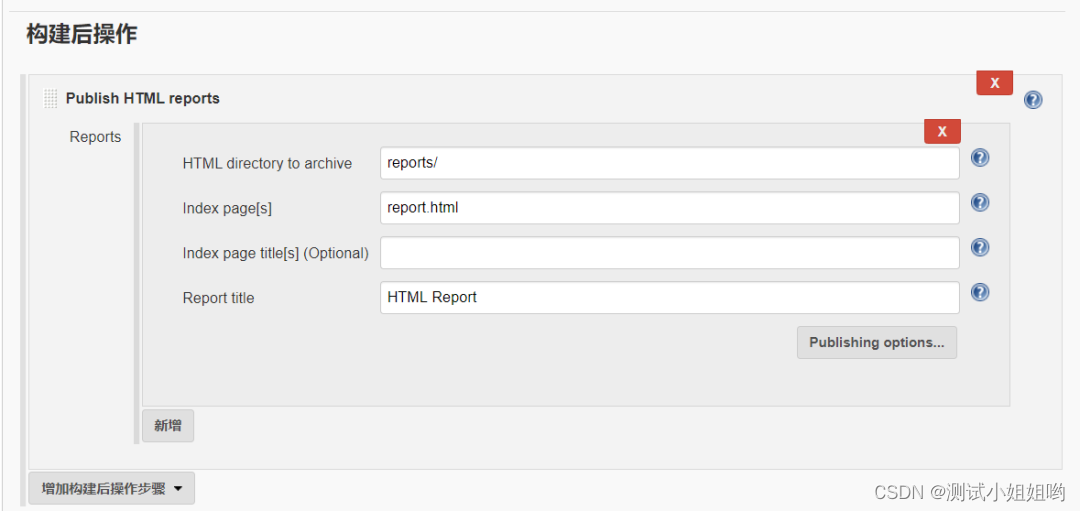
7测试报告展示配置
- 安装插件:

- 配置构建后操作
- 再次执行构建会生成一个报告栏

- 报告css样式配置
问题:打开的html报告,没有加载css
解决:在jenkins->系统管理->脚本命令行,输入:

点击【运行】,就好了(记住重启jenkins后,就会恢复默认设置。)
文章来源:https://blog.csdn.net/test_xiaoqi/article/details/135487959
本文来自互联网用户投稿,该文观点仅代表作者本人,不代表本站立场。本站仅提供信息存储空间服务,不拥有所有权,不承担相关法律责任。 如若内容造成侵权/违法违规/事实不符,请联系我的编程经验分享网邮箱:chenni525@qq.com进行投诉反馈,一经查实,立即删除!
本文来自互联网用户投稿,该文观点仅代表作者本人,不代表本站立场。本站仅提供信息存储空间服务,不拥有所有权,不承担相关法律责任。 如若内容造成侵权/违法违规/事实不符,请联系我的编程经验分享网邮箱:chenni525@qq.com进行投诉反馈,一经查实,立即删除!
最新文章
- Python教程
- 深入理解 MySQL 中的 HAVING 关键字和聚合函数
- Qt之QChar编码(1)
- MyBatis入门基础篇
- 用Python脚本实现FFmpeg批量转换
- Qt/QML编程学习之心得:QDbus实现service接口调用(28)
- 计算机毕业设计-----SSH协会志愿者服务管理系统
- 3d模型交易的哪个网站好?
- Windows mp4info使用教程(提取MP4盒子信息、MP4 box信息、box分析工具、atom分析工具)
- SQL WHERE 语句(条件选择)
- API调试神器!免费IDEA插件推荐
- 矩阵式键盘按键音
- (Nerf学习)GaussianEditor
- AIGC 能如何应用到游戏制作领域?
- IllegalArgumentException(非法参数异常)解决方法