Opencascade+Qt+C++三维图像建模窗体点线面拾取igs/iges/stp/step
程序示例精选
Opencascade+Qt+C++三维图像建模窗体点线面拾取igs/iges/stp/step
如需安装运行环境或远程调试,见文章底部个人QQ名片,由专业技术人员远程协助!
前言
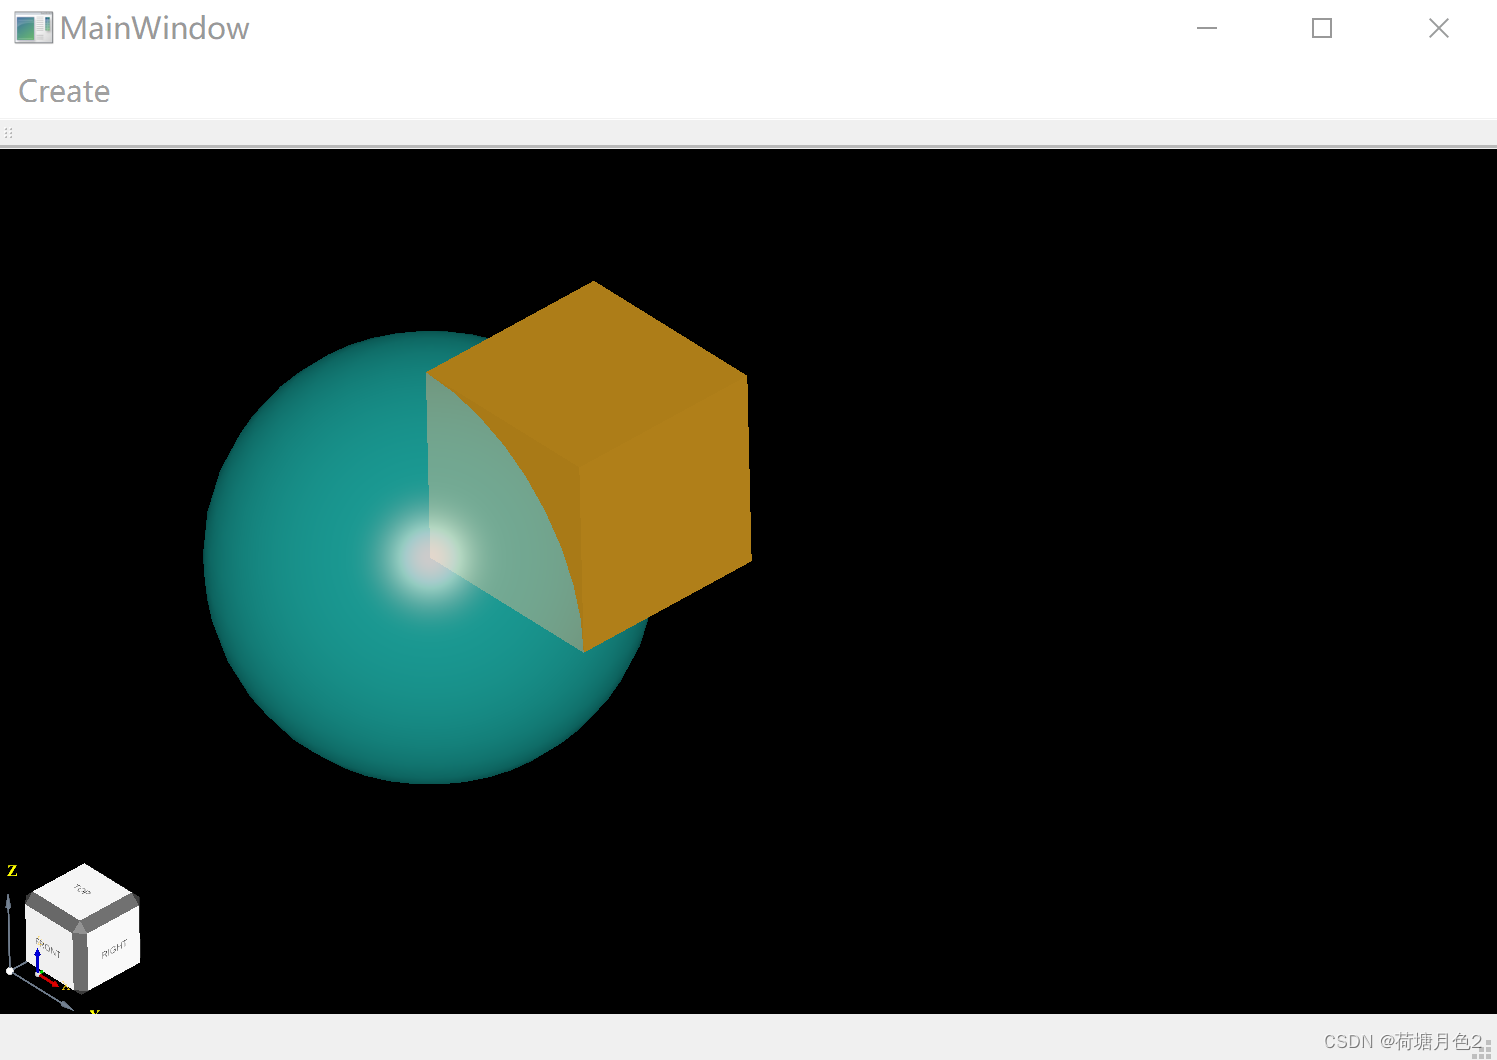
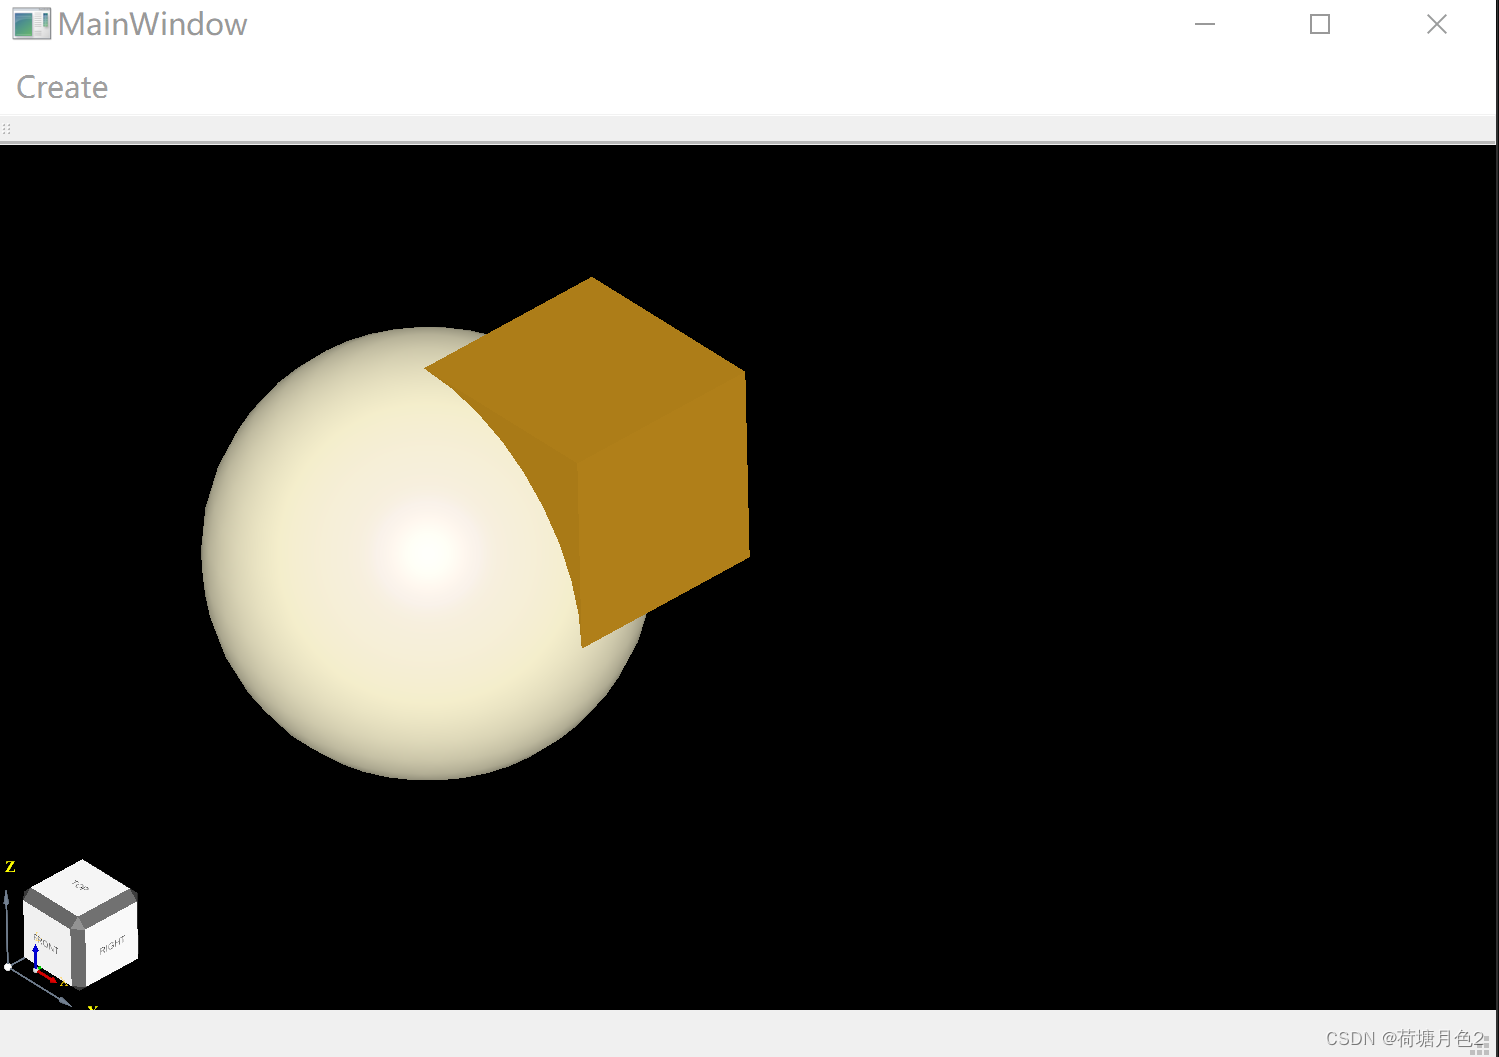
这篇博客针对《Opencascade+Qt+C++三维图像建模窗体点线面拾取igs/iges/stp/step》编写代码,代码整洁,规则,易读。 学习与应用推荐首选。
运行结果
文章目录
一、所需工具软件
二、使用步骤
???????1. 主要代码
???????2. 运行结果
三、在线协助
一、所需工具软件
???????1. VS2019, Qt
???????2. C++
二、使用步骤
代码如下(示例):
#include <BRep_Builder.hxx>
#include <StepData_StepModel.hxx>
#include <STEPControl_Reader.hxx>
#include <TCollection_AsciiString.hxx>
#include <XSControl_Controller.hxx>
#include <Interface_Static.hxx>
#include <Transfer_TransientProcess.hxx>
#include <gp_Circ.hxx>
#include <gp_Elips.hxx>
#include <gp_Sphere.hxx>
#include <TopTools_ListIteratorOfListOfShape.hxx>
#include <TopTools_HSequenceOfShape.hxx>
#include <IGESControl_Controller.hxx>
#include <IGESControl_Writer.hxx>
#include <IGESControl_Reader.hxx>
#include <TopoDS_Edge.hxx>
#include <TopoDS_Face.hxx>
MainWindow::MainWindow(QWidget *parent)
    : QMainWindow(parent)
{
    ui.setupUi(this);
	occView = new occview(this);
	setCentralWidget(occView);
	InitMenu();
}
void MainWindow::InitMenu()
{
	QMenuBar* menuBar = ui.menuBar;
	QMenu* menuCreate = menuBar->addMenu(tr("&Create"));
	menuCreate->addAction(tr("&Box"));
	menuCreate->addAction(tr("&Sphere"));
	connect(menuBar, SIGNAL(triggered(QAction*)), this, SLOT(trigerMenu(QAction*)));
}

TopoDS_Shape MainWindow::createBox()
{
	return BRepPrimAPI_MakeBox(10.0, 10.0, 10.0).Shape();
}
TopoDS_Shape MainWindow::createSphere()
{
	return BRepPrimAPI_MakeSphere(10.0).Shape();
}
void MainWindow::trigerMenu(QAction* action)
{
	if (action->text() == "&Box")
	{
		TopoDS_Shape box = createBox();
		Handle(AIS_Shape) aisBox = new AIS_Shape(box);
		occView->GetInteractiveContext()->Display(aisBox, Standard_True);
		occView->GetView()->FitAll();
	}
	else if (action->text() == "&Sphere")
	{
		TopoDS_Shape sphere = createSphere();
		Handle(AIS_Shape) aisSphere = new AIS_Shape(sphere);
		occView->GetInteractiveContext()->Display(aisSphere, Standard_True);
		occView->GetView()->FitAll();
	}
	else
	{
		QMessageBox::warning(this, tr("Warning"), action->text());
	}
}

occview::occview(QWidget *parent)
	: QWidget(parent)
{
	ui.setupUi(this);
	if (m_context.IsNull()) {
		Handle(Aspect_DisplayConnection) m_display_connection = new Aspect_DisplayConnection();
		if (m_graphic_driver.IsNull())
		{
			m_graphic_driver = new OpenGl_GraphicDriver(m_display_connection);
		}
		WId window_handle = (WId)winId();
		Handle(WNT_Window) wind = new WNT_Window((Aspect_Handle)window_handle);
		m_viewer = new V3d_Viewer(m_graphic_driver);
		m_view = m_viewer->CreateView();
		m_view->SetWindow(wind);
		if (!wind->IsMapped()) {
			wind->Map();
		}
		m_context = new AIS_InteractiveContext(m_viewer);
}
运行结果
三、在线协助:
如需安装运行环境或远程调试,见文章底部个人 QQ 名片,由专业技术人员远程协助!
1)远程安装运行环境,代码调试
2)Visual Studio, Qt, C++, Python编程语言入门指导
3)界面美化
4)软件制作
5)云服务器申请
6)网站制作
当前文章连接:https://blog.csdn.net/alicema1111/article/details/132666851
个人博客主页:https://blog.csdn.net/alicema1111?type=blog
博主所有文章点这里:https://blog.csdn.net/alicema1111?type=blog
博主推荐:
Python人脸识别考勤打卡系统:
https://blog.csdn.net/alicema1111/article/details/133434445
Python果树水果识别:https://blog.csdn.net/alicema1111/article/details/130862842
Python+Yolov8+Deepsort入口人流量统计:https://blog.csdn.net/alicema1111/article/details/130454430
Python+Qt人脸识别门禁管理系统:https://blog.csdn.net/alicema1111/article/details/130353433
Python+Qt指纹录入识别考勤系统:https://blog.csdn.net/alicema1111/article/details/129338432
Python Yolov5火焰烟雾识别源码分享:https://blog.csdn.net/alicema1111/article/details/128420453
Python+Yolov8路面桥梁墙体裂缝识别:https://blog.csdn.net/alicema1111/article/details/133434445
本文来自互联网用户投稿,该文观点仅代表作者本人,不代表本站立场。本站仅提供信息存储空间服务,不拥有所有权,不承担相关法律责任。 如若内容造成侵权/违法违规/事实不符,请联系我的编程经验分享网邮箱:chenni525@qq.com进行投诉反馈,一经查实,立即删除!
- Python教程
- 深入理解 MySQL 中的 HAVING 关键字和聚合函数
- Qt之QChar编码(1)
- MyBatis入门基础篇
- 用Python脚本实现FFmpeg批量转换
- 什么是通配监听端口? 什么是通配监听IP?
- 实验室(检验科)信息系统LIS源码,客户端:WPF+Windows Forms
- 项目经理如何管理团队成员,把控项目进度
- 医院排队叫号系统的组成结构与使用流程
- Java最全面试题专题---4、并发编程(3)
- LT6711A 是一款HDMI 2.0转DP 1.2/EDP 1.4的芯片,实用于AR或者PC以及PAD
- 从源码角度来谈谈 HashMap
- RING BUFFER
- MIT18.06线性代数 笔记1
- 一篇文章带你搞懂非关系型数据库MongoDB