华为服务器RAID5
发布时间:2024年01月23日
0、BIOS默认密码
TaiShan 100服务器BIOS系统的默认密码为**“Huawei12#$”,
TaiShan 200服务器BIOS系统的默认密码为“Admin@9000”**。
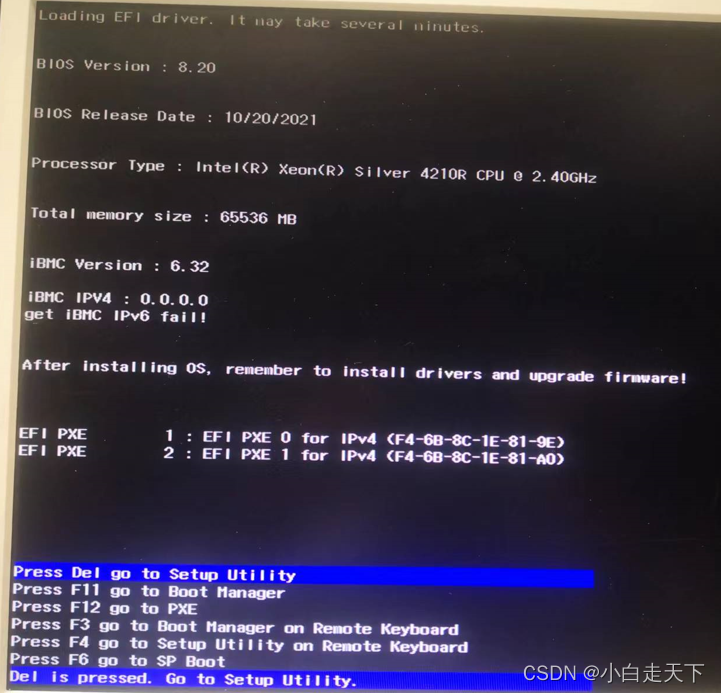
1、服务器开机选择DEL,进行设置

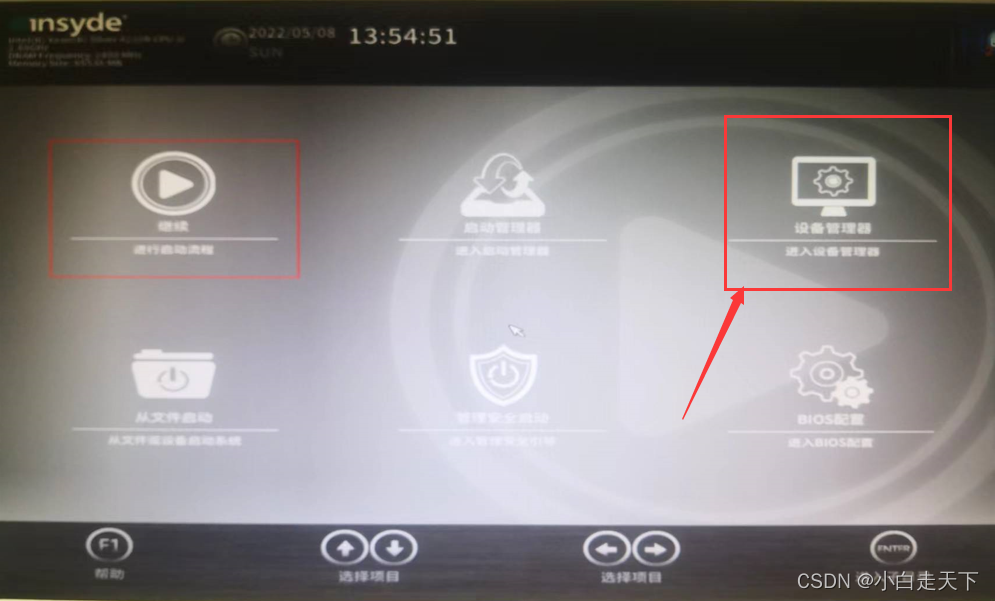
2、选择设备管理器进入配置页面
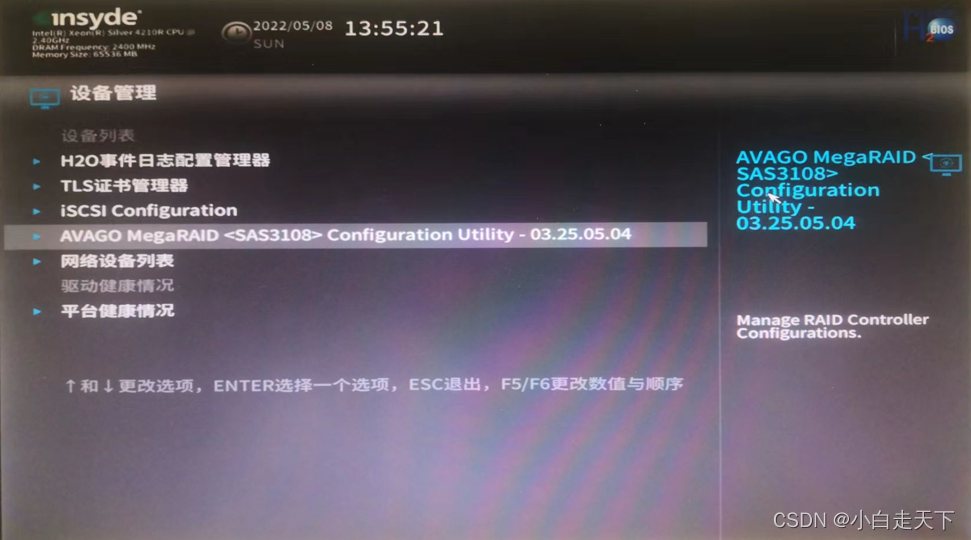
3、选择AVAGO MegaRAID configuration utility 进入raid配置
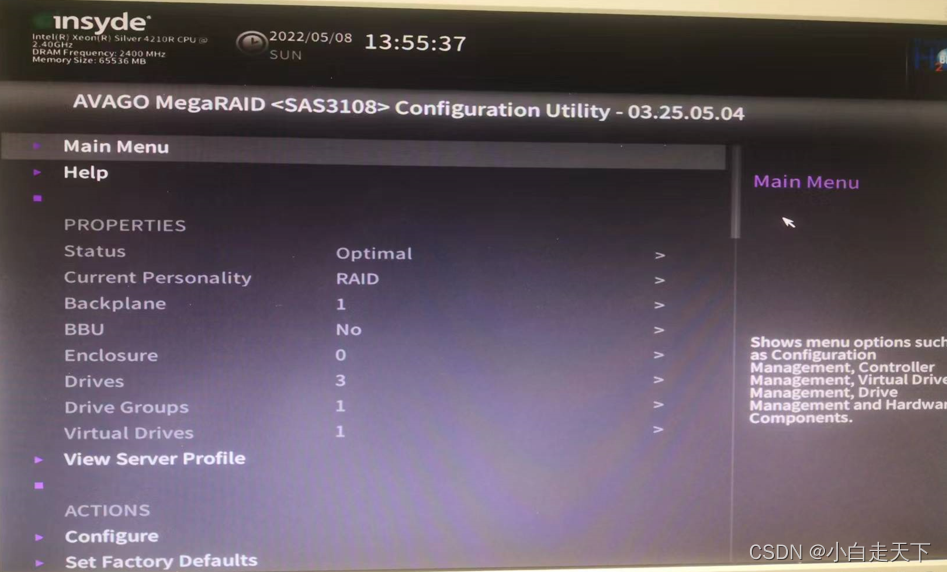
4、选择 Main Menu 进入主菜单
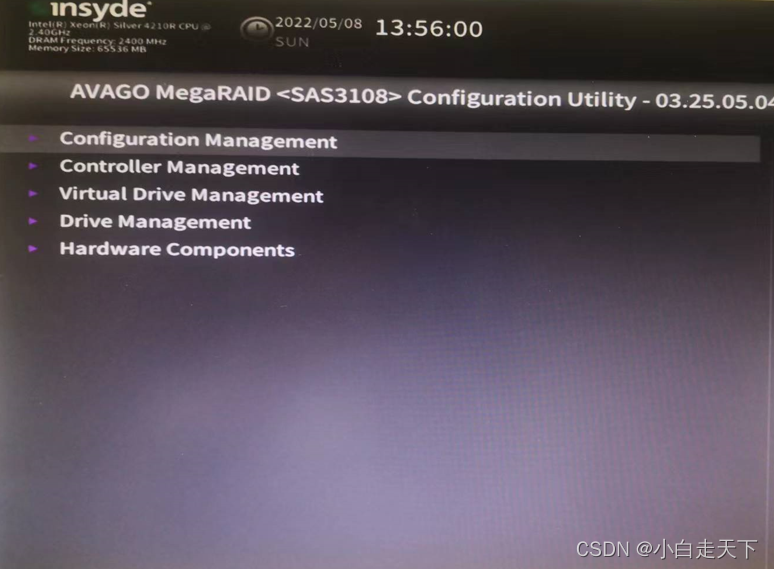
5、进入选择configuration management 进入配置管理
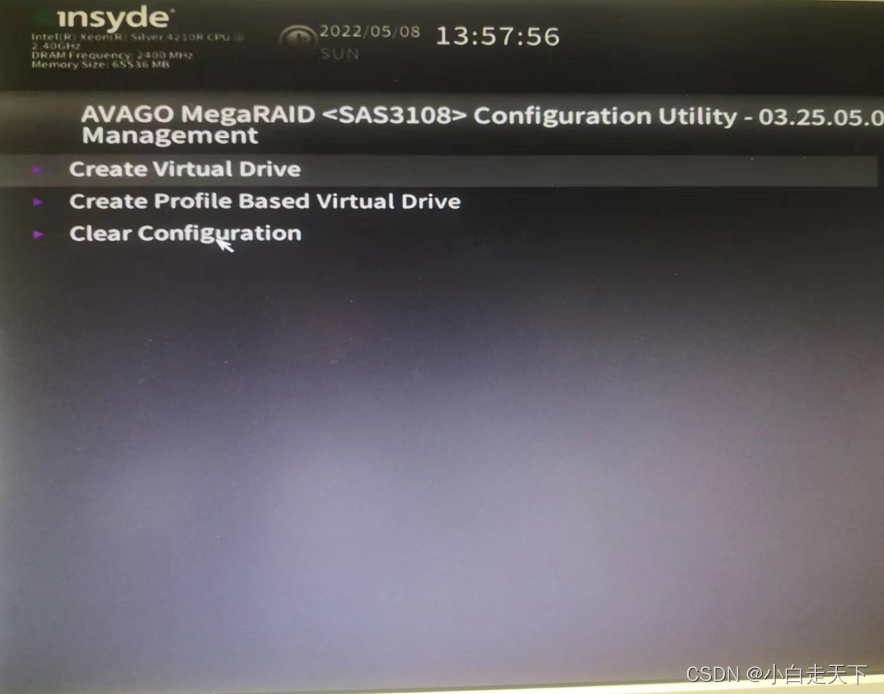
6、选择create virtual driver 创建虚拟驱动程序
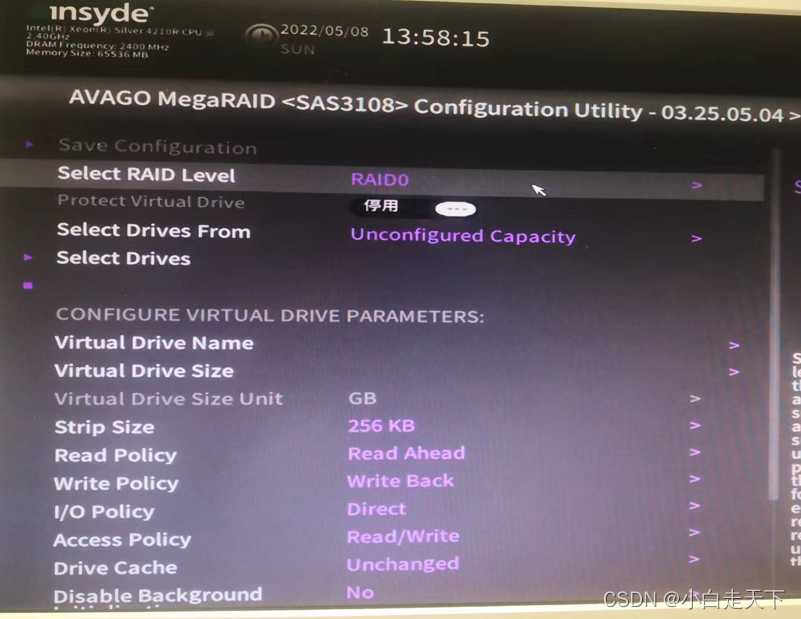
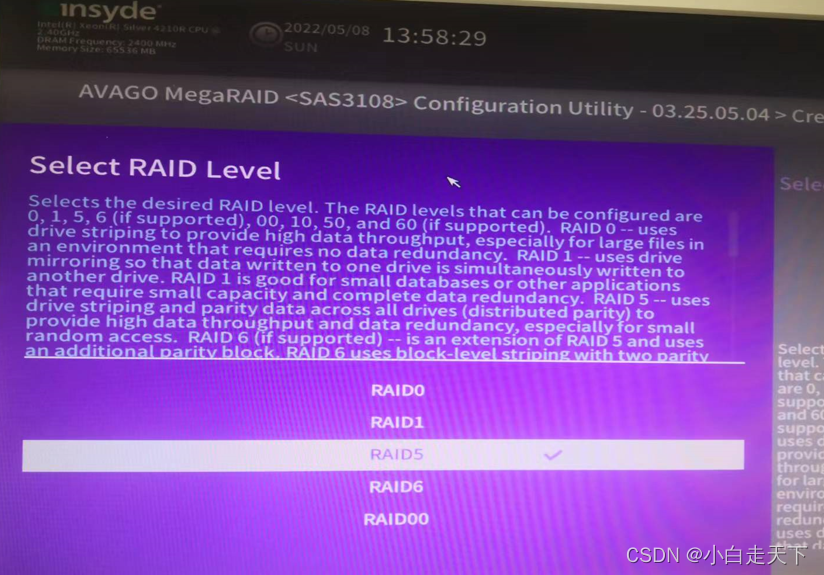
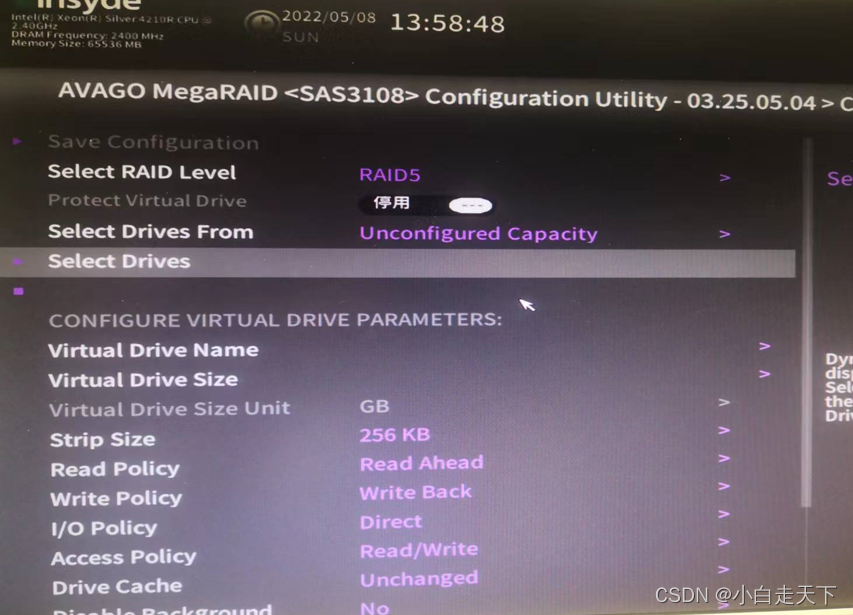
7、通过 Select RAID Level 选择要做的RAID类型
8、选择 RAID5 点击确认
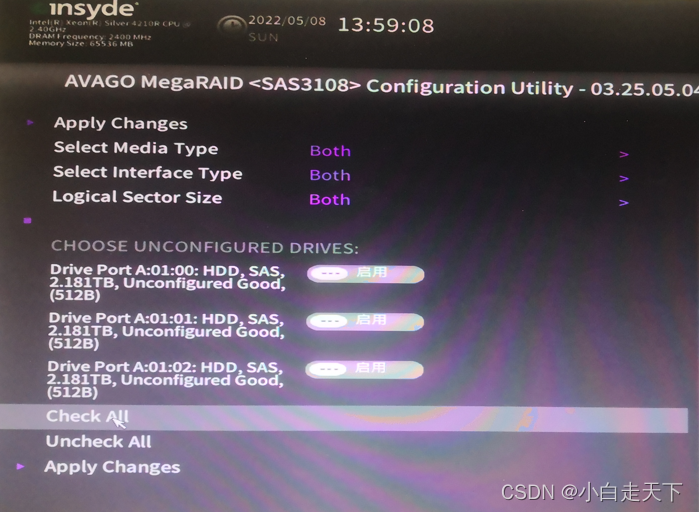
9、选择 Select Drives 驱动
10、选择制作 RAID5 需要的盘符,将盘类型调整为启用(enabled)
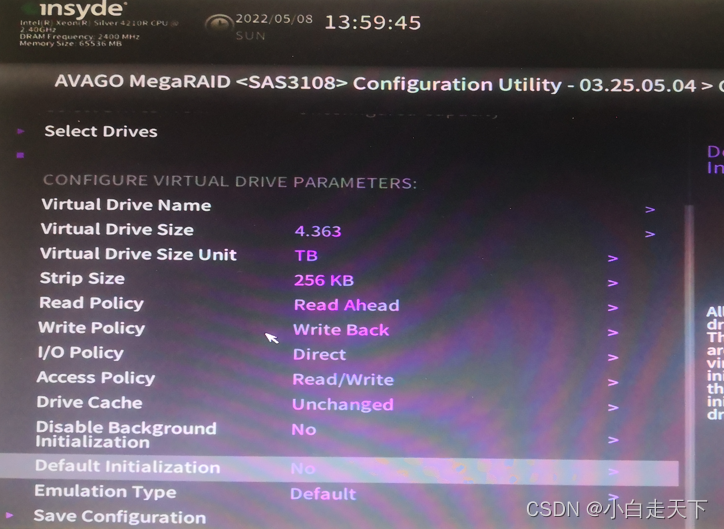
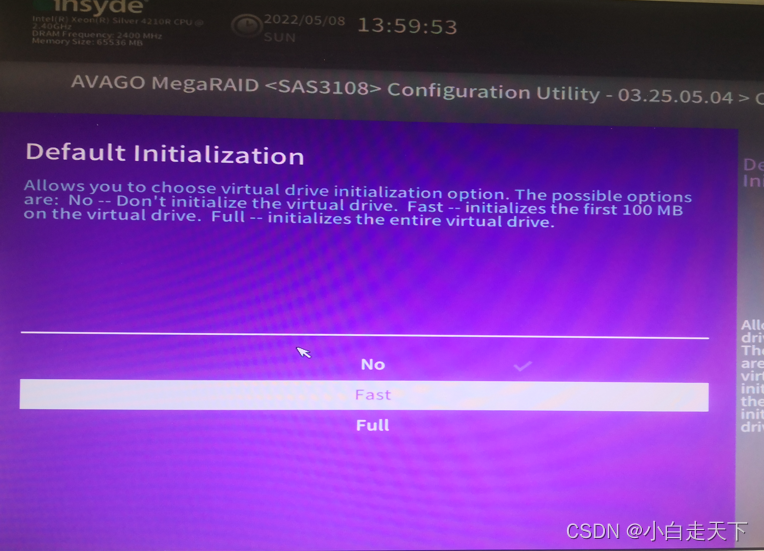
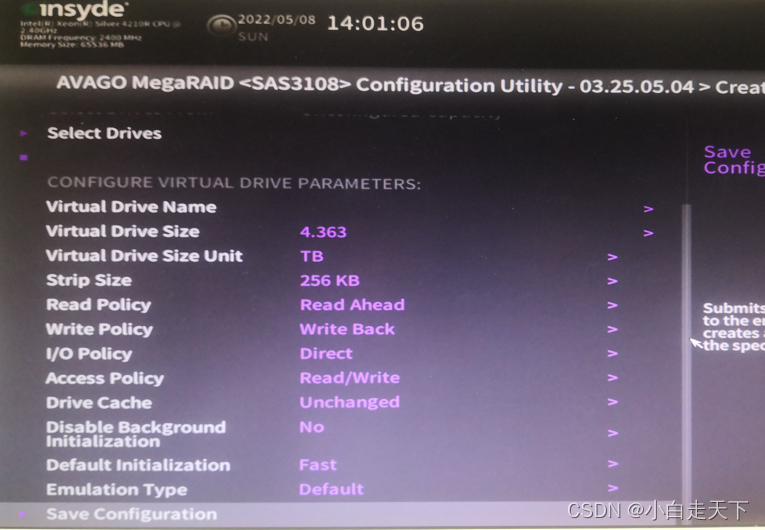
11、选择Default initialization 选项,将磁盘进行初始化
12、快速初始化
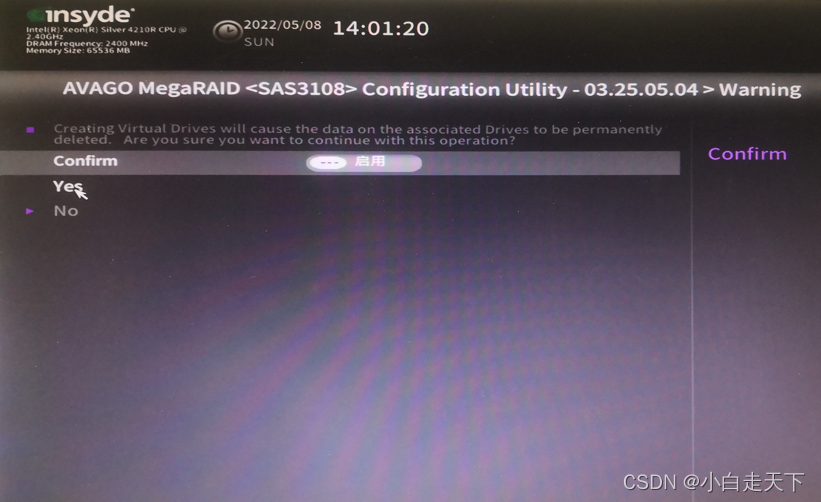
13、选择save configuration 保存配置
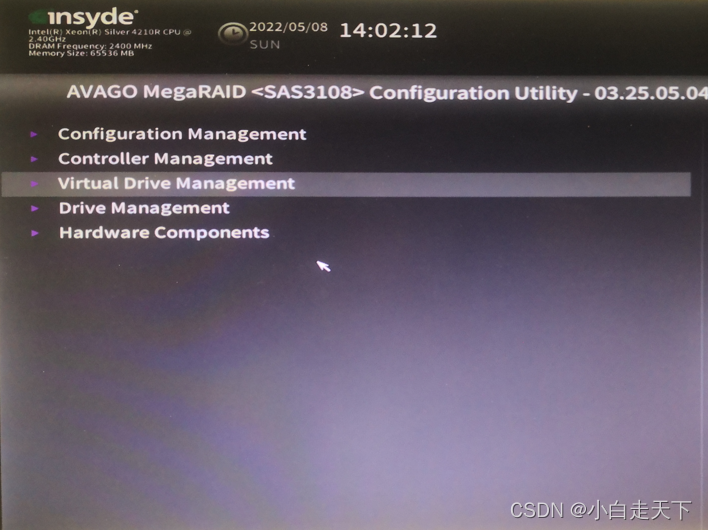
14、返回,通过 Virtual Drive Management 查看已配置的RAID信息
15、配置完成RAID5,磁盘空间信息

完成RAID配置,安装操作系统 。
文章来源:https://blog.csdn.net/jacbo/article/details/135762628
本文来自互联网用户投稿,该文观点仅代表作者本人,不代表本站立场。本站仅提供信息存储空间服务,不拥有所有权,不承担相关法律责任。 如若内容造成侵权/违法违规/事实不符,请联系我的编程经验分享网邮箱:chenni525@qq.com进行投诉反馈,一经查实,立即删除!
本文来自互联网用户投稿,该文观点仅代表作者本人,不代表本站立场。本站仅提供信息存储空间服务,不拥有所有权,不承担相关法律责任。 如若内容造成侵权/违法违规/事实不符,请联系我的编程经验分享网邮箱:chenni525@qq.com进行投诉反馈,一经查实,立即删除!
最新文章