Django 分页(表单)
发布时间:2024年01月03日

一、手动分页
1、概念
- 页码:很容易理解,就是一本书的页码
- 每页数量:就是一本书中某一页中的内容(数据量,比如第二页有15行内容),这 15 就是该页的数据量
每一页的数据量我们可以自定义,比如每页我们要求只显示 10 条数据。
2、功能
比如有数据:1, 2, 3, …, 100
假设我们规定:
页码(page)= 1
每一页(per_page)= 10
| 页码(page) | 数据范围(per_page) | 下标范围 | 切片范围 |
|---|---|---|---|
| 1 | 1 ~ 10 | 0 ~ 9 | [ 0 : 10 ] |
| 2 | 11 ~ 20 | 10 ~ 19 | [ 10 : 20 ] |
| 3 | 21 ~ 30 | 20 ~ 39 | [ 20 : 30 ] |
| … | … | … | … |
| n | … | … | [ (page-1) * per_page : page * per_page ] |
3、案例
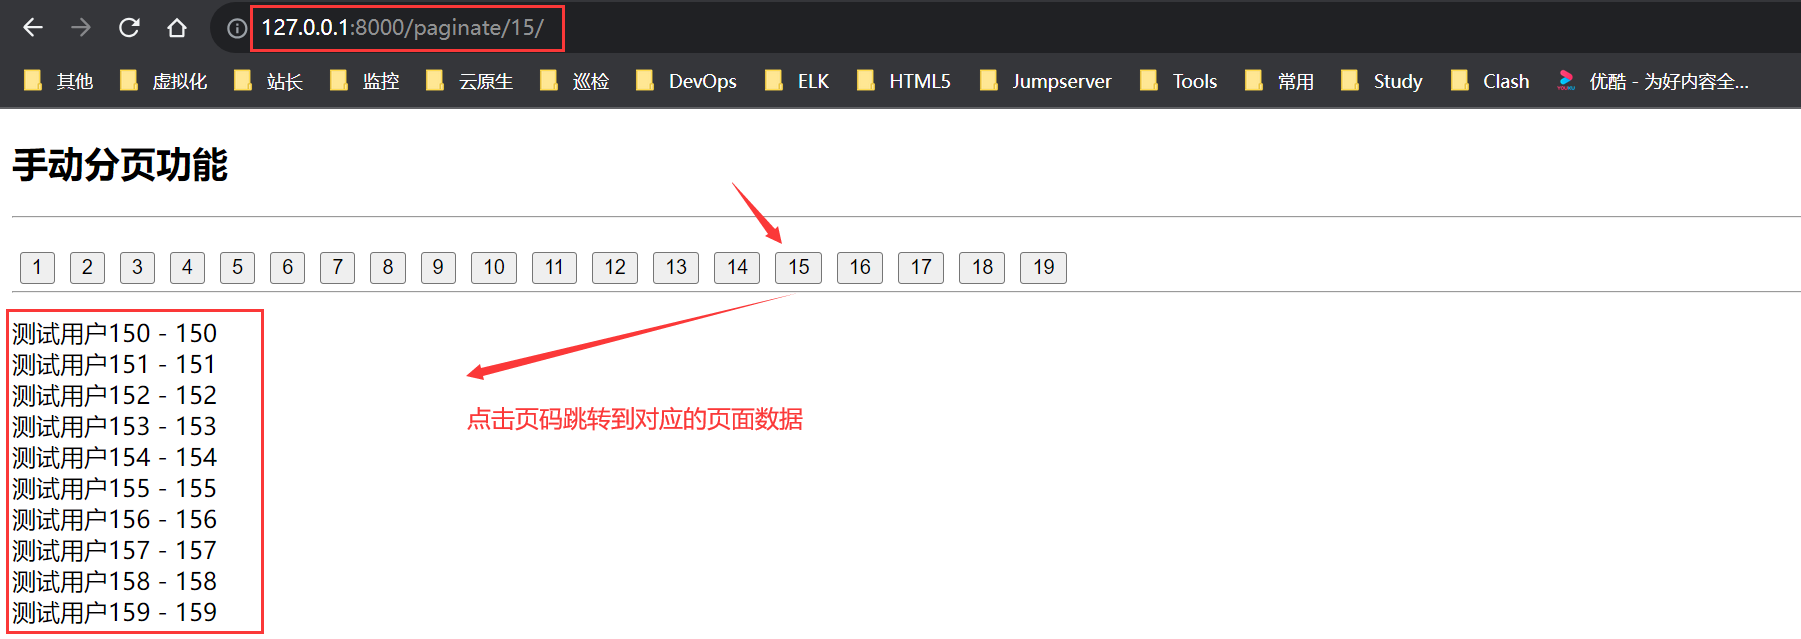
实现功能:根据数据量与我们规定的每页数据量自动创建页码按钮,当点击页面对应的页码按钮时,跳转到对应的页码数据。
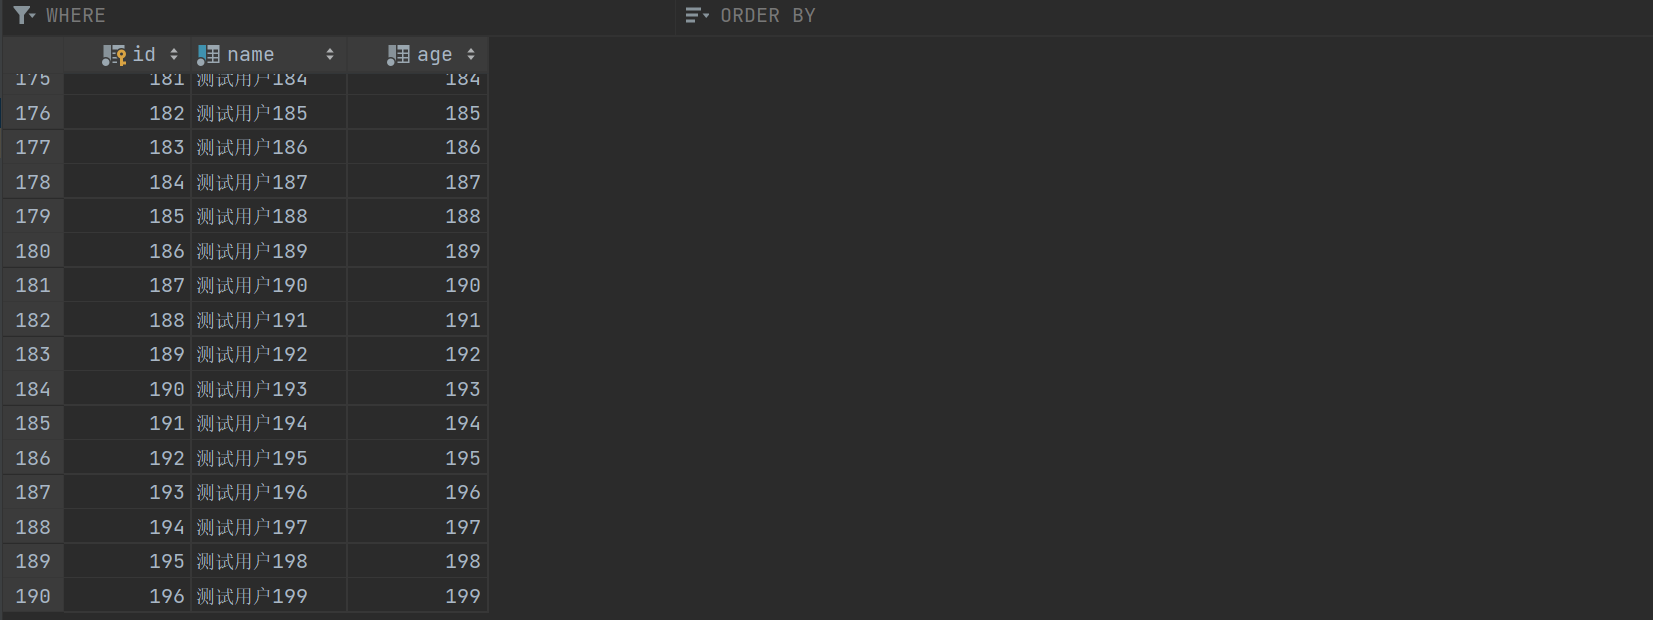
先创建一百多个测试数据:
-
视图
import math from App.models import * from django.shortcuts import render, HttpResponse def paginate(request, page=1): # 页码:page # 每页数量:per_page per_page = 10 # 获取数据库PersonModel的所有表数据 persons = PersonModel.objects.all() # 对获取的表数据切片操作 persons = persons[(page-1) * per_page:page * per_page] # 总页数 total = PersonModel.objects.count() # 数据总条数 total_page = math.ceil(total / per_page) # 总页数(即总条数/每页条数)math.ceil向上取整,即返回大于或等于该数字的最小整数。如果传入的参数已经是整数,则返回该整数本身(如3.5则返回4(即大于3.5的数的最小整数),如7则返回7)。 pages = range(1, total_page+1) # 为什么要转换一下?因为传到模板的数据必须是一个字典,且字典的 values 必须是一个序列 # 将切片的数据传入模板进行渲染 return render(request, 'paginate.html', {'persons':persons, 'pages': pages}) -
路由
from django.contrib import admin from django.urls import path from App.views import * urlpatterns = [ path('admin/', admin.site.urls), path('add/', add_person), path('del/', del_person), path('update/', update_person), path('get/', get_person), path('paginate/<int:page>/', paginate, name='paginate'), ] -
模板
paginate.html
<!DOCTYPE html> <html lang="en"> <head> <meta charset="UTF-8"> <title>手动分页</title> <style> ul { list-style: none; padding: 0; } .bts li { float: left; margin: 5px; } hr { clear: both; } </style> </head> <body> <h2>手动分页功能</h2> <hr> <ul class="bts"> {% for page in pages %} <li> <a href="{% url 'paginate' page %}"><button>{{ page }}</button></a> </li> {% endfor %} </ul> <hr> <ul> {% for person in persons %} <li>{{ person.name }} - {{ person.age }}</li> {% endfor %} </ul> </body> </html> -
验证
当点击 15 这个页码按钮时,就会跳到数据的第 15 页的数据。

二、分页器分页
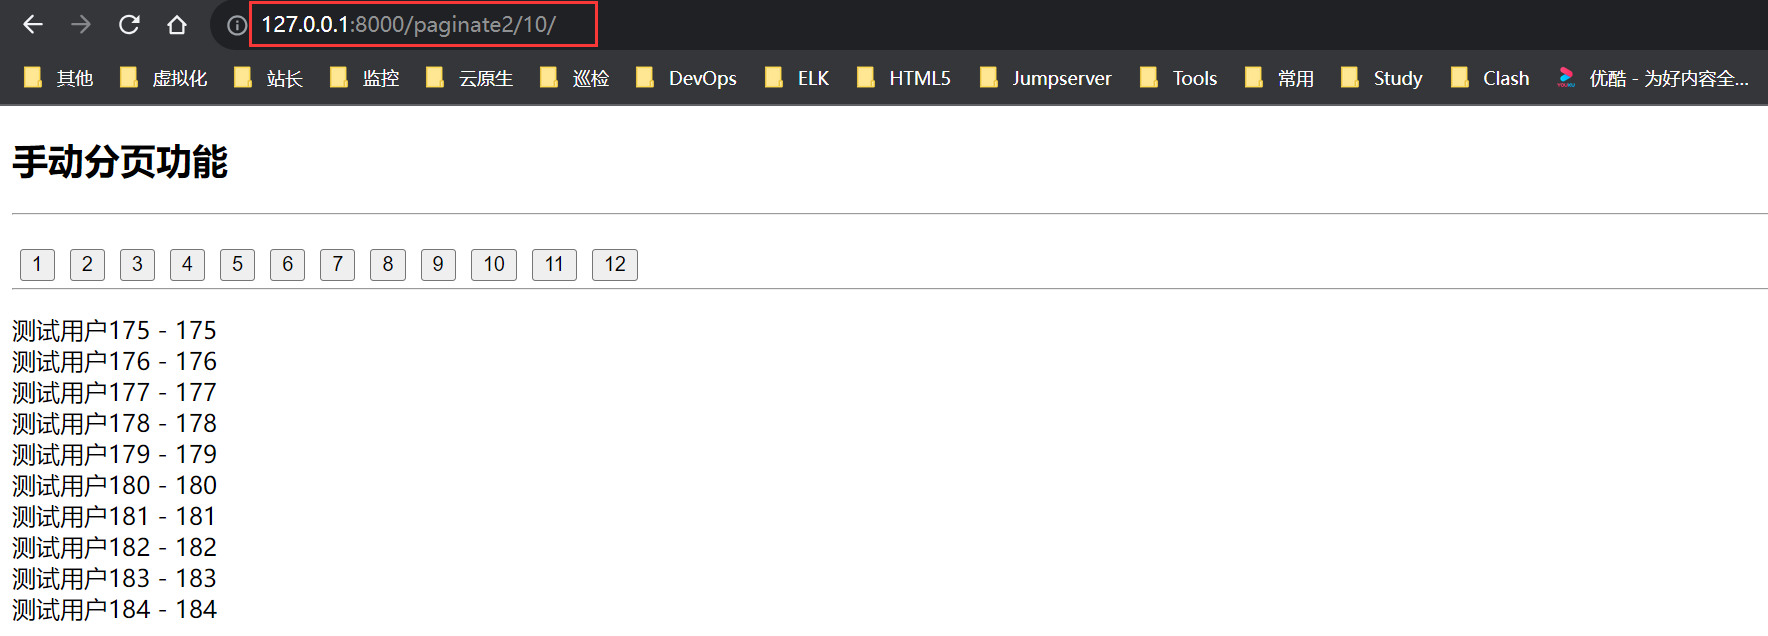
上面的分页是手动进行的,需要我们手动写功能。当然我们也可以使用 Django 中的分页器进行自动分页,使用时需导入 Paginator 模块。接下来,将使用分页器实现与手动分页功能完全一致的分页方法。
1、视图
import math
from App.models import *
from django.shortcuts import render, HttpResponse
from django.core.paginator import Paginator

def paginate2(request, page=1):
    # 每页数量
    per_page = 10
    all_date = PersonModel.objects.all()
    # 分页器对象
    paginator = Paginator(all_date, per_page)   # 获取所有用户数据,并根据每页显示10条用户数据进行分页
    persons = paginator.page(page)    # 获取指定page页的数据
    pages = paginator.page_range      # 页码范围,可进行循环遍历
    return render(request, 'paginate2.html', {'persons': persons, 'pages': pages})
2、路由
from django.contrib import admin
from django.urls import path
from App.views import *

urlpatterns = [
    path('admin/', admin.site.urls),
    path('add/', add_person),
    path('del/', del_person),
    path('update/', update_person),
    path('get/', get_person),
    path('paginate/<int:page>/', paginate, name='paginate'),
    path('paginate2/<int:page>/', paginate2, name='paginate2'),
]
3、模板
paginate2.html
<!DOCTYPE html>
<html lang="en">
<head>
    <meta charset="UTF-8">
    <title>手动分页</title>
    <style>
        ul {
            list-style: none;
            padding: 0;
        }
        .bts li {
            float: left;
            margin: 5px;
        }
        hr {
            clear: both;
        }
    </style>
</head>
<body>
    <h2>手动分页功能</h2>
    <hr>
    <ul class="bts">
        {% for page in pages %}
            <li>
                <a href="{% url 'paginate2' page %}"><button>{{ page }}</button></a>
            </li>
        {% endfor %}
    </ul>
    <hr>
    <ul>
        {% for person in persons %}
            <li>{{ person.name }} - {{ person.age }}</li>
        {% endfor %}
    </ul>
</body>
</html>
4、验证

—END
文章来源:https://blog.csdn.net/IT_ZRS/article/details/135350370
本文来自互联网用户投稿,该文观点仅代表作者本人,不代表本站立场。本站仅提供信息存储空间服务,不拥有所有权,不承担相关法律责任。 如若内容造成侵权/违法违规/事实不符,请联系我的编程经验分享网邮箱:chenni525@qq.com进行投诉反馈,一经查实,立即删除!
本文来自互联网用户投稿,该文观点仅代表作者本人,不代表本站立场。本站仅提供信息存储空间服务,不拥有所有权,不承担相关法律责任。 如若内容造成侵权/违法违规/事实不符,请联系我的编程经验分享网邮箱:chenni525@qq.com进行投诉反馈,一经查实,立即删除!
最新文章
- Python教程
- 深入理解 MySQL 中的 HAVING 关键字和聚合函数
- Qt之QChar编码(1)
- MyBatis入门基础篇
- 用Python脚本实现FFmpeg批量转换
- 如何用c语言实现扫雷游戏
- “揭秘性能测试工具:优化软件性能的关键秘籍“
- 计算机网络 第三章(数据链路层)【下】
- 006文章解读与程序——《微电网优化调度》已提供下载资源
- 用html,css和js写购物车移动端加减全反选及计算总价
- 编程高手必备:Python字典操作与示例全解析
- 基于比较的排序算法总结(java实现版)
- 解读 Sobit v2:铭文资产跨链更注重安全、易用性
- 爬虫案例分享:爬虫获取房天下房地产相关数据
- x-cmd pkg | gitui - git 终端交互式命令行工具
