前端js调用Lodop实现云打印
发布时间:2024年01月13日
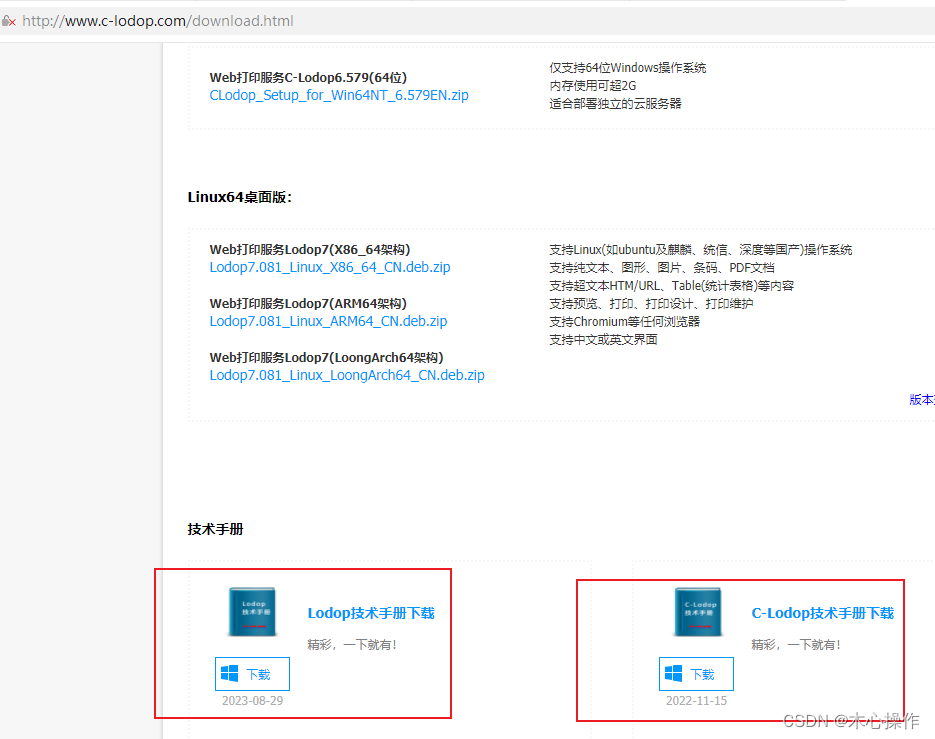
一、下载Lodop控件
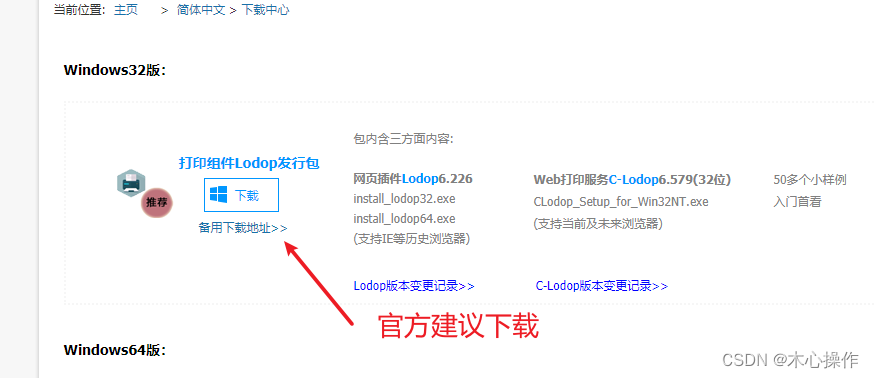
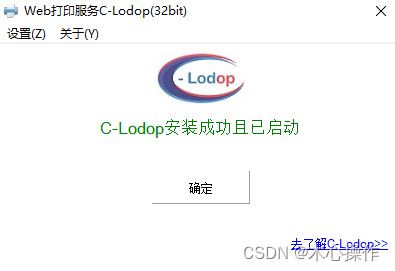
?二、解压后安装
双击进行安装,里面有些页面文件是一些教程案例

?勾选云服务工作模式
?
安装成功会自动启动
浏览器访问地址:http://localhost:8000/
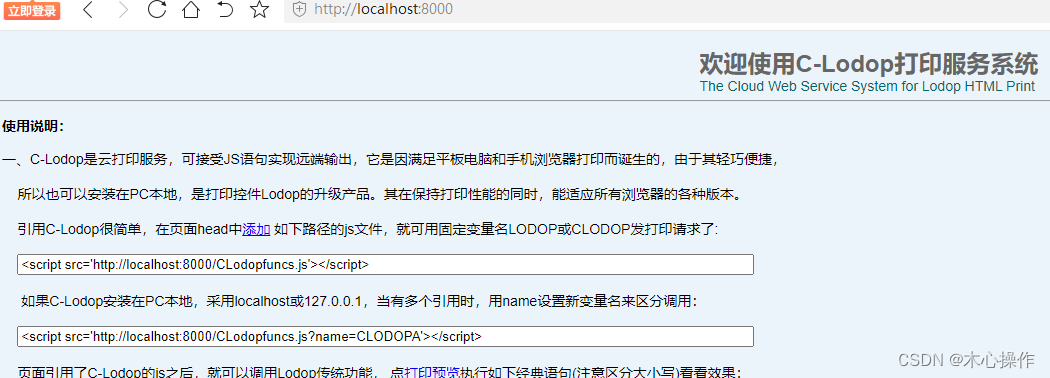
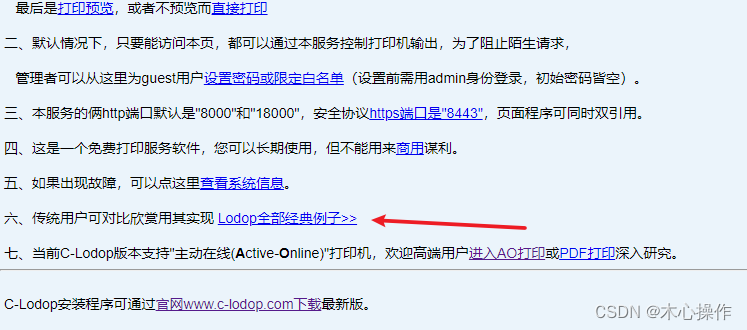
首页最下面有个教程案例跳转地址,可以查看一些官方给的一些案例
三、举一个简单例子
此例子使用超文本打印方法:ADD_PRINT_HTM
样式设置参考:https://www.cnblogs.com/huaxie/p/9669963.html
本例子云打印使用?On_Return 方法捕捉打印返回结果
<!DOCTYPE html>
<html lang="en">
  <head>
    <meta charset="UTF-8" />
    <title>test</title>
    <script src="http://localhost:8000/CLodopfuncs.js?priority=1"></script>
    <script src="http://localhost:18000/CLodopfuncs.js?priority=0"></script>
    <style>
      .print-content {
        color: red;
      }
    </style>
  </head>
  <body>
    <div class="print-content">打印内容</div>

    <div>
      <a href="javascript:printHandle()">执行打印</a>
    </div>

    <script>
      function printHandle() {
        const printContent = document.querySelector('.print-content').innerHTML
        const print_style = document.querySelector('style').innerHTML
        const style_innerHTML = `<style>${print_style}</style>`
        const printHtml = `${style_innerHTML}<body>${printContent}</body>`
        // 引入外部样式方法
        // const cur_link = document.querySelector('link').outerHTML
        // const printHtml = `${cur_link}<body>${printContent}</body>`
        // 更多样式设计:https://www.cnblogs.com/huaxie/p/9669963.html
        const LODOP = getCLodop()
        LODOP.PRINT_INIT('')
        LODOP.SET_PRINT_PAGESIZE(3, 1500, 500, '')
        LODOP.ADD_PRINT_HTM(0, 0, '100%', '100%', printHtml)
        let active_num = 0
        LODOP.On_Return_Remain = true
        LODOP.On_Return = function (TaskID, Value) {
          console.log(TaskID, Value)
          active_num += 1
          if (active_num === 2) {
            console.log('打印成功')
          }
        }
        LODOP.PREVIEW('_blank')
      }
    </script>
  </body>
</html>
更多示例可查看官方文档
文章来源:https://blog.csdn.net/qq_41579327/article/details/135573288
本文来自互联网用户投稿,该文观点仅代表作者本人,不代表本站立场。本站仅提供信息存储空间服务,不拥有所有权,不承担相关法律责任。 如若内容造成侵权/违法违规/事实不符,请联系我的编程经验分享网邮箱:chenni525@qq.com进行投诉反馈,一经查实,立即删除!
本文来自互联网用户投稿,该文观点仅代表作者本人,不代表本站立场。本站仅提供信息存储空间服务,不拥有所有权,不承担相关法律责任。 如若内容造成侵权/违法违规/事实不符,请联系我的编程经验分享网邮箱:chenni525@qq.com进行投诉反馈,一经查实,立即删除!
最新文章
- Python教程
- 深入理解 MySQL 中的 HAVING 关键字和聚合函数
- Qt之QChar编码(1)
- MyBatis入门基础篇
- 用Python脚本实现FFmpeg批量转换
- 如何衡量一个排序算法的性能
- TS:类型断言
- 我的年度总结(大一程序员的自述)
- 2024版最新 Lightroom Classic 13.1 for windows 版本下载安装教程
- Clojure 实战(4):编写 Hadoop MapReduce 脚本
- 1222. 密码脱落(dp划分)
- 双向A*算法-python
- 黑群晖利用云服务器公网IP
- 【前端设计模式】之状态模式
- 解决:AttributeError: module ‘scipy.misc’ has no attribute ‘imsave’