java springboot整合Redis
上文 java springboot讲解NoSql解决方案 带大家简单了解Redis基本存储方式 我们讲了Redis的安装然后做了一些操作
那么 本文 就带大家用springboot对Redis做一下整合
我们先要在pom.xml中添加坐标依赖
<dependency>
	<groupId>org.springframework.boot</groupId>
	<artifactId>spring-boot-starter-data-redis</artifactId>
</dependency>
<dependency>
	<groupId>redis.clients</groupId>
	<artifactId>jedis</artifactId>
</dependency>
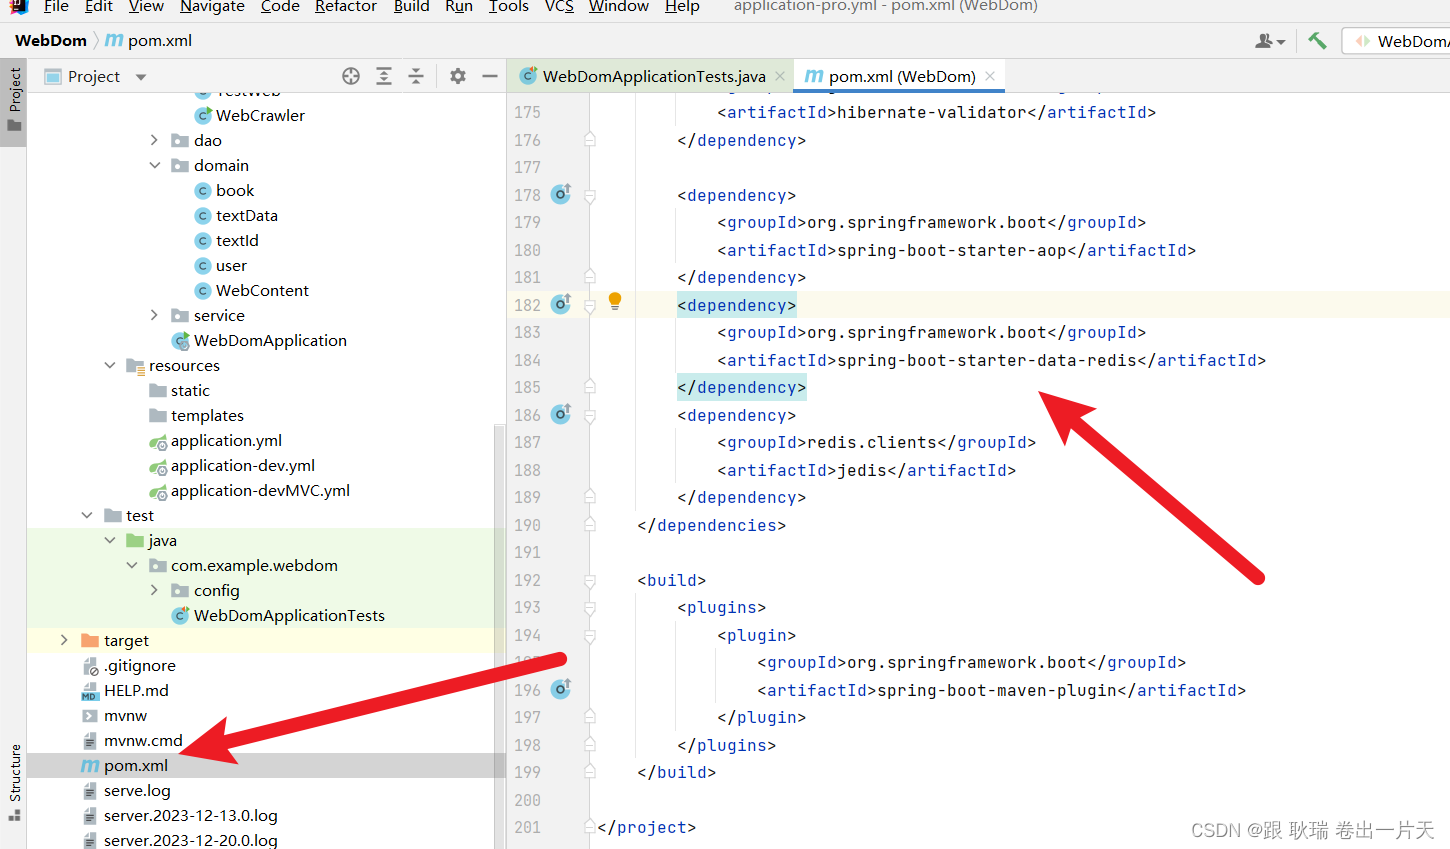
然后 我们上文 连接redis 也需要执行
redis-cli -h IP地址 -p 端口 -a 密码
要告诉它 往哪连 ip加端口 帮他找到具体的数据库 密码 通过验证才能登录
那么 我们java中也需要在 application 中配置一下
我们在不清楚的情况下 可以直接打名字点
比如 redis.
下面就会展示出来 redis的配置项其实还挺多的
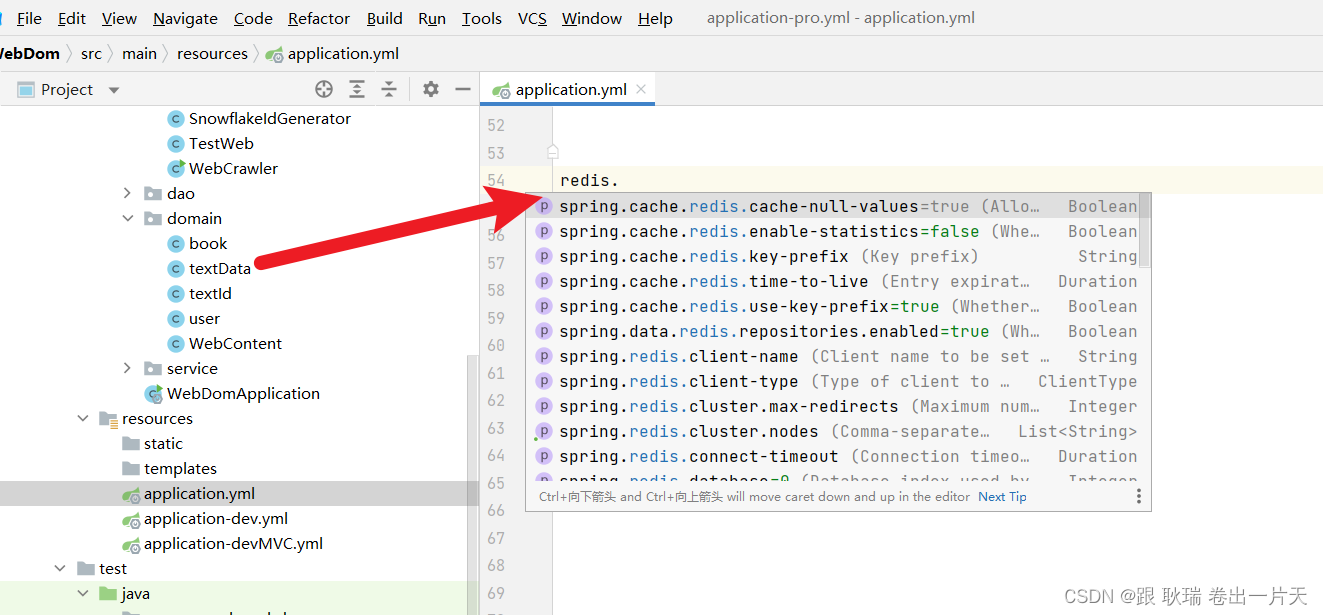
这边 我们可以注意一下这几个
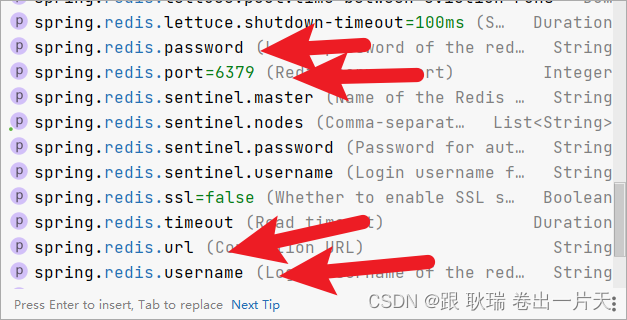

特别是 host port 都是有默认值的
如果不写 他是默认访问本机 端口是 6379 因为我们没设置过 确实就是这个
我们可以这样写
spring:
  redis:
    host: localhost
    port: 6379
设置 host 设置连本机 你这个位置写 127.0.0.1 也是可以的
然后 port 端口还是给默认的 6379 因为我这里确实是这个端口 如果你有用户 密码 也可以设置一下username和password
然后在 config 目录下添加一个RedisConfig配置类
参考代码如下
package com.example.webdom.config;

import org.springframework.context.annotation.Bean;
import org.springframework.context.annotation.Configuration;
import org.springframework.data.redis.connection.RedisConnectionFactory;
import org.springframework.data.redis.connection.jedis.JedisConnectionFactory;
import org.springframework.data.redis.core.RedisTemplate;
import org.springframework.data.redis.serializer.GenericJackson2JsonRedisSerializer;
import org.springframework.data.redis.serializer.StringRedisSerializer;

@Configuration
public class RedisConfig {

    @Bean
    public RedisConnectionFactory redisConnectionFactory() {
        JedisConnectionFactory jedisConnectionFactory = new JedisConnectionFactory();
        jedisConnectionFactory.setHostName("localhost"); // 设置Redis服务器的主机名
        jedisConnectionFactory.setPort(6379); // 设置Redis服务器的端口号
        // 可以根据需要进行其他的配置,例如密码、超时等

        return jedisConnectionFactory;
    }

    @Bean
    public RedisTemplate<String, Object> redisTemplate(RedisConnectionFactory redisConnectionFactory) {
        RedisTemplate<String, Object> redisTemplate = new RedisTemplate<>();
        redisTemplate.setConnectionFactory(redisConnectionFactory);
        redisTemplate.setKeySerializer(new StringRedisSerializer());
        redisTemplate.setValueSerializer(new GenericJackson2JsonRedisSerializer());
        redisTemplate.setHashKeySerializer(new StringRedisSerializer());
        redisTemplate.setHashValueSerializer(new GenericJackson2JsonRedisSerializer());
        return redisTemplate;
    }
}
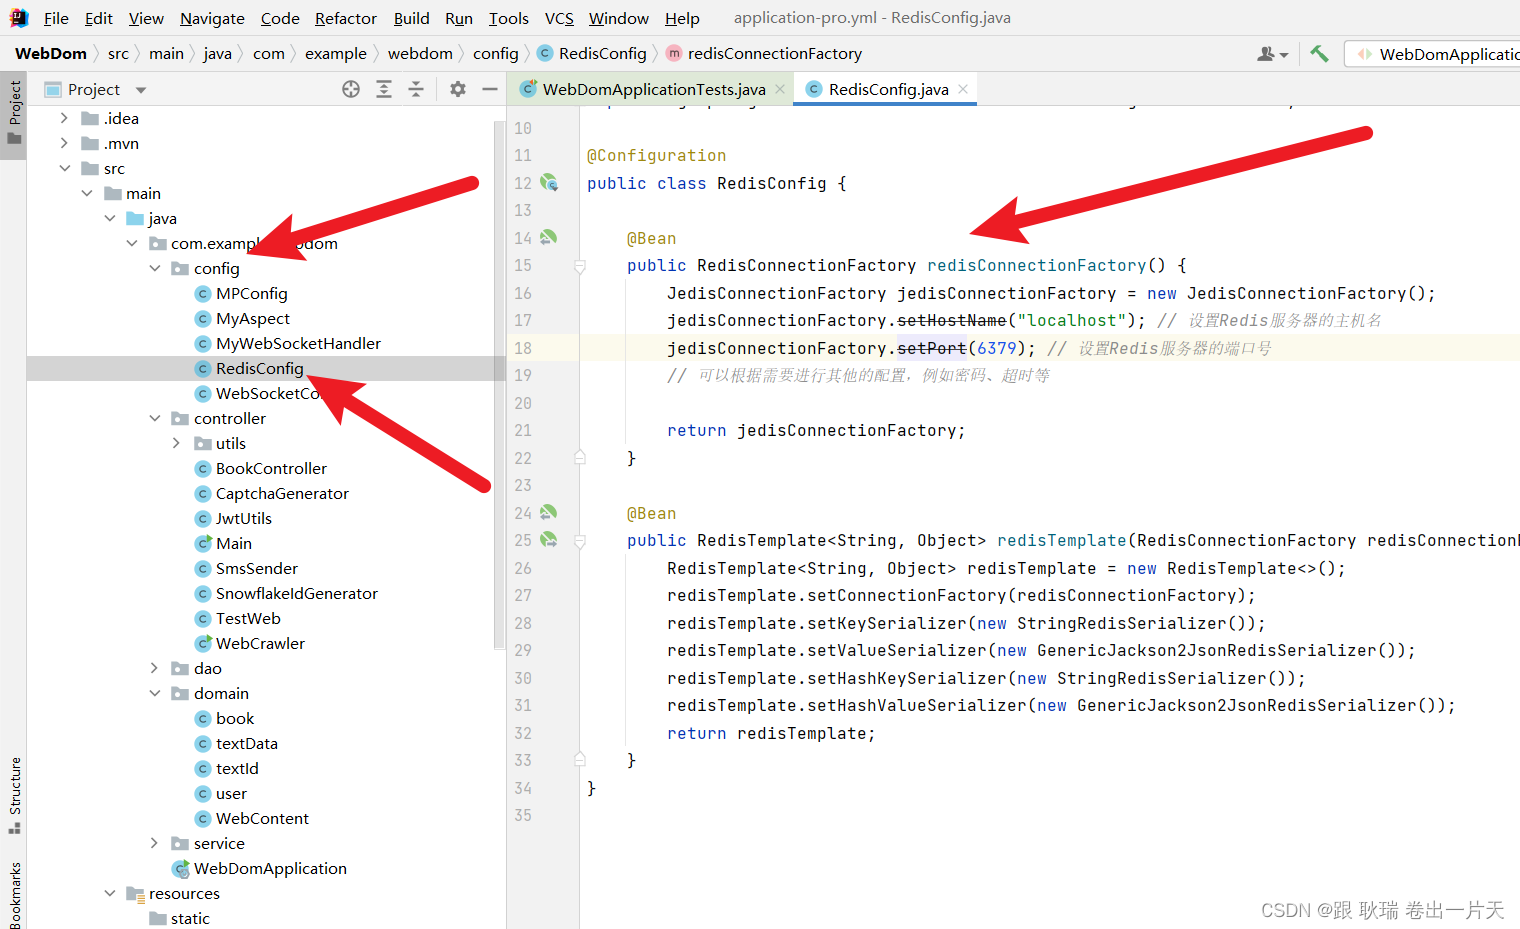
当你打出 RedisTemplate.opsFor 就会弹出很多提示 都是不同的数据类型 你要先告诉他你要操作什么数据类型
例如 Hash 而我们最常用的那种 set get的 就是value
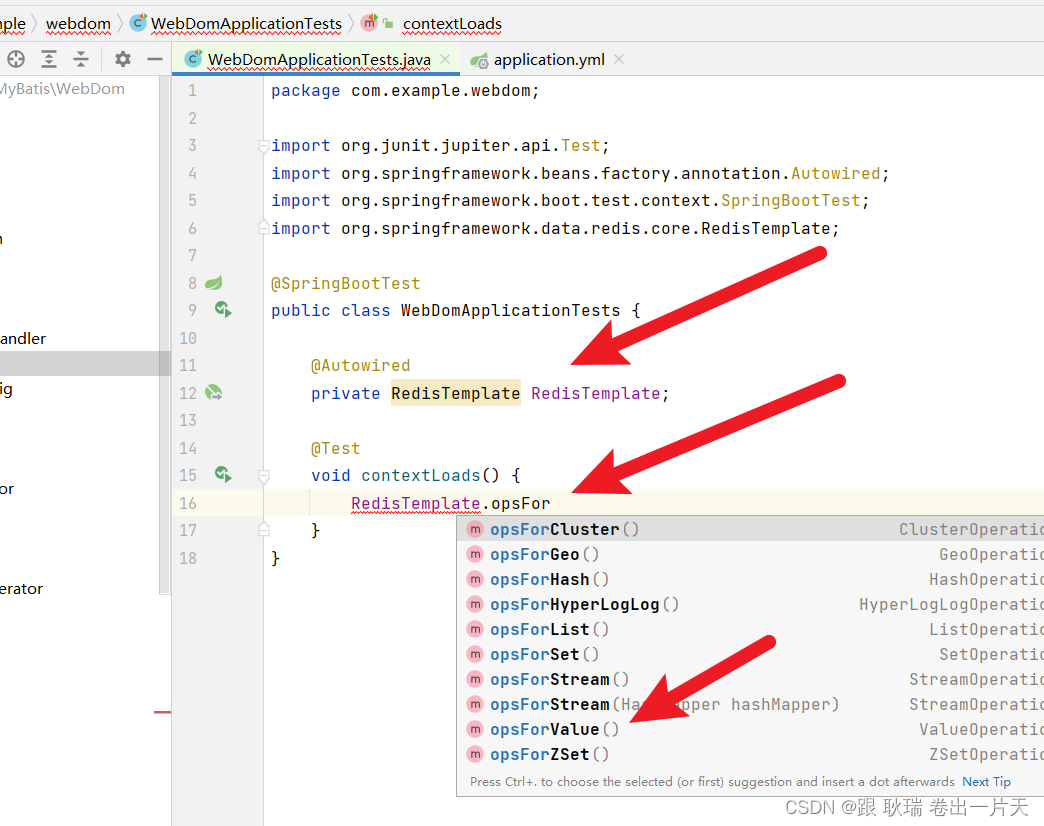
我们这边 编写测试类代码如下
package com.example.webdom;

import org.junit.jupiter.api.Test;
import org.springframework.beans.factory.annotation.Autowired;
import org.springframework.boot.test.context.SpringBootTest;
import org.springframework.data.redis.core.RedisTemplate;
import org.springframework.data.redis.core.ValueOperations;

@SpringBootTest
public class WebDomApplicationTests {

    @Autowired
    private RedisTemplate<String, Object> RedisTemplate;

    @Test
    void set() {
        ValueOperations<String, Object> ops = RedisTemplate.opsForValue();
        ops.set("age",18);
    }
    @Test
    void get() {
        ValueOperations<String, Object> ops = RedisTemplate.opsForValue();
        Object age = ops.get("age");
        System.out.println(age);
    }
}
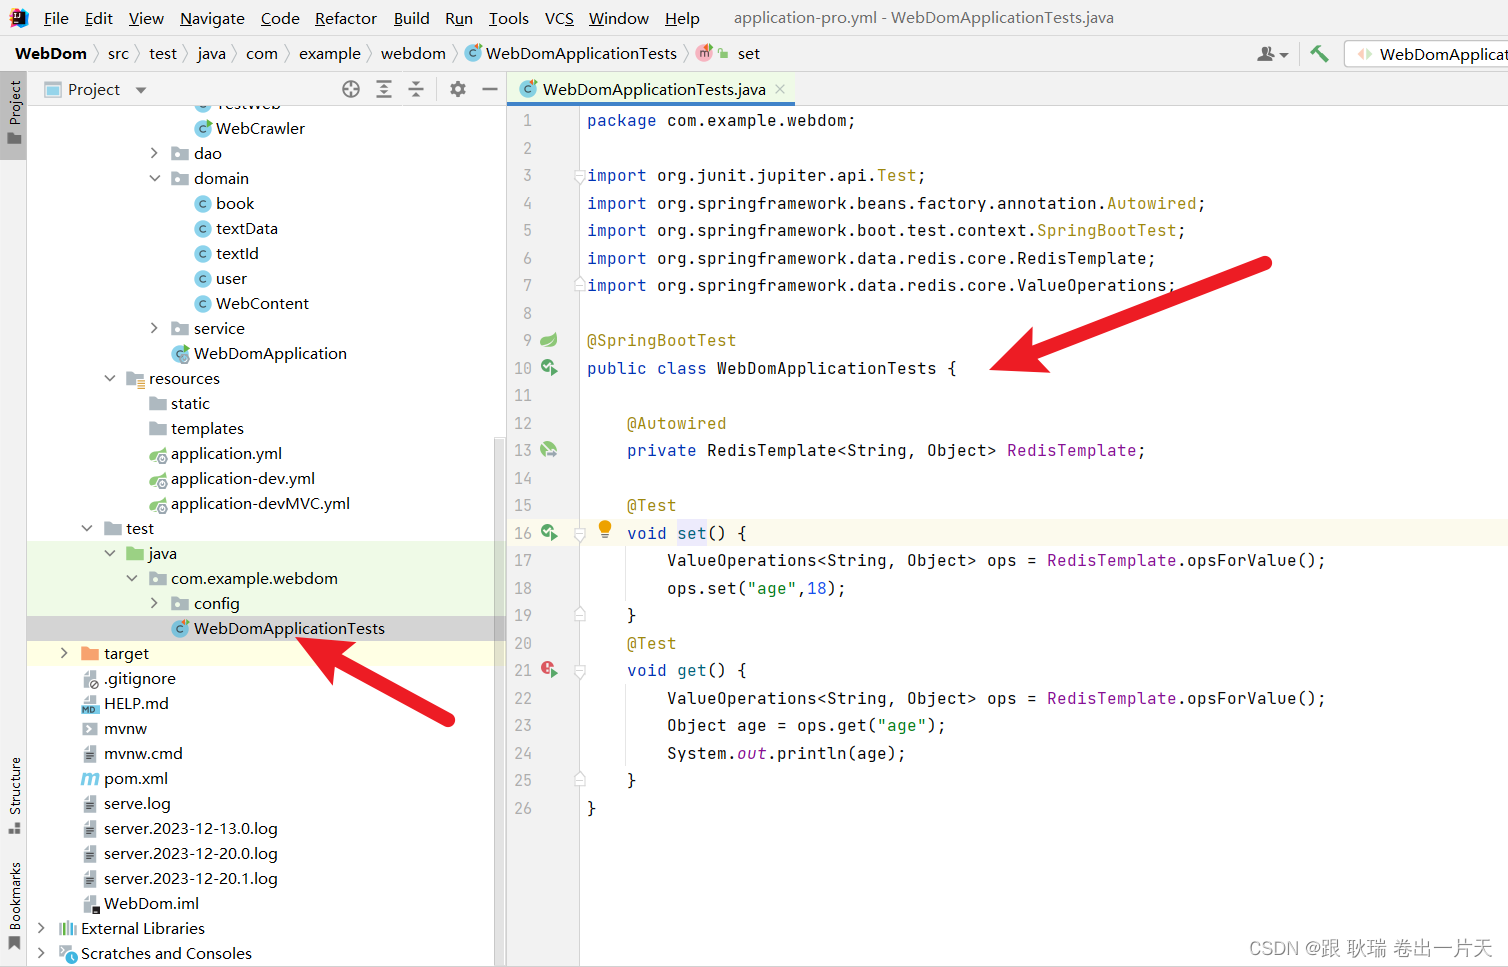
这里 我们先条件装配RedisTemplate 对象
然后 写了两个测试方法 set 获取RedisTemplate.opsForValue()对象
然后调用set 写入一个age字段 值为 18
然后 get 通过get获取age的值
我们先运行set
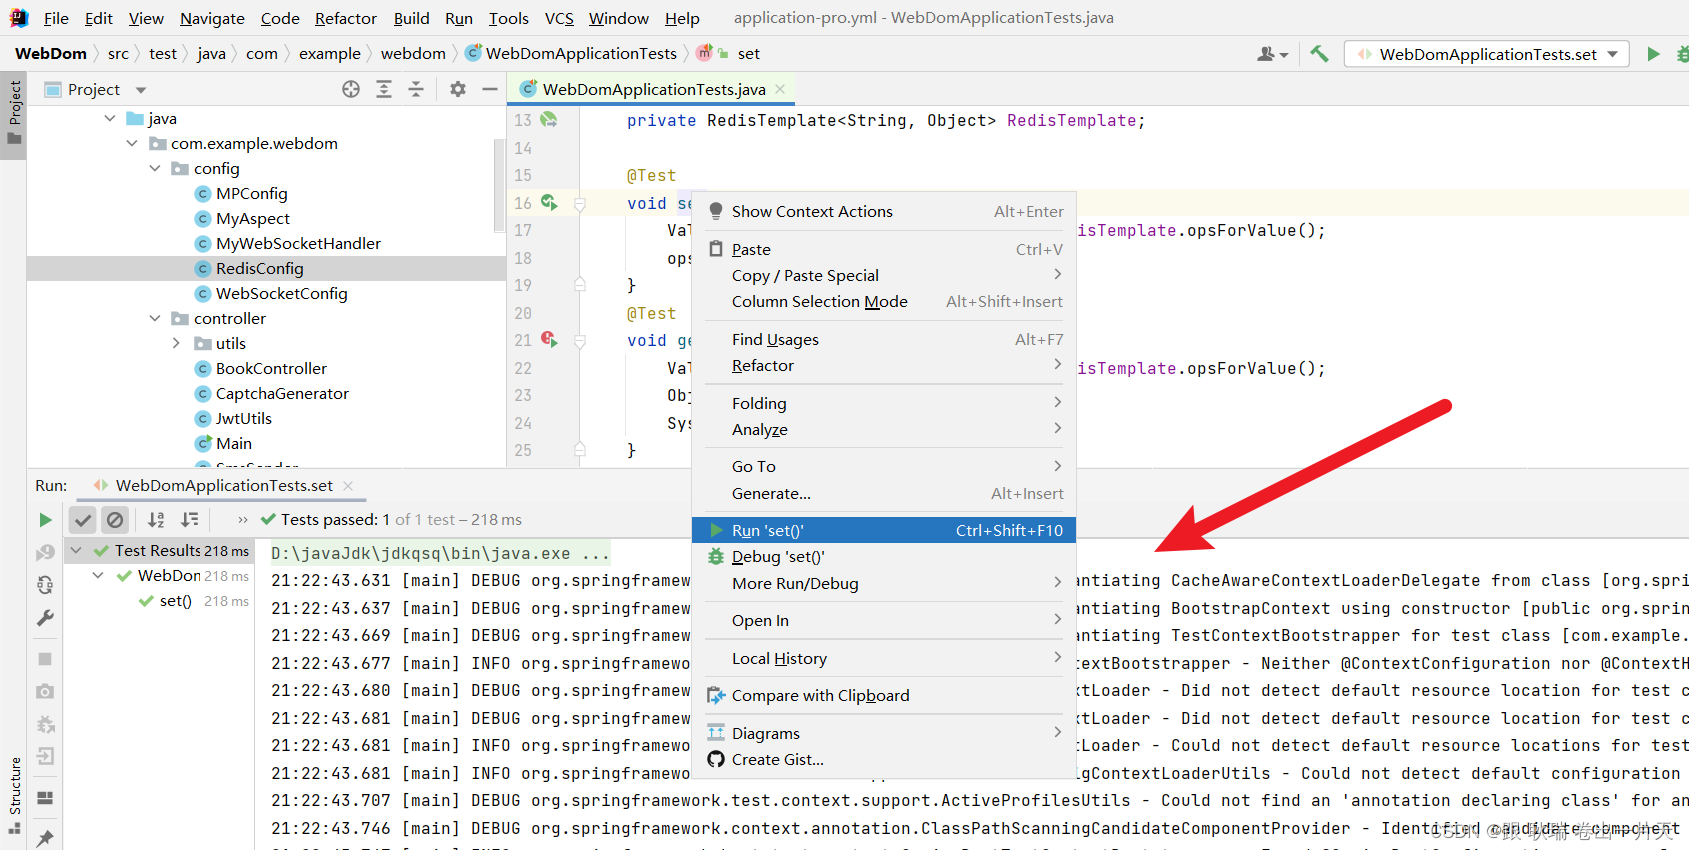
执行反正没有报错 那么 我们具体有没有存进去呢?
没关系 执行get
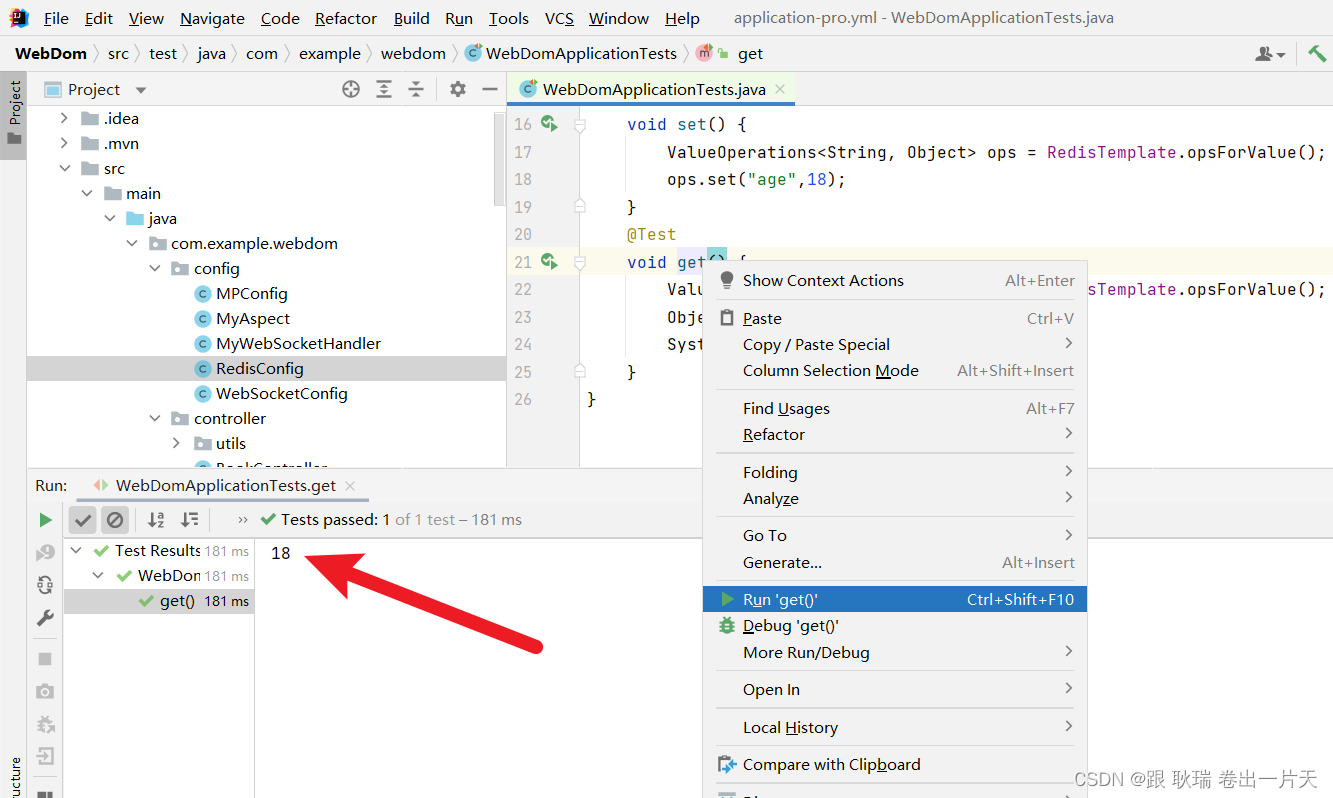
可以看到值也是成功拿到了
然后 我们的哈希可以这样写
参考代码如下
package com.example.webdom;

import org.junit.jupiter.api.Test;
import org.springframework.beans.factory.annotation.Autowired;
import org.springframework.boot.test.context.SpringBootTest;
import org.springframework.data.redis.core.HashOperations;
import org.springframework.data.redis.core.RedisTemplate;

@SpringBootTest
public class WebDomApplicationTests {

    @Autowired
    private RedisTemplate<String, Object> RedisTemplate;

    @Test
    void set() {
        HashOperations ops = RedisTemplate.opsForHash();
        ops.put("data","name","admin");
    }
    @Test
    void get() {
        HashOperations ops = RedisTemplate.opsForHash();
        Object age = ops.get("data","name");
        System.out.println(age);
    }
}
这里 我们set 声明了一个opsForHash对象 然后调用里面的 put函数
之前我们哈希就是 第一个参数是对象名 第二个是字段名 第三个是值
然后 我们get就获取 对象名中的键值 然后得到它的值
我们先运行set
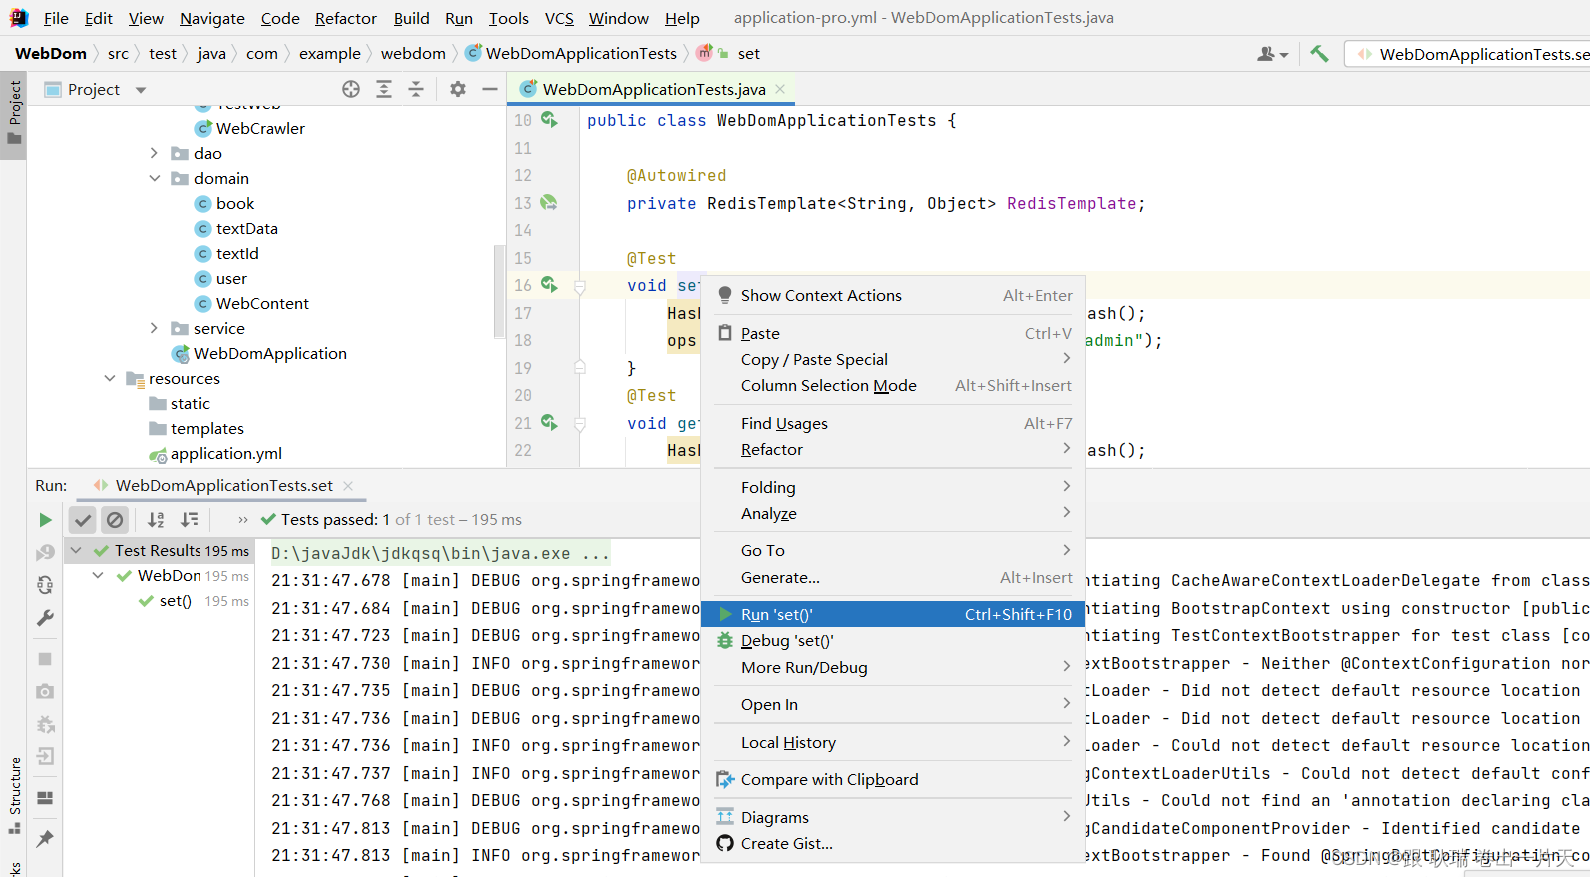
看看有没有装进去 那么 执行get就好了
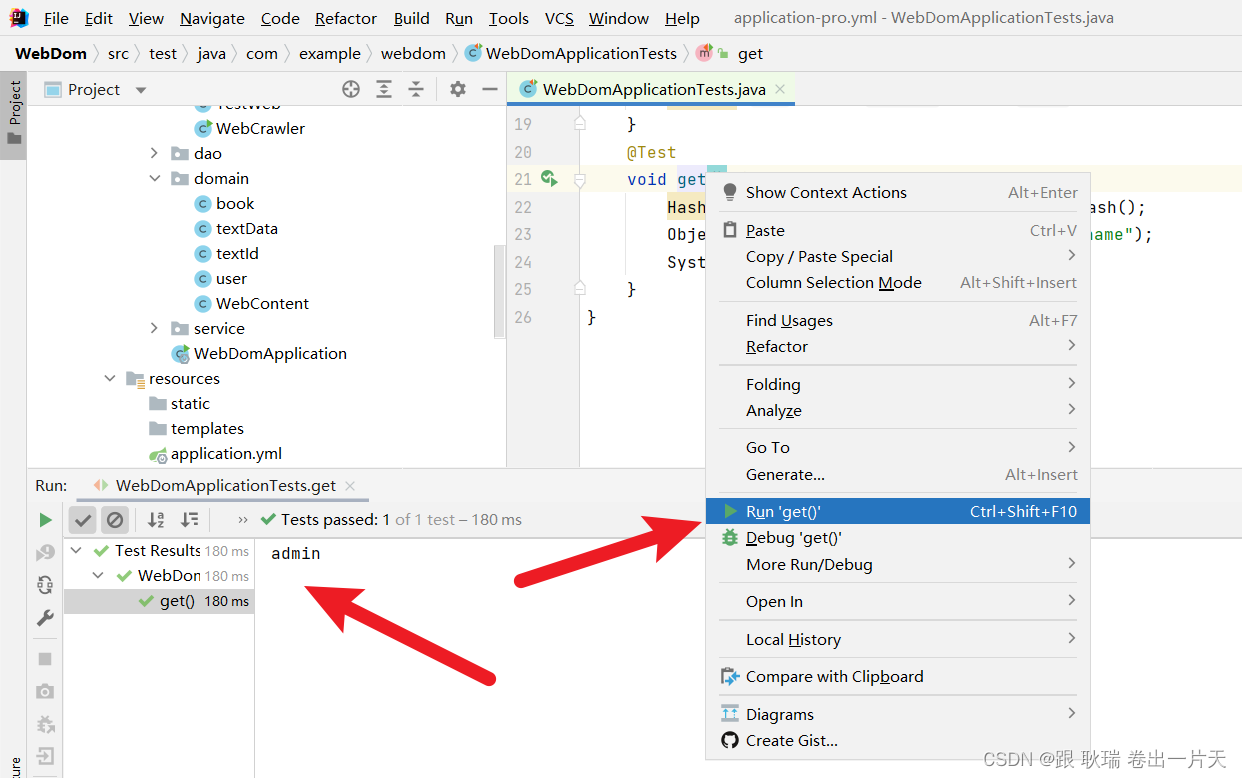
可以看到 name字段也是被正常输出了
本文来自互联网用户投稿,该文观点仅代表作者本人,不代表本站立场。本站仅提供信息存储空间服务,不拥有所有权,不承担相关法律责任。 如若内容造成侵权/违法违规/事实不符,请联系我的编程经验分享网邮箱:chenni525@qq.com进行投诉反馈,一经查实,立即删除!
- Python教程
- 深入理解 MySQL 中的 HAVING 关键字和聚合函数
- Qt之QChar编码(1)
- MyBatis入门基础篇
- 用Python脚本实现FFmpeg批量转换
- SpringBoot自动装配机制(源码)
- 国家信息安全水平等级考试NISP二级题目卷④(包含答案)
- 【Spring Security】AuthenticationFailureHandler 用户认证失败后处理
- 《PCI Express体系结构导读》随记 —— 第I篇 第2章 PCI总线的桥与配置(5)
- 全志R128使用SPI驱动ST7789V1.47寸LCD
- 【云原生之Docker实战】使用Docker部署WBO在线协作白板
- JAVA:深入探讨Java 8 Stream的强大功能与用法
- 代码随想录打卡第二天| 977.有序数组的平方 209.长度最小的子数组 59.螺旋矩阵Ⅱ
- Google机器人团队获ICRA 2023 机器人学习方向最佳论文奖:机器人实体控制的大语言模型程序
- 初探 Reactor、Proactor 线程模型与 BIO、AIO、NIO