AS7343 多光谱传感器 在树莓派上的使用
发布时间:2024年01月03日
使用Python在树莓派上操作AS7343数字光谱传感器
在嵌入式系统和物联网应用中,光谱传感器在监测环境光照、颜色测量和光谱分析等方面发挥着重要作用。本文将介绍如何使用Python在树莓派上操作AMS AG公司的AS7343数字光谱传感器,并实现一些基本功能。
AS7343概述
AS7343是AMS AG公司生产的数字光谱传感器,专为检测可见光谱范围内的光线而设计。它通过I2C接口与树莓派或其他嵌入式系统连接,提供高分辨率的光谱数据。
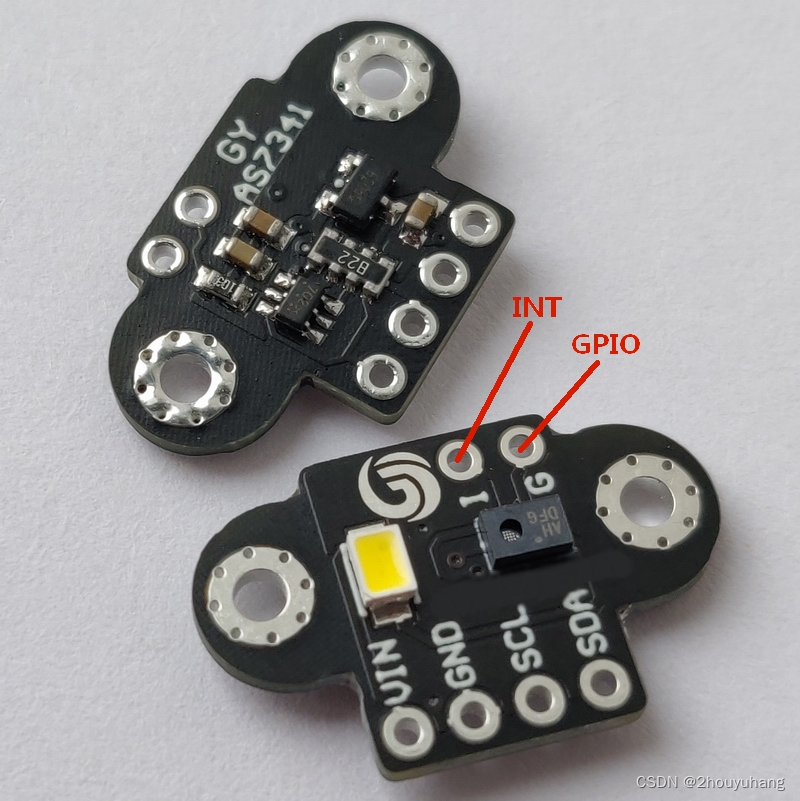
本次从淘宝购买了GYAS7343,用于检测各通道光线强度。
Python代码实现
我们使用Python编写了一个AS7343类,通过该类可以轻松地控制AS7343传感器并获取光谱数据。以下是该类的主要功能:
- reset: 复位传感器。
- power_on/power_off: 打开/关闭传感器电源。
- get_id_info: 获取传感器ID、辅助ID和修订版本。
- set_reg_blank: 设置传感器寄存器的访问位置。
	# Register Bank Access
    # 0: Register access to register 0x80 and above
    # 1: Register access to register 0x20 to 0x7F
    # Note: Bit needs to be set to access registers 0x20 to 0x7F. If registers 0x80 and above needs to be accessed bit needs to be set to “0”.
- set_adc_gain: 设置ADC增益。
    # value from 0~12, gain from 0.5x~2048x
    # VALUE GAIN
    # 0 0.5x
    # 1 1x
    # 2 2x
    # 3 4x
    # 4 8x
    # 5 16x
    # 6 32x
    # 7 64x
    # 8 128x
    # 9 256x
    # 10 512x
    # 11 1024x
    # 12 2048x
- channel_select: 选择测量通道。
    # mode 6,12,18
    # Cycle 1: FZ, FY, FXL, NIR, 2xVIS, FD
    # Cycle 2: F2, F3, F4, F6, 2xVIS, FD
    # Cycle 3: F1, F7, F8, F5, 2xVIS, FD
    # Note: the bit “auto_smux” should only be changed before a measurement is started.
    # Once a measurement is started the device is automatically processing the channels as per
    # definition above and storing the measurement results in the eighteen data registers.
    # 2xVIS: per default the “Top Left” and “Bot Right” VIS/CLEAR PD is read-out.
- set_wait_time: 设置等待时间。
    # 8-bit value to specify the delay between two consecutive spectral measurements.
    # Value Wait Cycles Wait Time
    # 0x00   1            2.78 m
    # 0x01   2            5.56 ms
    # n      n         2.78 ms x (n+1)
    # 0xff  256           711 ms
- set_integration_time: 设置积分时间。
    # Equation 1: Setting the integration time
    # 𝑡𝑖𝑛𝑡 = (𝐴𝑇𝐼𝑀𝐸 + 1) × (𝐴𝑆𝑇𝐸𝑃 + 1) × 2.78 μ𝑠
    # It is not allowed that both settings –ATIME and ASTEP – are set to “0”.
    # The integration time also defines the full-scale ADC value, which is equal to:
    # Equation 2: ADC full scale value1
    # 𝐴𝐷𝐶𝑓𝑢𝑙𝑙𝑠𝑐𝑎𝑙𝑒 = (𝐴𝑇𝐼𝑀𝐸 + 1) × (𝐴𝑆𝑇𝐸𝑃 + 1)
- enable_spectral_measurement: 启用光谱测量。
- enable_flicker_detection: 启用闪烁检测。
- led_control: 控制传感器LED。
- read_spectral_counts: 读取光谱计数。
- sp_fifo_map_set/fd_fifo_map_set: 配置FIFO映射。
    # If set, CH5 data is written to the FIFO Buffer. (two bytes per sample)
    # Note: If flicker detection is enabled, this bit is ignored. Refer to register 0xD7 for FDEN=”1”.
    # If set flicker raw data is written into FIFO (one byteper sample)
    # Note: This bit is ignored if flicker detection is disabled. Refer to register 0xFC for FDEN=”0”.
- init_as7343: 初始化传感器设置。
- read_data: 读取传感器数据。
- get_data: 获取处理后的光谱数据。
- data_process: 对光谱数据进行处理。
初始化AS7343传感器
在实际应用中,我们首先创建AS7343类的实例,并调用init_as7343方法进行传感器的初始化设置。例如,以下是一个初始化6个通道的例子:
cycle_num = 6
as7343_instance = AS7343()
as7343_instance.init_as7343(cycle_num)
获取和处理光谱数据
接下来,我们调用data_process方法获取并处理光谱数据。该方法返回光谱数据的键、值、以及按波长排序的字典。
keys, values, sorted_dict = as7343_instance.data_process()

总结
通过使用Python和AS7343类,我们能够在树莓派上方便地操作AS7343数字光谱传感器,并获取、处理光谱数据。这为在嵌入式系统中进行环境光测量和光谱分析提供了一个简单而强大的工具。希望这篇文章对使用AS7343传感器的初学者提供了一个有用的入门指南。
Github代码下载 ,欢迎使用给star
arduino CSDN代码下载
文章来源:https://blog.csdn.net/cahgzt/article/details/135330146
本文来自互联网用户投稿,该文观点仅代表作者本人,不代表本站立场。本站仅提供信息存储空间服务,不拥有所有权,不承担相关法律责任。 如若内容造成侵权/违法违规/事实不符,请联系我的编程经验分享网邮箱:chenni525@qq.com进行投诉反馈,一经查实,立即删除!
本文来自互联网用户投稿,该文观点仅代表作者本人,不代表本站立场。本站仅提供信息存储空间服务,不拥有所有权,不承担相关法律责任。 如若内容造成侵权/违法违规/事实不符,请联系我的编程经验分享网邮箱:chenni525@qq.com进行投诉反馈,一经查实,立即删除!