VMware 安装 CentOS7
发布时间:2024年01月19日
目录
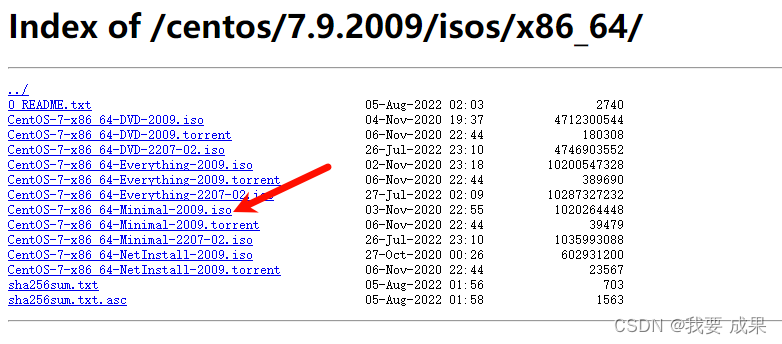
镜像下载
镜像下载地址:https://mirrors.ustc.edu.cn/centos/7.9.2009/isos/x86_64/
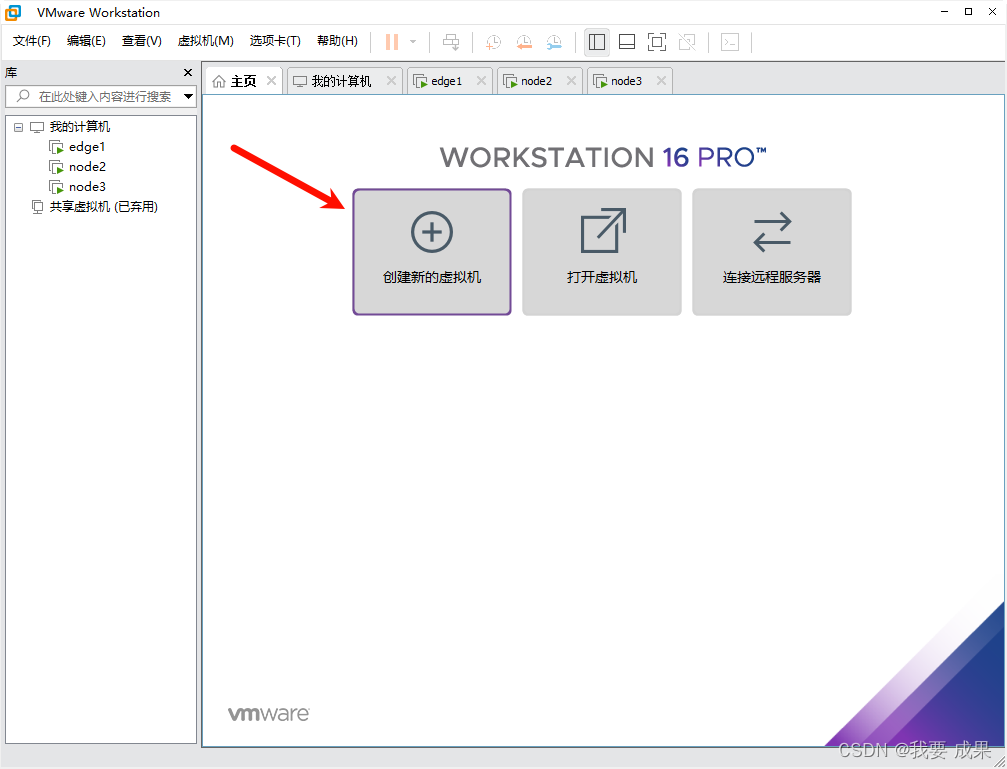
VMware创建
创建新的虚拟机
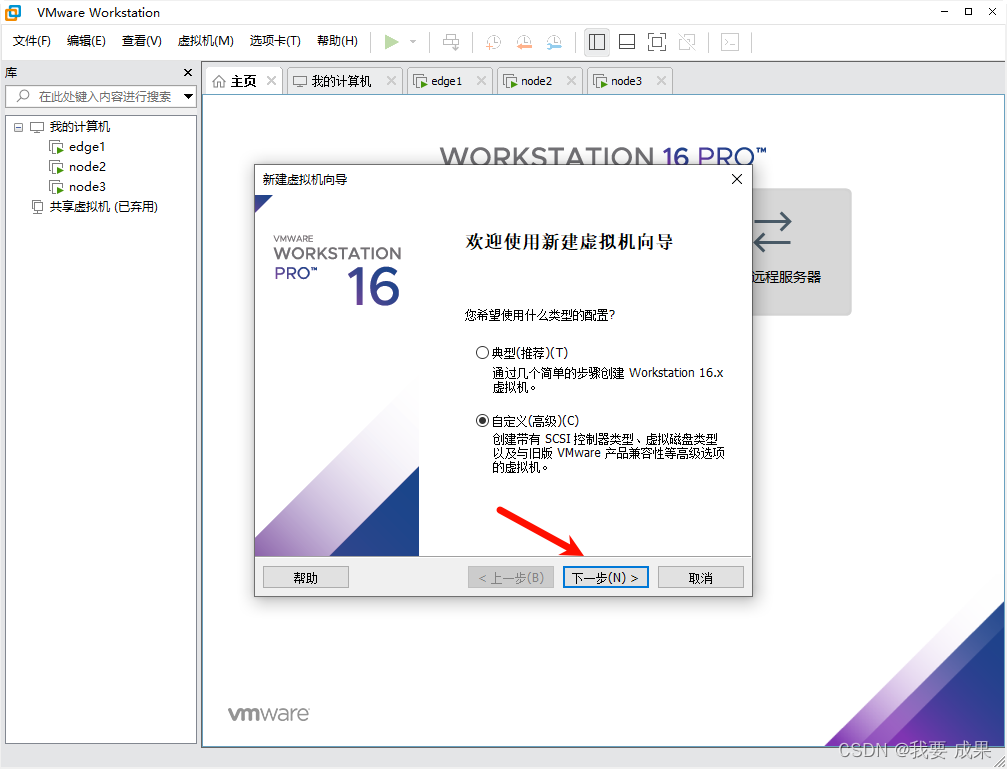
直接自定义了
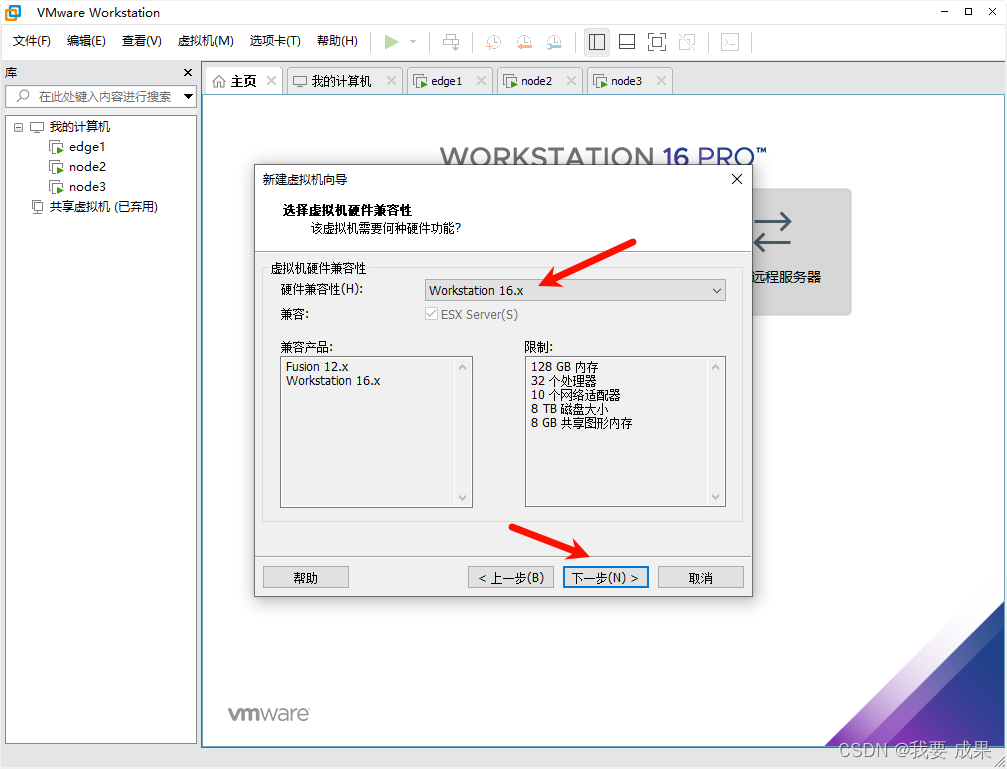
直接下一步
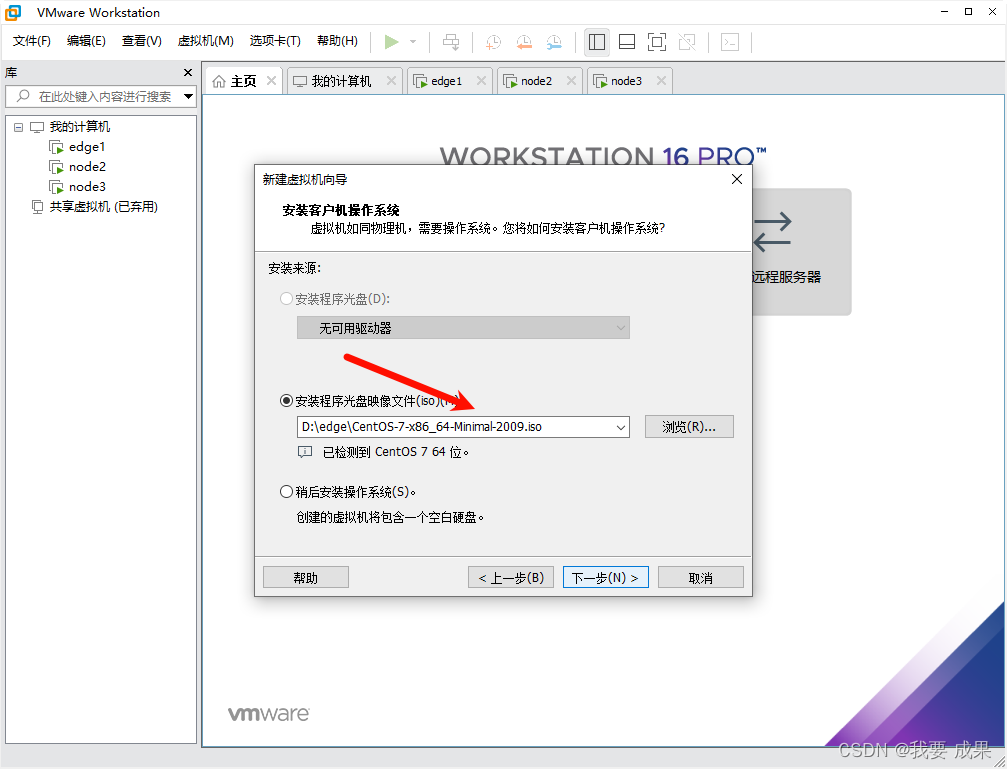
选择镜像所在位置
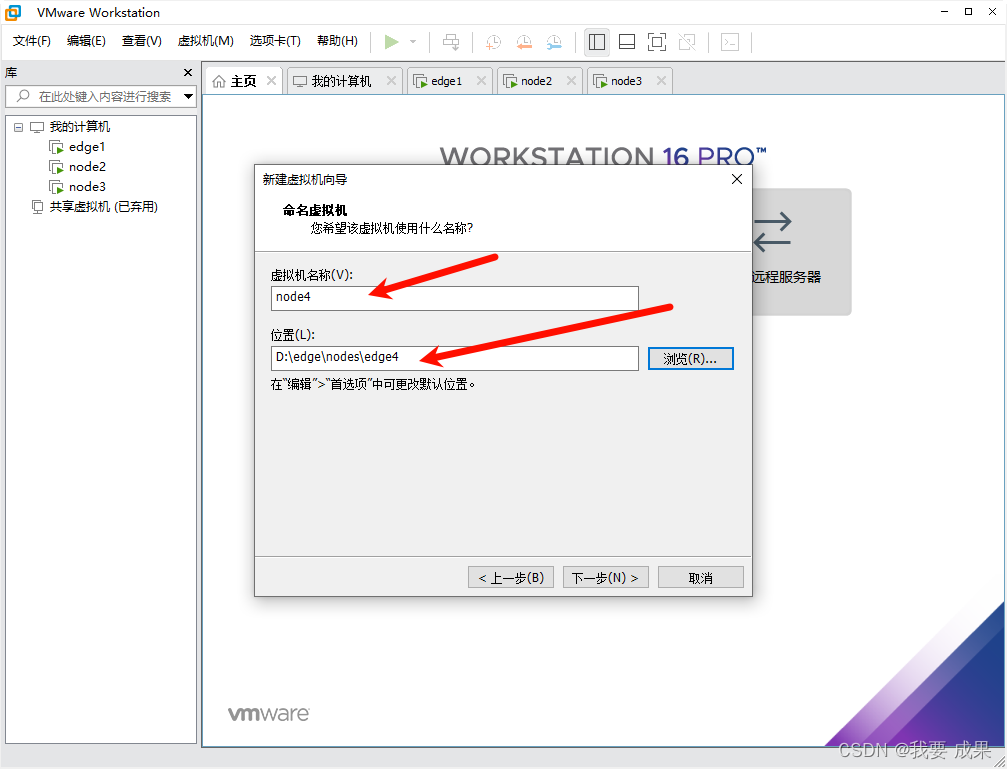
更改虚拟机的名称和存储位置(尽量不要使用默认位置)
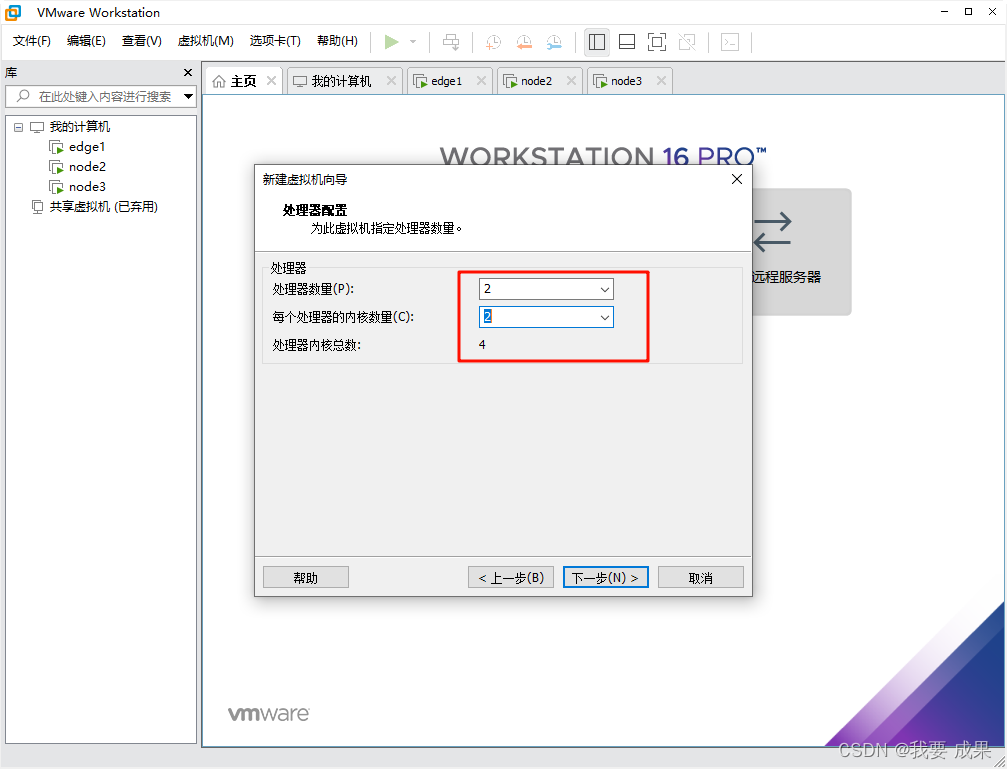
设置虚拟机的配置(根据自己的情况而定)
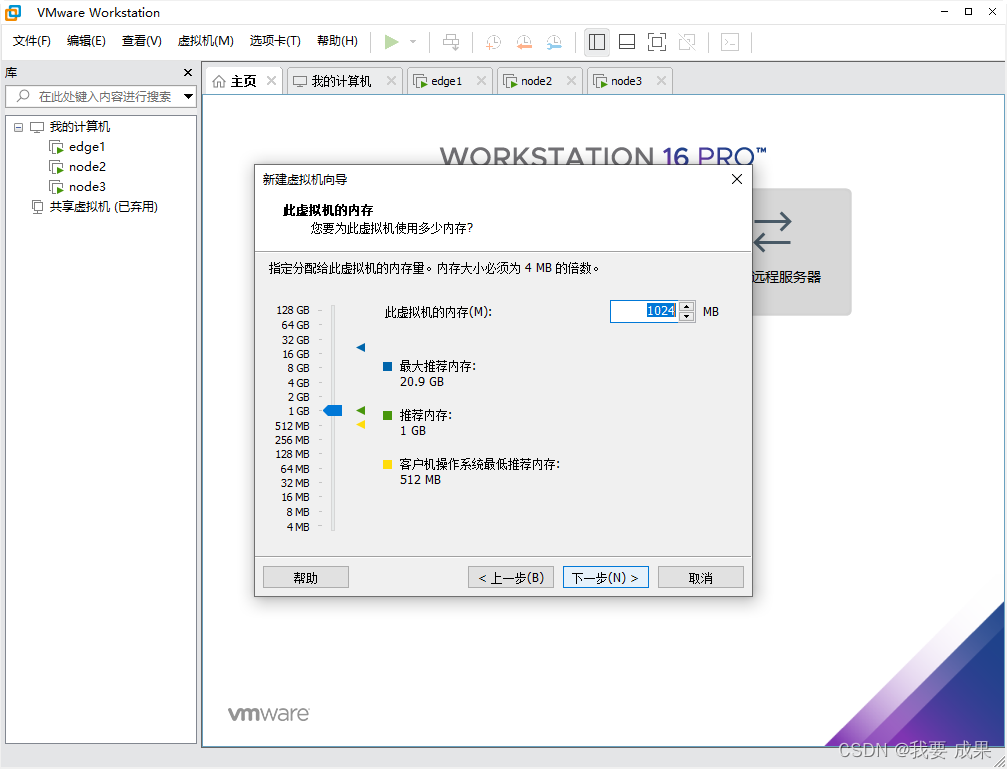
设置虚拟机的内存(根据自己情况而定)
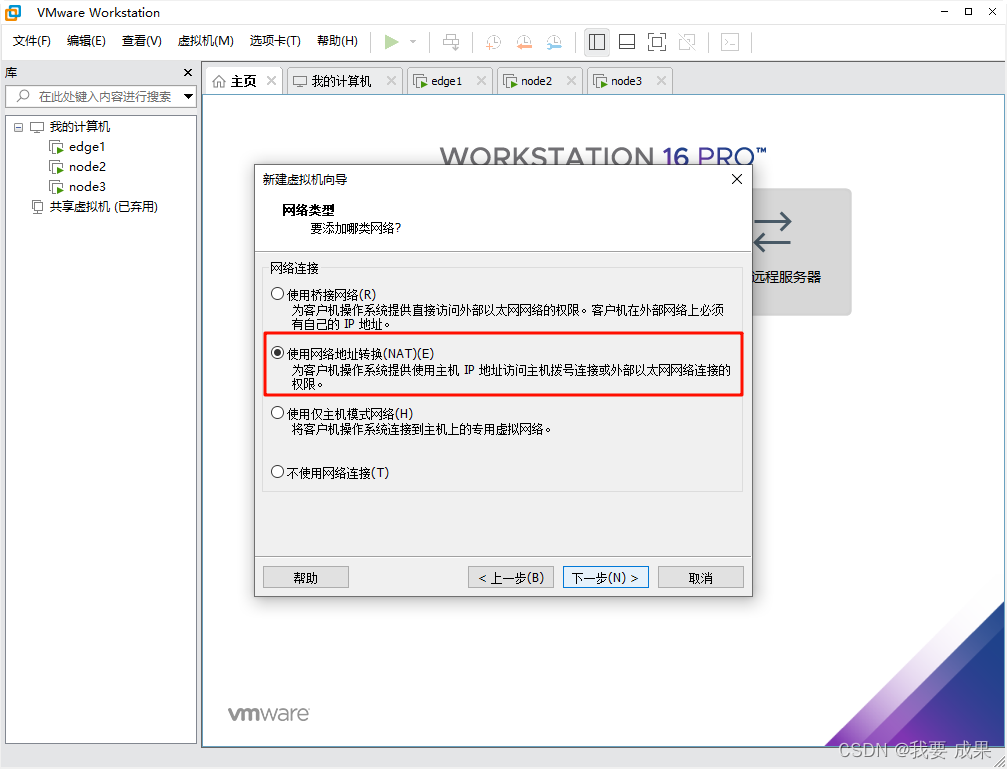
设置网络类型(使用NAT,默认即可)
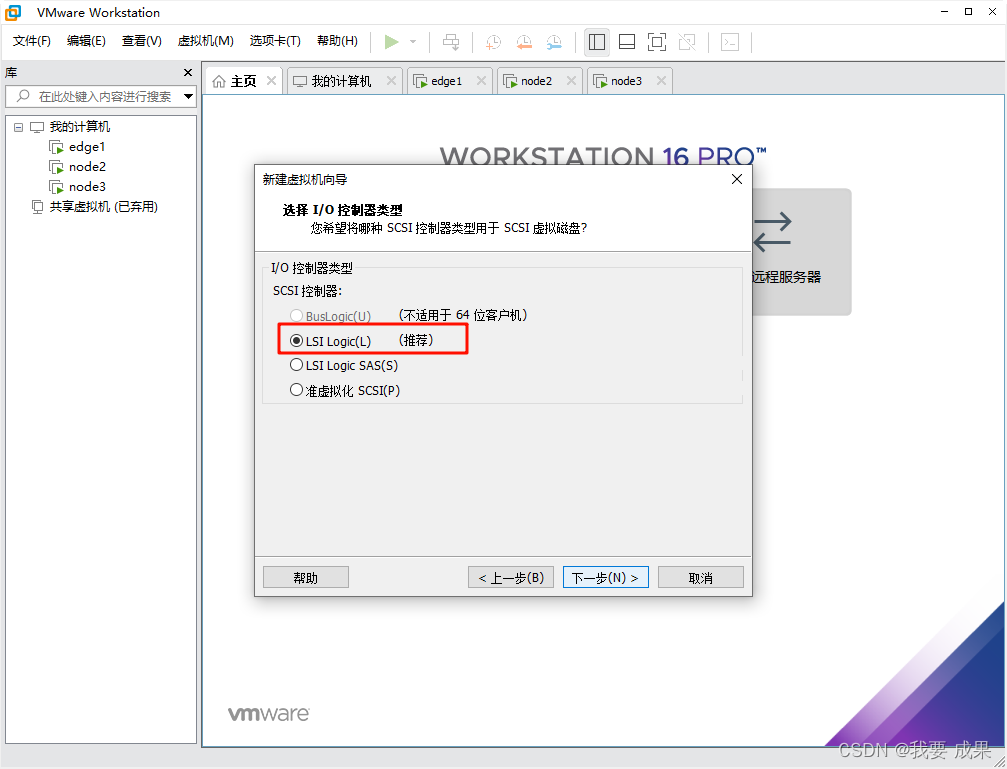
I/O控制器类型(默认)
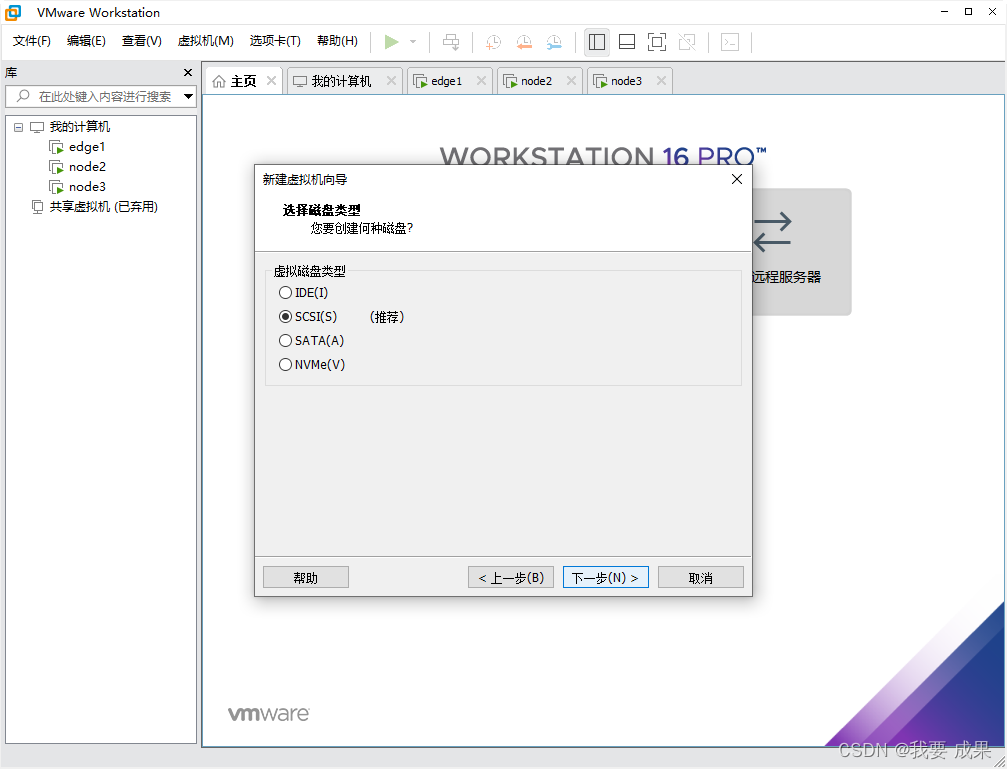
虚拟磁盘类型(默认)
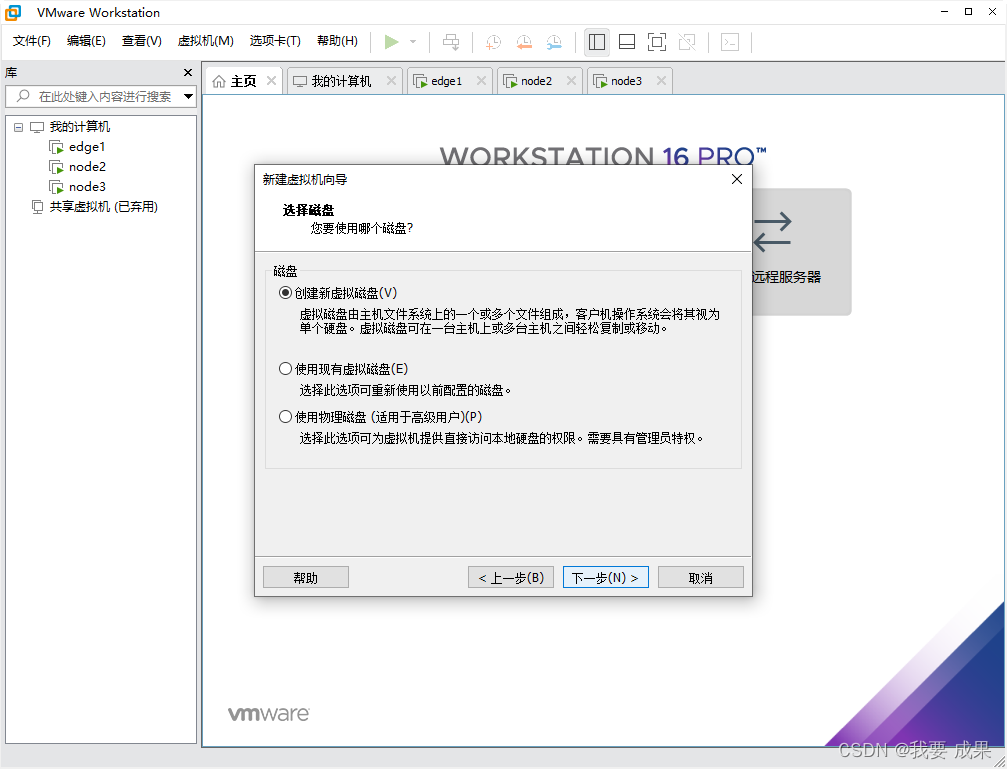
选择磁盘(默认)
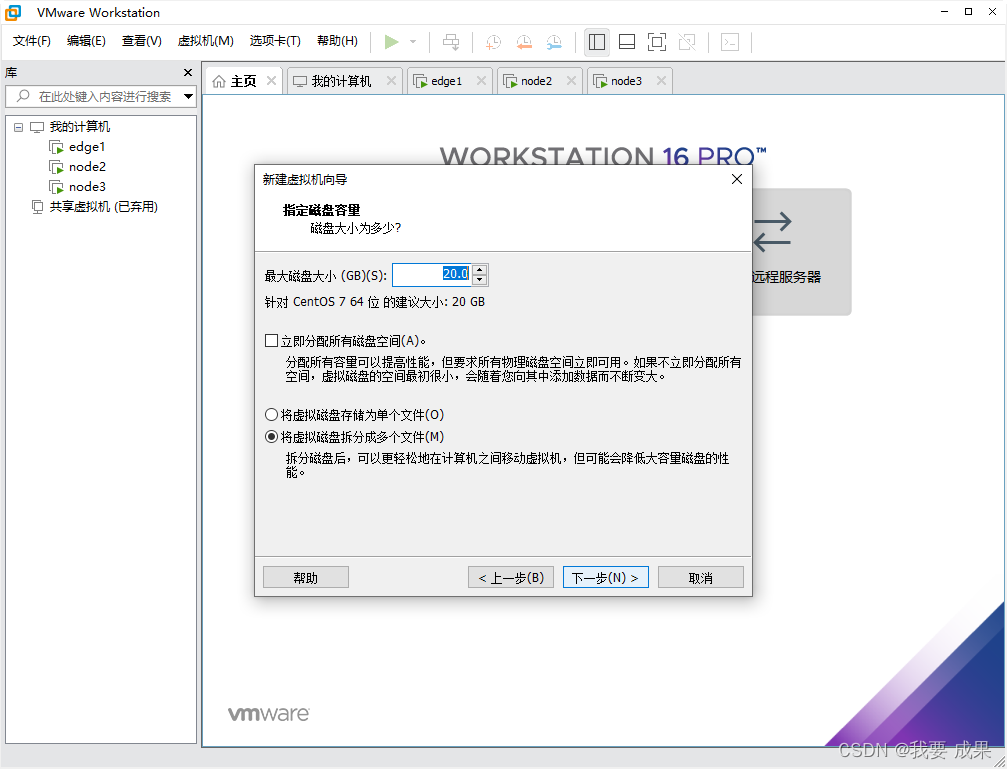
指定磁盘容量(根据自己的需求)
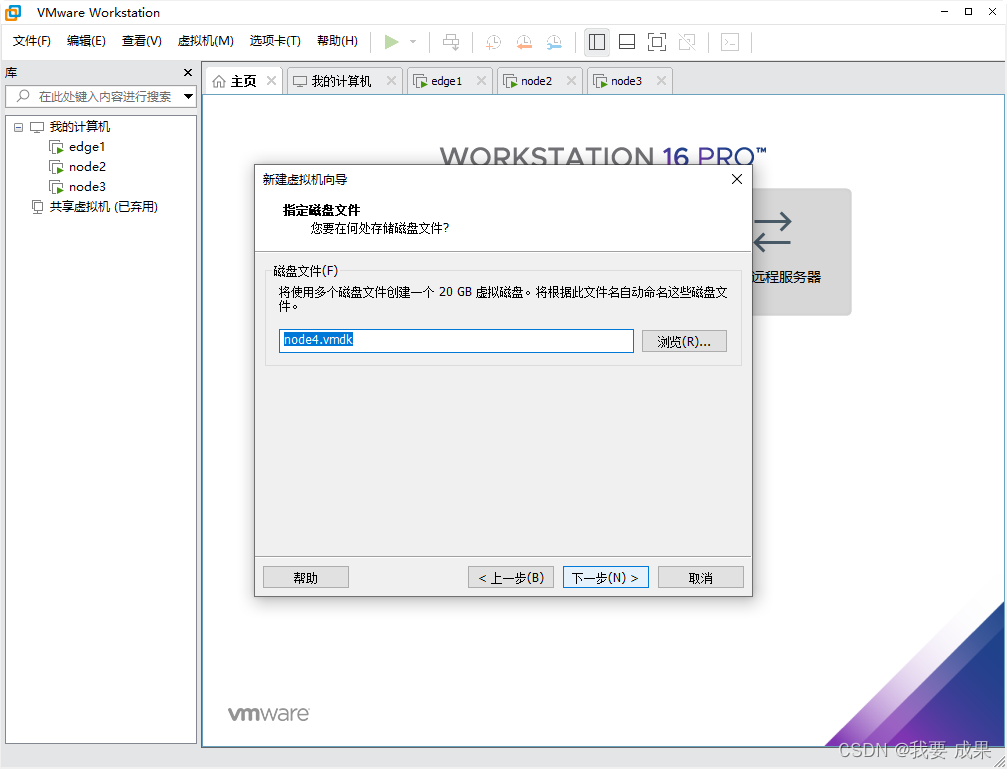
选择存储位置
点击完成,进行安装

镜像安装
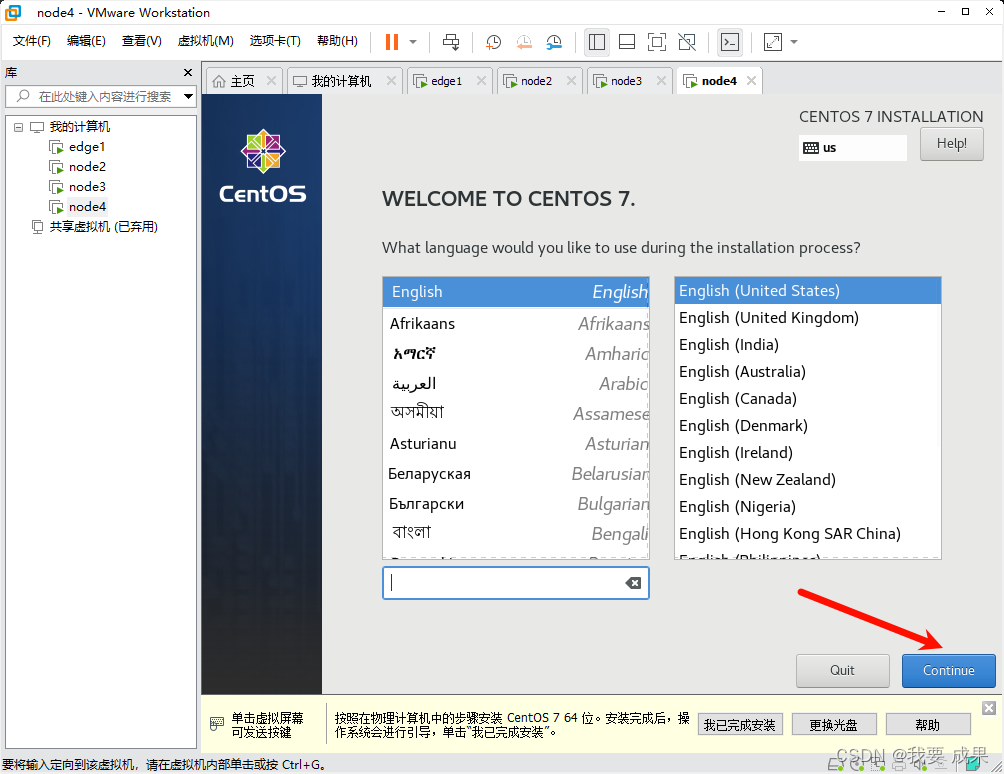
进入安装页面,确认安装。使用English即可。
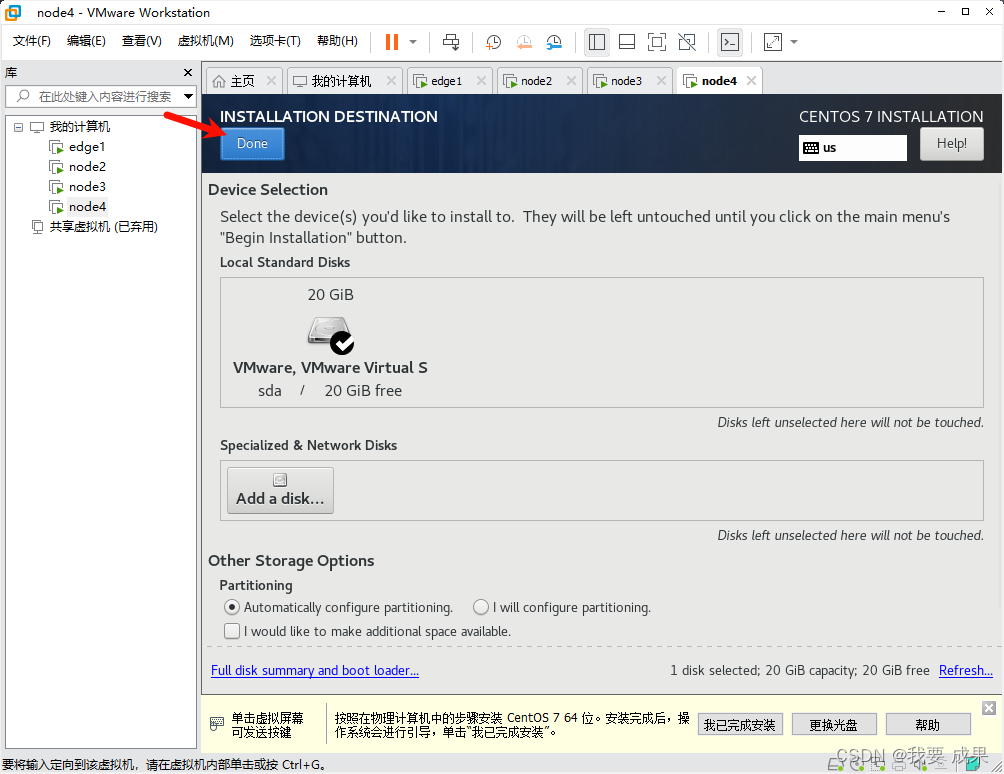
进行磁盘设置
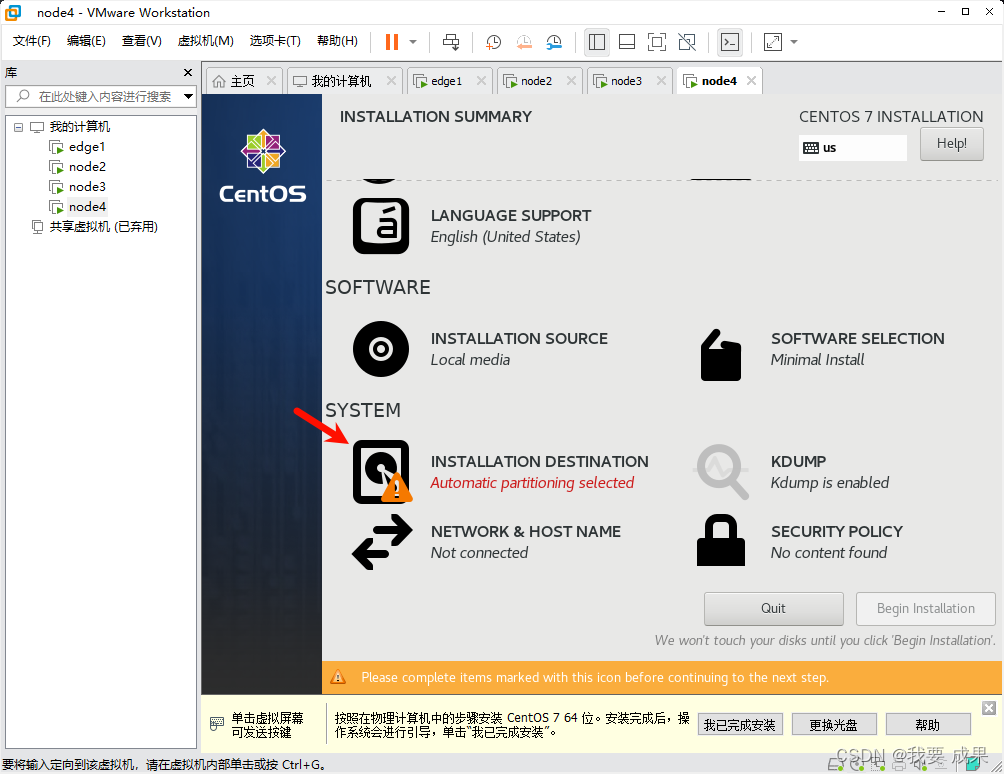
直接Done
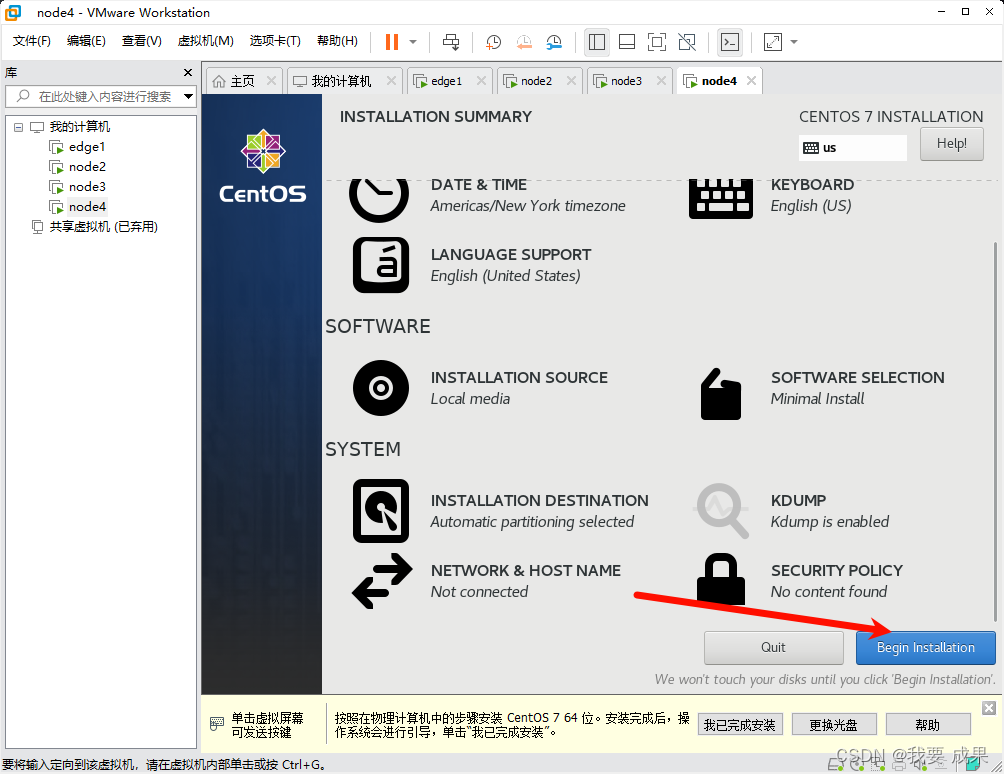
开始安装
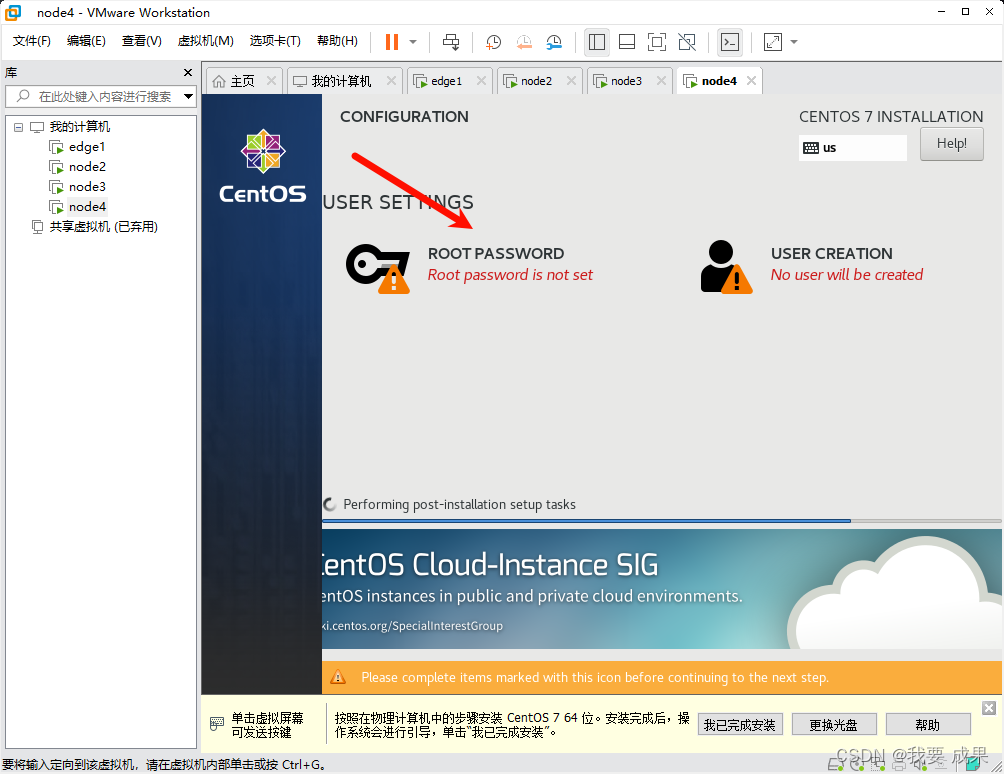
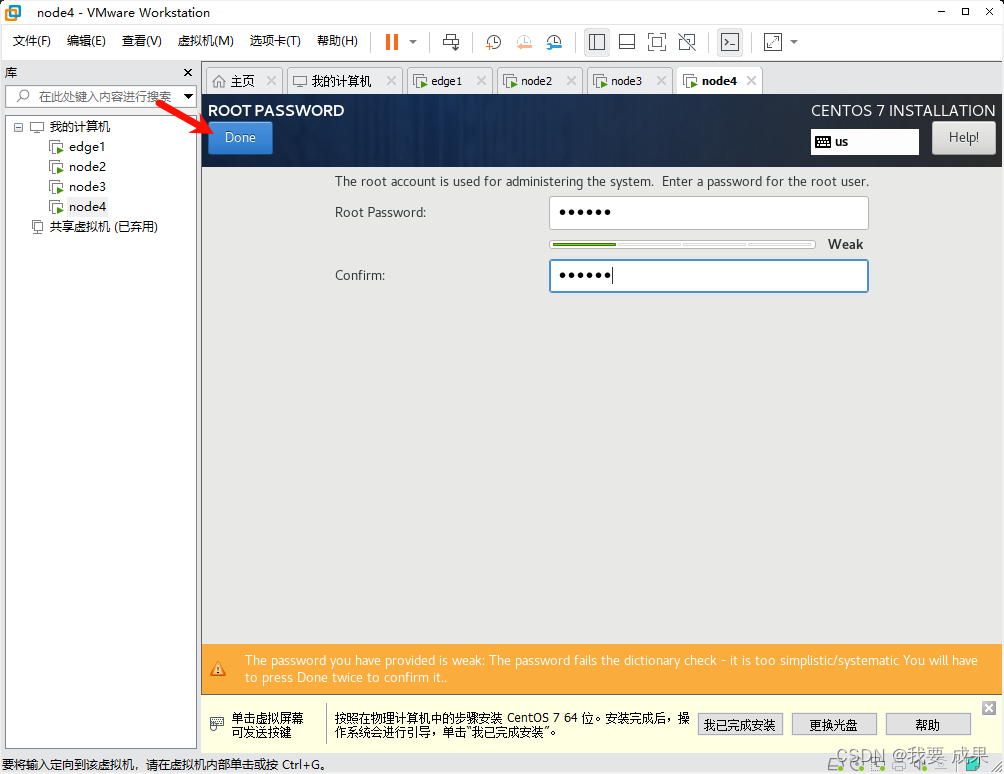
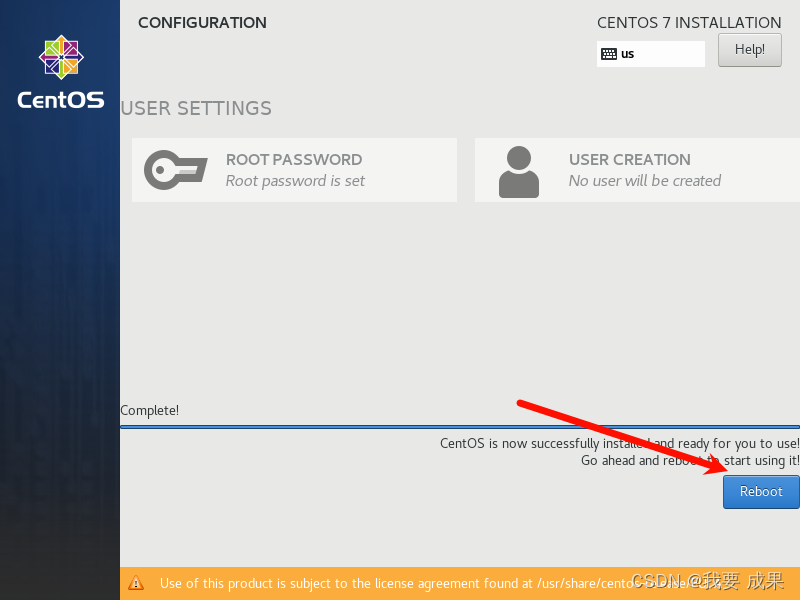
设置密码
直接Done
Reboot:重启即可安装成功
用户名如果没有配置就是root,密码就是开始自己配置的。
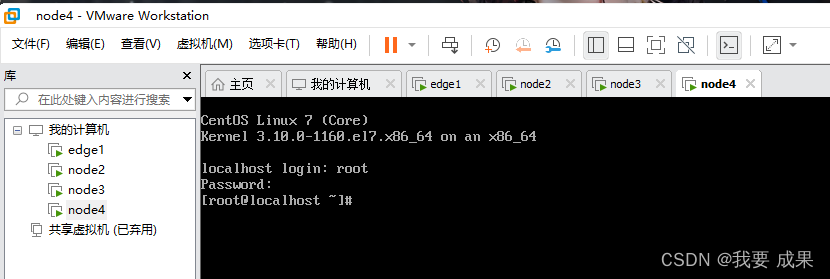
刚安装不能联网
文章来源:https://blog.csdn.net/m0_49683806/article/details/135694722
本文来自互联网用户投稿,该文观点仅代表作者本人,不代表本站立场。本站仅提供信息存储空间服务,不拥有所有权,不承担相关法律责任。 如若内容造成侵权/违法违规/事实不符,请联系我的编程经验分享网邮箱:chenni525@qq.com进行投诉反馈,一经查实,立即删除!
本文来自互联网用户投稿,该文观点仅代表作者本人,不代表本站立场。本站仅提供信息存储空间服务,不拥有所有权,不承担相关法律责任。 如若内容造成侵权/违法违规/事实不符,请联系我的编程经验分享网邮箱:chenni525@qq.com进行投诉反馈,一经查实,立即删除!
最新文章
- Python教程
- 深入理解 MySQL 中的 HAVING 关键字和聚合函数
- Qt之QChar编码(1)
- MyBatis入门基础篇
- 用Python脚本实现FFmpeg批量转换
- 03.jsp复习错题
- 【论文阅读笔记】Sam3d: Segment anything model in volumetric medical images[
- MySQL与Oracle数据库在网络安全等级方面用到的命令
- Unity中Shader语义的理解
- 陷入肥胖怪圈的年轻人,需要认清这几个事实
- camera曝光时间
- LCR 155. 将二叉搜索树转化为排序的双向链表
- LeetCode(69)对称二叉树【二叉树】【简单】
- 卡尔曼滤波基本原理详解
- C语言操作符相关练习题