windows配置防火墙
发布时间:2024年01月23日
1、打开控制面板---选择防火墙

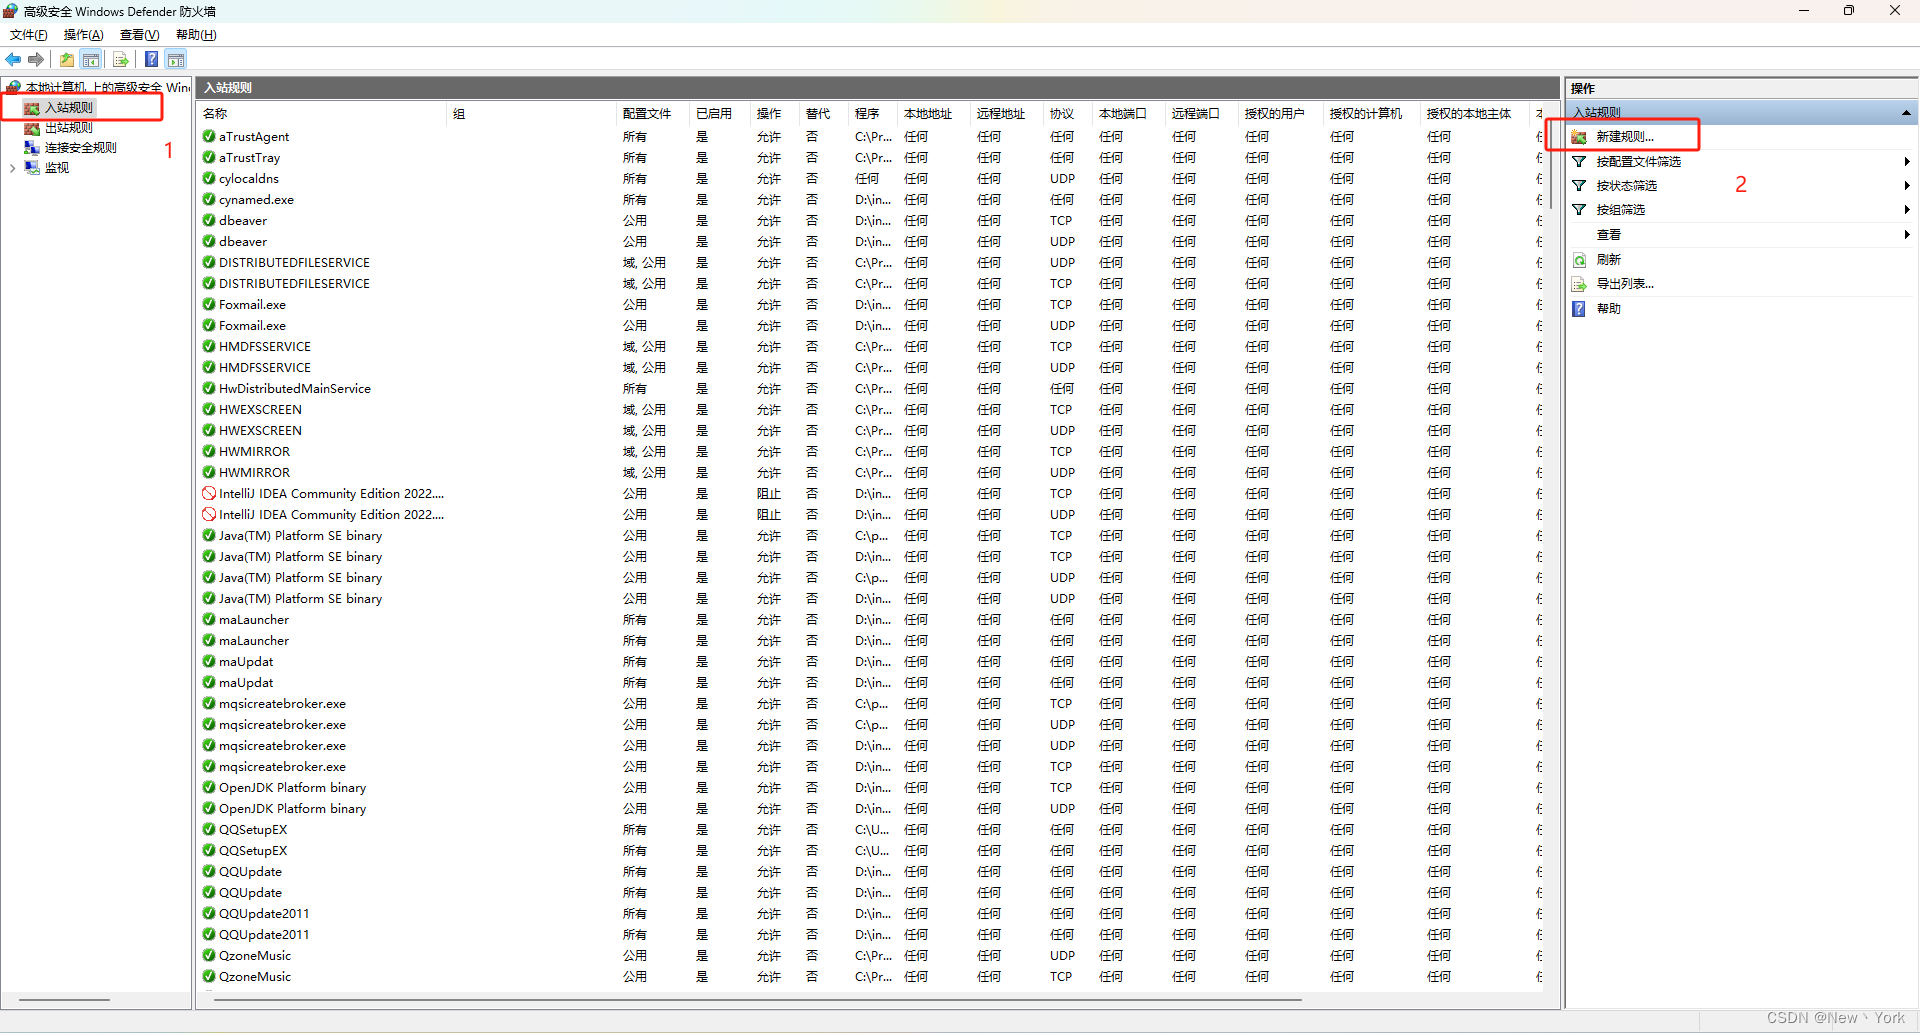
2、点击高级设置

3、选择入站规则---新建规则
4、选择自定义
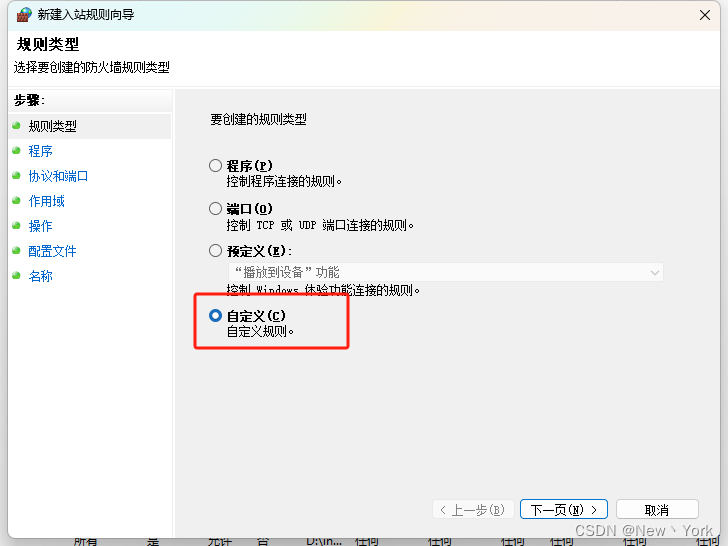
5、默认 下一页

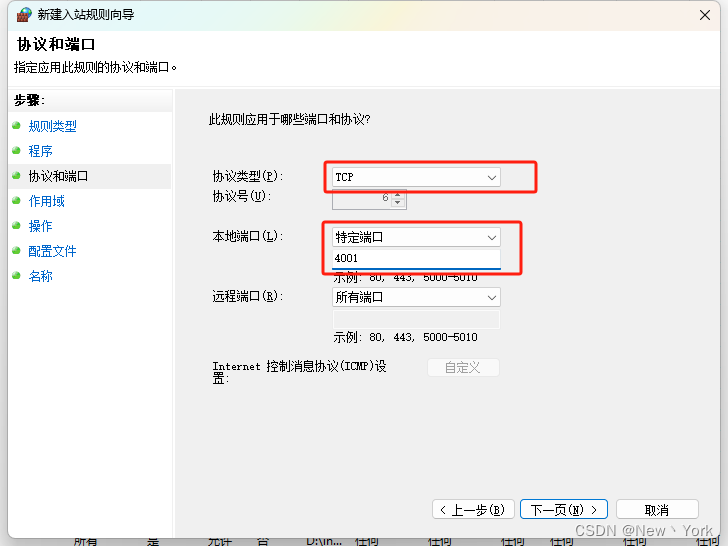
6、选择TCP协议类型---本地端口的特定端口(填上4001端口号)
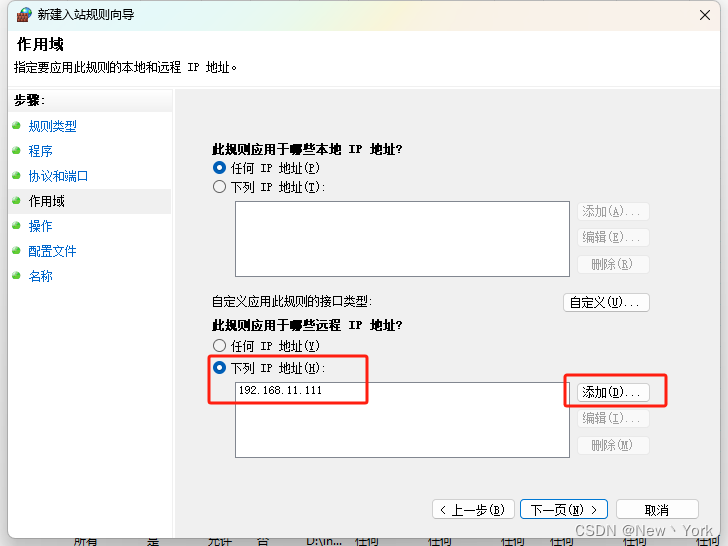
7、如果需要指定IP访问则需要设置这一步,没需求则默认下一页
选择远程IP地址 填上ip地址
8、默认下一页
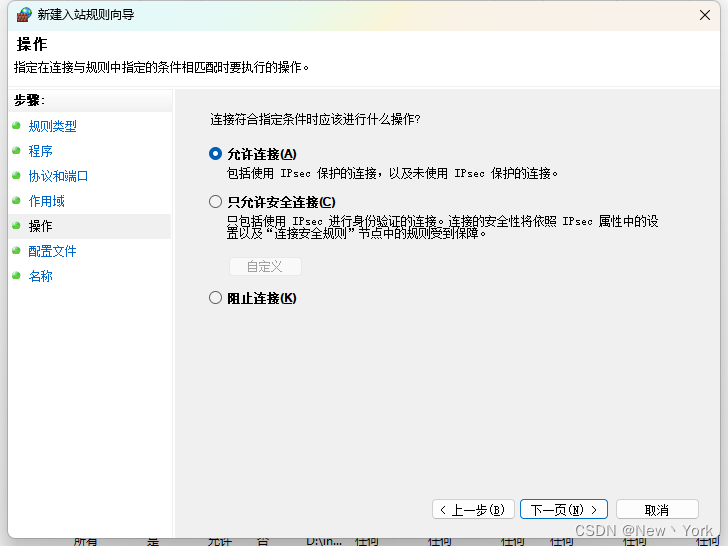
9、默认下一页

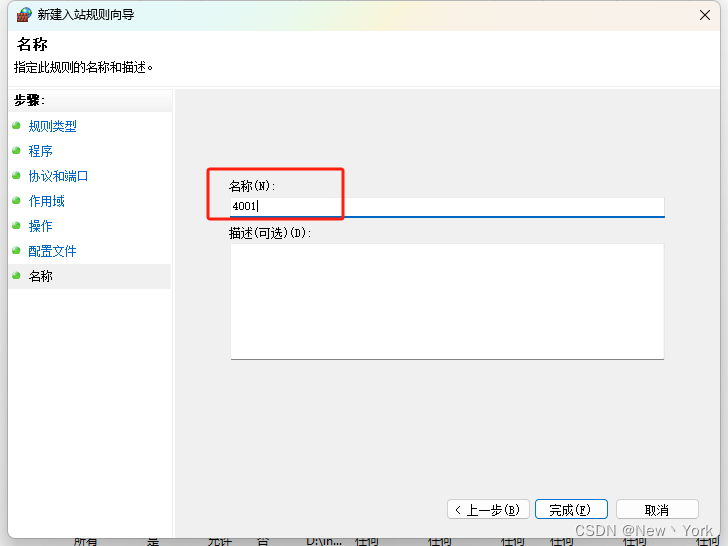
10、填上入站规则名称 完成
11、右键可以修改属性 点击应用生效

文章来源:https://blog.csdn.net/qq_29495141/article/details/135773499
本文来自互联网用户投稿,该文观点仅代表作者本人,不代表本站立场。本站仅提供信息存储空间服务,不拥有所有权,不承担相关法律责任。 如若内容造成侵权/违法违规/事实不符,请联系我的编程经验分享网邮箱:chenni525@qq.com进行投诉反馈,一经查实,立即删除!
本文来自互联网用户投稿,该文观点仅代表作者本人,不代表本站立场。本站仅提供信息存储空间服务,不拥有所有权,不承担相关法律责任。 如若内容造成侵权/违法违规/事实不符,请联系我的编程经验分享网邮箱:chenni525@qq.com进行投诉反馈,一经查实,立即删除!
最新文章
- Python教程
- 深入理解 MySQL 中的 HAVING 关键字和聚合函数
- Qt之QChar编码(1)
- MyBatis入门基础篇
- 用Python脚本实现FFmpeg批量转换
- Zookeeper-集群架构
- C语言中关于函数递归的理解
- 计算机操作系统进程同步(信号量pv专题)
- 算法训练营Day43(动态规划5)
- asp.net mvc 重定向问题的解决方式
- Spring Boot 配置文件和日志
- 声纹识别资源汇总(不断更新)
- 2023年全球前端大技术大会(GMTC北京站2023)-核心PPT资料下载
- 2024年AMC8美国数学竞赛活动已结束,家长和孩子关心的问题解答
- 接口测试工具:Postman的高级用法