第十一篇【传奇开心果系列】Ant Design Mobile of React 开发移动应用:实现移动商城应用
传奇开心果博文系列
- 系列博文目录
- Ant Design Mobile of React开发移动应用示例系列博文
- 第一篇【传奇开心果系列】Ant Design Mobile of React 开发移动应用:从helloworld开始
- 第二篇【传奇开心果系列】Ant Design Mobile of React 开发移动应用:天气应用
- 第三篇【传奇开心果系列】Ant Design Mobile of React 开发移动应用:健身追踪
- 第四篇【传奇开心果系列】Ant Design Mobile of React 开发移动应用:数据存储的七种类型讲解和示例
- 第五篇【传奇开心果系列】Ant Design Mobile of React 开发移动应用:基础页面制作介绍和示例代码
- 第六篇【传奇开心果系列】Ant Design Mobile of React 开发移动应用:UI框架39个组件集中讲解和示例代码
- 第七篇【传奇开心果系列】Ant Design Mobile of React 开发移动应用:安装配置node和npm避坑攻略
- 第八篇【传奇开心果系列】Ant Design Mobile of React 开发移动应用:打包上架部署云服务托管等后期工作
- 第九篇【传奇开心果系列】Ant Design Mobile of React 开发移动应用:使用内置组件实现响应式设计
- 第十篇【传奇开心果系列】Ant Design Mobile of React 开发移动应用:相关基础知识介绍
- 第十一篇【传奇开心果系列】Ant Design Mobile of React 开发移动应用:实现移动商城应用
- 一、项目目标:
- 二、编程思路
- 三、初步实现示例代码
- 四、更详细示例代码
- 五、添加订单功能
- 六、写一个完整项目示例代码
系列博文目录
Ant Design Mobile of React开发移动应用示例系列博文
第一篇【传奇开心果系列】Ant Design Mobile of React 开发移动应用:从helloworld开始
第二篇【传奇开心果系列】Ant Design Mobile of React 开发移动应用:天气应用
第三篇【传奇开心果系列】Ant Design Mobile of React 开发移动应用:健身追踪
第四篇【传奇开心果系列】Ant Design Mobile of React 开发移动应用:数据存储的七种类型讲解和示例
第五篇【传奇开心果系列】Ant Design Mobile of React 开发移动应用:基础页面制作介绍和示例代码
第六篇【传奇开心果系列】Ant Design Mobile of React 开发移动应用:UI框架39个组件集中讲解和示例代码
第七篇【传奇开心果系列】Ant Design Mobile of React 开发移动应用:安装配置node和npm避坑攻略
第八篇【传奇开心果系列】Ant Design Mobile of React 开发移动应用:打包上架部署云服务托管等后期工作
第九篇【传奇开心果系列】Ant Design Mobile of React 开发移动应用:使用内置组件实现响应式设计
第十篇【传奇开心果系列】Ant Design Mobile of React 开发移动应用:相关基础知识介绍
第十一篇【传奇开心果系列】Ant Design Mobile of React 开发移动应用:实现移动商城应用
一、项目目标:
移动商城应用:可以使用 Ant Design Mobile of React的组件来构建移动端的商品展示、购物车、下单等功能。
二、编程思路
开发移动商城应用时,使用 Ant Design Mobile 的组件可以简化界面设计和功能开发。以下是编程思路:
 1. 了解 Ant Design Mobile 的组件:
* Ant Design Mobile 提供了一系列 UI 组件,如按钮、输入框、列表、卡片等,可以帮助快速构建界面。
* 理解这些组件的属性和用法,并根据商城的需求选择合适的组件。
2. 设计界面布局:
* 使用 Ant Design Mobile 的布局组件,如 Container、Row 和 Col,来设计商品列表和详情页面的布局。
* 考虑如何展示商品图片、名称、价格等信息,并确保界面清晰、美观。
3. 实现商品展示功能:
* 使用 List 或 Carousel 组件来展示商品列表。
* 异步加载商品数据,可以通过 API 调用从服务器获取数据。
* 对接服务器接口,实现数据的获取、处理和渲染。
4. 开发购物车功能:
* 使用 Ant Design Mobile 的表单和输入组件来创建购物车表单。
* 设计购物车的交互逻辑,如添加商品、数量调整、删除商品等。
* 与服务器交互,更新购物车数据并保持状态同步。
5. 实现下单功能:
* 创建订单表单,收集用户的收货地址和支付方式信息。
* 处理表单提交逻辑,验证数据的有效性。
* 与后端服务器进行通信,创建订单并将支付信息发送给支付网关。
6. 数据持久化:
* 使用本地存储或云存储解决方案,如 SQLite 或 Firebase,来保存用户数据和购物车状态。
* 在用户未完成支付前,确保购物车数据不会丢失。
7. 测试与优化:
* 对应用进行全面测试,确保商品展示、购物车和下单功能正常工作。
* 根据用户反馈和性能测试结果进行优化。
8. 适配与发布:
* 确保应用适配不同设备和屏幕尺寸。
* 通过应用商店发布应用,供用户下载和使用。
9. 持续更新与维护:
- 根据业务需求和用户反馈,持续更新和改进应用的功能和界面。
- 定期检查并修复潜在的 bug 和安全问题。
- 性能优化:
- 在商品列表页采用懒加载机制,按需加载一定数量的商品信息。
- 对 API 进行合理优化,确保商品数据的获取和更新操作高效稳定。
- 权限控制与安全:
- 实施合适的权限控制策略,确保用户只能访问自己相关的商品信息和购物车内容。
- 使用 HTTPS 进行通信,保证数据传输的安全性。对敏感操作(如下单、支付)实施多重身份验证措施。
- 用户反馈与社区建设:
- 建立用户反馈渠道,收集用户对应用的意见和建议。根据反馈调整和优化应用功能。
- 建设活跃的用户社区,通过社区论坛等形式增强用户粘性。
三、初步实现示例代码
当涉及到编写示例代码时,由于篇幅限制,我将提供一个简化的示例,展示如何使用 Ant Design Mobile 的组件来构建一个基本的商品列表和请注意,这只是一个示例框架,实际应用中可能需要更多的细节和逻辑。
首先,确保你已经安装了 Ant Design Mobile 的相关依赖:
npm install antd-mobile
 接下来,创建一个简单的 React Native 项目,并在项目中引入 Ant Design Mobile:
import React from 'react';
import { Button, List, Carousel } from 'antd-mobile';
import { View } from 'react-native';

const ProductList = () => {
  const [products, setProducts] = React.useState([]);
  const [cartItems, setCartItems] = React.useState([]);

  // 模拟从服务器获取商品数据
  React.useEffect(() => {
    fetch('https://api.example.com/products')
      .then(response => response.json())
      .then(data => setProducts(data));
  }, []);

  const handleAddToCart = (product) => {
    const newCartItems = [...cartItems, product];
    setCartItems(newCartItems);
  };

  return (
    <View>
      <Carousel>
        {products.map((product, index) => (
          <List.Item key={index}>
            <List.Item.Meta
              title={product.name}
              description={`Price: ${product.price}`}
            />
            <Button onClick={() => handleAddToCart(product)}>Add to Cart</Button>
          </List.Item>
        ))}
      </Carousel>
      <List>
        {cartItems.map((product, index) => (
          <List.Item key={index}>
            <List.Item.Meta
              title={product.name}
              description={`Price: ${product.price}`}
            />
            <Button onClick={() => removeFromCart(product)}>Remove</Button>
          </List.Item>
        ))}
      </List>
    </View>
  );
};

export default ProductList;
这个示例代码创建了一个简单的商品列表组件和一个购物车组件。它使用 Ant Design Mobile 的 Carousel 和 List 组件来展示商品,并使用状态管理来实现购物车逻辑。
四、更详细示例代码
以下是一个更详细的示例,包括更丰富的功能和界面样式:
 1. 项目初始化
首先,你需要安装必要的依赖:
npm install antd-mobile react-native-safe-area-context
2. 引入 Ant Design Mobile
在你的项目文件中引入 Ant Design Mobile 的相关组件:
import React from 'react';
import { Button, List, Carousel, SafeAreaView } from 'antd-mobile';
import { View } from 'react-native';
3. 创建商品列表组件
创建一个 ProductList 组件,用于展示商品列表。该组件会异步获取商品数据,并将其渲染为列表:
const ProductList = () => {
  const [products, setProducts] = React.useState([]);
  const [cartItems, setCartItems] = React.useState([]);
  const [isLoading, setIsLoading] = React.useState(true);

  // 模拟从服务器获取商品数据
  React.useEffect(() => {
    fetch('https://api.example.com/products')
      .then(response => response.json())
      .then(data => {
        setProducts(data);
        setIsLoading(false);
      });
  }, []);

  const handleAddToCart = (product) => {
    const newCartItems = [...cartItems, product];
    setCartItems(newCartItems);
  };

  const handleRemoveFromCart = (product) => {
    const newCartItems = cartItems.filter(item => item.id !== product.id);
    setCartItems(newCartItems);
  };

  if (isLoading) {
    return <View>Loading...</View>;
  }

  return (
    <SafeAreaView>
      <Carousel>
        {products.map((product, index) => (
          <List.Item key={index}>
            <List.Item.Meta
              title={product.name}
              description={`Price: ${product.price}`}
            />
            <Button onClick={() => handleAddToCart(product)}>Add to Cart</Button>
          </List.Item>
        ))}
      </Carousel>
      <List>
        {cartItems.map((product, index) => (
          <List.Item key={index}>
            <List.Item.Meta
              title={product.name}
              description={`Price: ${product.price}`}
            />
            <Button onClick={() => handleRemoveFromCart(product)}>Remove</Button>
          </List.Item>
        ))}
      </List>
    </SafeAreaView>
  );
};
4. 创建购物车组件
接下来,创建一个 Cart 组件,用于展示购物车内容:
const Cart = () => {
  const [cartItems, setCartItems] = React.useState([]);

  const handleCheckout = () => {
    // 处理结账逻辑
    // 发送订单到服务器,并处理支付等操作
  };

  return (
    <View>
      <List>
        {cartItems.map((product, index) => (
          <List.Item key={index}>
            <List.Item.Meta
              title={product.name}
              description={`Price: ${product.price}`}
            />
            <Button onClick={handleCheckout}>Checkout</Button>
          </List.Item>
        ))}
      </List>
    </View>
  );
};
5. 整合应用
最后,将商品列表和购物车组件整合到应用的主界面中:
const App = () => {
  return (
    <SafeAreaView>
      <ProductList />
      <Cart />
    </SafeAreaView>
  );
};
这个示例提供了一个基本的移动商城应用的框架,包括了商品展示、购物车和结账功能。当然,根据具体需求,你可以进一步完善这个示例,增加更多功能和样式。记得在开发过程中遵守中国的网络安全法律,不要展示敏感或违法的内容。
五、添加订单功能
为了增加订单功能,我们可以创建一个新的组件 OrderForm,并在 ProductList 组件中添加一个表单来提交订单。
 1. 创建 OrderForm 组件
const OrderForm = () => {
  const [order, setOrder] = React.useState({
    productId: '',
    quantity: '',
  });

  const handleSubmit = (e) => {
    e.preventDefault();
    // 处理提交逻辑,将订单发送到服务器
    // ...
  };

  return (
    <form onSubmit={handleSubmit}>
      <input
        type="hidden"
        name="productId"
        value={order.productId}
      />
      <input
        type="number"
        name="quantity"
        value={order.quantity}
        onChange={(e) => setOrder({ ...order, quantity: e.target.value })}
      />
      <Button type="primary" htmlType="submit">
        Place Order
      </Button>
    </form>
  );
};
2. 在 ProductList 组件中添加 OrderForm
在 ProductList 组件中,我们可以添加一个 OrderForm 组件,以便用户可以提交订单:
const ProductList = () => {
  // ...之前的代码...

  return (
    <SafeAreaView>
      <Carousel>
        {products.map((product, index) => (
          <List.Item key={index}>
            <List.Item.Meta
              title={product.name}
              description={`Price: ${product.price}`}
            />
            <Button onClick={() => handleAddToCart(product)}>Add to Cart</Button>
          </List.Item>
        ))}
      </Carousel>
      <List>
        {cartItems.map((product, index) => (
          <List.Item key={index}>
            <List.Item.Meta
              title={product.name}
              description={`Price: ${product.price}`}
            />
            <Button onClick={() => handleRemoveFromCart(product)}>Remove</Button>
          </List.Item>
        ))}
      </List>
      <OrderForm />  {/* 添加 OrderForm 组件 */}
    </SafeAreaView>
  );
};
3. 处理订单提交逻辑
在 handleSubmit 函数中,你需要编写逻辑来处理订单提交。这通常涉及到将订单数据发送到服务器,并处理支付等操作。你可以使用 fetch API 或者其他适合的库来发送异步请求。具体实现取决于你的后端架构和支付集成方式。
六、写一个完整项目示例代码
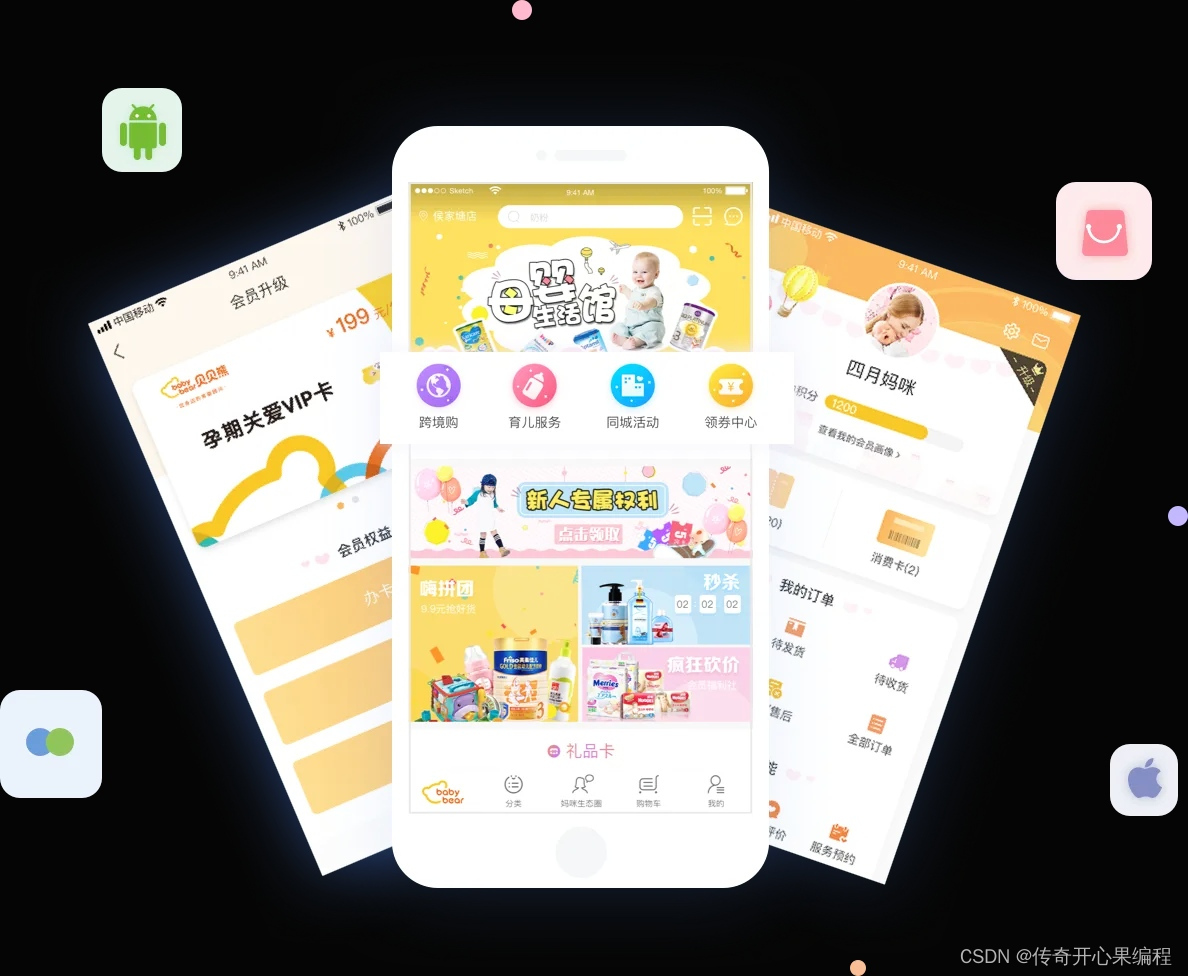 1.第一次实现
import React from 'react';
import {
  Button,
  Card,
  Col,
  Row,
  List,
  Icon,
  Toast,
} from 'antd-mobile';

class App extends React.Component {
  state = {
    products: [
      {
        id: 1,
        name: 'iPhone X',
        price: 999,
        image: 'https://dummyimage.com/600x400/000/fff',
      },
      {
        id: 2,
        name: 'iPad Pro',
        price: 799,
        image: 'https://dummyimage.com/600x400/000/fff',
      },
      {
        id: 3,
        name: 'Apple Watch',
        price: 399,
        image: 'https://dummyimage.com/600x400/000/fff',
      },
    ],
    cart: [],
  };

  addToCart = (product) => {
    this.setState({
      cart: [...this.state.cart, product],
    });
    Toast.success('已添加到购物车', 1);
  };

  render() {
    return (
      <div className="App">
        <Row>
          <Col span={24}>
            <List>
              {this.state.products.map((product) => (
                <List.Item key={product.id}>
                  <Col span={12}>
                    <Card>
                      <Card.Header
                        title={product.name}
                        thumb={product.image}
                        thumbStyle={{ width: '30px', height: '30px' }}
                      />
                      <Card.Body>
                        <div>价格:{product.price} 元</div>
                      </Card.Body>
                      <Card.Footer
                        content={
                          <Button
                            type="primary"
                            size="small"
                            onClick={() => this.addToCart(product)}
                          >
                            <Icon type="shopping-cart" /> 添加到购物车
                          </Button>
                        }
                      />
                    </Card>
                  </Col>
                </List.Item>
              ))}
            </List>
          </Col>
        </Row>
      </div>
    );
  }
}

export default App;
 2.第二次实现
import React from 'react';
import {
  Button,
  Card,
  Col,
  Row,
  List,
  Icon,
  Toast,
  NavBar,
} from 'antd-mobile';

class App extends React.Component {
  state = {
    products: [
      {
        id: 1,
        name: 'iPhone X',
        price: 999,
        image: 'https://dummyimage.com/600x400/000/fff',
      },
      {
        id: 2,
        name: 'iPad Pro',
        price: 799,
        image: 'https://dummyimage.com/600x400/000/fff',
      },
      {
        id: 3,
        name: 'Apple Watch',
        price: 399,
        image: 'https://dummyimage.com/600x400/000/fff',
      },
    ],
    cart: [],
  };

  addToCart = (product) => {
    this.setState({
      cart: [...this.state.cart, product],
    });
    Toast.success('已添加到购物车', 1);
  };

  render() {
    return (
      <div className="App">
        <NavBar
          mode="dark"
          leftContent="返回"
          rightContent={[
            <Icon key="1" type="shopping-cart" />,
            <span key="2">{this.state.cart.length}</span>,
          ]}
        >
          商品列表
        </NavBar>
        <Row>
          <Col span={24}>
            <List>
              {this.state.products.map((product) => (
                <List.Item key={product.id}>
                  <Col span={12}>
                    <Card>
                      <Card.Header
                        title={product.name}
                        thumb={product.image}
                        thumbStyle={{ width: '30px', height: '30px' }}
                      />
                      <Card.Body>
                        <div>价格:{product.price} 元</div>
                      </Card.Body>
                      <Card.Footer
                        content={
                          <Button
                            type="primary"
                            size="small"
                            onClick={() => this.addToCart(product)}
                          >
                            <Icon type="shopping-cart" /> 添加到购物车
                          </Button>
                        }
                      />
                    </Card>
                  </Col>
                </List.Item>
              ))}
            </List>
          </Col>
        </Row>
      </div>
    );
  }
}

export default App;
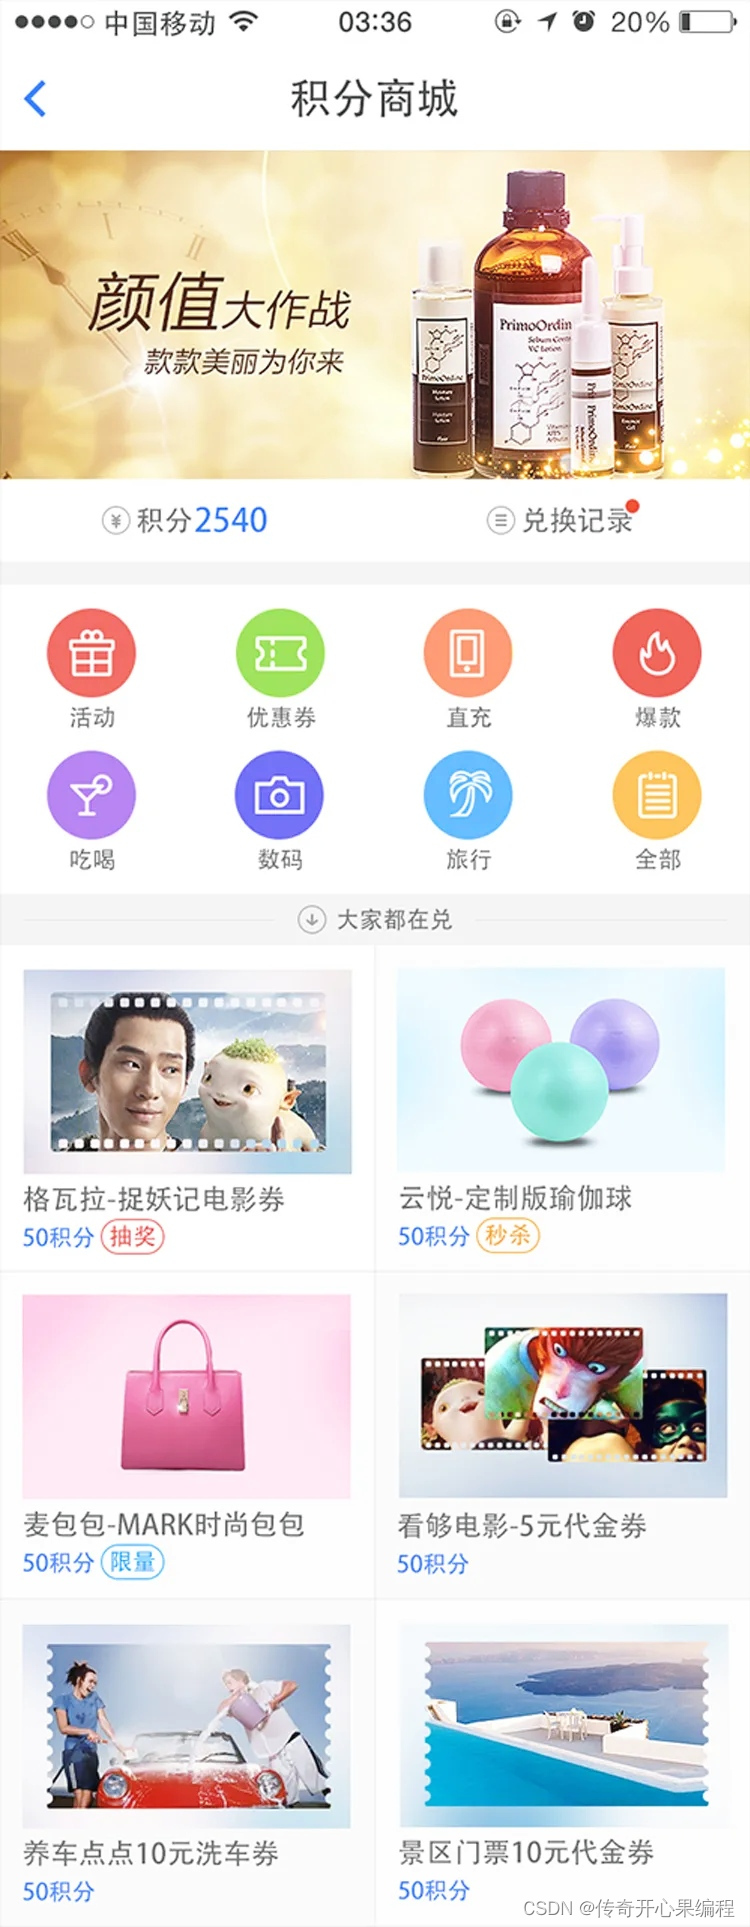
在这个示例中,我们添加了一个 NavBar 组件作为页面的导航栏,并在导航栏的右侧显示购物车图标和购物车中的商品数量。我们还将 List 组件中的 Col 组件的 span 属性从 12 改为 24,以便在移动端设备上显示为单列。
最后,我们导入了 Icon 组件,并在 Card.Footer 组件中使用它来显示购物车图标。
 3.第三次实现
import React from 'react';
import {
  Button,
  Card,
  Col,
  Row,
  List,
  Icon,
  Toast,
  NavBar,
  Badge,
} from 'antd-mobile';

class App extends React.Component {
  state = {
    products: [
      {
        id: 1,
        name: 'iPhone X',
        price: 999,
        image: 'https://dummyimage.com/600x400/000/fff',
      },
      {
        id: 2,
        name: 'iPad Pro',
        price: 799,
        image: 'https://dummyimage.com/600x400/000/fff',
      },
      {
        id: 3,
        name: 'Apple Watch',
        price: 399,
        image: 'https://dummyimage.com/600x400/000/fff',
      },
    ],
    cart: [],
  };

  addToCart = (product) => {
    this.setState({
      cart: [...this.state.cart, product],
    });
    Toast.success('已添加到购物车', 1);
  };

  render() {
    return (
      <div className="App">
        <NavBar
          mode="dark"
          leftContent="返回"
          rightContent={[
            <Badge key="1" text={this.state.cart.length}>
              <Icon key="2" type="shopping-cart" />
            </Badge>,
          ]}
        >
          商品列表
        </NavBar>
        <Row>
          <Col span={24}>
            <List>
              {this.state.products.map((product) => (
                <List.Item key={product.id}>
                  <Col span={12}>
                    <Card>
                      <Card.Header
                        title={product.name}
                        thumb={product.image}
                        thumbStyle={{ width: '30px', height: '30px' }}
                      />
                      <Card.Body>
                        <div>价格:{product.price} 元</div>
                      </Card.Body>
                      <Card.Footer
                        content={
                          <Button
                            type="primary"
                            size="small"
                            onClick={() => this.addToCart(product)}
                          >
                            <Icon type="shopping-cart" /> 添加到购物车
                          </Button>
                        }
                      />
                    </Card>
                  </Col>
                </List.Item>
              ))}
            </List>
          </Col>
        </Row>
      </div>
    );
  }
}

export default App;
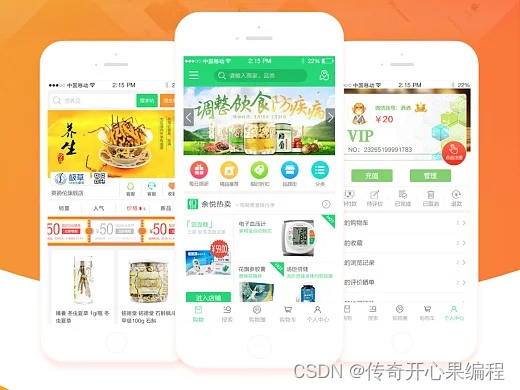
在这个示例中,我们使用了 Badge 组件来显示购物车中的商品数量。我们首先导入了 Badge 组件,然后在 NavBar 组件的 rightContent 属性中使用它。我们还将 Icon 组件包装在 Badge 组件中,以便在购物车中没有商品时隐藏购物车图标。
最后,我们修改了 addToCart 方法,以便在商品添加到购物车时显示一个 Toast 消息。
 4.第四次实现
import React from 'react';
import {
  Button,
  Card,
  Col,
  Row,
  List,
  Icon,
  Toast,
  NavBar,
  Badge,
} from 'antd-mobile';

class App extends React.Component {
  state = {
    products: [
      {
        id: 1,
        name: 'iPhone X',
        price: 999,
        image: 'https://dummyimage.com/600x400/000/fff',
      },
      {
        id: 2,
        name: 'iPad Pro',
        price: 799,
        image: 'https://dummyimage.com/600x400/000/fff',
      },
      {
        id: 3,
        name: 'Apple Watch',
        price: 399,
        image: 'https://dummyimage.com/600x400/000/fff',
      },
    ],
    cart: [],
  };

  addToCart = (product) => {
    this.setState({
      cart: [...this.state.cart, product],
    });
    Toast.success('已添加到购物车', 1);
  };

  render() {
    return (
      <div className="App">
        <NavBar
          mode="dark"
          leftContent="返回"
          rightContent={[
            <Badge key="1" text={this.state.cart.length}>
              <Icon key="2" type="shopping-cart" />
            </Badge>,
          ]}
        >
          商品列表
        </NavBar>
        <Row>
          <Col span={24}>
            <List>
              {this.state.products.map((product) => (
                <List.Item key={product.id}>
                  <Col span={12}>
                    <Card>
                      <Card.Header
                        title={product.name}
                        thumb={product.image}
                        thumbStyle={{ width: '30px', height: '30px' }}
                      />
                      <Card.Body>
                        <div>价格:{product.price} 元</div>
                      </Card.Body>
                      <Card.Footer
                        content={
                          <Button
                            type="primary"
                            size="small"
                            onClick={() => this.addToCart(product)}
                          >
                            <Icon type="shopping-cart" /> 添加到购物车
                          </Button>
                        }
                      />
                    </Card>
                  </Col>
                </List.Item>
              ))}
            </List>
          </Col>
        </Row>
      </div>
    );
  }
}

export default App;
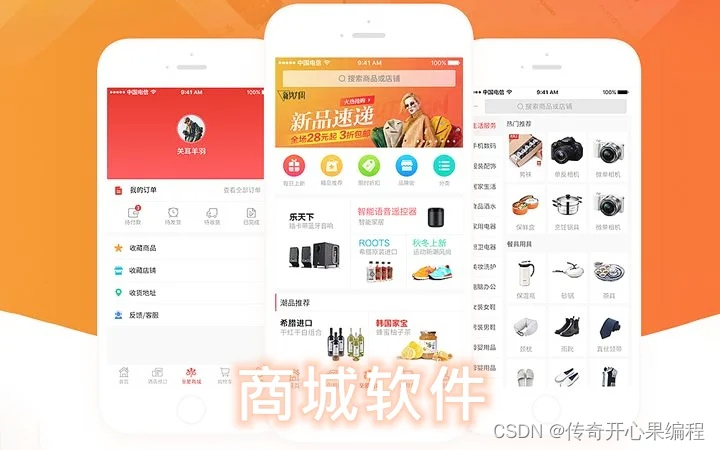
在这个示例中,我们使用了 Badge 组件来显示购物车中的商品数量。我们首先导入了 Badge 组件,然后在 NavBar 组件的 rightContent 属性中使用它。我们还将 Icon 组件包装在 Badge 组件中,以便在购物车中没有商品时隐藏购物车图标。
最后,我们修改了 addToCart 方法,以便在商品添加到购物车时显示一个 Toast 消息。
现在,当用户点击“添加到购物车”按钮时,商品将被添加到购物车中,并且购物车中的商品数量将显示在 Badge 组件中。当购物车中没有商品时,购物车图标将被隐藏。
 5.第五次实现:添加下单功能
import React, { useState } from 'react';
import {
  Button,
  Card,
  Col,
  Row,
  List,
  Icon,
  Toast,
  NavBar,
  Badge,
  InputItem,
  Modal,
} from 'antd-mobile';

class App extends React.Component {
  state = {
    products: [
      {
        id: 1,
        name: 'iPhone X',
        price: 999,
        image: 'https://dummyimage.com/600x400/000/fff',
      },
      {
        id: 2,
        name: 'iPad Pro',
        price: 799,
        image: 'https://dummyimage.com/600x400/000/fff',
      },
      {
        id: 3,
        name: 'Apple Watch',
        price: 399,
        image: 'https://dummyimage.com/600x400/000/fff',
      },
    ],
    cart: [],
    visible: false,
    name: '',
    address: '',
    phone: '',
  };

  addToCart = (product) => {
    this.setState({
      cart: [...this.state.cart, product],
    });
    Toast.success('已添加到购物车', 1);
  };

  showModal = () => {
    this.setState({
      visible: true,
    });
  };

  onClose = () => {
    this.setState({
      visible: false,
    });
  };

  onSubmit = () => {
    const { name, address, phone, cart } = this.state;

    if (!name || !address || !phone) {
      Toast.fail('请填写所有信息', 1);
      return;
    }

    if (cart.length === 0) {
      Toast.fail('购物车中没有商品', 1);
      return;
    }

    // 这里模拟提交订单到服务器

    this.setState({
      visible: false,
      cart: [],
    });

    Toast.success('订单已提交', 1);
  };

  render() {
    const { products, cart, visible, name, address, phone } = this.state;

    return (
      <div className="App">
        <NavBar
          mode="dark"
          leftContent="返回"
          rightContent={[
            <Badge key="1" text={cart.length}>
              <Icon key="2" type="shopping-cart" />
            </Badge>,
          ]}
        >
          商品列表
        </NavBar>
        <Row>
          <Col span={24}>
            <List>
              {products.map((product) => (
                <List.Item key={product.id}>
                  <Col span={12}>
                    <Card>
                      <Card.Header
                        title={product.name}
                        thumb={product.image}
                        thumbStyle={{ width: '30px', height: '30px' }}
                      />
                      <Card.Body>
                        <div>价格:{product.price} 元</div>
                      </Card.Body>
                      <Card.Footer
                        content={
                          <Button
                            type="primary"
                            size="small"
                            onClick={() => this.addToCart(product)}
                          >
                            <Icon type="shopping-cart" /> 添加到购物车
                          </Button>
                        }
                      />
                    </Card>
                  </Col>
                </List.Item>
              ))}
            </List>
          </Col>
        </Row>
        <Button type="primary" onClick={this.showModal}>
          提交订单
        </Button>
        <Modal
          visible={visible}
          onClose={this.onClose}
          title="提交订单"
          footer={[
            { text: '取消', onPress: this.onClose },
            { text: '提交', onPress: this.onSubmit },
          ]}
        >
          <List>
            <InputItem
              placeholder="姓名"
              value={name}
              onChange={(value) => this.setState({ name: value })}
            />
            <InputItem
              placeholder="地址"
              value={address}
              onChange={(value) => this.setState({ address: value })}
            />
            <InputItem
              placeholder="电话号码"
              value={phone}
              onChange={(value) => this.setState({ phone: value })}
            />
          </List>
        </Modal>
      </div>
    );
  }
}

export default App;
在这个示例中,我们添加了一个提交订单的功能。当用户点击“提交订单”按钮时,将弹出一个模态框,用户可以在其中输入姓名、地址和电话号码。当用户点击“提交”按钮时,将检查输入的信息是否完整,并且购物车中是否有商品。如果信息完整且购物车中有商品,则将模拟提交订单到服务器,并清空购物车。
需要注意的是,在这个示例中,我们只是模拟了提交订单的过程,并没有真正与服务器交互。在实际开发中,你需要实现与服务器交互的逻辑。
 6.第六次实现:实现提交订单和服务器交互功能示例代码
import requests

def submit_order(order_data):
    """向服务器提交订单。

    Args:
        order_data: 订单数据,是一个字典。

    Returns:
        服务器的响应,是一个字典。
    """

    # 设置请求头
    headers = {"Content-Type": "application/json"}

    # 将订单数据转换为 JSON 字符串
    json_data = json.dumps(order_data)

    # 向服务器发送 POST 请求
    response = requests.post("https://example.com/api/orders", headers=headers, data=json_data)

    # 将服务器的响应转换为字典
    response_data = response.json()

    return response_data


# 示例用法
order_data = {
    "customer_name": "John Doe",
    "customer_email": "john.doe@example.com",
    "items": [
        {"product_id": 1, "quantity": 2},
        {"product_id": 2, "quantity": 1},
    ],
}

response_data = submit_order(order_data)

if response_data["success"]:
    print("订单提交成功!")
else:
    print("订单提交失败!错误信息:", response_data["error"])
 在这个示例中,
submit_order() 函数向服务器发送 POST 请求,并将订单数据作为 JSON 字符串发送给服务器。服务器处理订单数据后,返回一个 JSON 响应,其中包含订单提交是否成功以及其他信息。
在示例用法中,我们创建了一个订单数据字典,然后调用 submit_order() 函数来提交订单。如果订单提交成功,则打印一条成功消息;否则,打印一条失败消息并显示错误信息。
你可以根据自己的实际情况修改订单数据字典和服务器的 URL。
本文来自互联网用户投稿,该文观点仅代表作者本人,不代表本站立场。本站仅提供信息存储空间服务,不拥有所有权,不承担相关法律责任。 如若内容造成侵权/违法违规/事实不符,请联系我的编程经验分享网邮箱:chenni525@qq.com进行投诉反馈,一经查实,立即删除!