RocketMQ 顺序消息收发实践
发布时间:2023年12月17日
概述
- 顺序消息
- 全局有序:适用于性能不是特别高的场景,但是又要求消息又严格一致的概念。
- 局部有序:适用于性能要求高的场景,想办法通过在设计层面处理有序的消息尽量发送至同一个 Topic 中的同一个队列。
- 两种有序创建方法
- 全局有序:
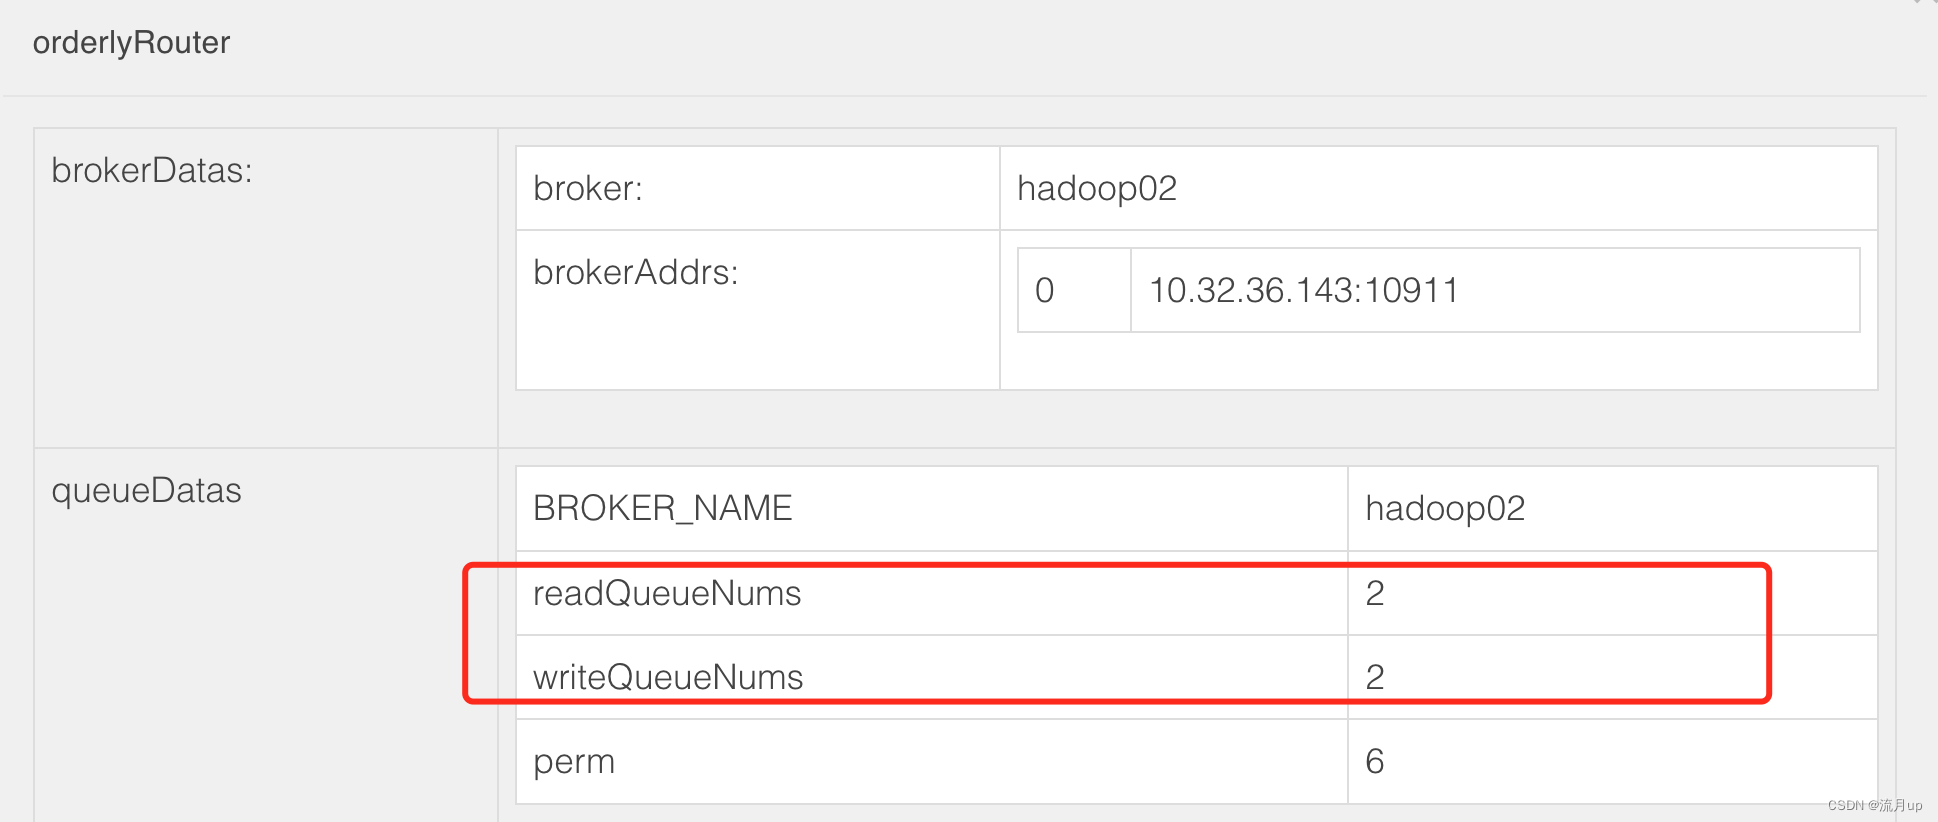
- perm:2:只写,4:只读;6:读写
- 创建一个 Topic 只有一个队列。
- 局部有序:
- Partly-Orderly-Topic
- 全局有序:
注意:本文只会针对 局部有序进行实践。
局部有序
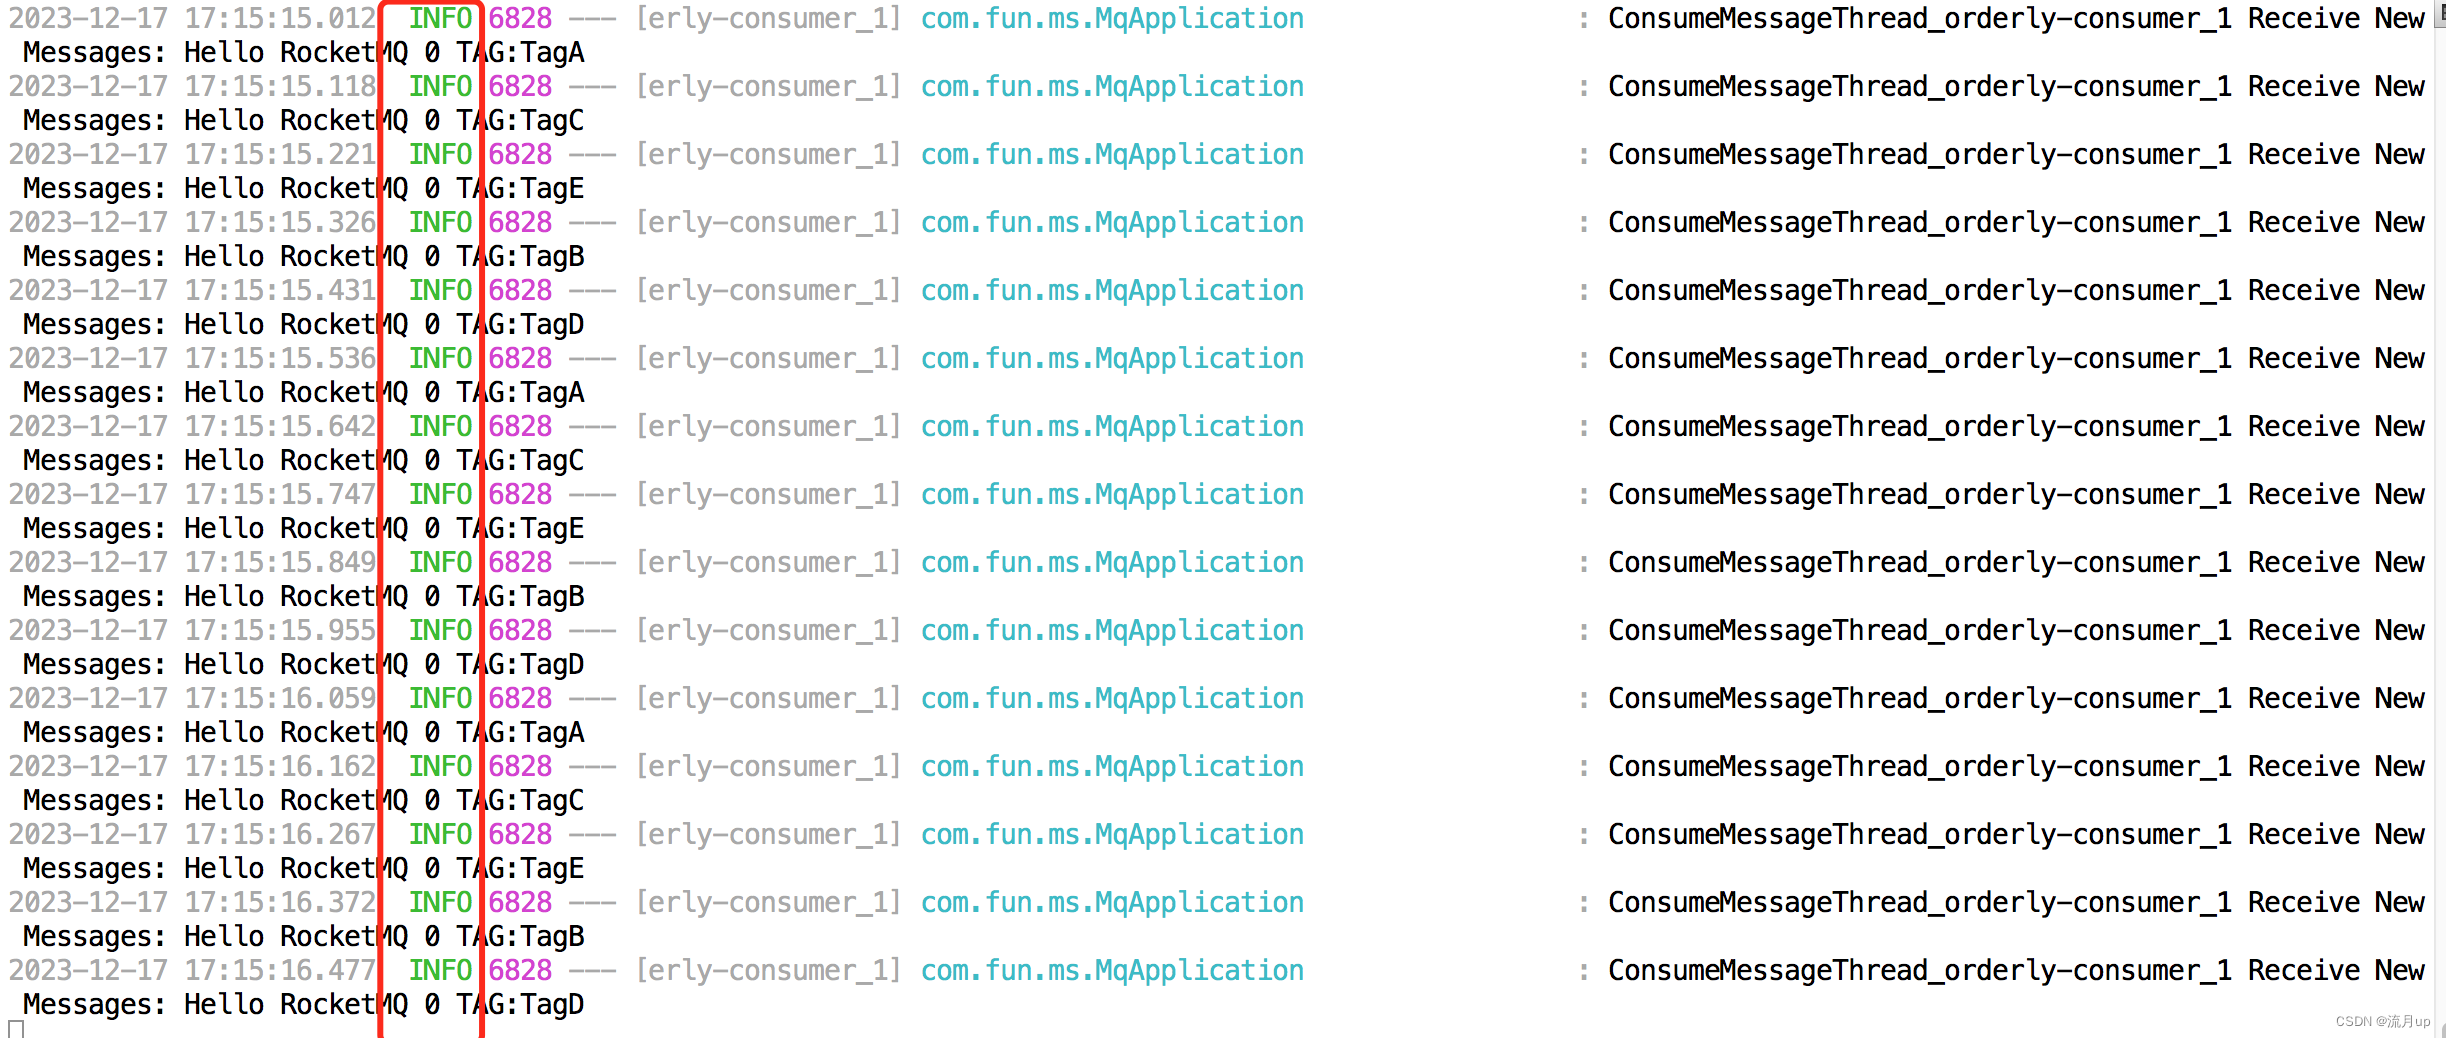
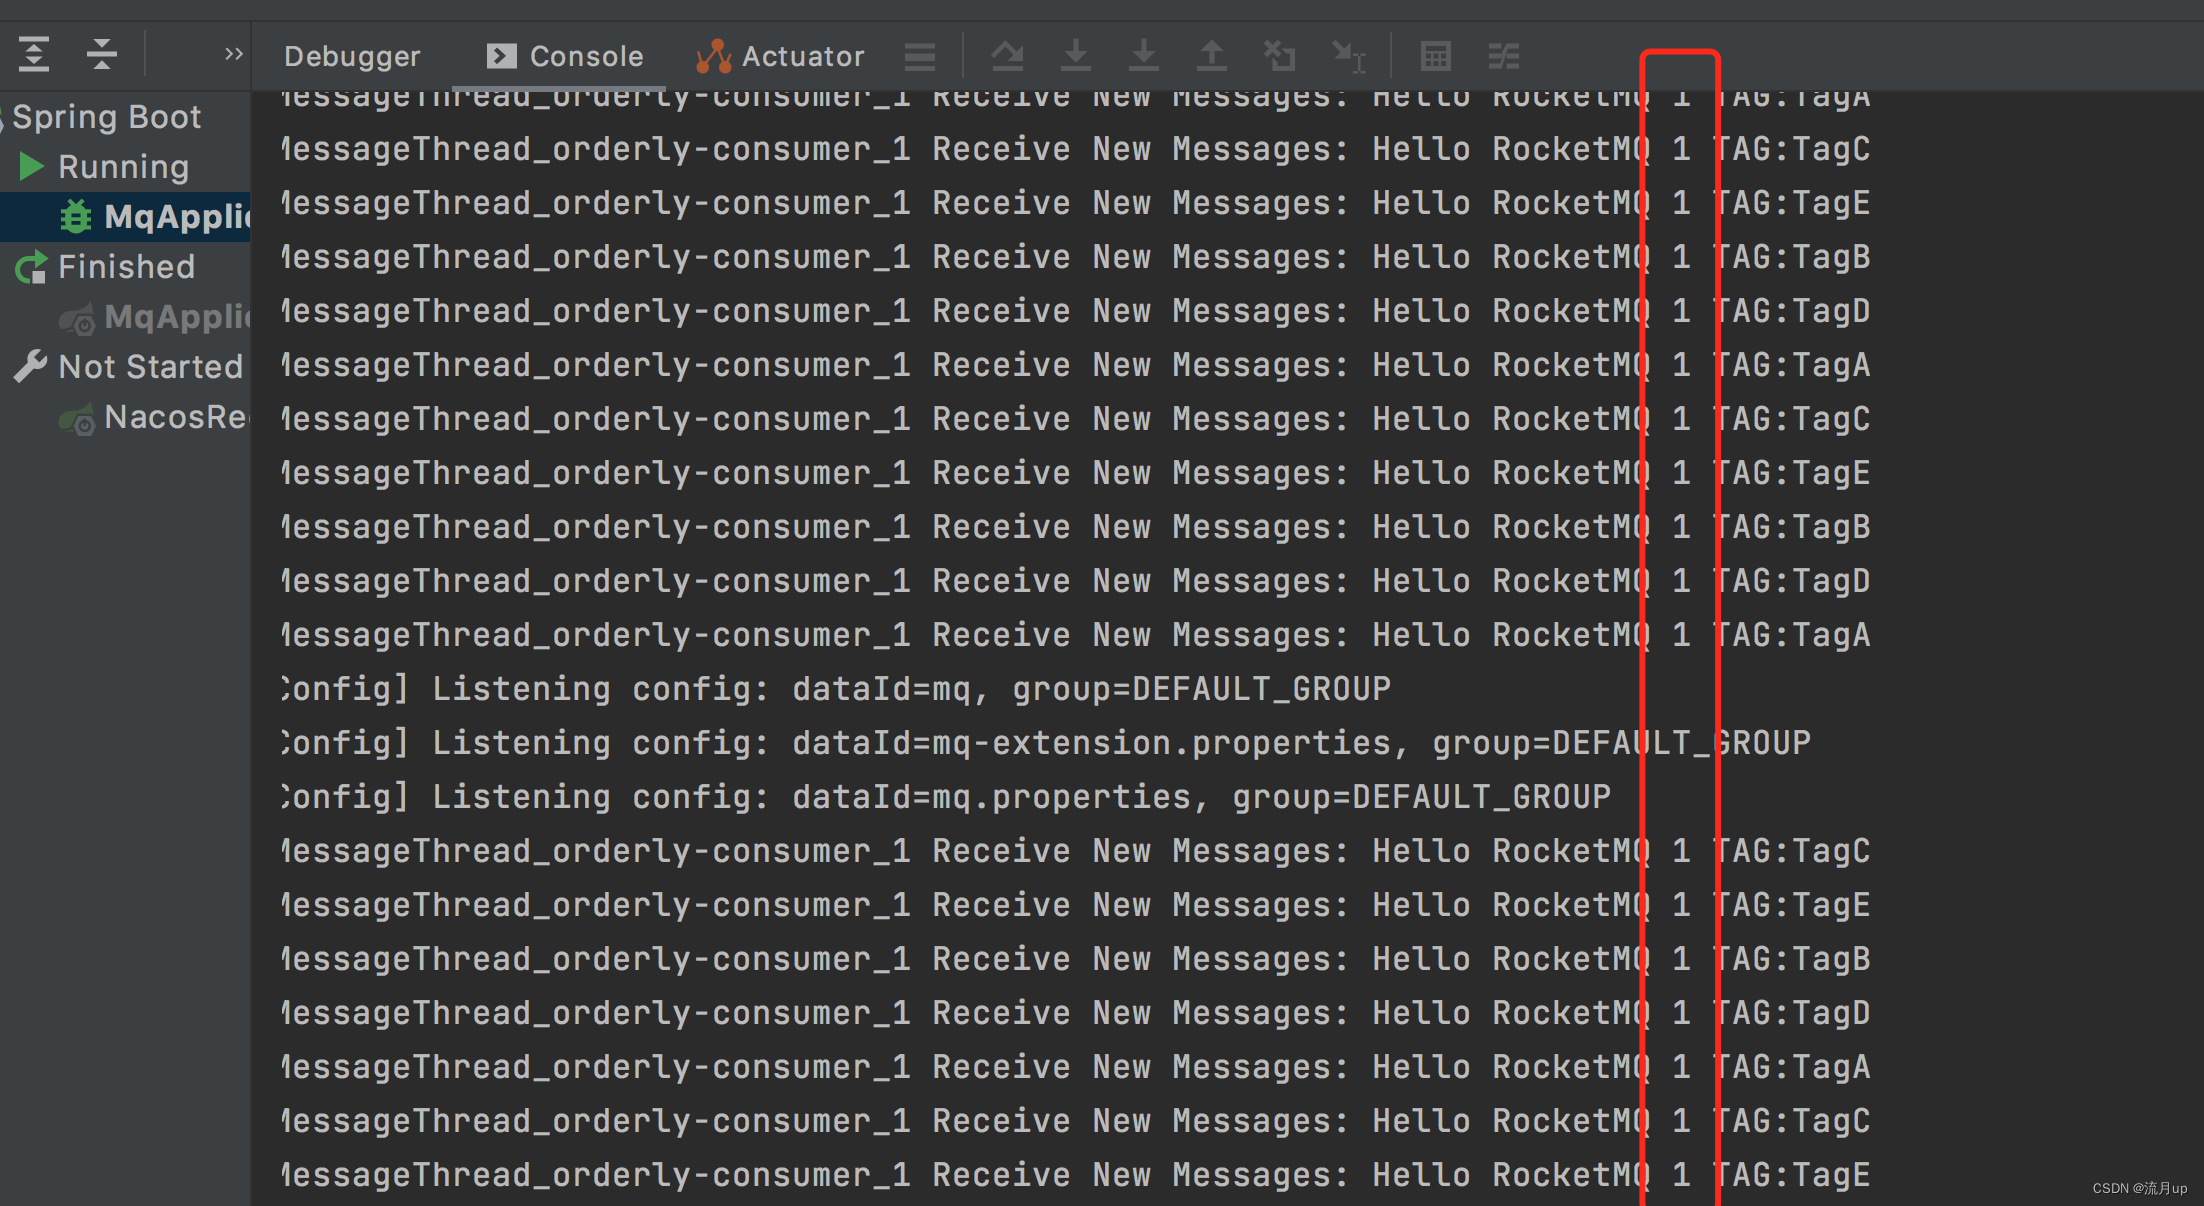
常见做法就是将 order id 进行处理,将 order id 相同的消息发送到 topicB 的同一个 queue,假设我们 topicB 有 2 个 queue,那么我们可以简单的对 id 取余,奇数的发往 queue0,偶数的发往 queue1,消费者按照 queue 去消费时,就能保证 queue0 里面的消息有序消费,queue1 里面的消息有序消费。
程序局部有序如下图设计进行测试。

创建 Topic
sh bin/mqadmin updateTopic -n localhost:9876 -c DefaultCluster -t orderly

[root@hadoop02 rocketmq-all-5.1.4-bin-release]# sh bin/mqadmin updateTopic -n localhost:9876 -c DefaultCluster -t orderly
create topic to 10.32.36.143:10911 success.
TopicConfig [topicName=orderly, readQueueNums=8, writeQueueNums=8, perm=RW-, topicFilterType=SINGLE_TAG, topicSysFlag=0, order=false, attributes={}]
[root@hadoop02 rocketmq-all-5.1.4-bin-release]#

配置
注意:spring.cloud.stream.rocketmq.bindings.input.consumer.orderly=true
spring:
  cloud:
    stream:
      function:
        definition: consumer
      rocketmq:
        binder:
          name-server: 10.32.36.143:9876
        bindings:
          producer-out-0:
            producer:
              group: output_1
              # 定义messageSelector
              messageQueueSelector: orderlyMessageQueueSelector
          consumer-in-0:
            consumer:
              # tag: {@code tag1||tag2||tag3 }; sql: {@code 'color'='blue' AND 'price'>100 } .
#              subscription: 'TagA || TagC || TagD'
              orderly: true
      bindings:
        producer-out-0:
          destination: orderly
        consumer-in-0:
          destination: orderly
          group: orderly-consumer

logging:
  level:
    org.springframework.context.support: debug
上面配置进行补充如下:
- spring.cloud.stream.bindings.通道名字.group 是针对具体通道的配置,用于设置该通道的消费组名。如果在这里设置了消费组名,那么就会覆盖全局配置。
- spring.cloud.stream.rocketmq.binder.group 是全局配置,用于设置默认的消费组名。如果没有在具体的通道中设置消费组名,那么就会使用这个全局配置。
spring.cloud.stream.bindings和spring.cloud.stream.rocketmq.bindings 区别
- 1.spring.cloud.stream.bindings是Spring Cloud Stream的核心配置属性,用于定义消息通道的绑定和配置。
- spring.cloud.stream.rocketmq.bindings是Spring Cloud Stream与RocketMQ集成时的配置属性,用于定义RocketMQ消息通道的绑定和配置。
代码
public class SimpleMsg {
    private String msg;

    public SimpleMsg(String msg) {
        this.msg = msg;
    }

    public String getMsg() {
        return msg;
    }

    public void setMsg(String msg) {
        this.msg = msg;
    }
}
@Component
public class OrderlyMessageQueueSelector implements MessageQueueSelector {
    private static final Logger log = LoggerFactory
            .getLogger(OrderlyMessageQueueSelector.class);
    @Override
    public MessageQueue select(List<MessageQueue> mqs, Message msg, Object arg) {
        Integer id = (Integer) ((MessageHeaders) arg).get(MessageConst.PROPERTY_ORIGIN_MESSAGE_ID);
        String tag = (String) ((MessageHeaders) arg).get(MessageConst.PROPERTY_TAGS);
        int index = id % MqApplication.tags.length % mqs.size();
        return mqs.get(index);
    }
}
@EnableDiscoveryClient
@SpringBootApplication
public class MqApplication {
    private static final Logger log = LoggerFactory
            .getLogger(MqApplication.class);

    public static final String[] tags = new String[]{"TagA", "TagB", "TagC", "TagD", "TagE"};

    public static void main(String[] args) {
        SpringApplication.run(MqApplication.class);
    }

    @Autowired
    private StreamBridge streamBridge;


    @Bean
    public ApplicationRunner producer() throws InterruptedException {
        Thread.sleep(6000);
        log.info("开始...");
        return args -> {
            for (int i = 0; i < 50; i++) {
                String key = "KEY" + i;
                Map<String, Object> headers = new HashMap<>();
                headers.put(MessageConst.PROPERTY_KEYS, key);
                headers.put(MessageConst.PROPERTY_TAGS, tags[i % tags.length]);
                headers.put(MessageConst.PROPERTY_ORIGIN_MESSAGE_ID, i%2);
                Message<SimpleMsg> msg = new GenericMessage(new SimpleMsg("Hello RocketMQ " + i%2), headers);
                streamBridge.send("producer-out-0", msg);
            }
        };
    }

    @Bean
    public Consumer<Message<SimpleMsg>> consumer() {
        return msg -> {
            String tagHeaderKey = RocketMQMessageConverterSupport.toRocketHeaderKey(
                    MessageConst.PROPERTY_TAGS).toString();
            log.info(Thread.currentThread().getName() + " Receive New Messages: " + msg.getPayload().getMsg() + " TAG:" +
                    msg.getHeaders().get(tagHeaderKey).toString());
            try {
                Thread.sleep(100);
            } catch (InterruptedException ignored) {
            }
        };
    }
}
测试


结束
至此,RocketMQ 顺序消息收发实践 就结束了,如有疑问,欢迎评论区留言。
文章来源:https://blog.csdn.net/2301_79691134/article/details/135003564
本文来自互联网用户投稿,该文观点仅代表作者本人,不代表本站立场。本站仅提供信息存储空间服务,不拥有所有权,不承担相关法律责任。 如若内容造成侵权/违法违规/事实不符,请联系我的编程经验分享网邮箱:chenni525@qq.com进行投诉反馈,一经查实,立即删除!
本文来自互联网用户投稿,该文观点仅代表作者本人,不代表本站立场。本站仅提供信息存储空间服务,不拥有所有权,不承担相关法律责任。 如若内容造成侵权/违法违规/事实不符,请联系我的编程经验分享网邮箱:chenni525@qq.com进行投诉反馈,一经查实,立即删除!
最新文章
- Python教程
- 深入理解 MySQL 中的 HAVING 关键字和聚合函数
- Qt之QChar编码(1)
- MyBatis入门基础篇
- 用Python脚本实现FFmpeg批量转换
- 重构第十一章:处理概括关系
- Android 代码设置本地闹钟、定时器
- YOLOv5模型转ONNX,ONNX转TensorRT Engine
- 如何在浏览器上设置 VPN 网络虚拟专用网络
- Python学习总结
- 【halcon深度学习之那些封装好的库函数】split_dl_dataset
- 华清远见作业第三十二天——C++(第一天)
- Autojs6-起点阅读自动签到任务脚本
- 多商户开源万能DIY商城系统源码 附带完整的搭建教程
- 刘慈欣科幻短篇集