使用YOLOv5训练自己的数据集 --- 老鼠识别
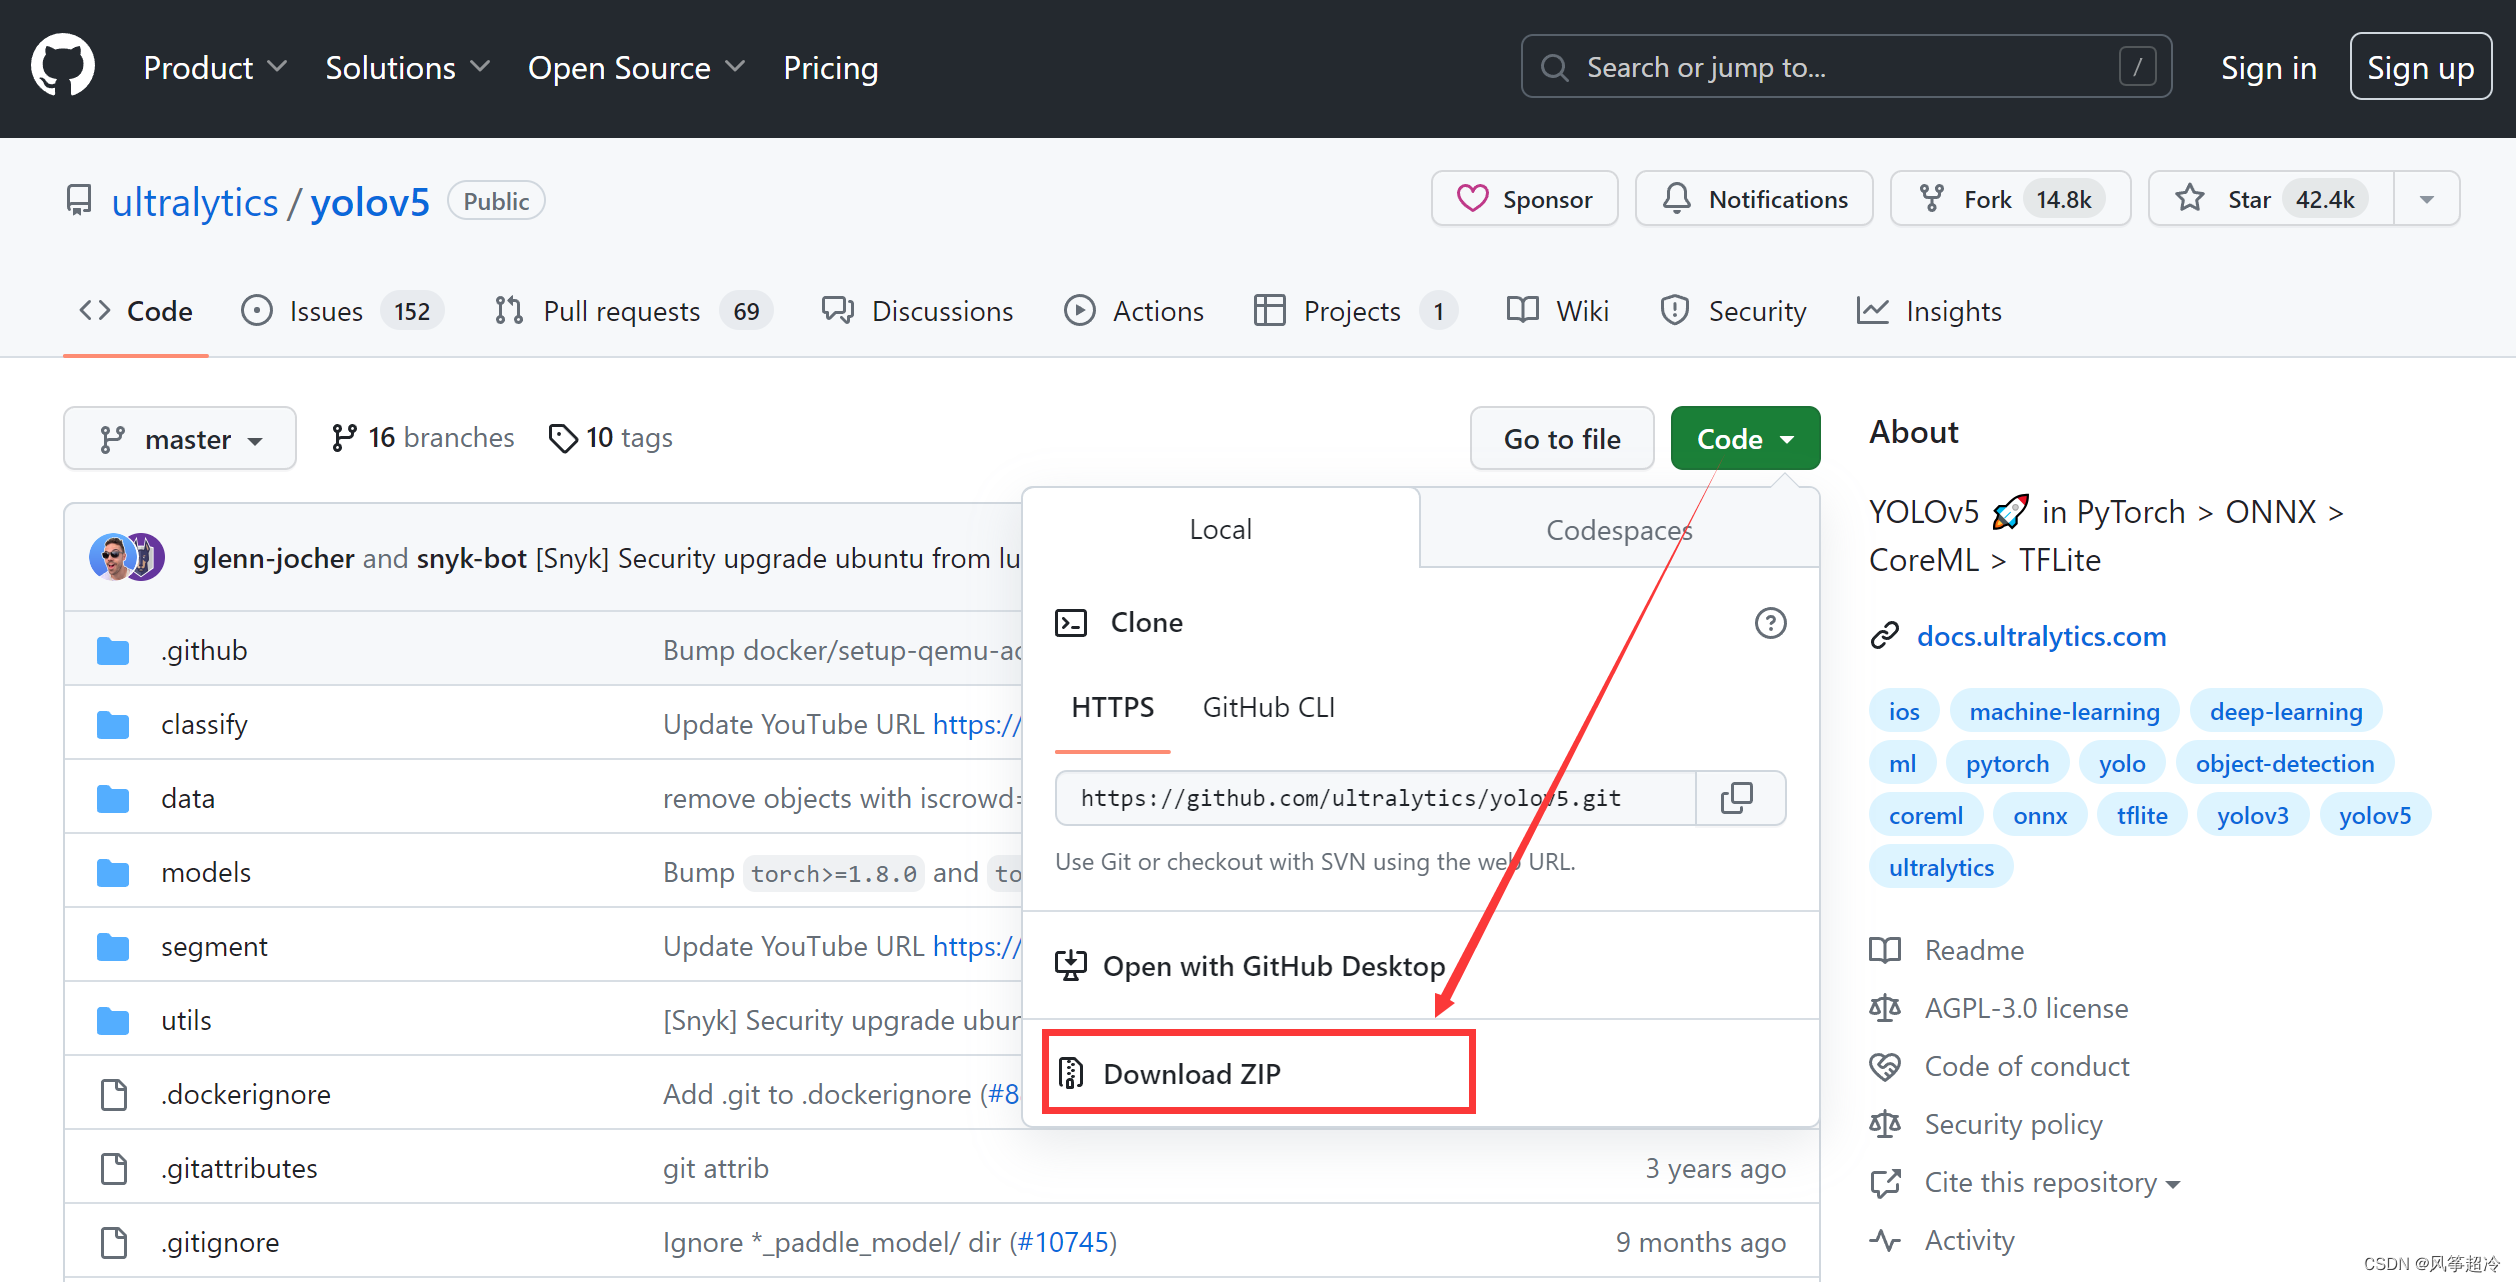
方式一:YOLOv5开源地址:https://github.com/ultralytics/yolov5/blob/master/README.zh-CN.md
方式二:YOLOv5源码:https://pan.baidu.com/s/12khk-Wkc5_J5ho4oZ7_FhA?pwd=xtru?
安装环境依赖包:
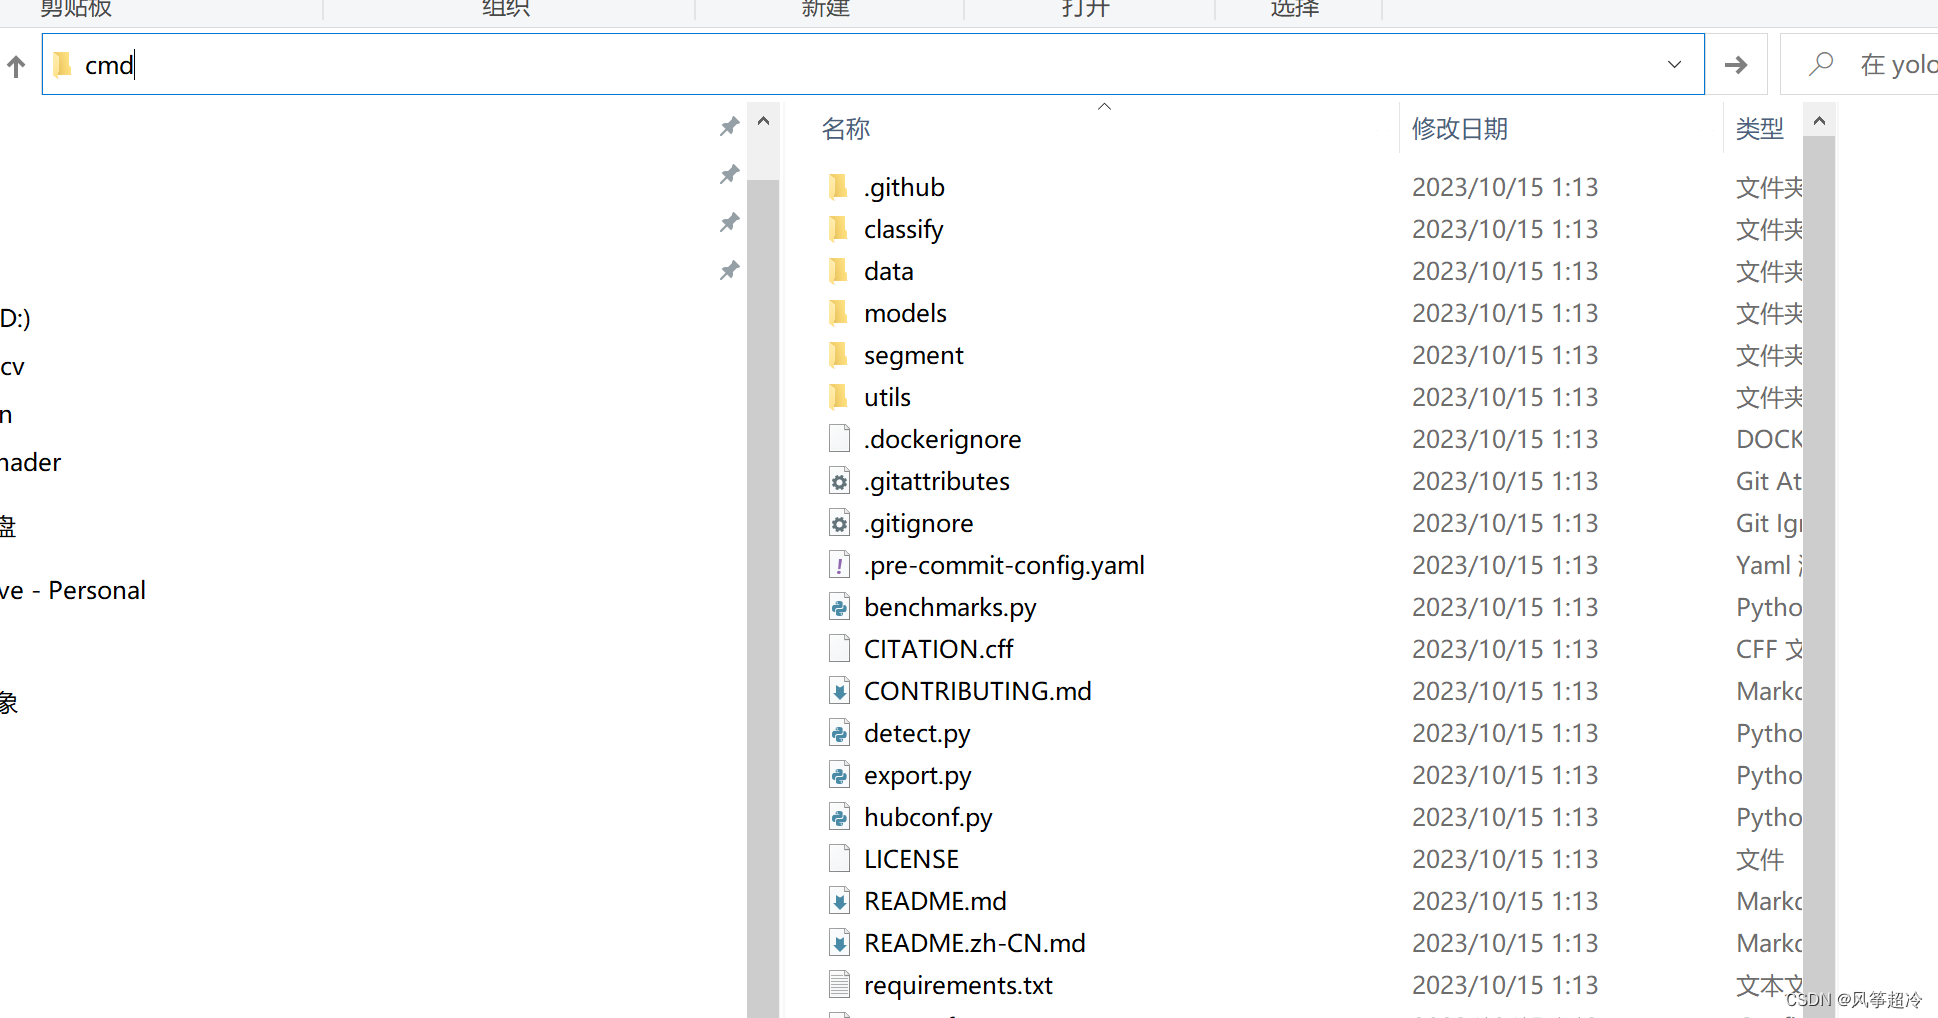
项目目录地址栏中输入cmd 回车,命令窗中安装 pip install -r requirements.txt
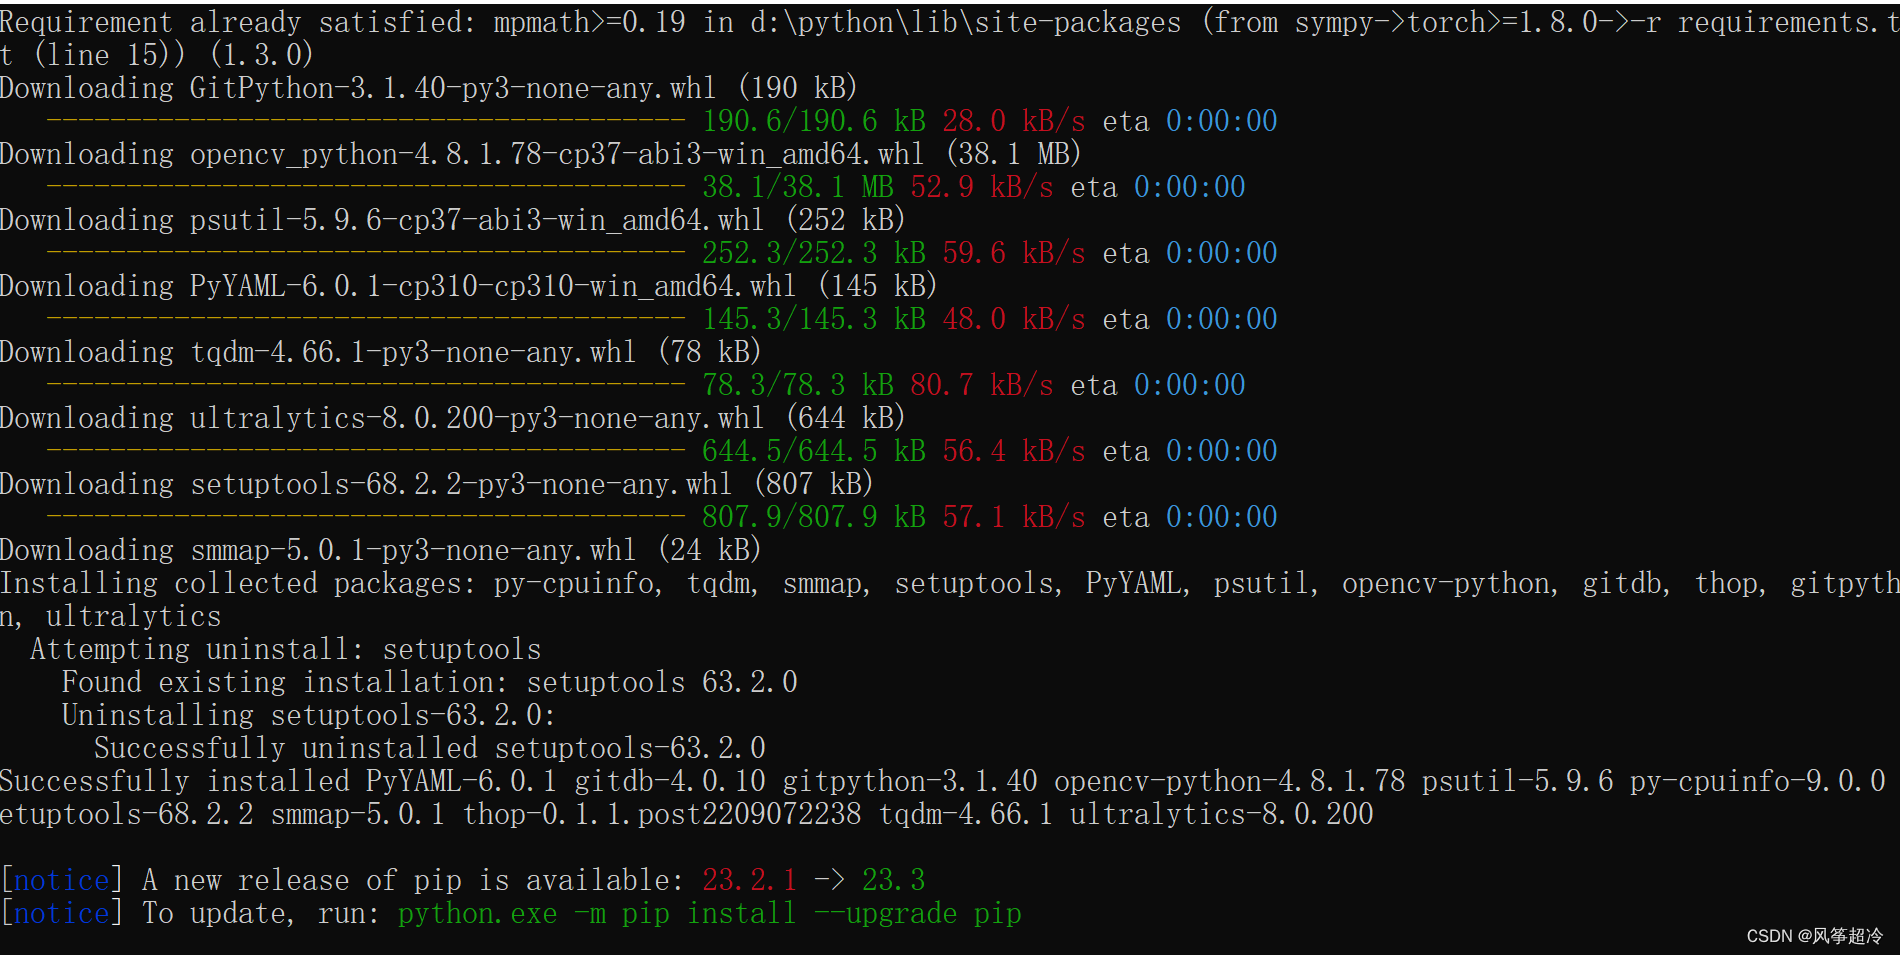
一、 D:\yolov5-master\Y1目录下新建Y1文件夹
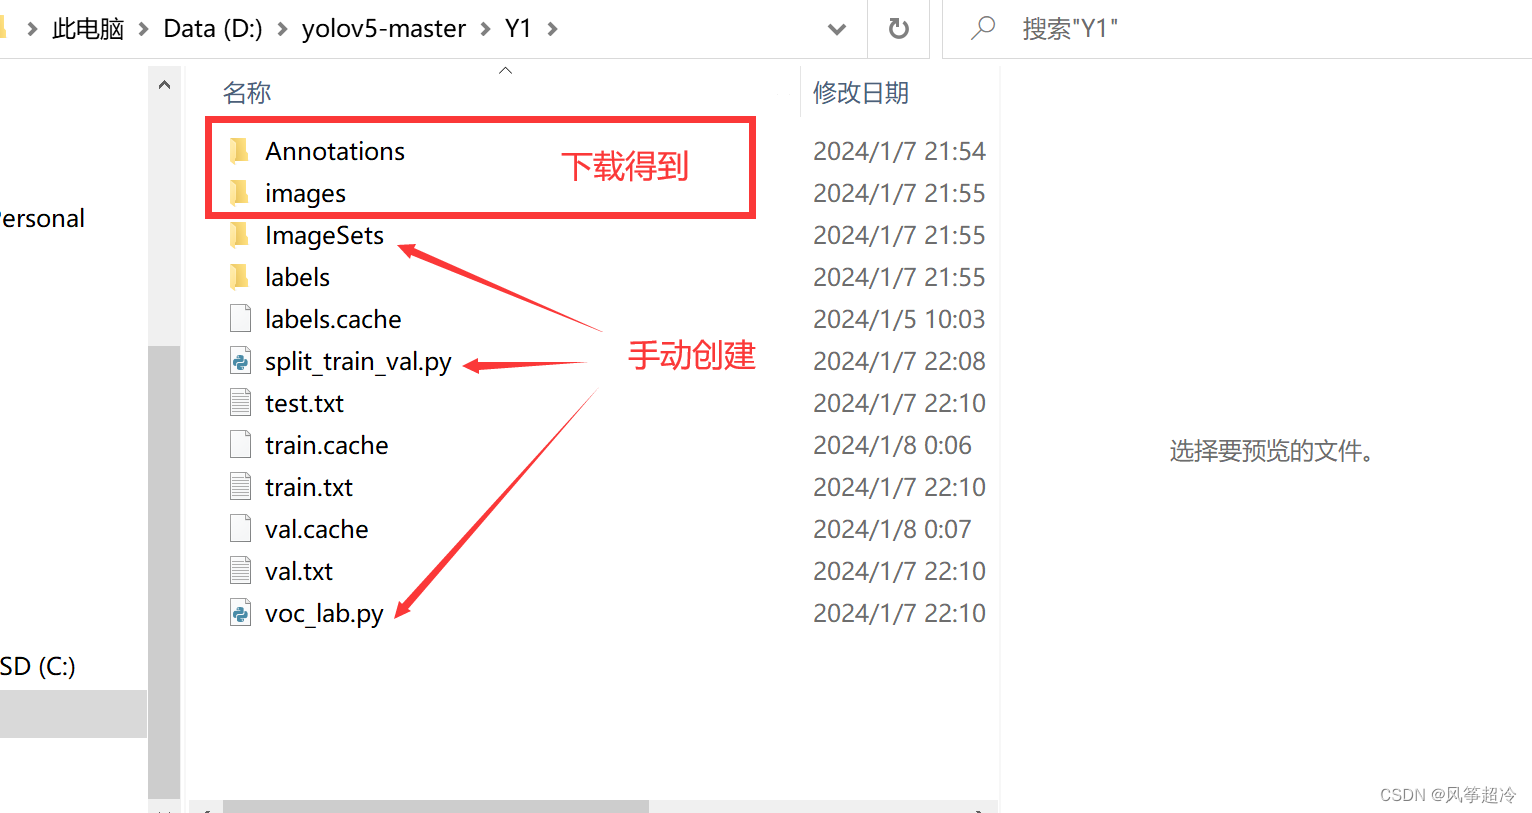
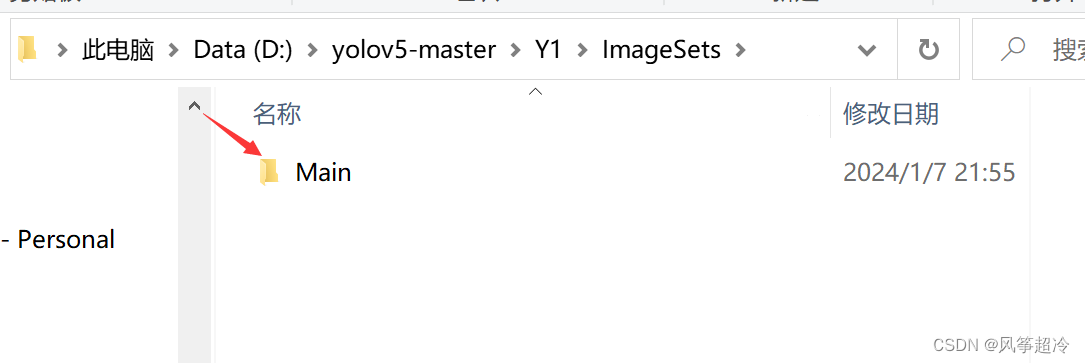
二、D:\yolov5-master\Y1\ImageSets?目录下手动创建Main文件夹
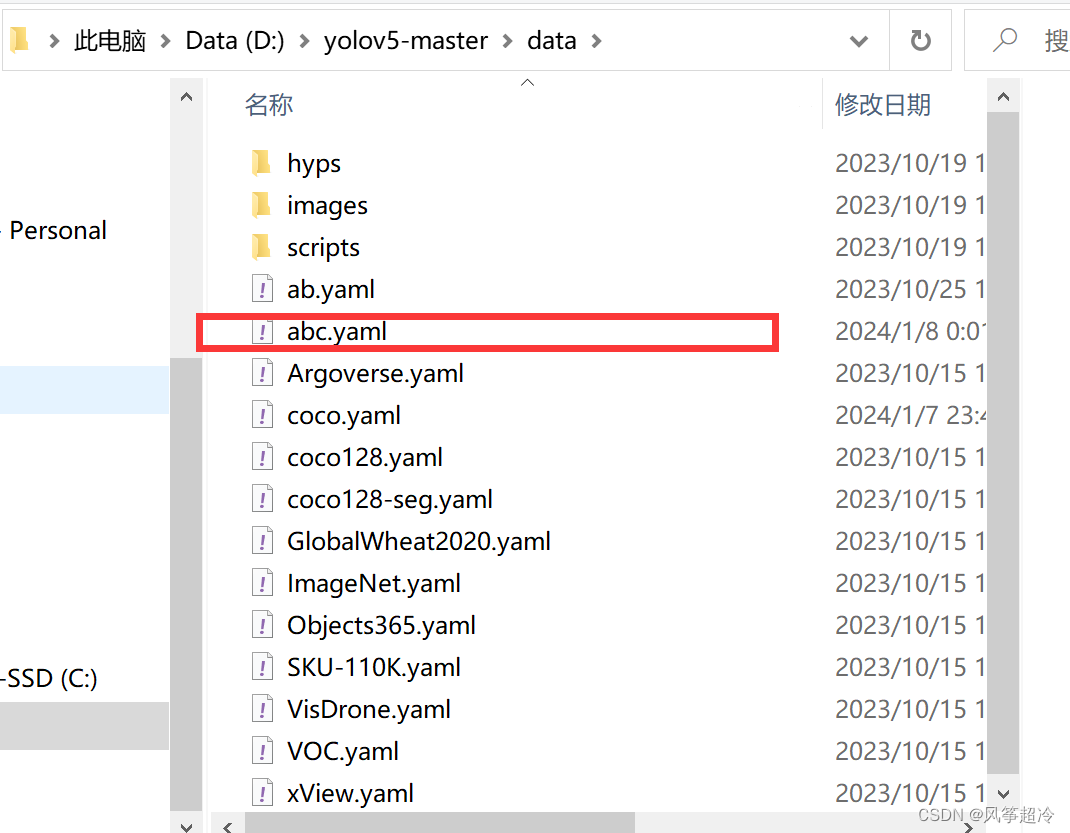
三、创建abc.yaml文件,存放自定义目标类别种类
train: D:/yolov5-master/Y1/train.txt
val: D:/yolov5-master/Y1/val.txt

nc: 1

names: ["mouse"]-
train: D:/yolov5-master/Y1/train.txt这一行指定了训练数据集的路径。 -
val: D:/yolov5-master/Y1/val.txt这一行指定了验证数据集的路径。 -
nc: 1这行代码表示在训练数据中有一个类别(nc代表 “number of classes”,即类别数量)。在这个案例中,只有一个类别。 -
names: ["mouse"]这行代码定义了类别的名称。由于nc被设置为 1,所以这里只列出了一个类别的名称,即 “mouse”(鼠标或老鼠)。这个名称用于模型训练过程中标记和识别图像中的对象。
?四、运行python文件
4.1 运行split_train_val.py 代码内容 :
# 划分train、test、val文件
import os
import random
import argparse

parser = argparse.ArgumentParser()
# xml文件的地址,根据自己的数据进行修改 xml一般存放在Annotations下
parser.add_argument('--xml_path', default='D:/yolov5-master/Y1/Annotations', type=str, help='input txt label path')
# 数据集的划分,地址选择自己数据下的ImageSets/Main
parser.add_argument('--txt_path', default='D:/yolov5-master/Y1/ImageSets/Main', type=str, help='output txt label path')
opt = parser.parse_args()

trainval_percent = 0.9
train_percent = 8/9
xmlfilepath = opt.xml_path
txtsavepath = opt.txt_path
total_xml = os.listdir(xmlfilepath)
if not os.path.exists(txtsavepath):
    os.makedirs(txtsavepath)

num = len(total_xml)
list_index = range(num)
tv = int(num * trainval_percent)
tr = int(tv * train_percent)
trainval = random.sample(list_index, tv)
train = random.sample(trainval, tr)

file_trainval = open(txtsavepath + '/trainval.txt', 'w')
file_test = open(txtsavepath + '/test.txt', 'w')
file_train = open(txtsavepath + '/train.txt', 'w')
file_val = open(txtsavepath + '/val.txt', 'w')


for i in list_index:
    name = total_xml[i][:-4] + '\n'
    if i in trainval:
        file_trainval.write(name)
        if i in train:
            file_train.write(name)
        else:
            file_val.write(name)
    else:
        file_test.write(name)

file_trainval.close()
file_train.close()
file_val.close()
file_test.close()
4.2 运行voc_label.py 代码内容:?
import xml.etree.ElementTree as ET
import os
from os import getcwd

sets = ['train', 'val', 'test']
classes = ["mouse"]  # 改成自己的类别
abs_path = os.getcwd()
print(abs_path)


def convert(size, box):
    dw = 1. / (size[0])
    dh = 1. / (size[1])
    x = (box[0] + box[1]) / 2.0 - 1
    y = (box[2] + box[3]) / 2.0 - 1
    w = box[1] - box[0]
    h = box[3] - box[2]
    x = x * dw
    w = w * dw
    y = y * dh
    h = h * dh
    return x, y, w, h


def convert_annotation(image_id):
    in_file = open('D:/yolov5-master/Y1/Annotations/%s.xml' % (image_id), encoding='UTF-8')
    out_file = open('D:/yolov5-master/Y1/labels/%s.txt' % (image_id), 'w')
    tree = ET.parse(in_file)
    root = tree.getroot()

    filename = root.find('filename').text
    filenameFormat = filename.split(".")[1]

    size = root.find('size')
    w = int(size.find('width').text)
    h = int(size.find('height').text)
    for obj in root.iter('object'):
        difficult = obj.find('difficult').text
        cls = obj.find('name').text
        if cls not in classes or int(difficult) == 1:
            continue

        cls_id = classes.index(cls)
        xmlbox = obj.find('bndbox')
        b = (float(xmlbox.find('xmin').text), float(xmlbox.find('xmax').text), float(xmlbox.find('ymin').text),
             float(xmlbox.find('ymax').text))
        b1, b2, b3, b4 = b
        # 标注越界修正
        if b2 > w:
            b2 = w
        if b4 > h:
            b4 = h
        b = (b1, b2, b3, b4)
        bb = convert((w, h), b)
        out_file.write(str(cls_id) + " " + " ".join([str(a) for a in bb]) + '\n')
    return filenameFormat


wd = getcwd()
for image_set in sets:
    if not os.path.exists('D:/yolov5-master/Y1/labels/'):
        os.makedirs('D:/yolov5-master/Y1/labels/')
    image_ids = open('D:/yolov5-master/Y1/ImageSets/Main/%s.txt' % (image_set)).read().strip().split()
    list_file = open('D:/yolov5-master/Y1/%s.txt' % (image_set),'w')
    for image_id in image_ids:
        filenameFormat = convert_annotation(image_id)
        list_file.write( 'D:/yolov5-master/Y1/images/%s.%s\n' % (image_id,filenameFormat))
    list_file.close()
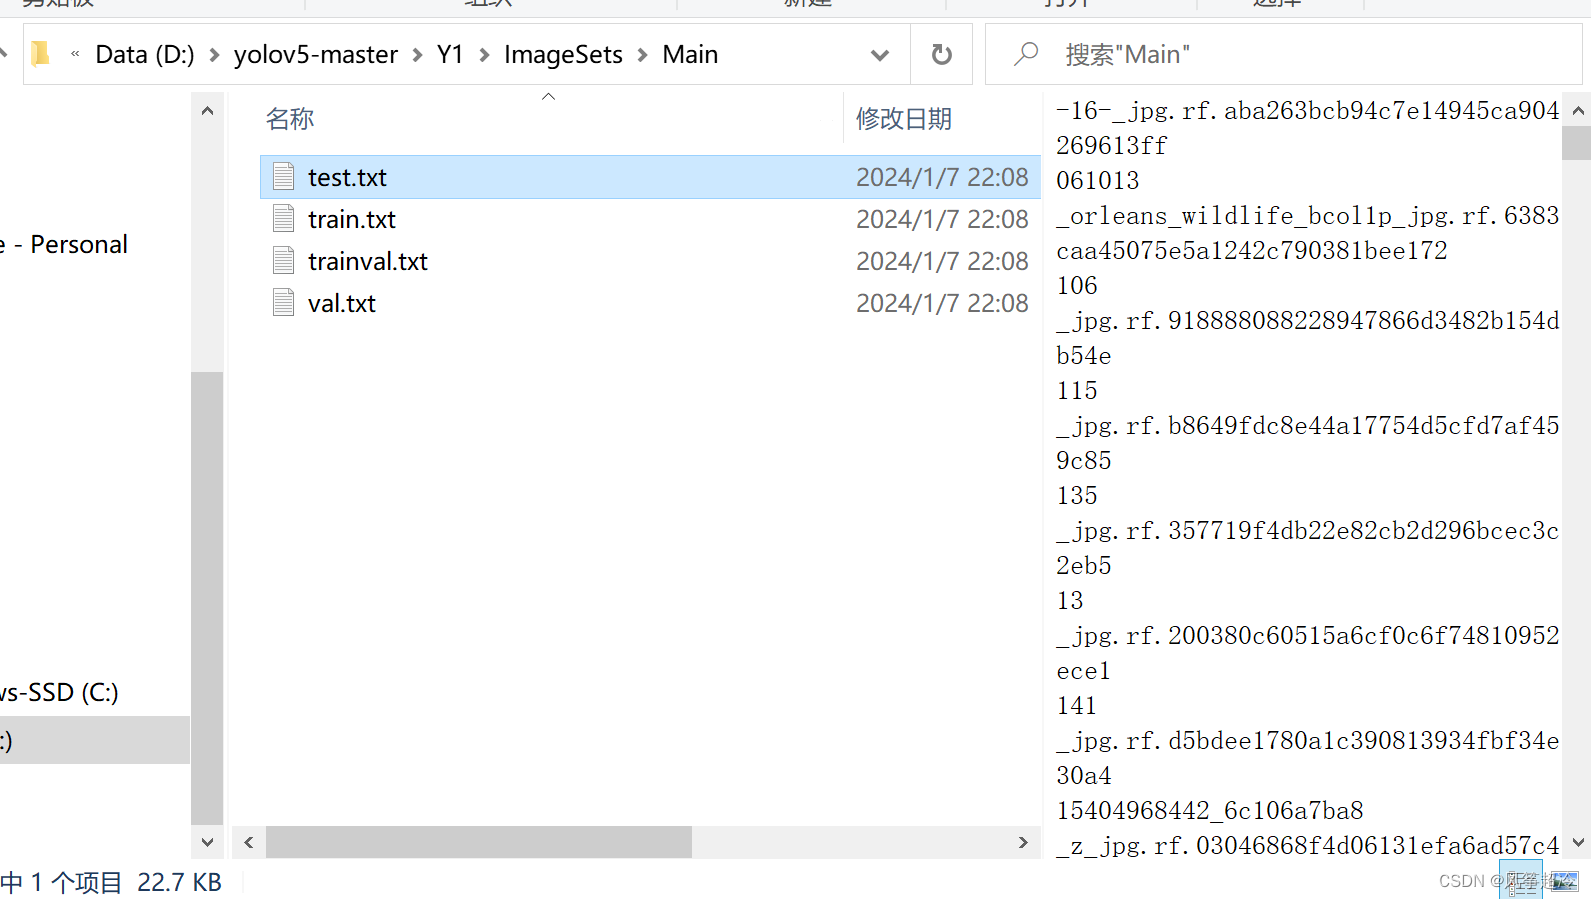
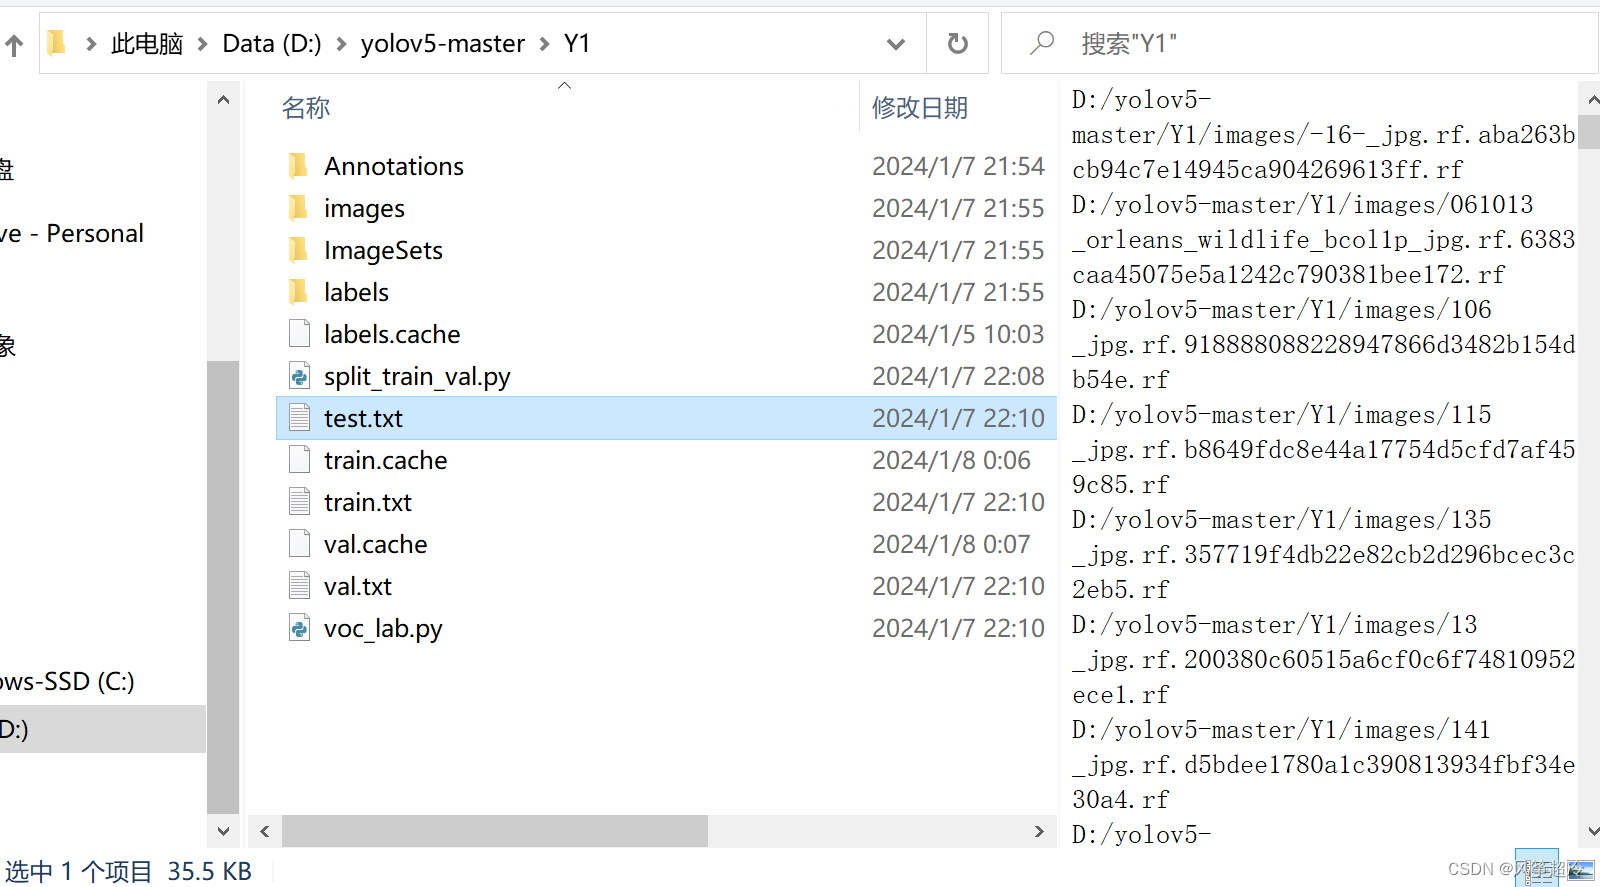
运行结果:?
 ?五、训练模型及目标小鼠识别
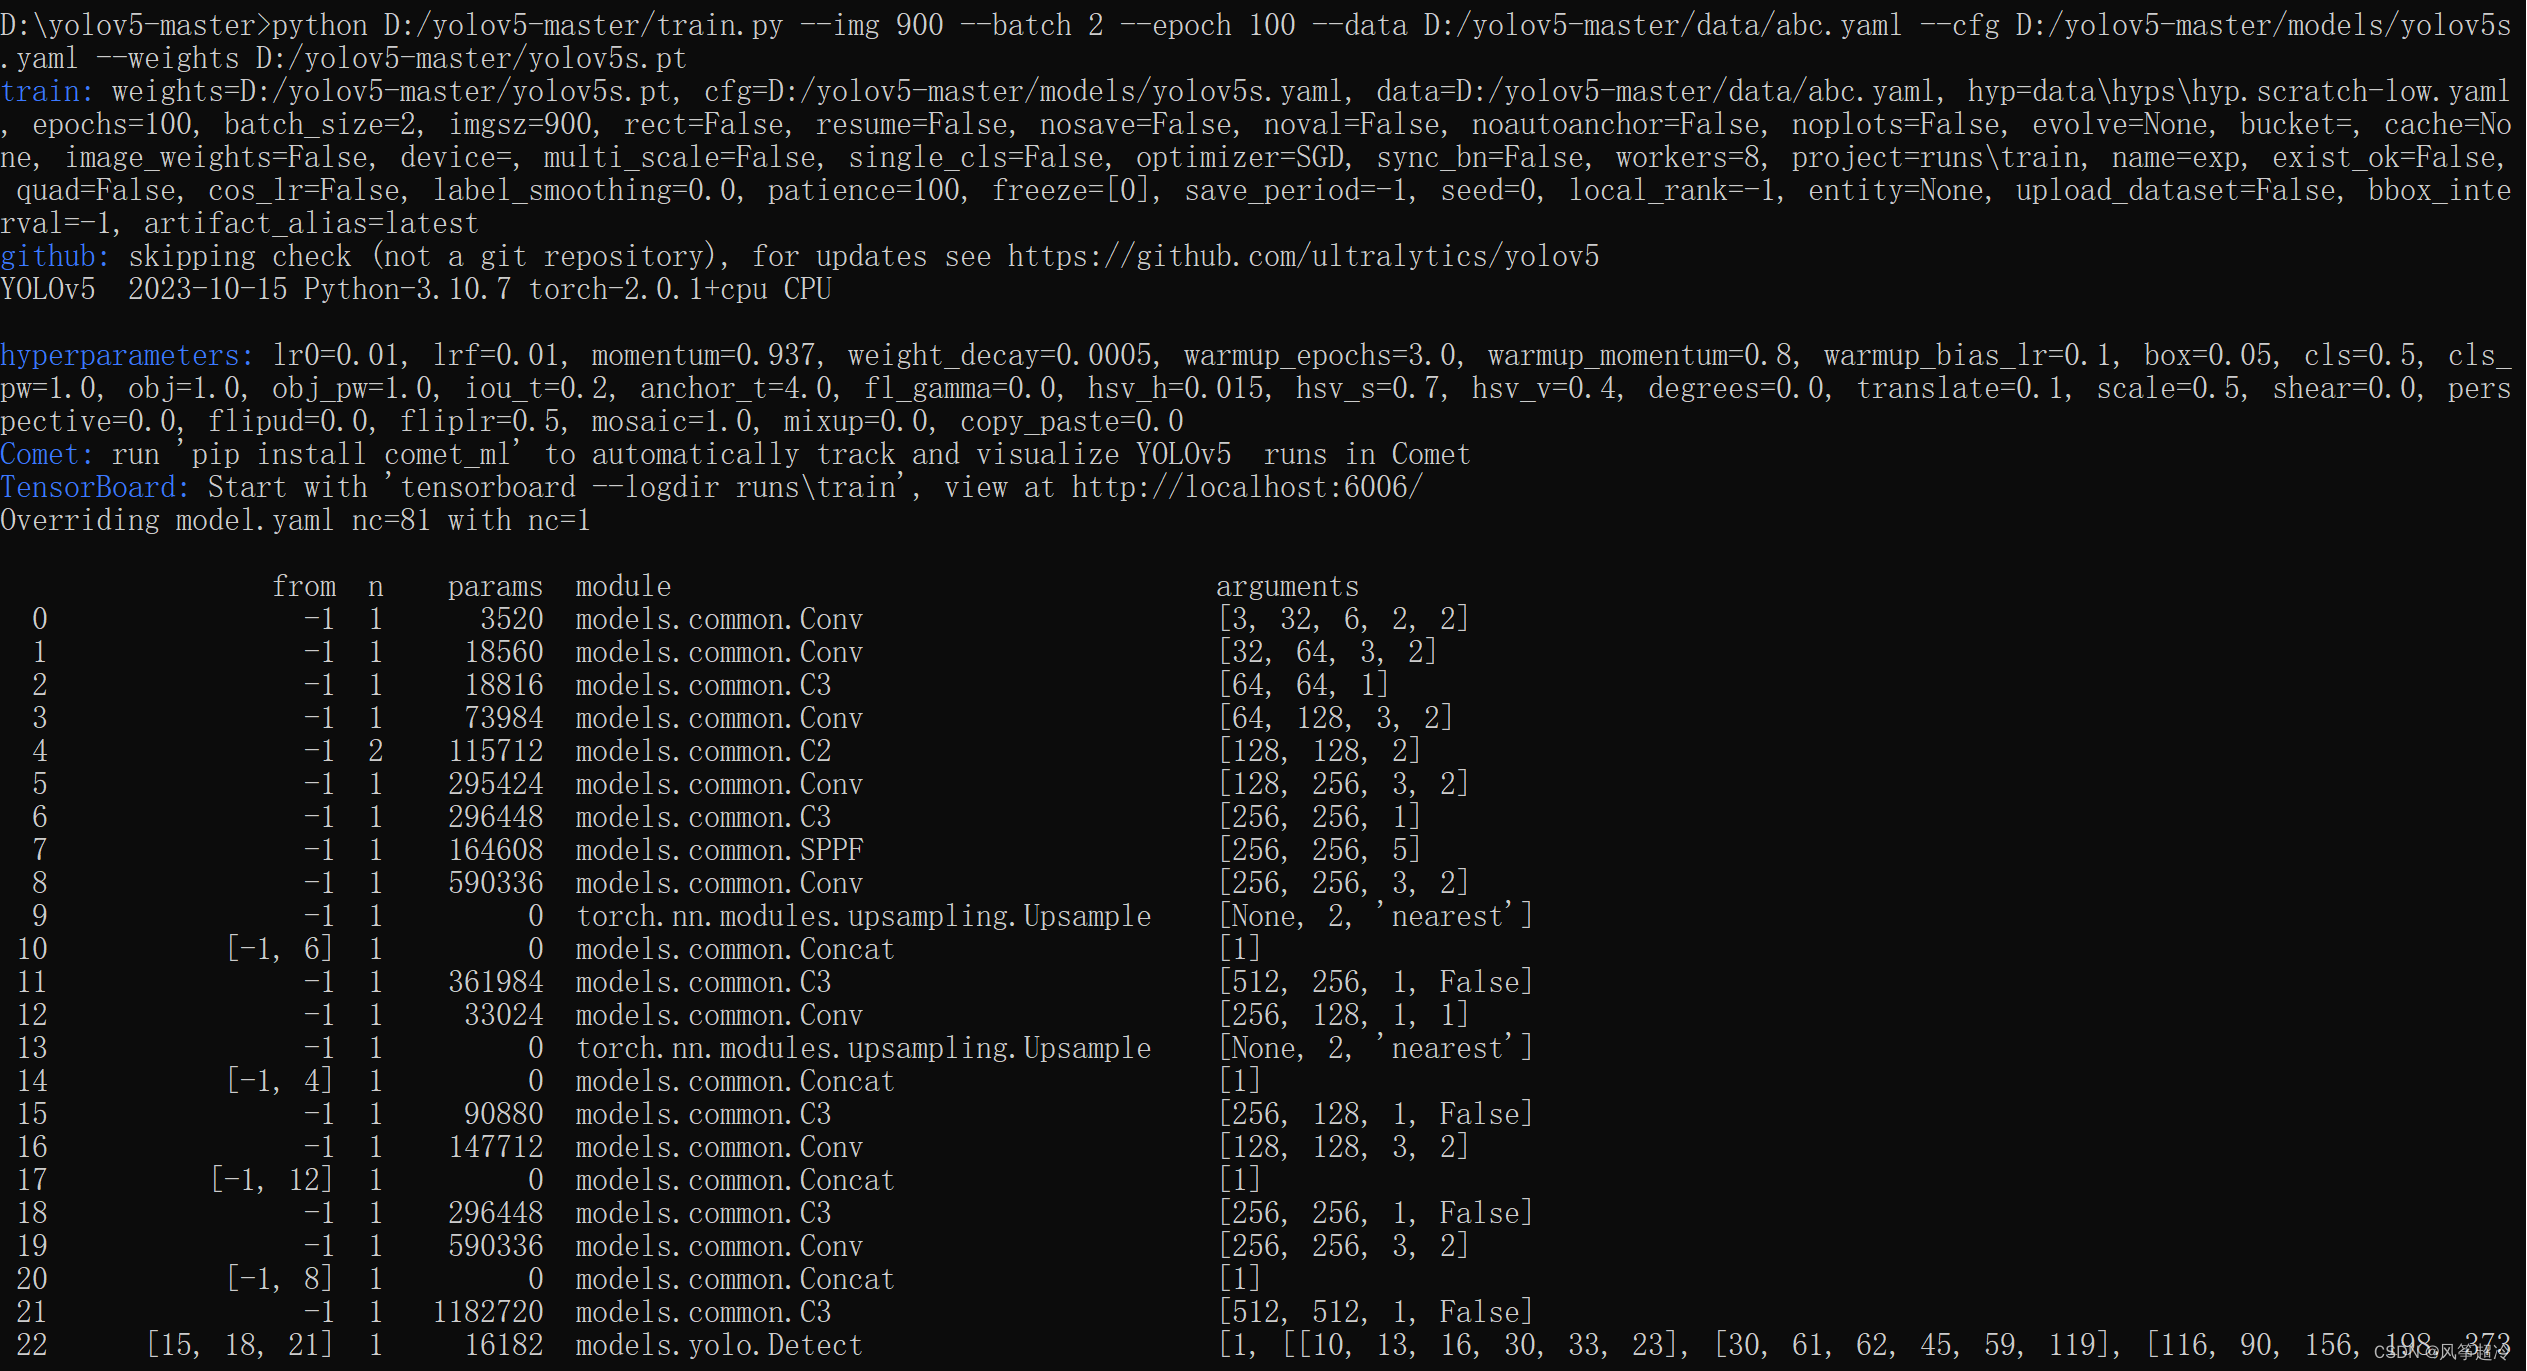
?训练命令:
python D:/yolov5-master/train.py --img 900 --batch 2 --epoch 100 --data D:/yolov5-master/data/abc.yaml --cfg D:/yolov5-master/models/yolov5s.yaml --weights D:/yolov5-master/yolov5s.pt?????下面是对启动 YOLOv5 的训练命令行中各部分的解释:
-
python: 调用 Python 解释器的命令 -
D:/yolov5-master/train.py: YOLOv5 训练脚本train.py的路径 -
--img 900: 设置输入图像的分辨率为 900 像素 -
--batch 2: 指定批处理大小为 2,这意味着每次迭代会处理两幅图像 -
--epoch 100: 设置训练轮数为 100,即完整数据集将被遍历100次 -
--data D:/yolov5-master/data/abc.yaml: 指定数据集配置文件的路径。?YAML 文件包含了训练和验证数据集的路径,以及类别信息 -
--cfg D:/yolov5-master/models/yolov5s.yaml: 指定模型配置文件的路径。文件定义了模型的架构 -
--weights D:/yolov5-master/yolov5s.pt: 指定预训练权重的路径。这里使用的是 YOLOv5 的小型版本(yolov5s)的预训练权重
识别命令:
python detect.py --source D:\yolov5-master\Y1\images\_95338980_gettyimages-460710996_jpg.rf.7387ff77cf64f0711d27085f22fe2c0d.jpg --weights D:\yolov5-master\runs\train\exp17\weights\best.pt --img 640下面是对指令各个参数的解释:
-
python: 调用 Python 解释器 -
detect.py: YOLOv5 框架中用于执行对象检测的 Python 脚本 -
--source D:\yolov5-master\Y1\images\_95338980_gettyimages-460710996_jpg.rf.7387ff77cf64f0711d27085f22fe2c0d.jpg: 指定待检测图像的路径 -
--weights D:\yolov5-master\runs\train\exp17\weights\best.pt: 这个参数指定了训练好的权重文件的路径。在这个例子中,权重来自于之前训练过程中评估为“最佳”的模型 -
--img 640: 设置图像处理的分辨率为 640 像素
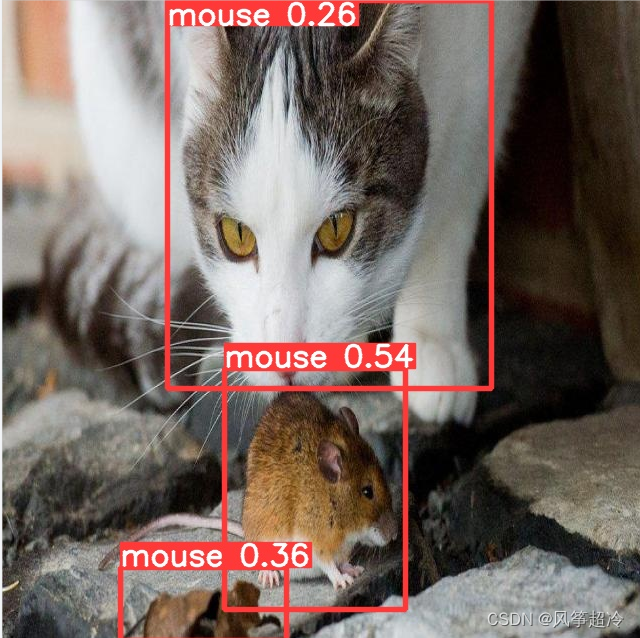
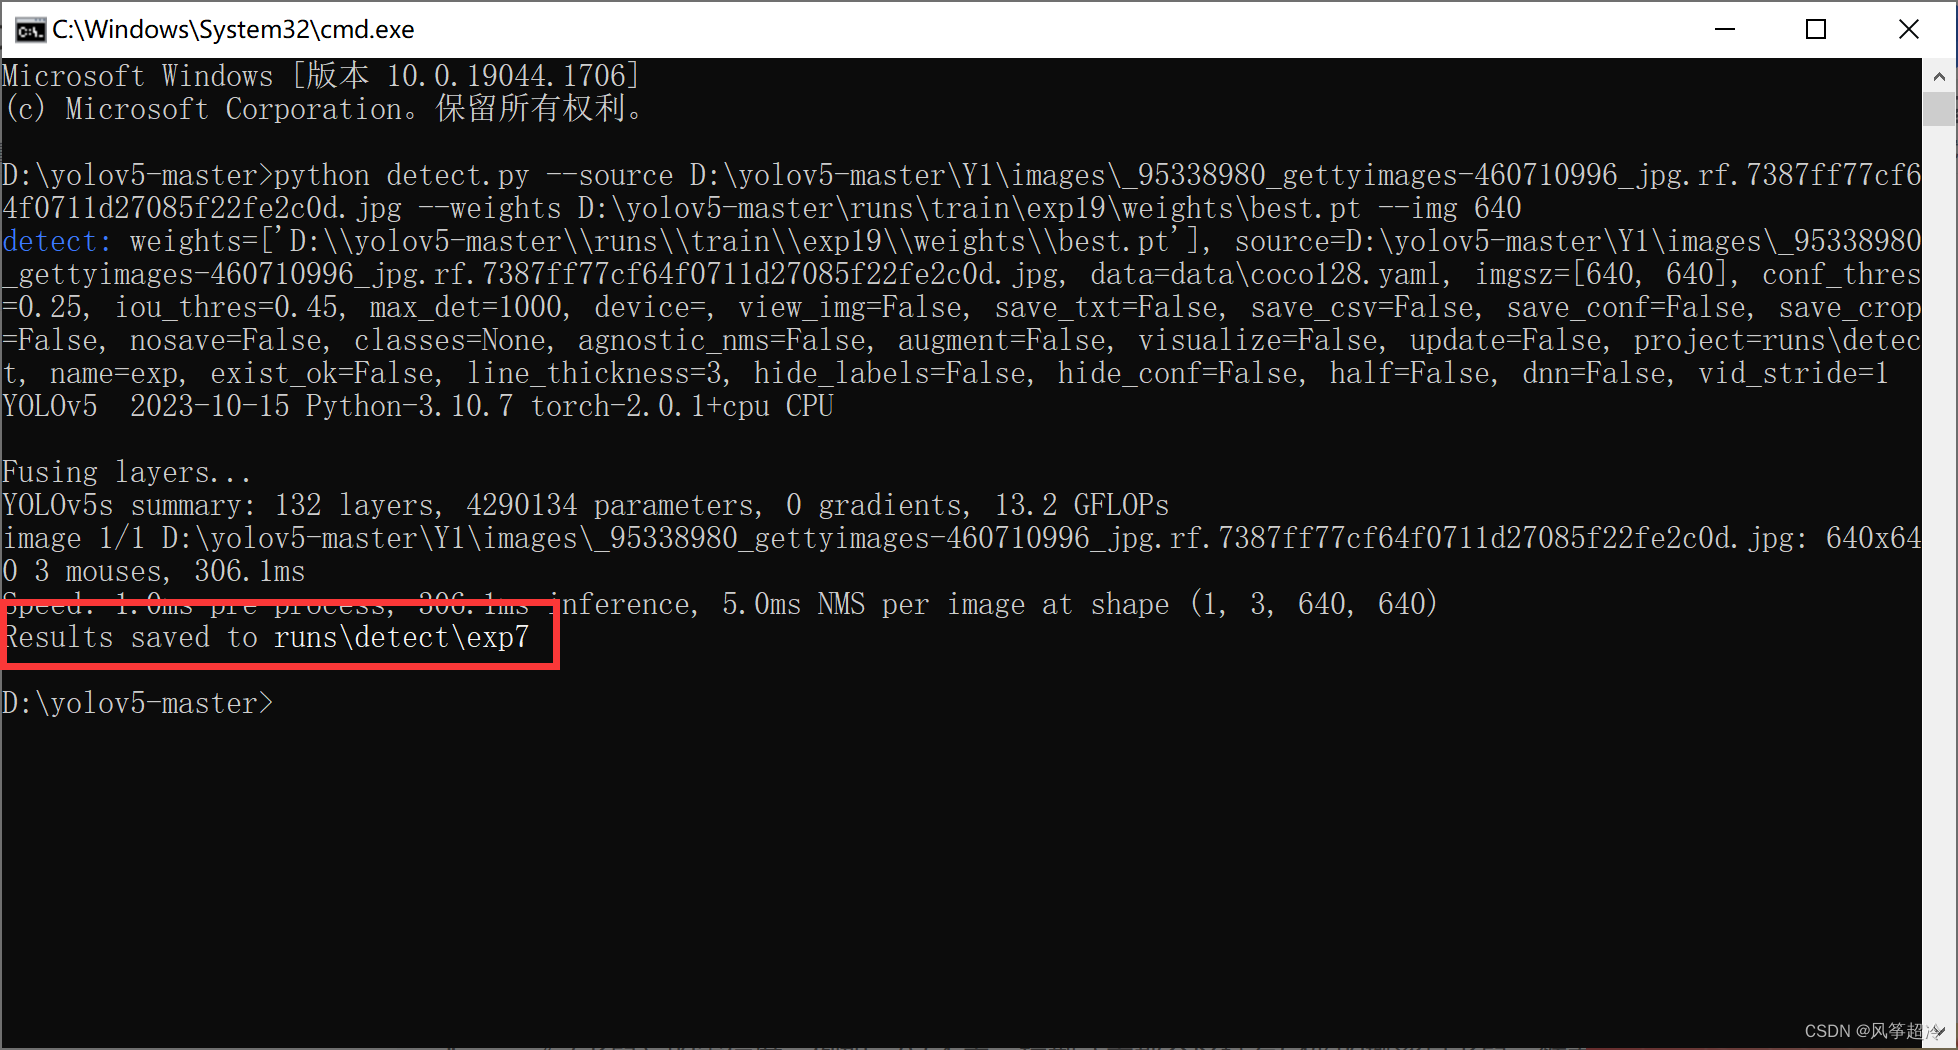 检测结果 保存在runs\detect\exp7路径下
结果分析:
由于我们在abc.yaml文件下只设置了mouse一种类别所以 ,三个边界框分别圈出了图像中的不同部分,并且每个框旁边都标注了“mouse”和一个数字。这些数字通常代表模型对于检测到的对象是“mouse”(老鼠)的置信度。例如,0.54 表示模型认为那个区域有54%的概率是老鼠。然而,模型也错误地将猫的部分面部区域也识别为“mouse”,我们可以通过调整目标类别以提高其识别准确性。
本文来自互联网用户投稿,该文观点仅代表作者本人,不代表本站立场。本站仅提供信息存储空间服务,不拥有所有权,不承担相关法律责任。 如若内容造成侵权/违法违规/事实不符,请联系我的编程经验分享网邮箱:chenni525@qq.com进行投诉反馈,一经查实,立即删除!
- Python教程
- 深入理解 MySQL 中的 HAVING 关键字和聚合函数
- Qt之QChar编码(1)
- MyBatis入门基础篇
- 用Python脚本实现FFmpeg批量转换
- 点击筛选框动态增加 多条可输入Table列 以及通过操作数组改造数据
- Scratch图形化编程:培养少儿编程思维与参与赛事
- 【LeetCode:129. 求根节点到叶节点数字之和 | 二叉树 + 递归】
- 巨量广告升级版背后的人才能力如何迭代?巨量认证给出解决方案
- 【蓝桥杯选拔赛真题79】Scratch比较身高 第十五届蓝桥杯scratch图形化编程 少儿编程创意编程选拔赛真题解析
- linux 内核同步互斥技术之读写自旋锁
- 【hyperledger-fabric】部署Java应用远程访问智能合约
- Linux内核之常用数据结构分析
- JavaScript-流程控制-笔记
- Linux_CentOS_7.9配置时区及NTPdate同步之简易记录
