VMware Workstation Pro安装centos
发布时间:2024年01月07日
前置操作
下载centos镜像
下载并安装VMware Workstation Pro,网上随便搜一下就可以找到安装包和破解文件
安装centos
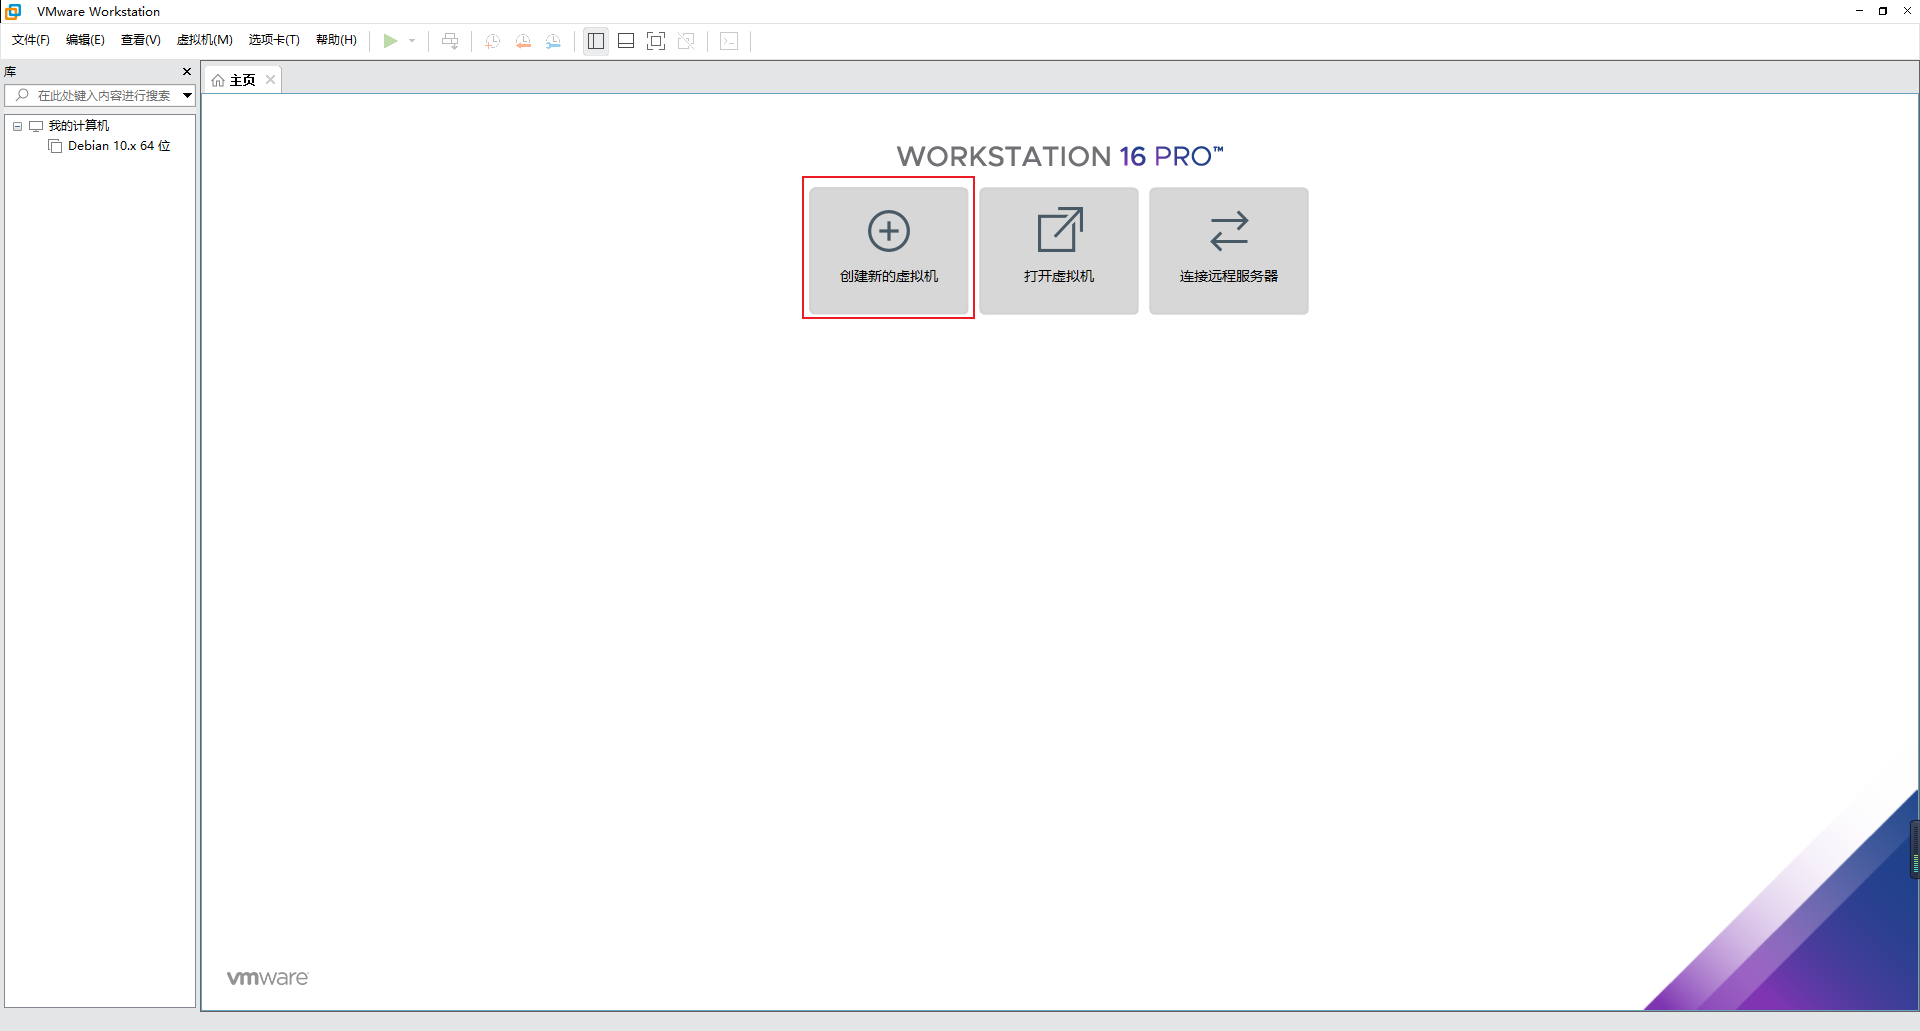
启动vm,点击创建新的虚拟机
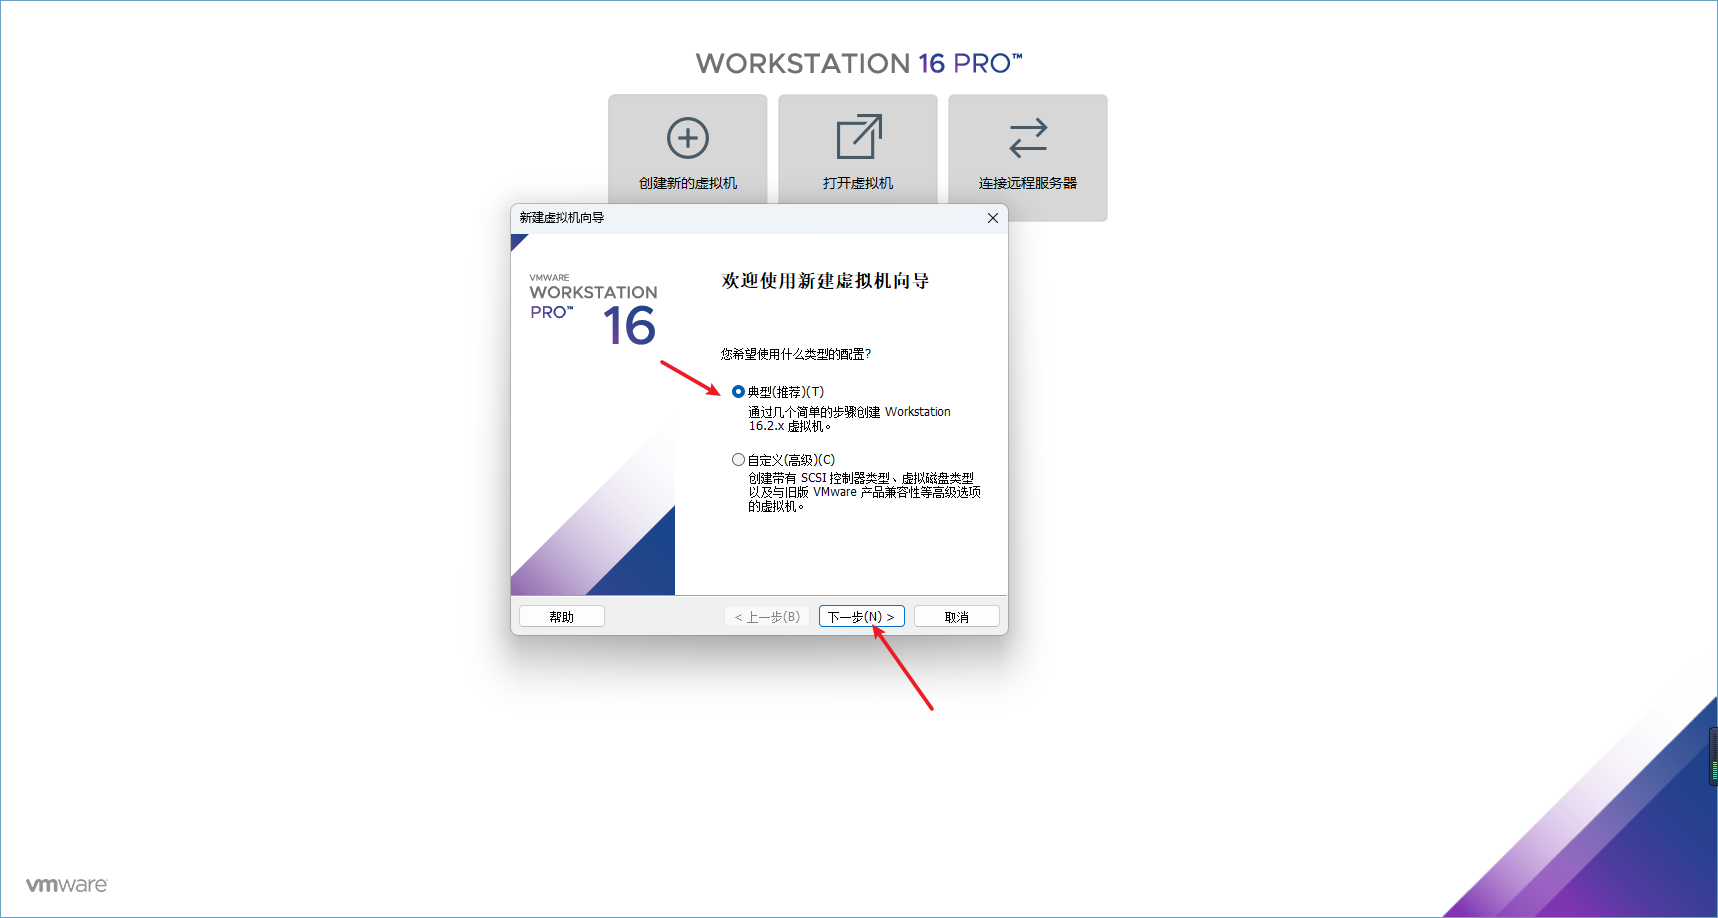
选择典型,点击下一步
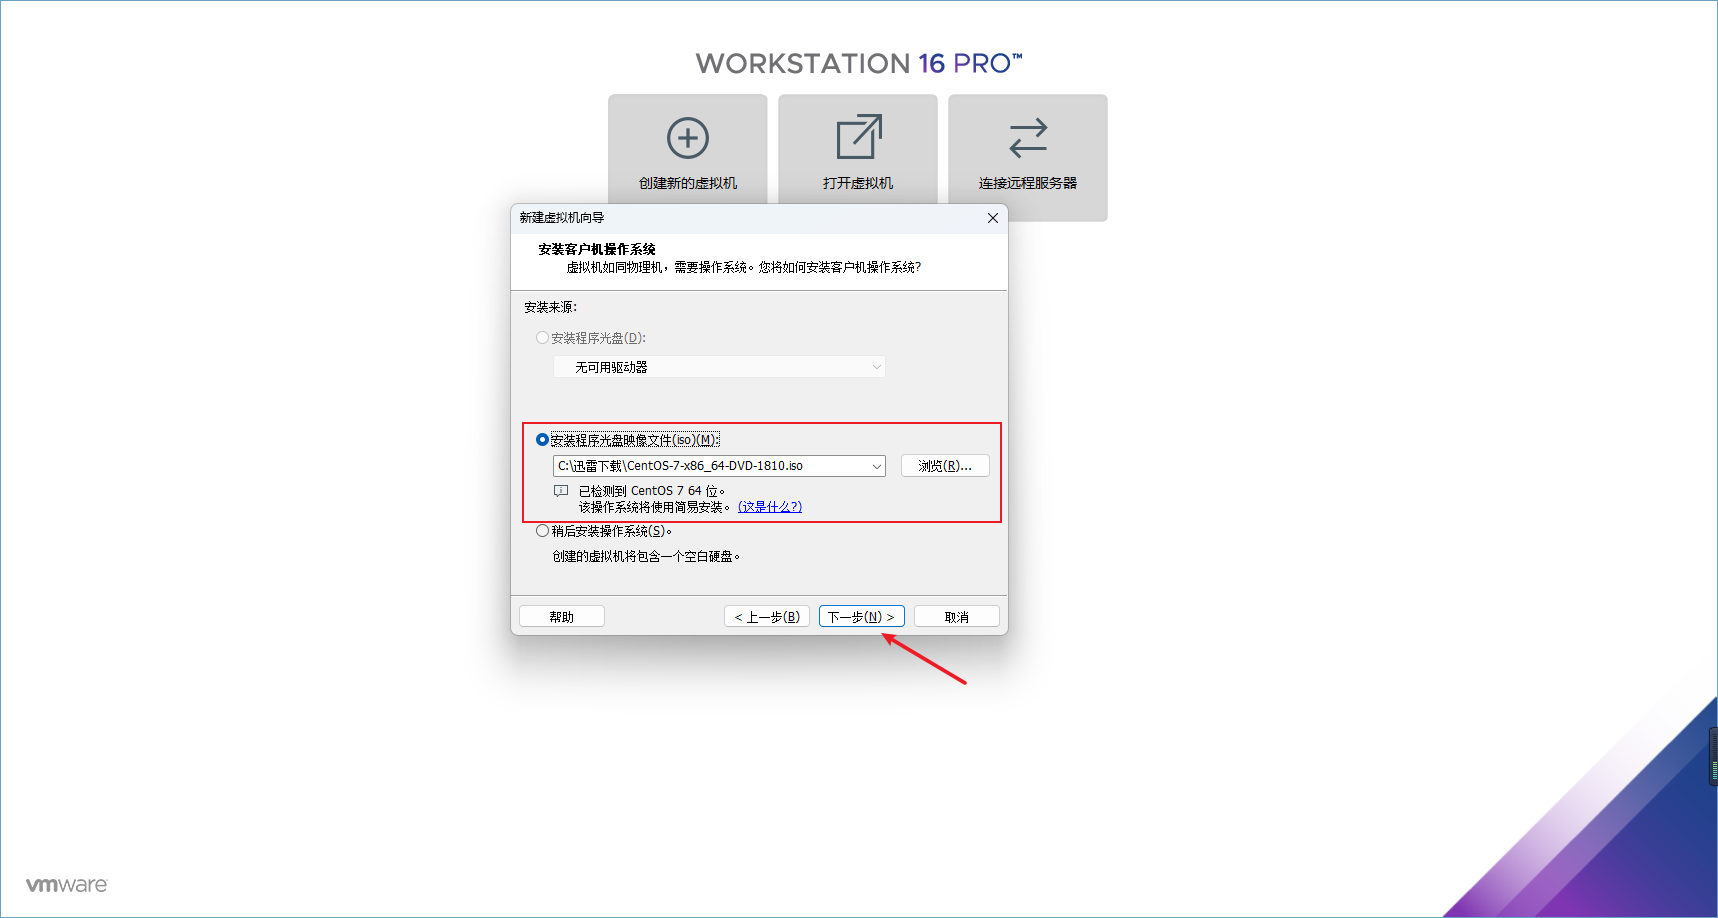
选择centos镜像,点击下一步。(注意:选择到了镜像之后下方会显示已检测到CentOS系统)
配置系统名称和用户名密码,我这里系统名称是centos,用户名是admin,密码是123456

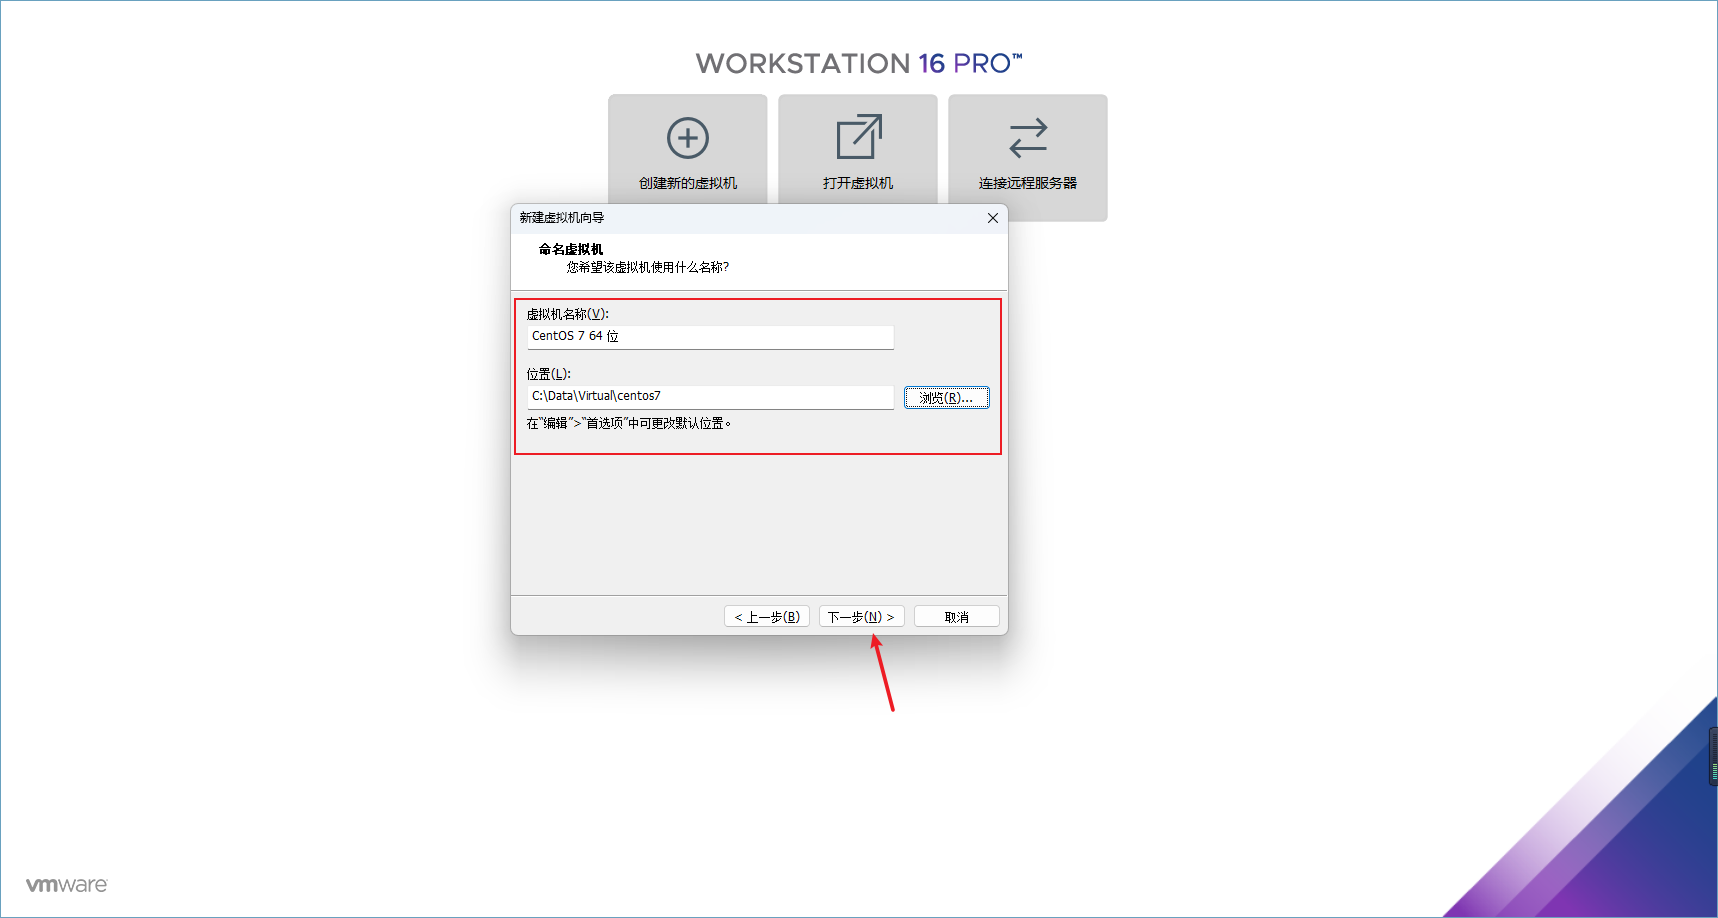
为centos配置vm中显示的名称和安装的物理硬盘位置
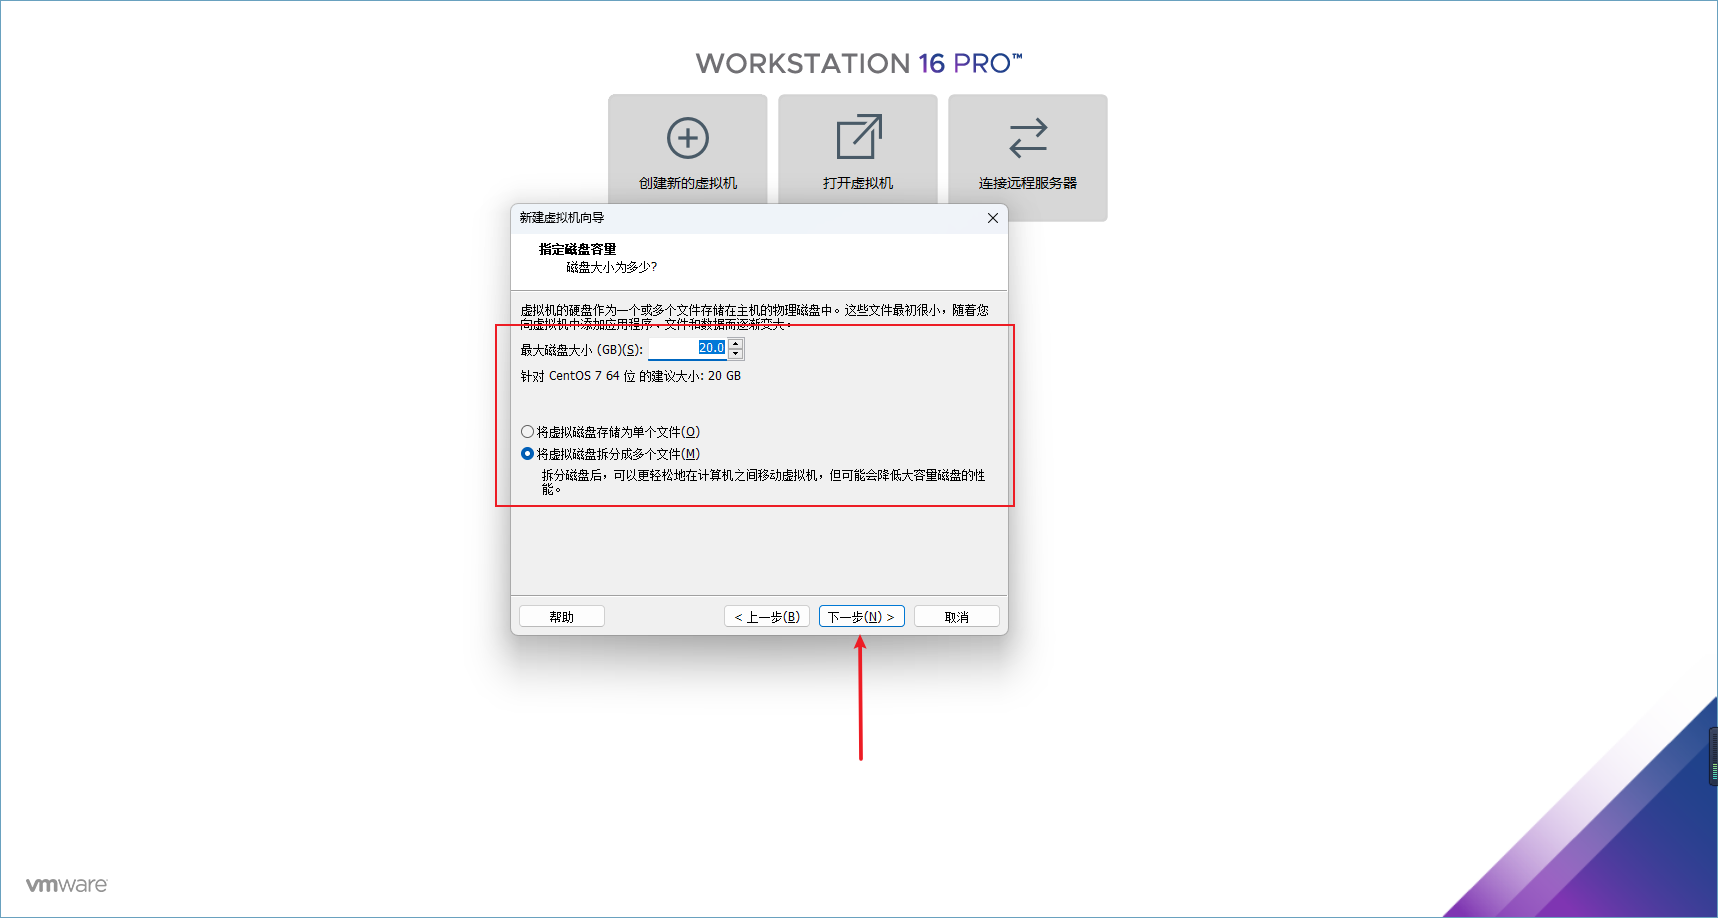
这一步可以为磁盘分配空间,可以选择将虚拟磁盘的文件拆分成一个或多个,配置完成后点击下一步
这是多个磁盘文件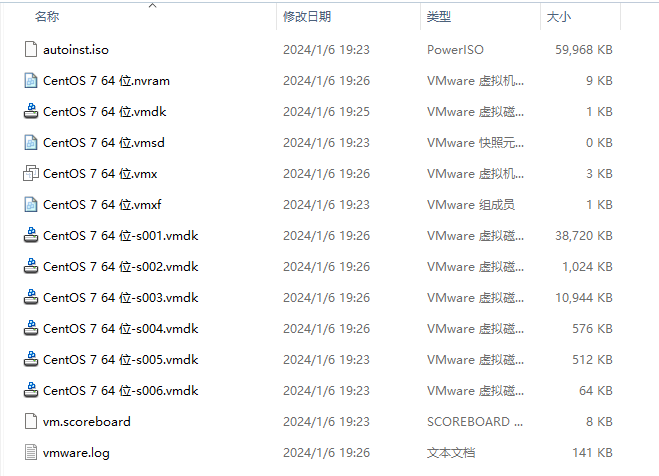
这是单个磁盘文件
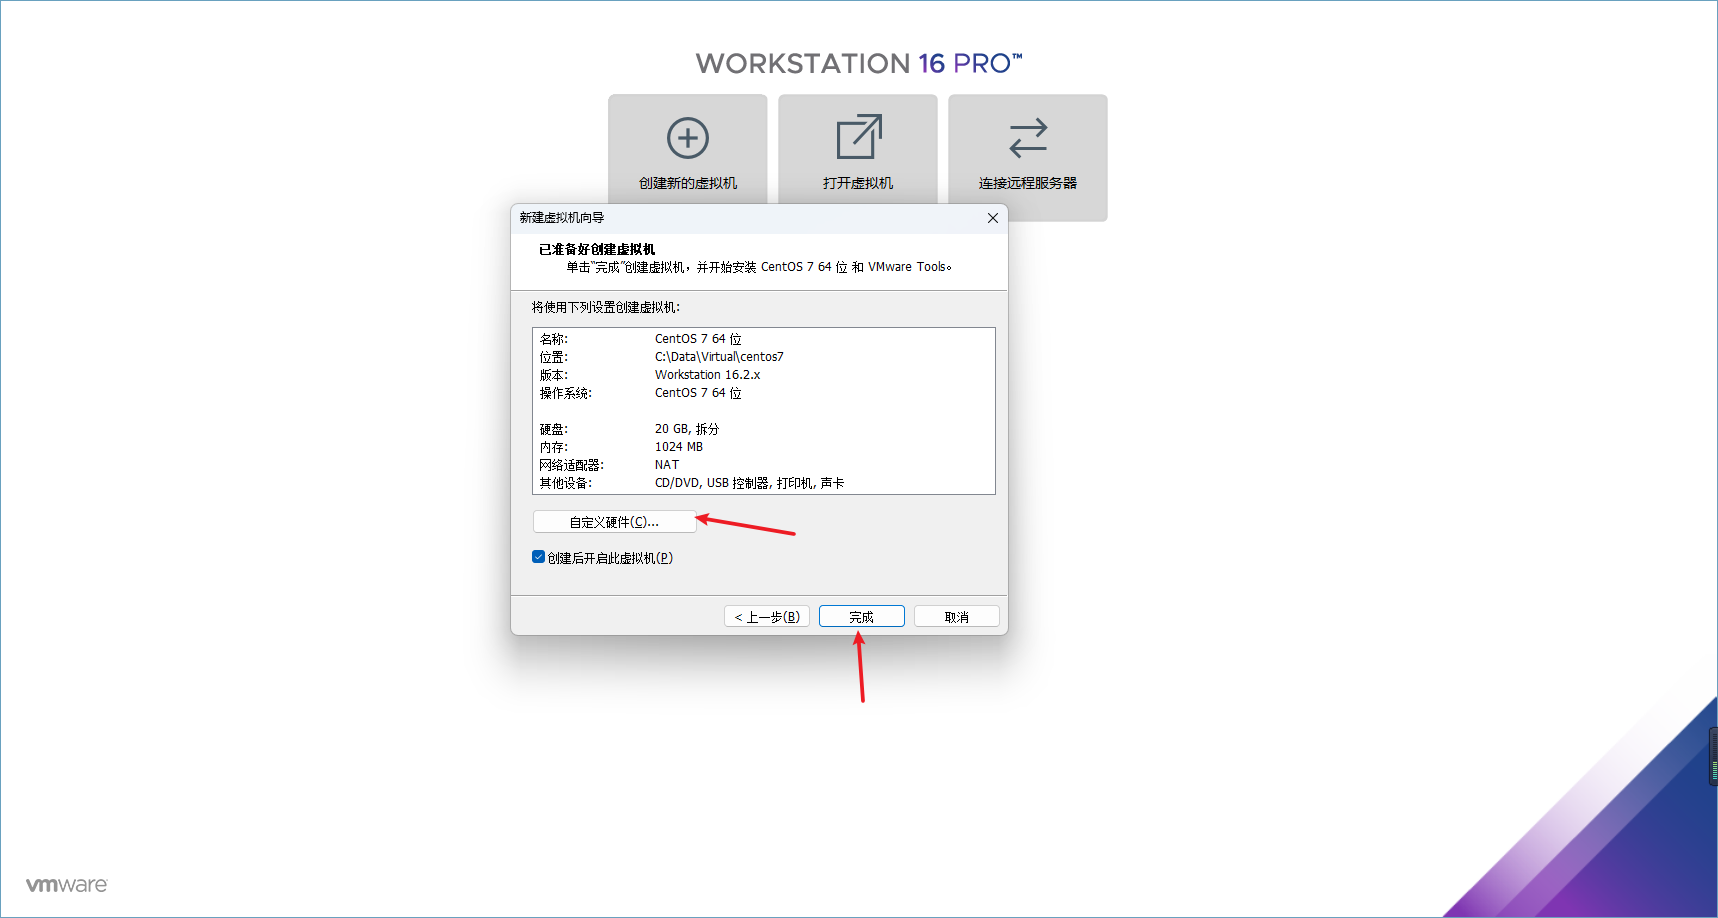
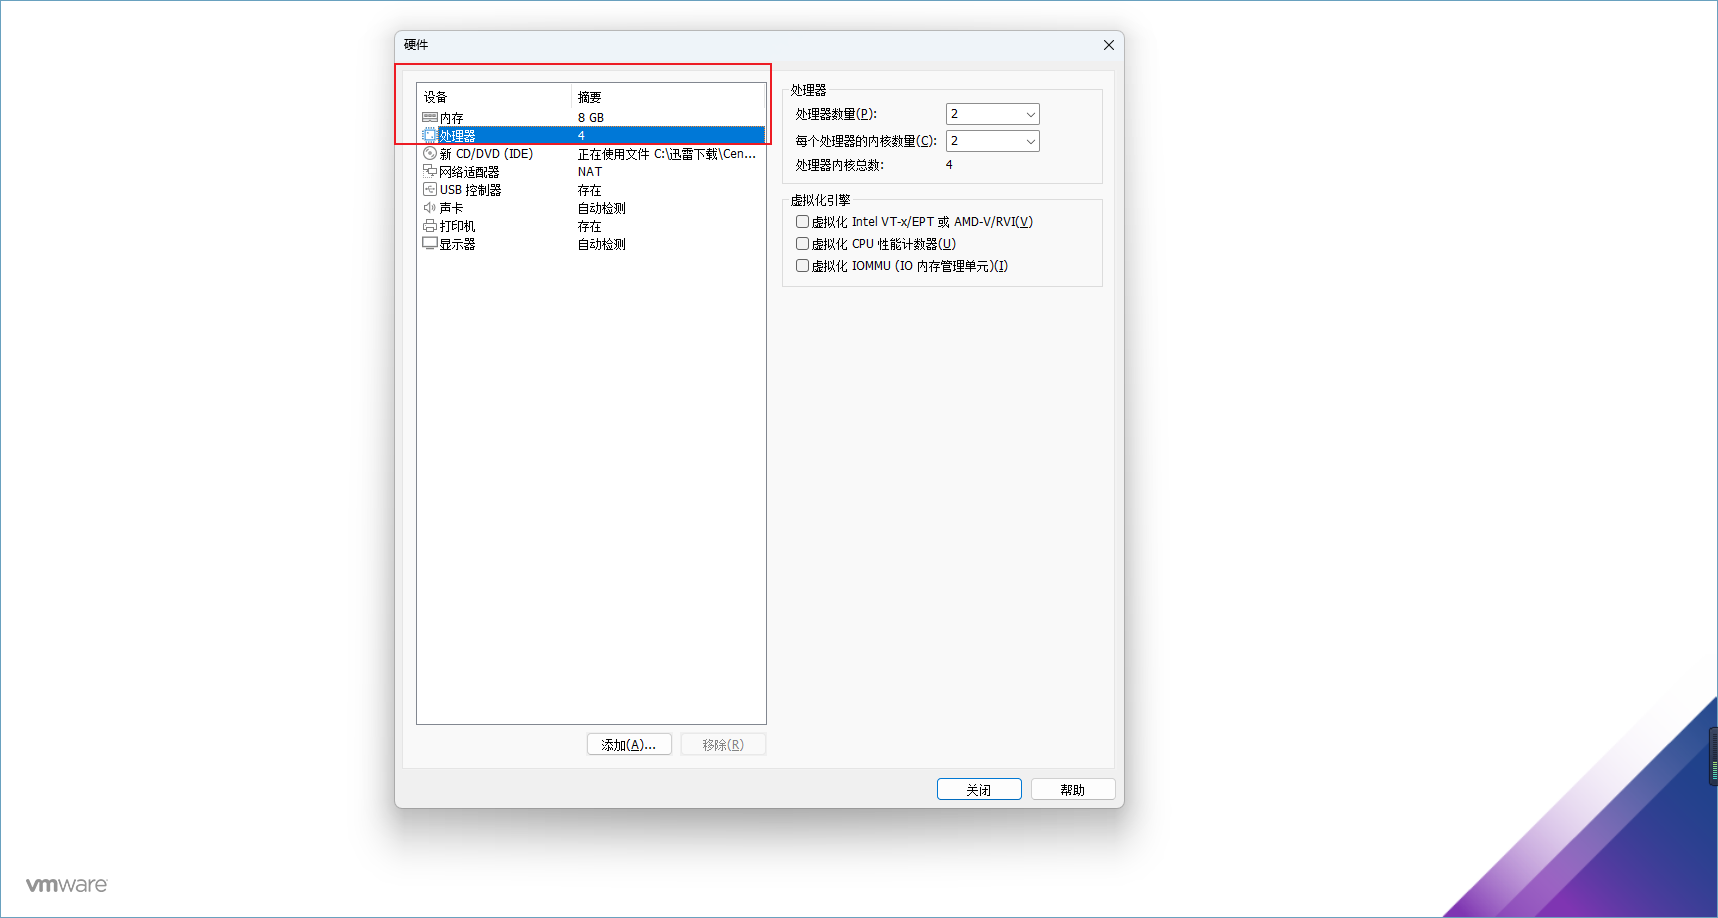
点击自定义硬件可以修改虚拟机的系统配置(这里我进行了一点修改,将配置稍微进行调整,修改完成后直接点击关闭),配置完成后点击完成,就会自动打开虚拟机
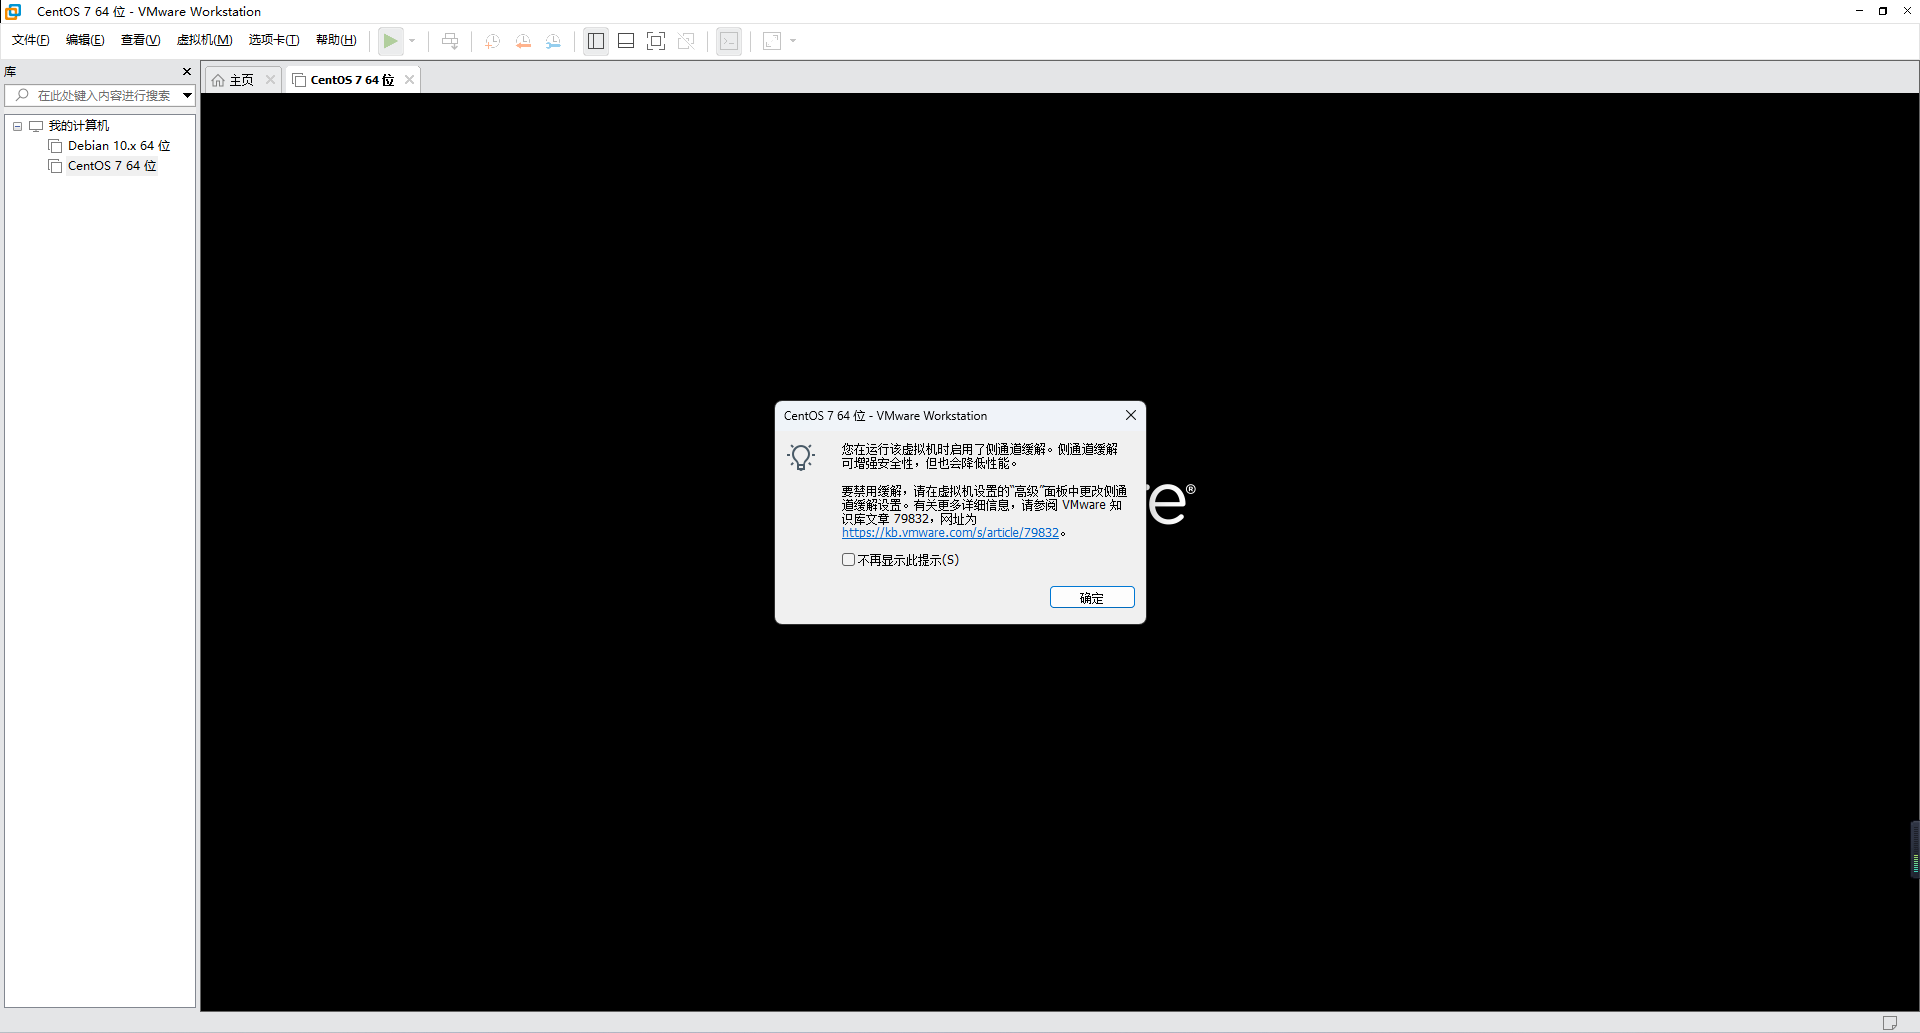
系统将会开机,我们等待系统开机
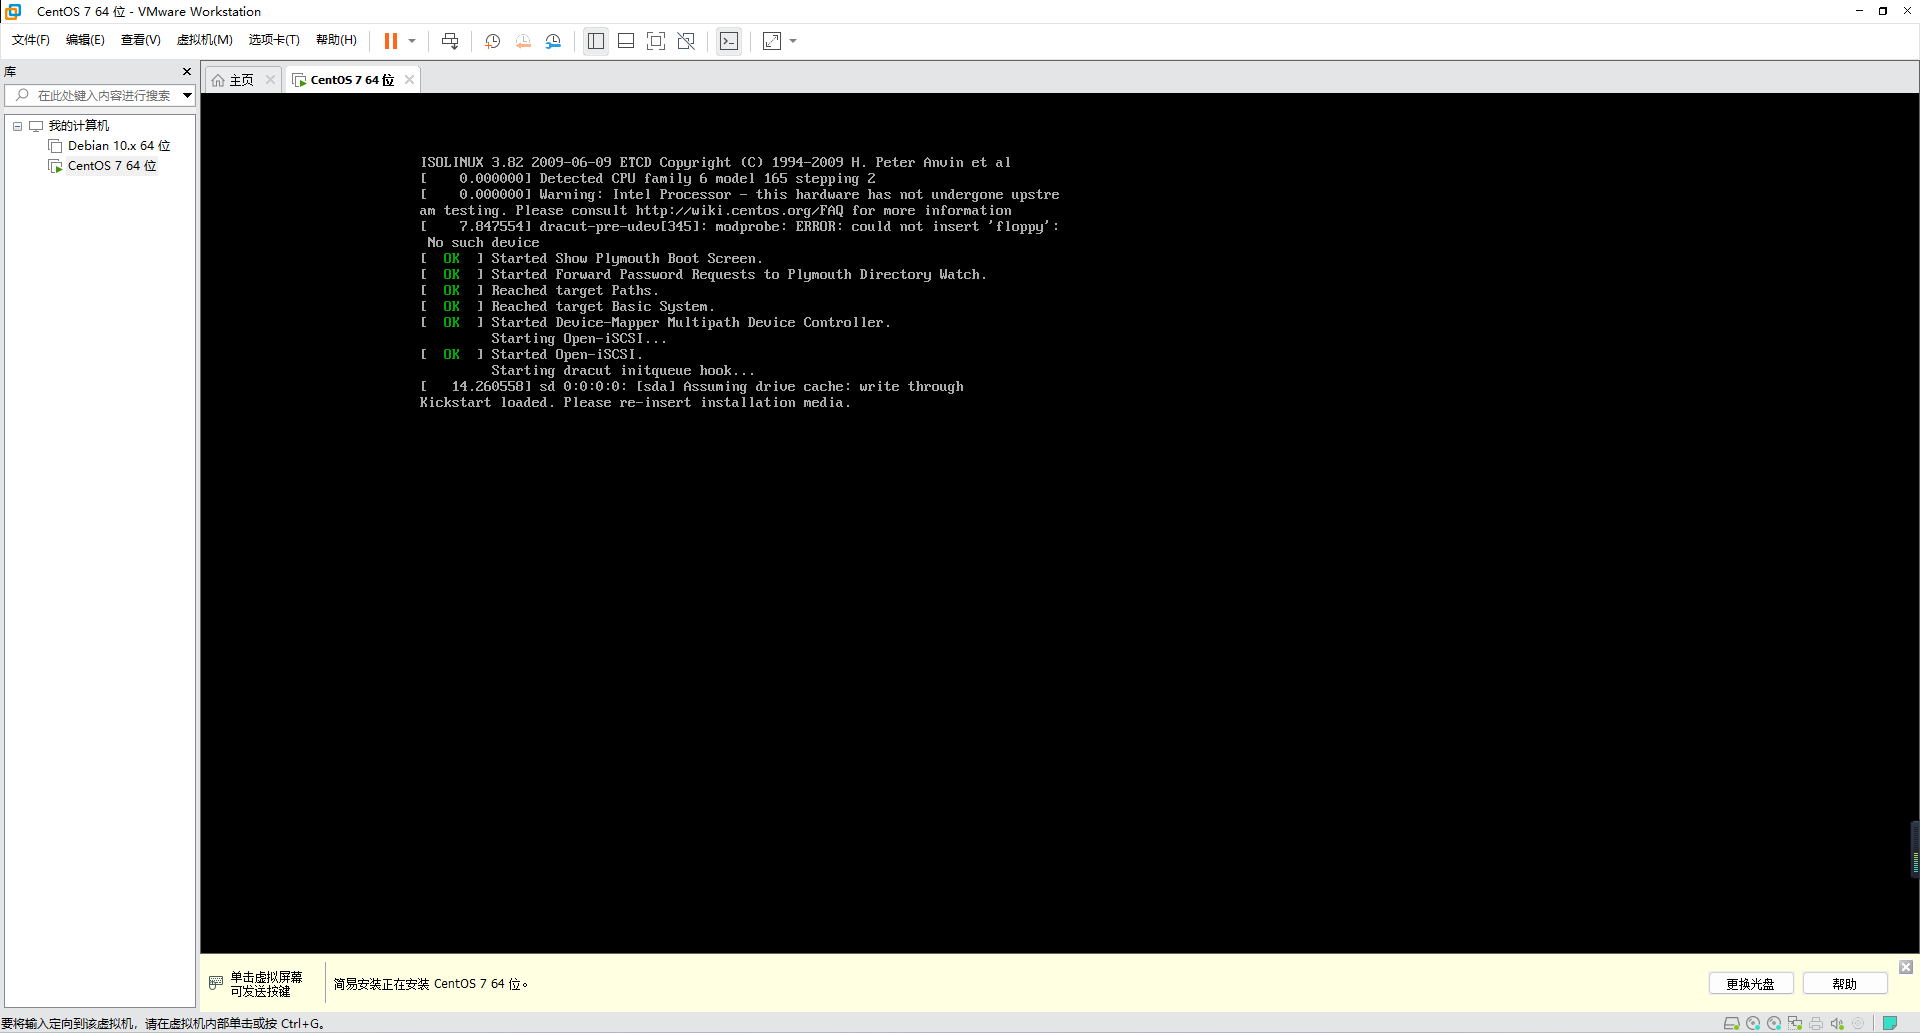
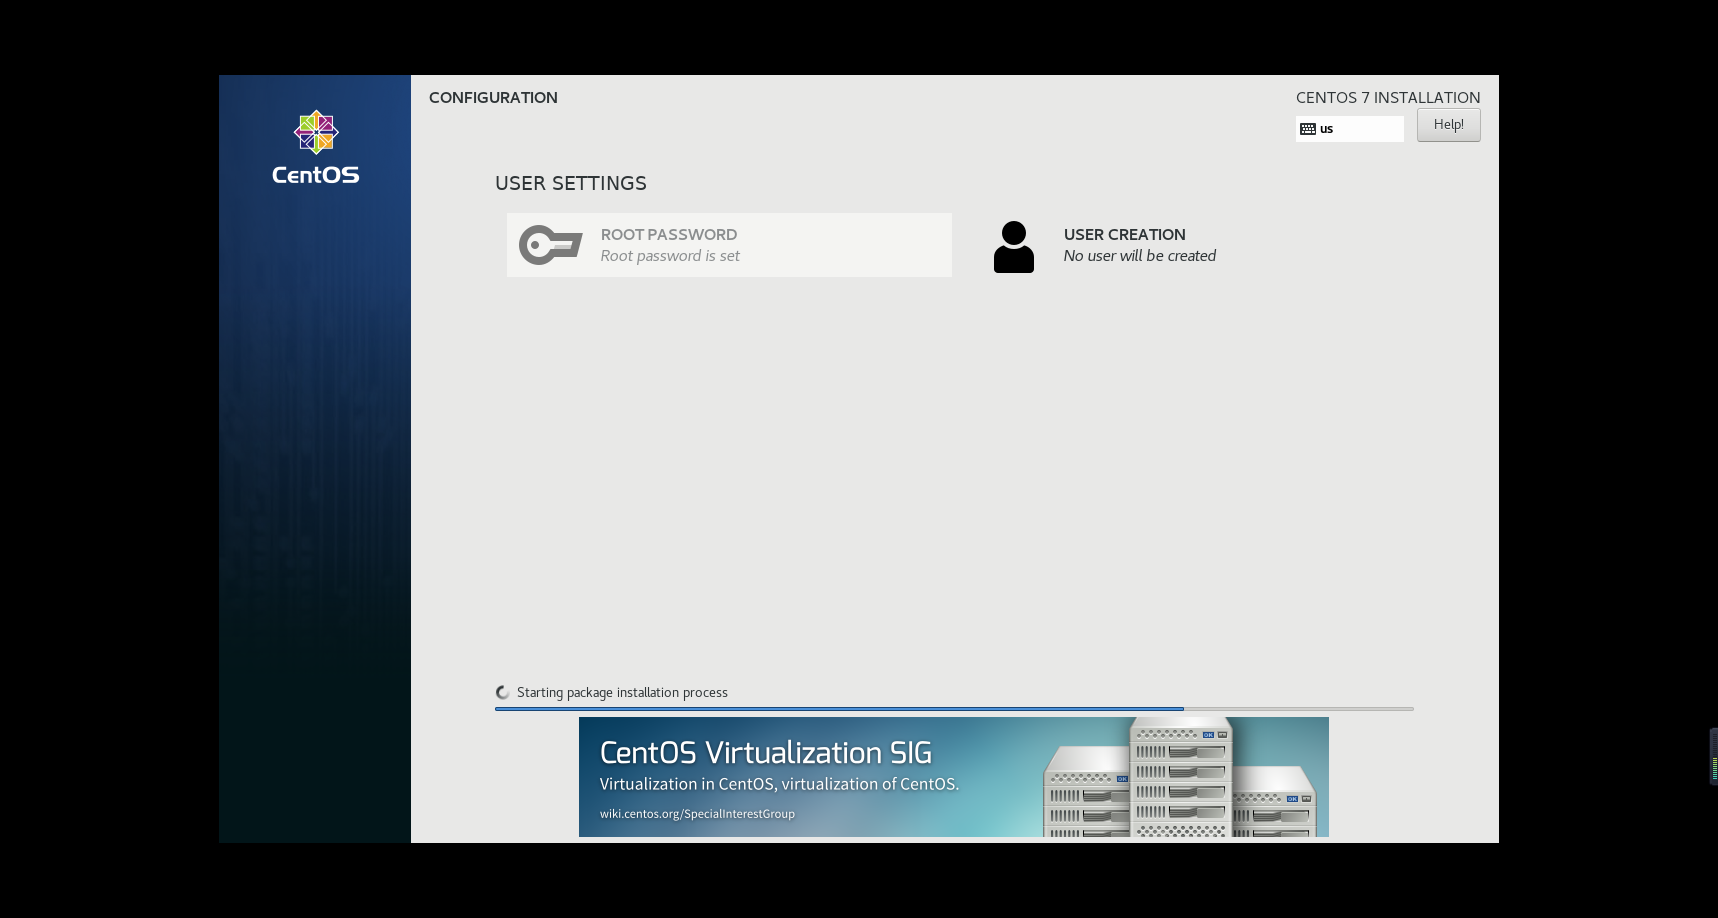
经过漫长的等待,现在就是在安装系统和一些基础的包了
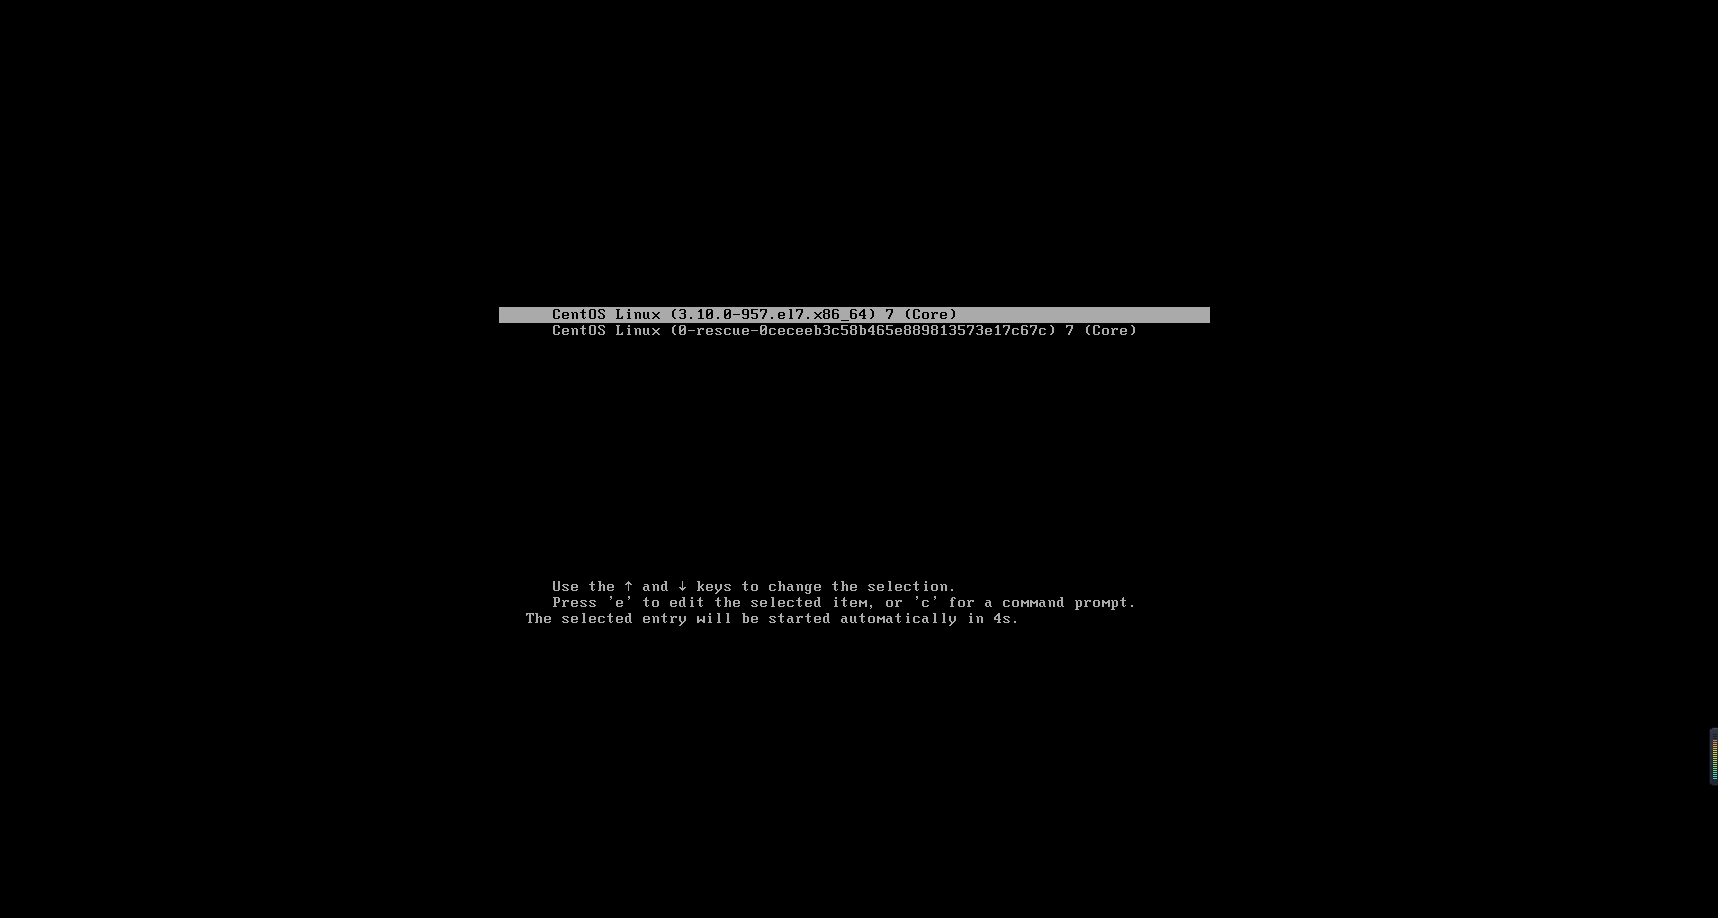
安装完成之后虚拟机会自动重启,在此页面选择第一个然后回车即可进入系统
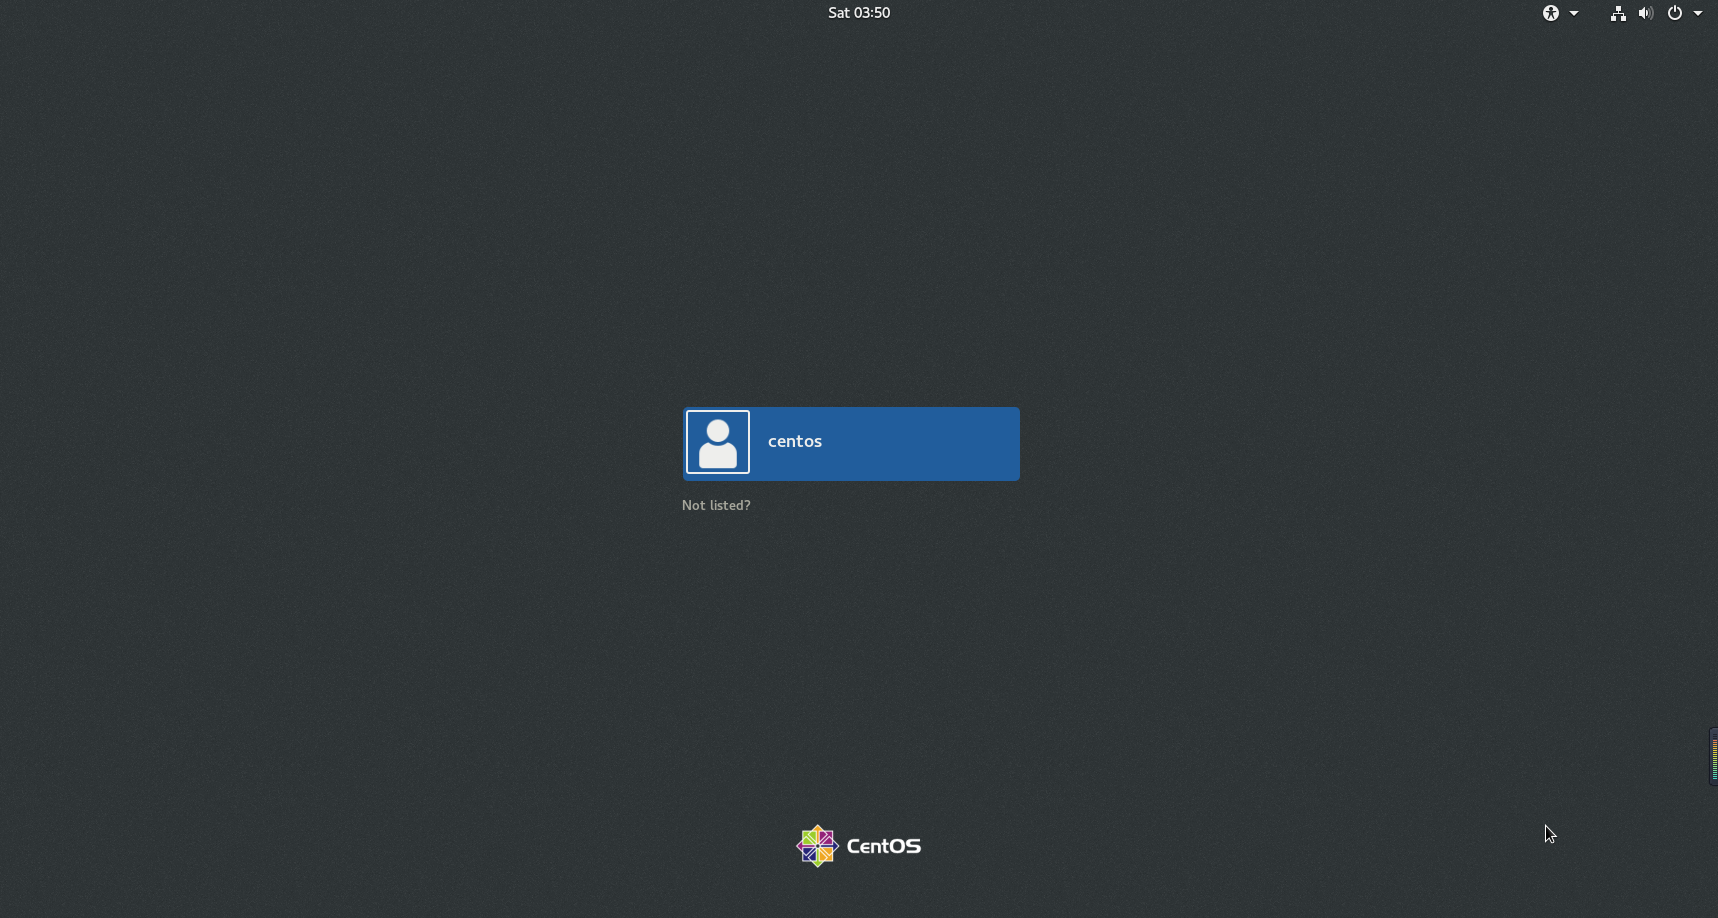
成功进入系统之后,点击centos来登录
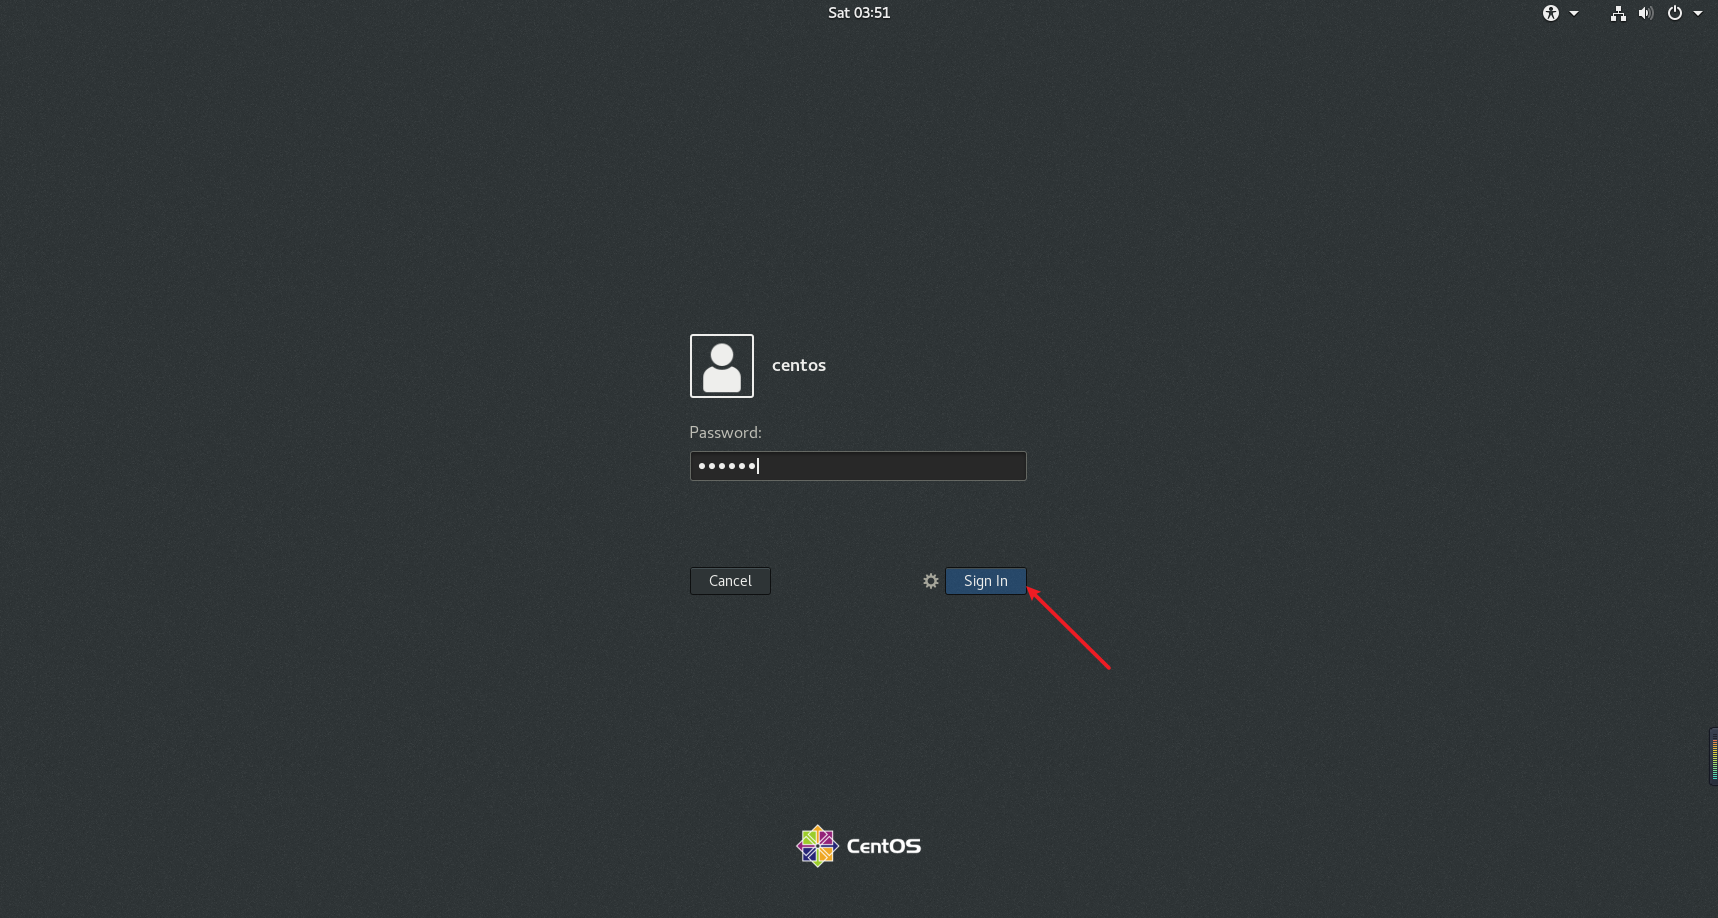
输入密码后点击Sign In,我的就是之前的123456
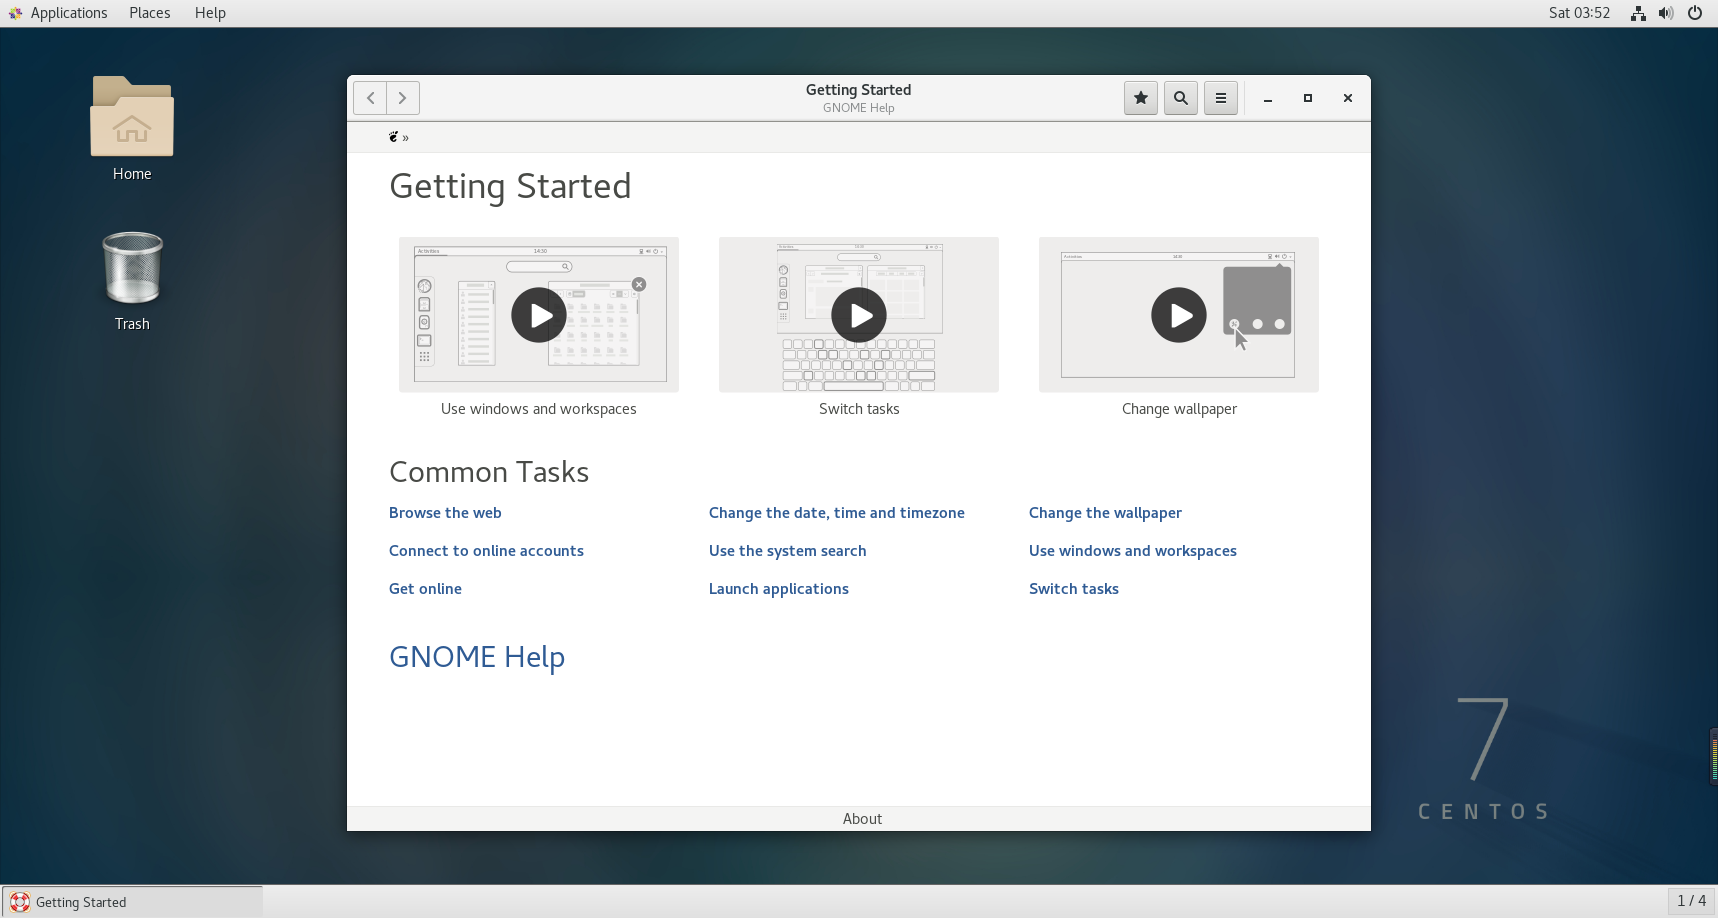
然后我们就成功的进入系统了
设置系统默认语言为中文
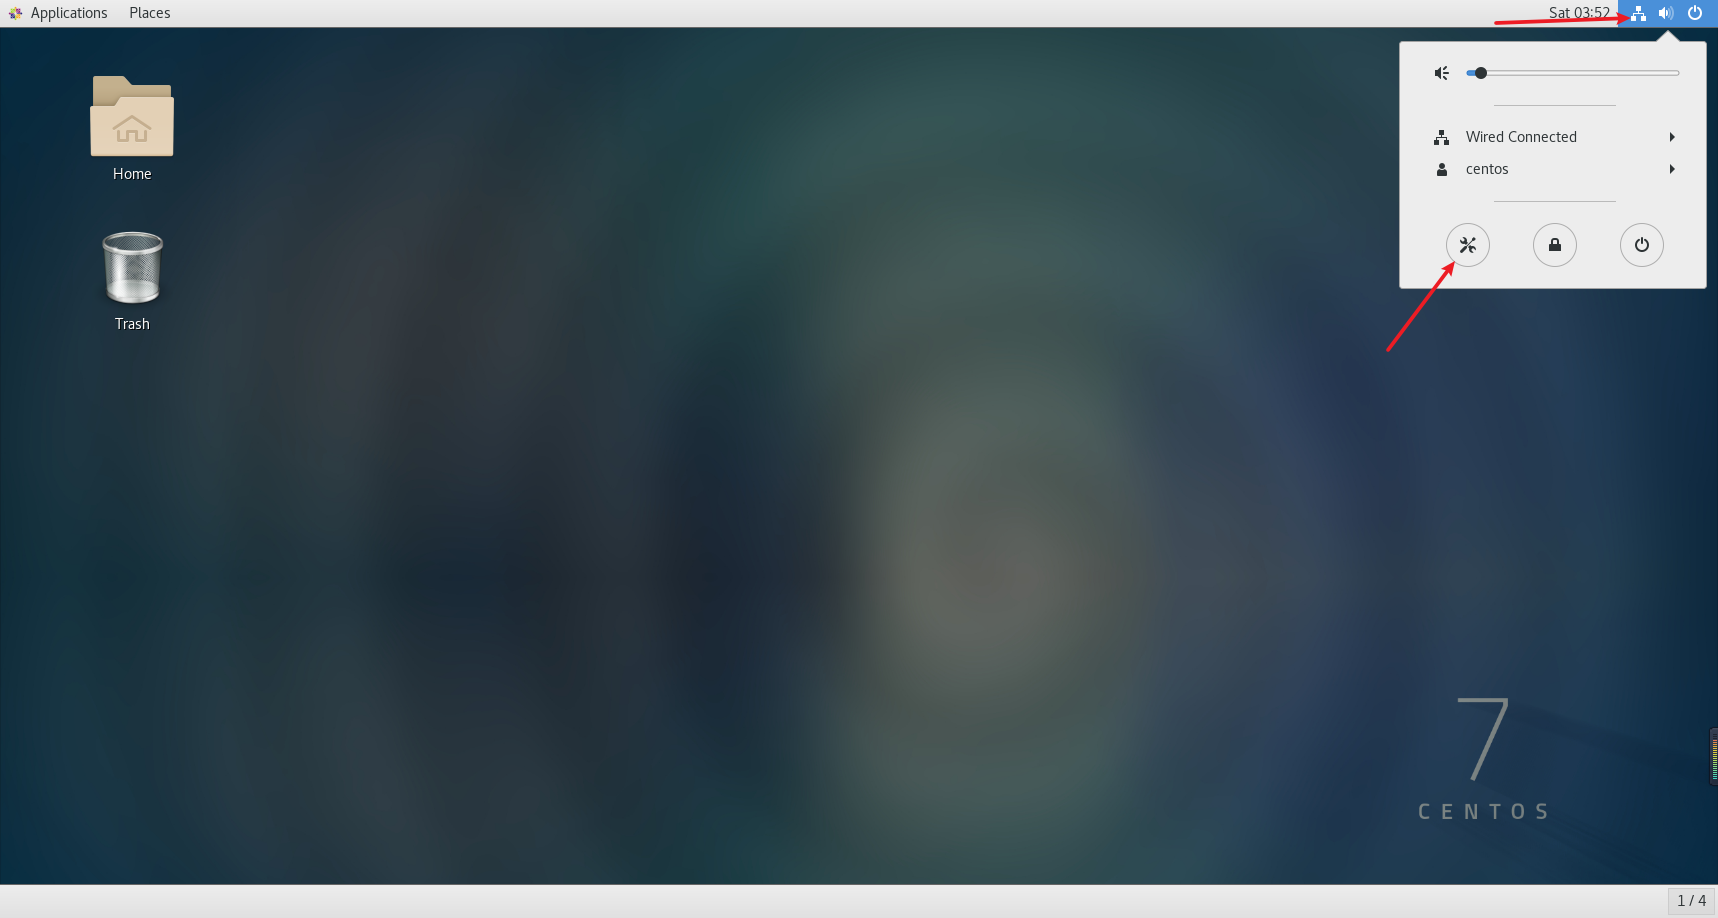
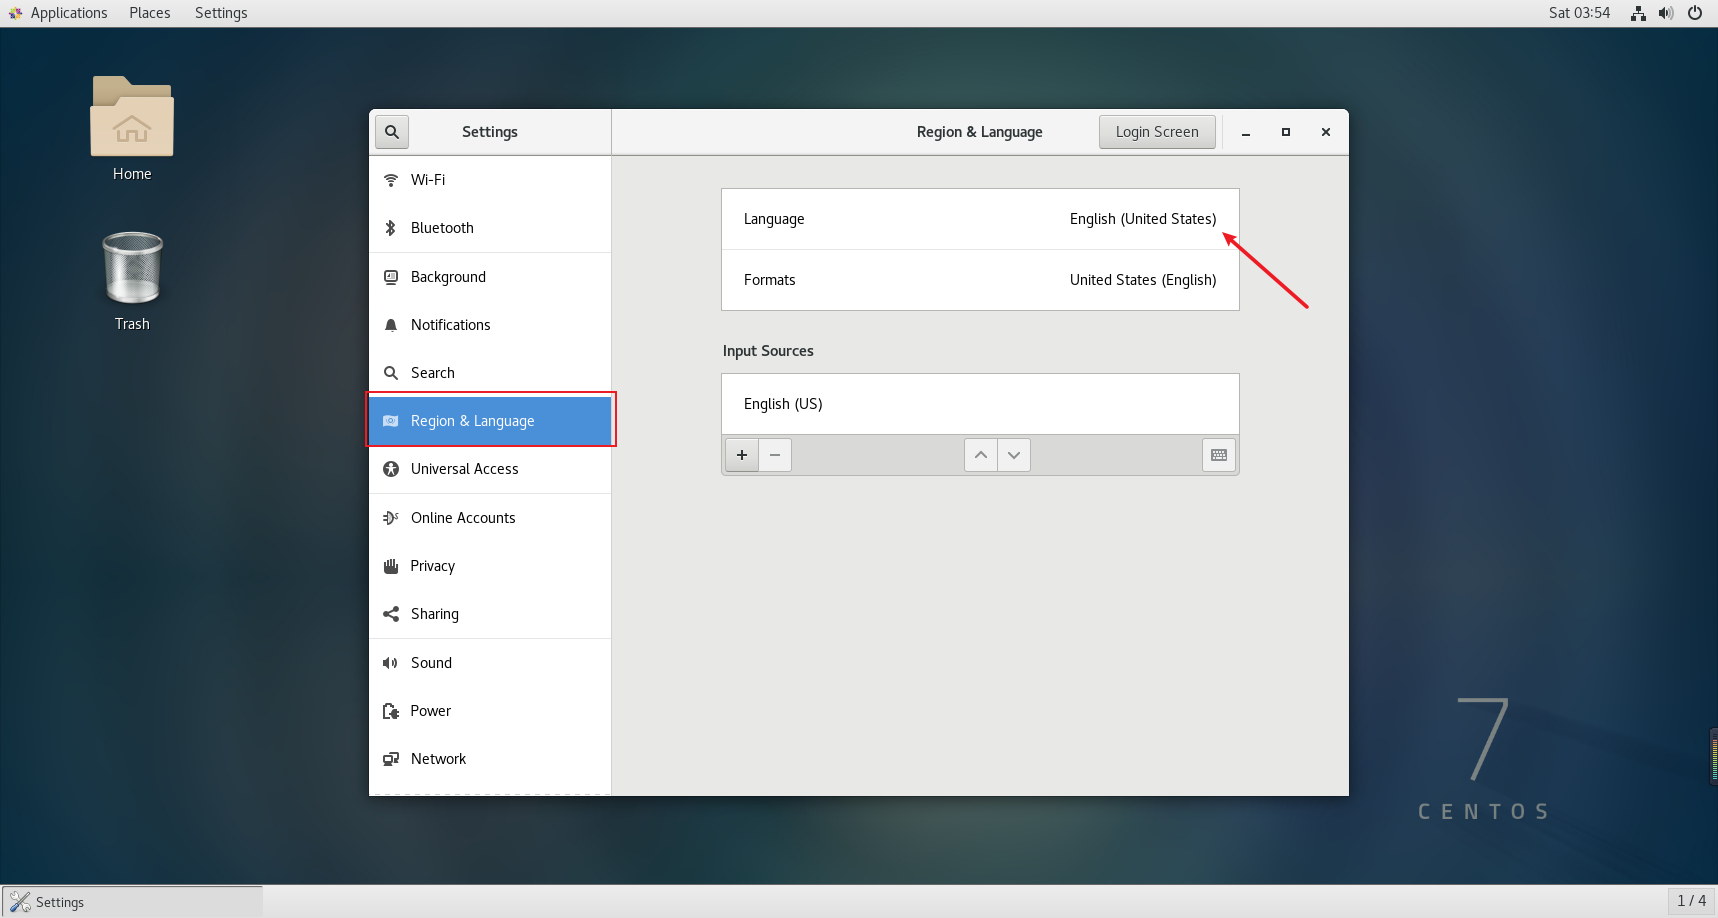
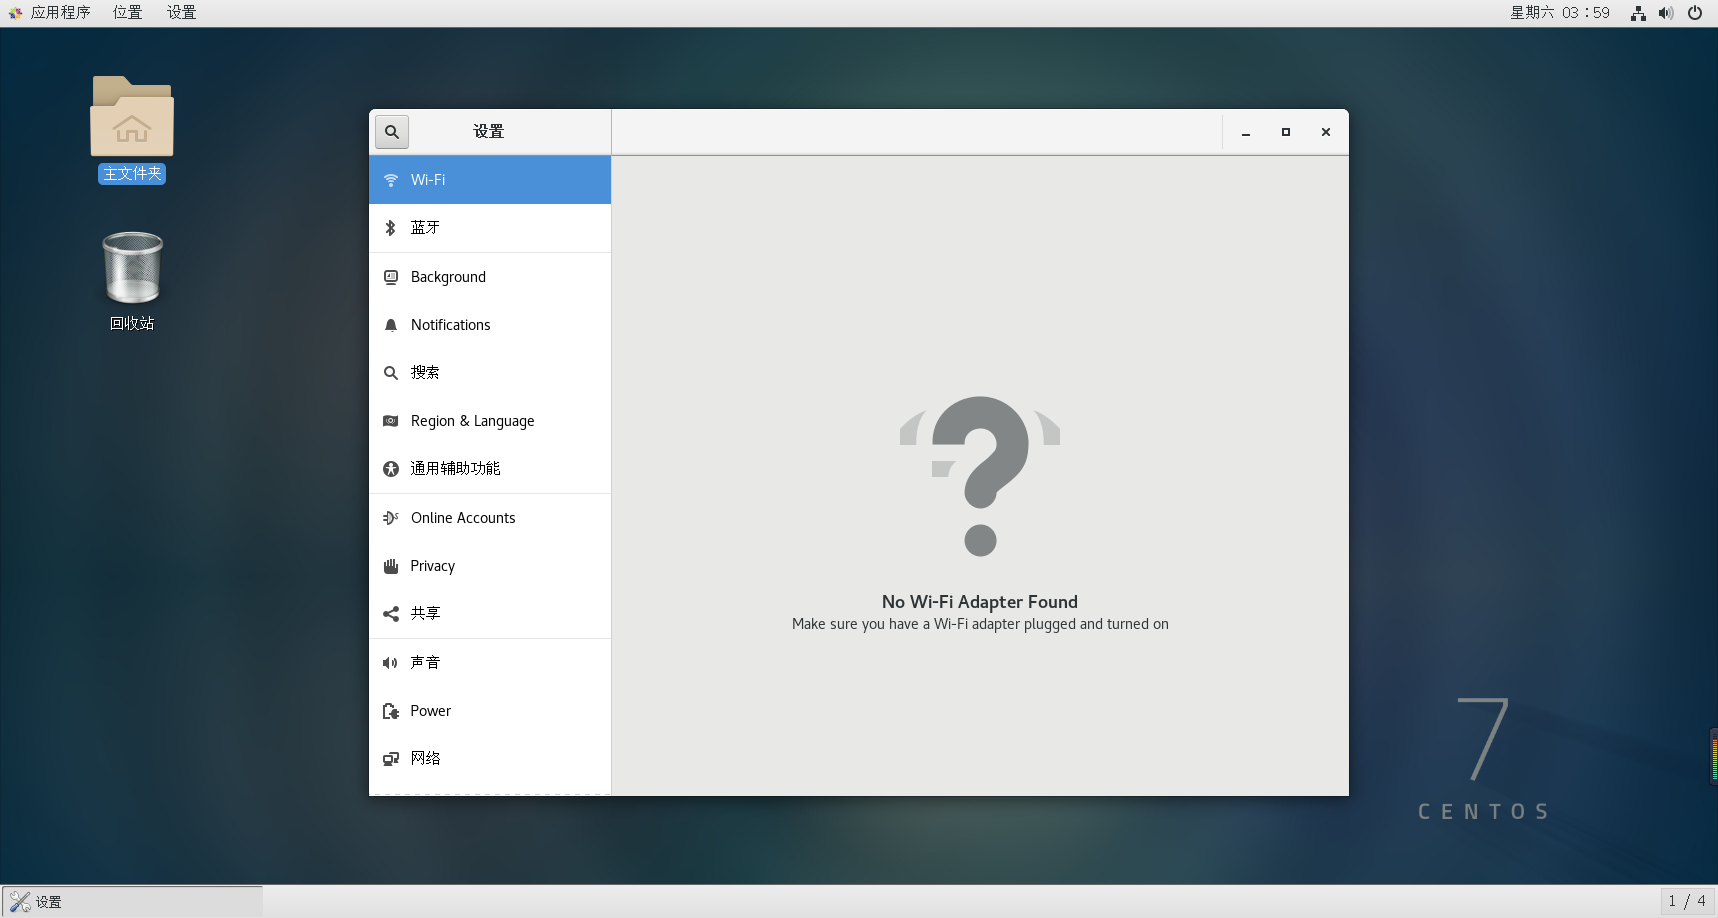
因为我们在安装的时候并没有选择系统语言,那么我们进入系统之后可以调整语言为汉语,点击右上角后点击设置按钮进入设置页面
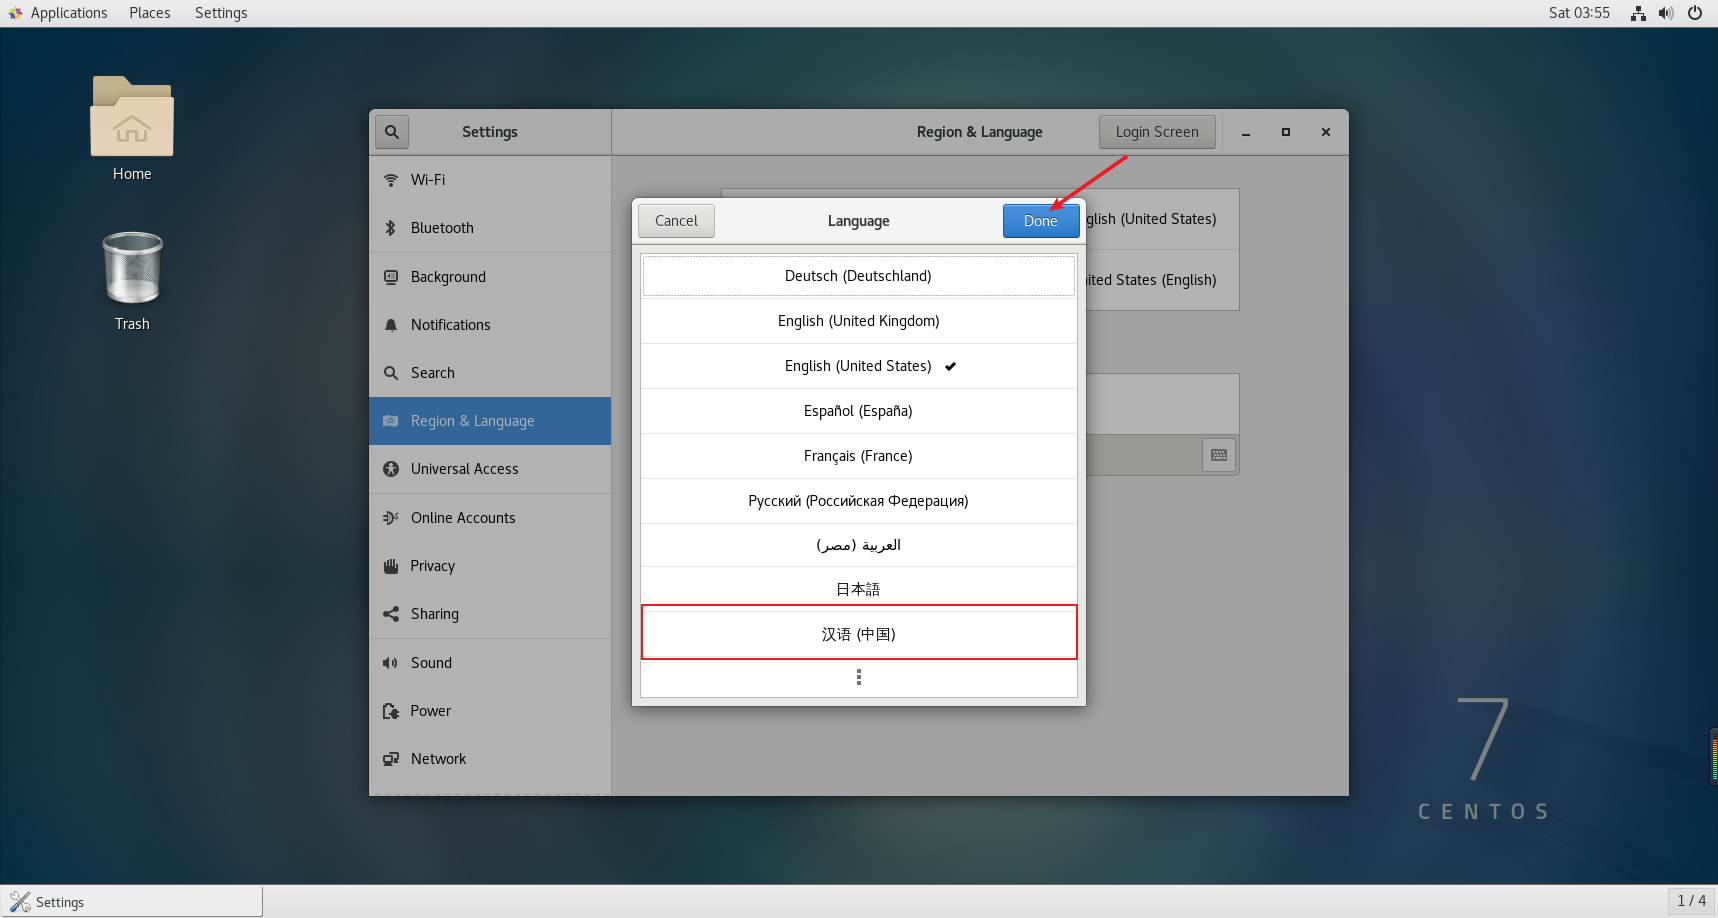
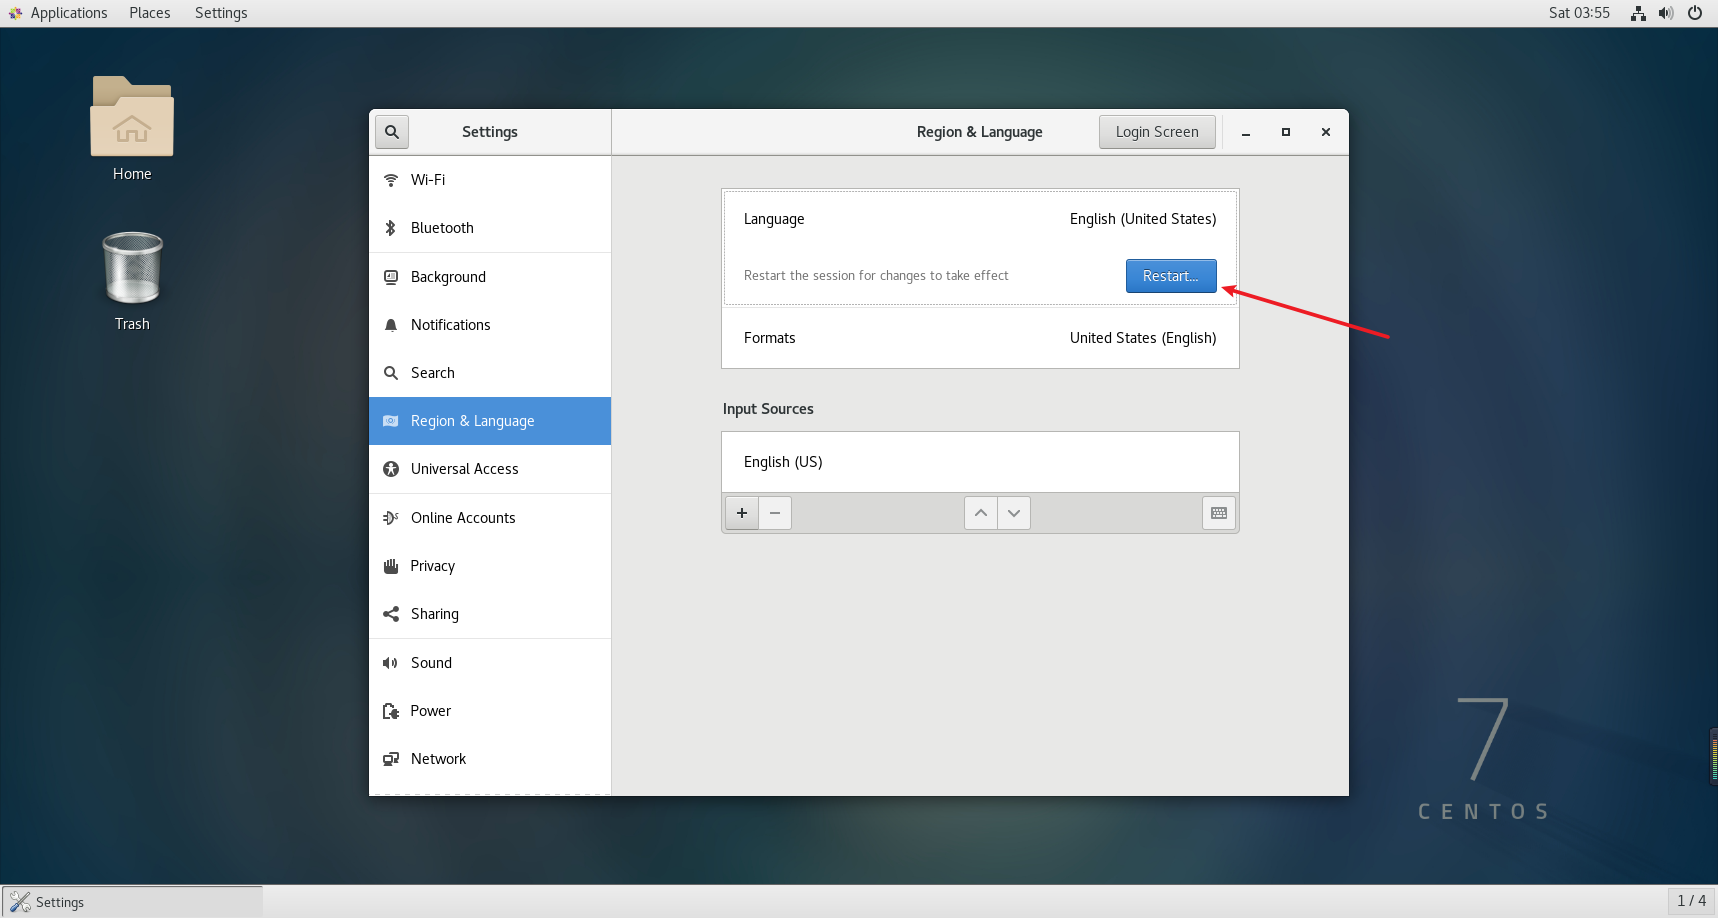
找到Region & Language,然后点击Language后面的English(Us),切换为汉语后点击Done,系统将会提示进行重启。
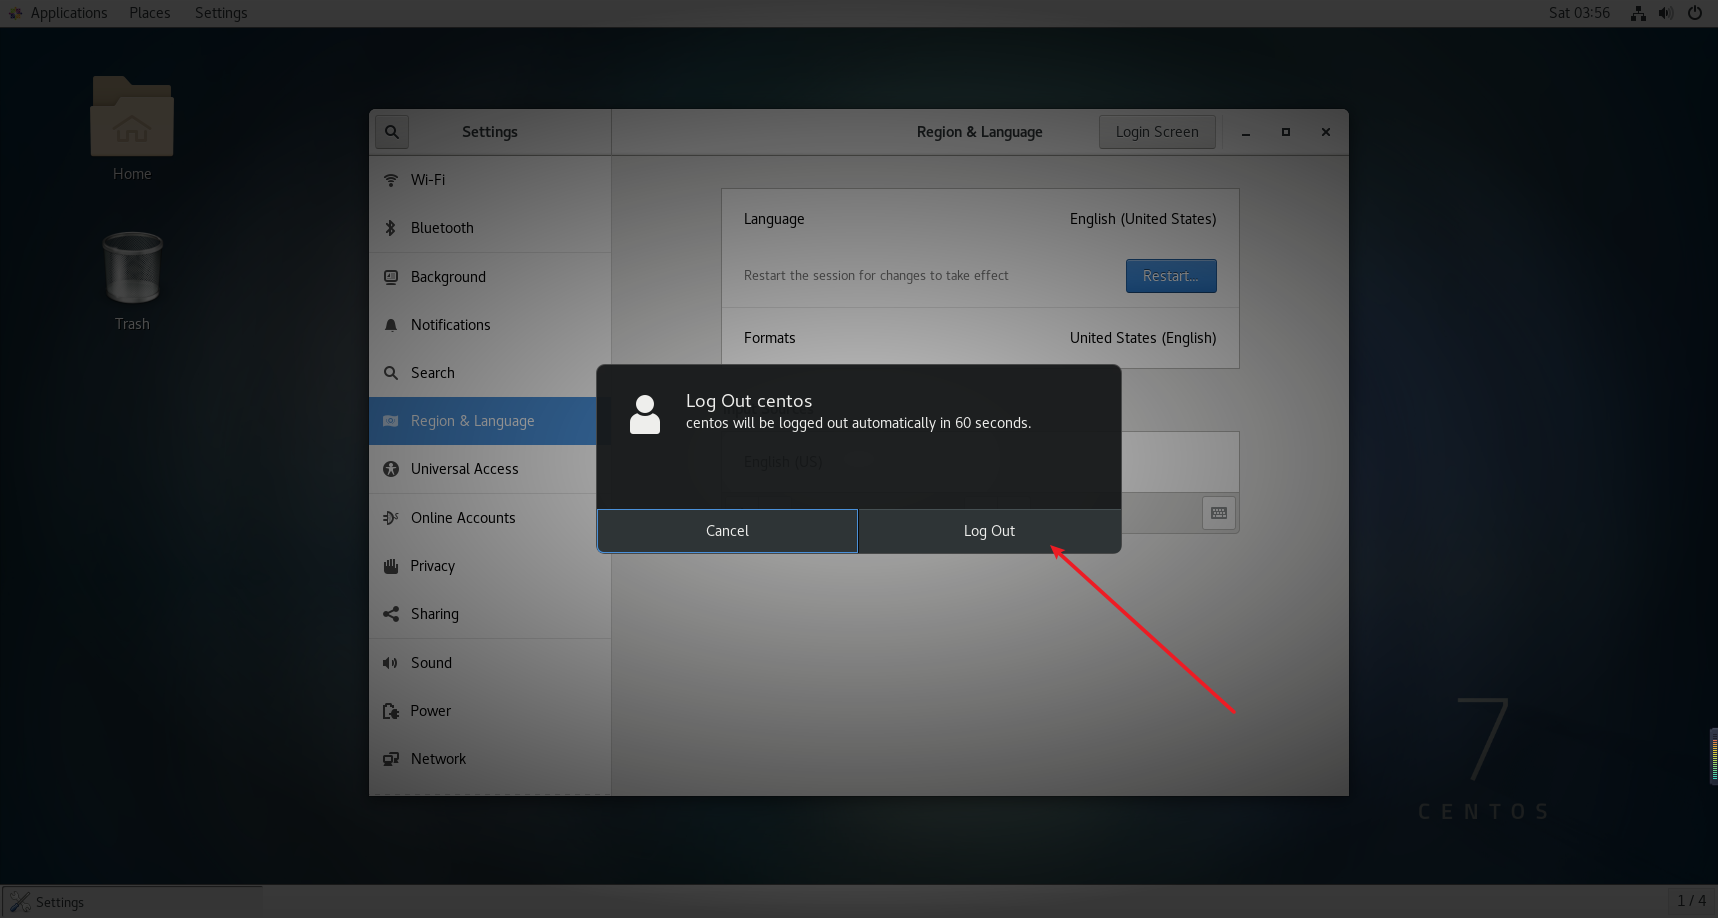
重启之后重新登录(登录页面还是英文),系统通知我们切换了语言,默认文件夹是否需要修改,我的建议是不修改,选择保留旧的名称,如果说要修改成中文的的话,那么可以选择更新名称。
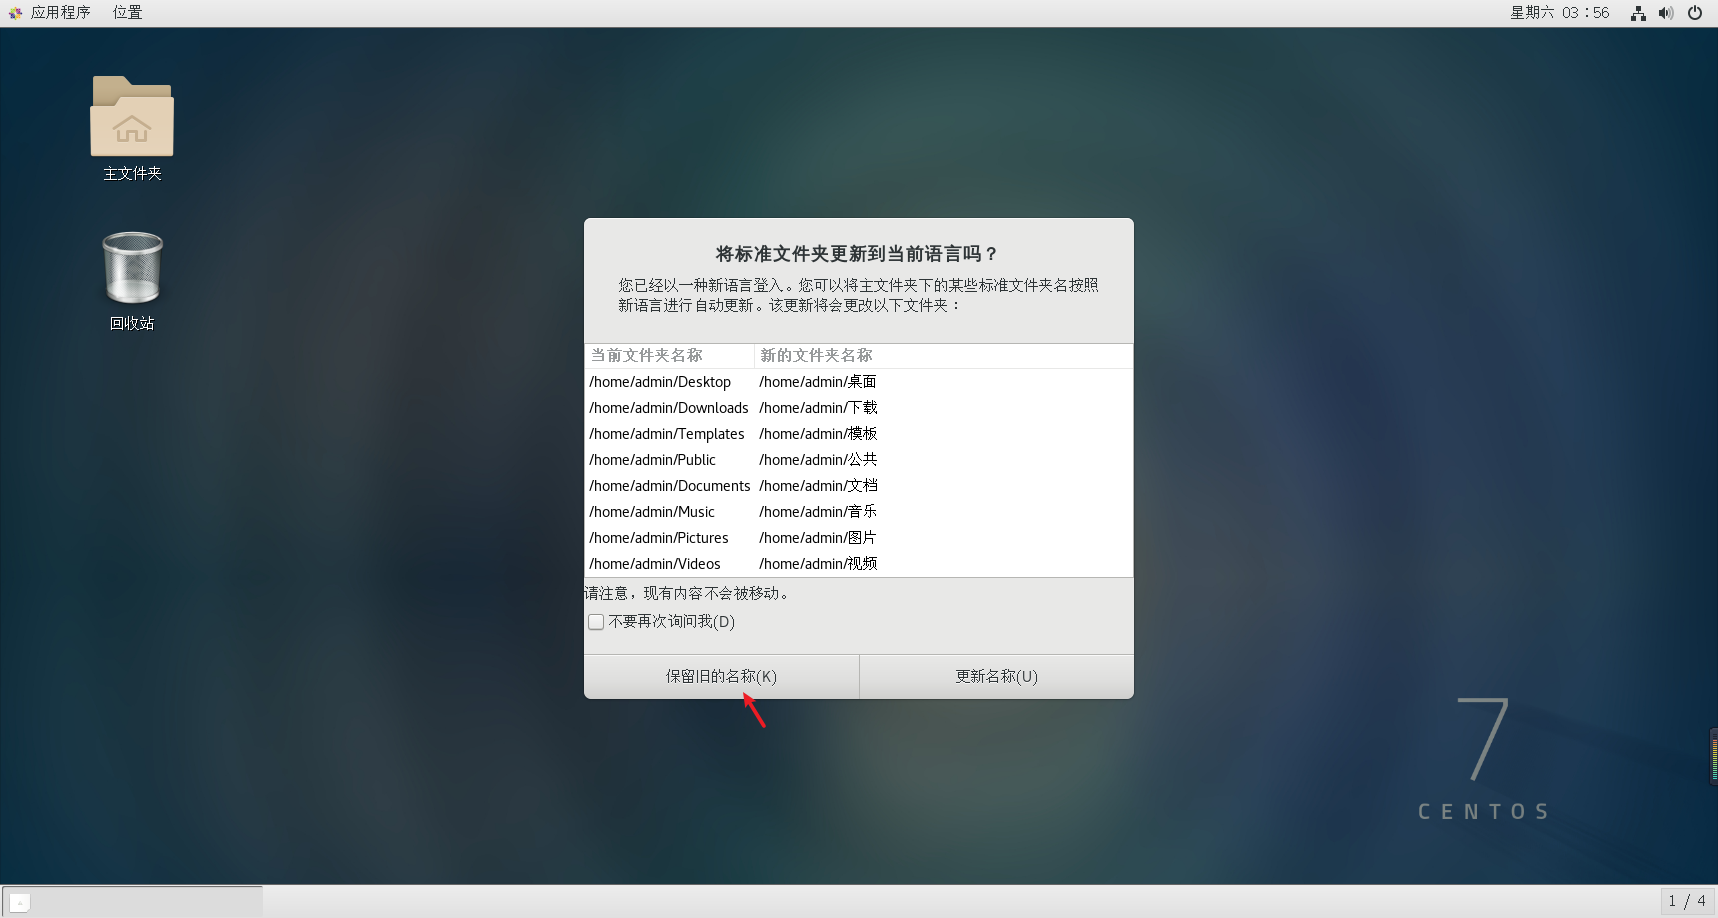
中文语言就设置完成了
SSH连接虚拟机中的centos
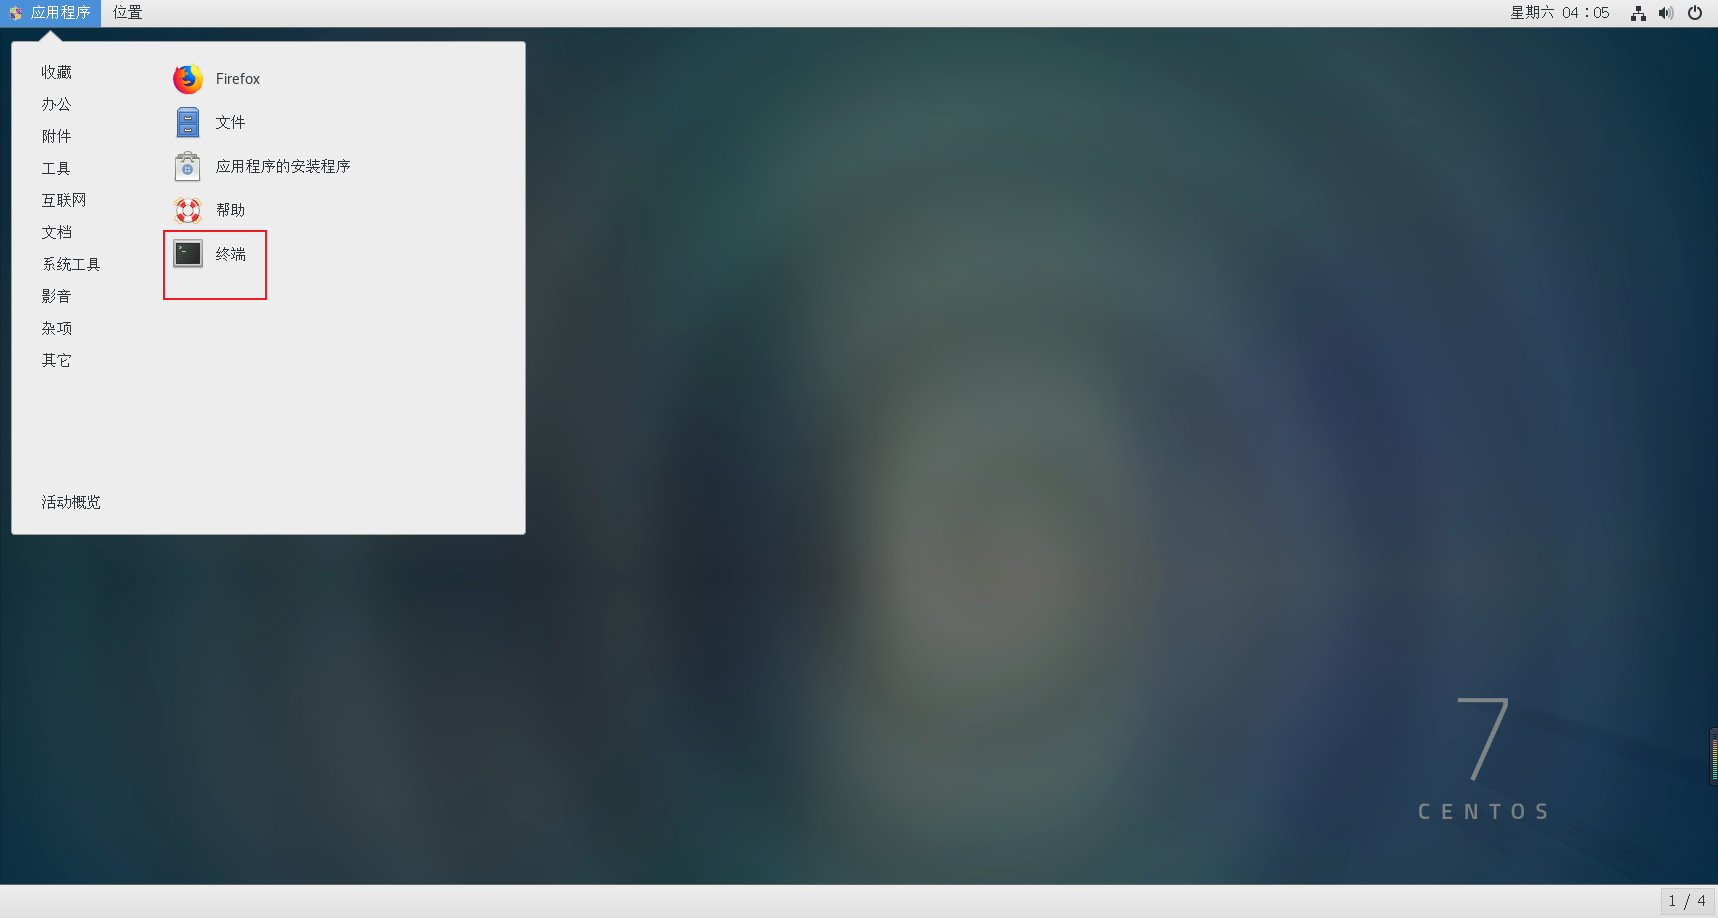
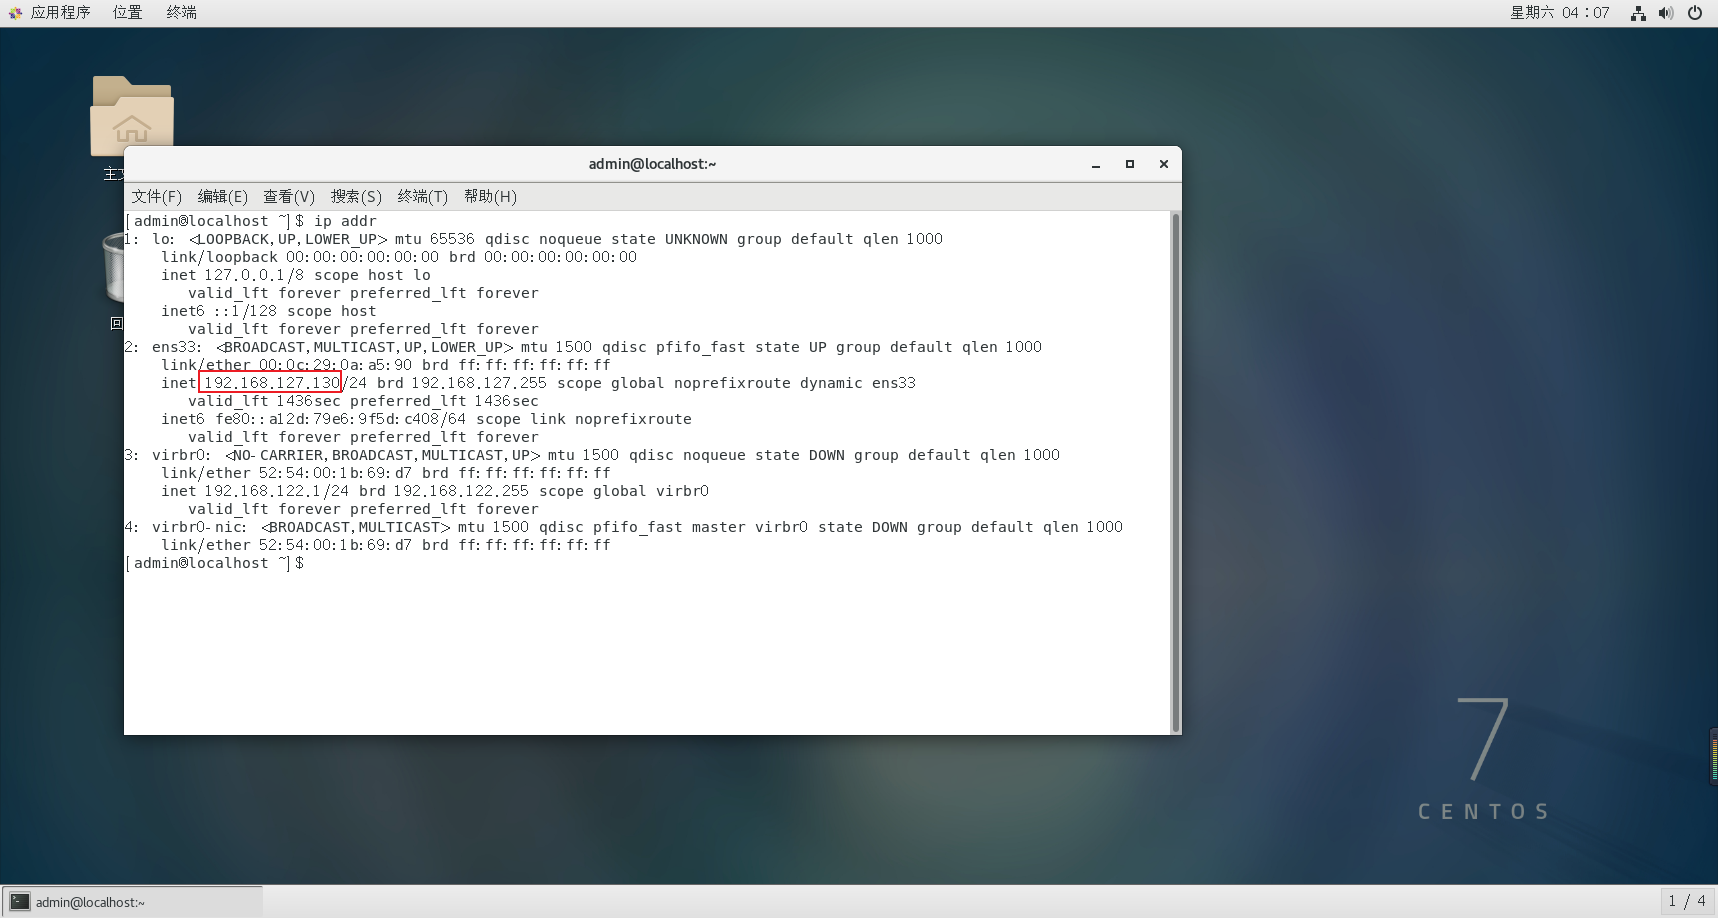
需要进行SSH连接那么我们肯定要先知道IP,查看IP可以打开终端,输入ip addr 来进行查看
新建SSH连接
可以看到,我的IP是192.168.127.130,我们随意打开一个SSH连接的工具,新建一个SSH连接。
名称:自定义;
主机IP:192.168.127.130(按照自己实际情况来);
端口:22;
认证方法:密码;
用户名:admin
密码:123456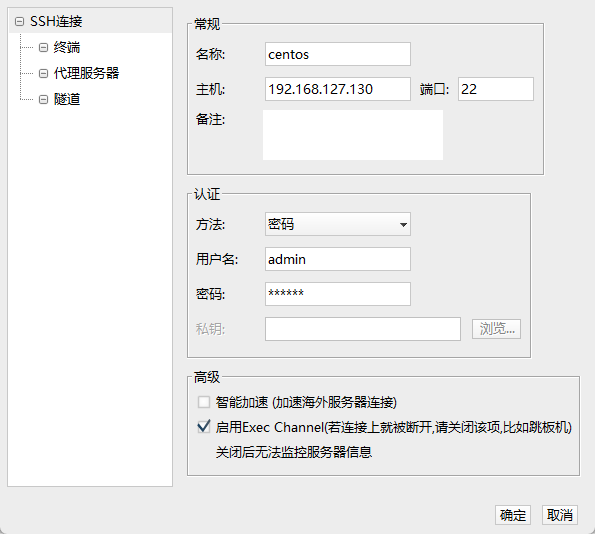
随后我们进行连接即可连接成功
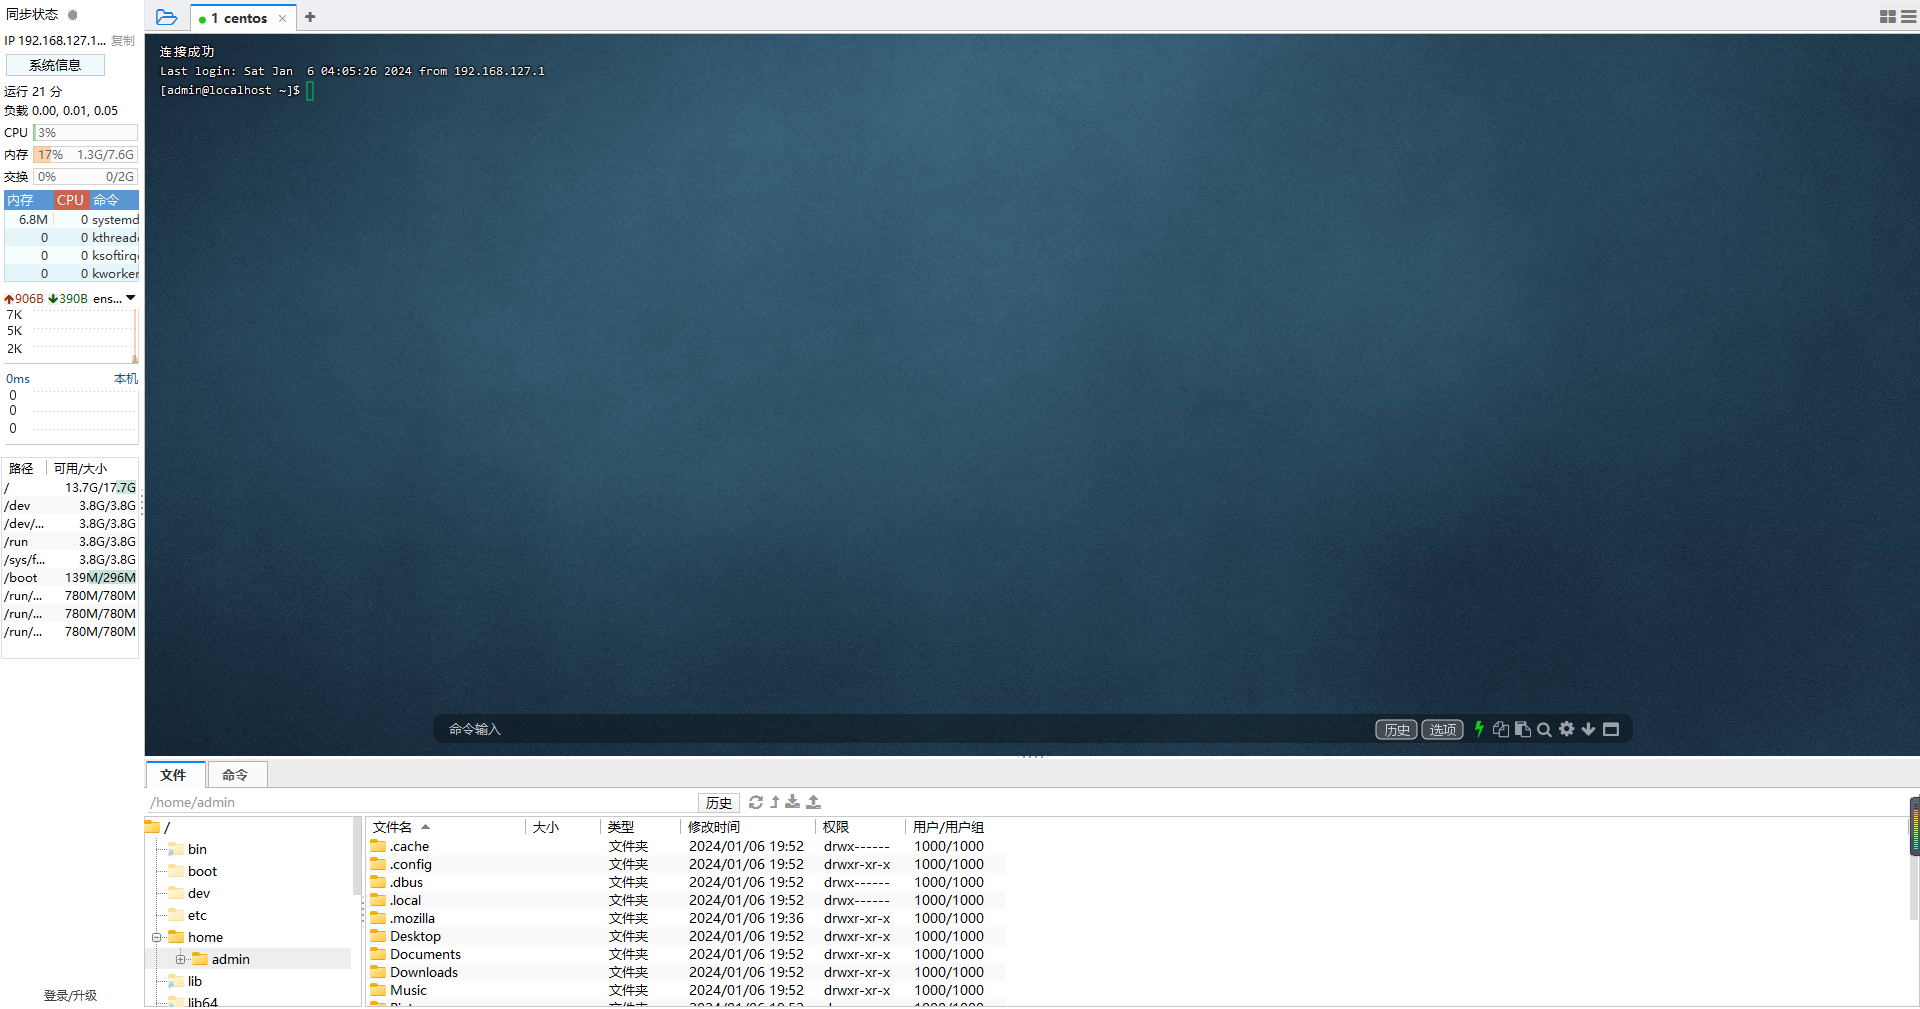
到此整个安装过程就结束了,可以按照自己的需求去操作了
文章来源:https://blog.csdn.net/subaiqiao/article/details/135431523
本文来自互联网用户投稿,该文观点仅代表作者本人,不代表本站立场。本站仅提供信息存储空间服务,不拥有所有权,不承担相关法律责任。 如若内容造成侵权/违法违规/事实不符,请联系我的编程经验分享网邮箱:chenni525@qq.com进行投诉反馈,一经查实,立即删除!
本文来自互联网用户投稿,该文观点仅代表作者本人,不代表本站立场。本站仅提供信息存储空间服务,不拥有所有权,不承担相关法律责任。 如若内容造成侵权/违法违规/事实不符,请联系我的编程经验分享网邮箱:chenni525@qq.com进行投诉反馈,一经查实,立即删除!
最新文章
- Python教程
- 深入理解 MySQL 中的 HAVING 关键字和聚合函数
- Qt之QChar编码(1)
- MyBatis入门基础篇
- 用Python脚本实现FFmpeg批量转换
- java常见面试题:请解释一下Java中的常用网络协议,如HTTP、TCP/IP等。
- kubernetes(二)创建集群
- 书生·浦语大模型实战营第三次课堂笔记
- 渗透测试框架——Cobalt Strike
- 解决:TypeError: ‘dict_keys’ object does not support indexing
- Python大数据之PySpark(七)SparkCore案例
- 汽配企业MES管理系统解决方案需求分析
- Vue通过拖拽改变容器大小
- 采用目前最流行的B/S结构、java技术、SSM框架、MySQL数据库设计并实现,ssm影院订票系统--35370
- 山西电力市场日前价格预测【2024-01-02】