windows 10 安装和配置nginx
发布时间:2023年12月17日
1 下载nginx
1.1? ?下载地址:http://nginx.org/en/download.html

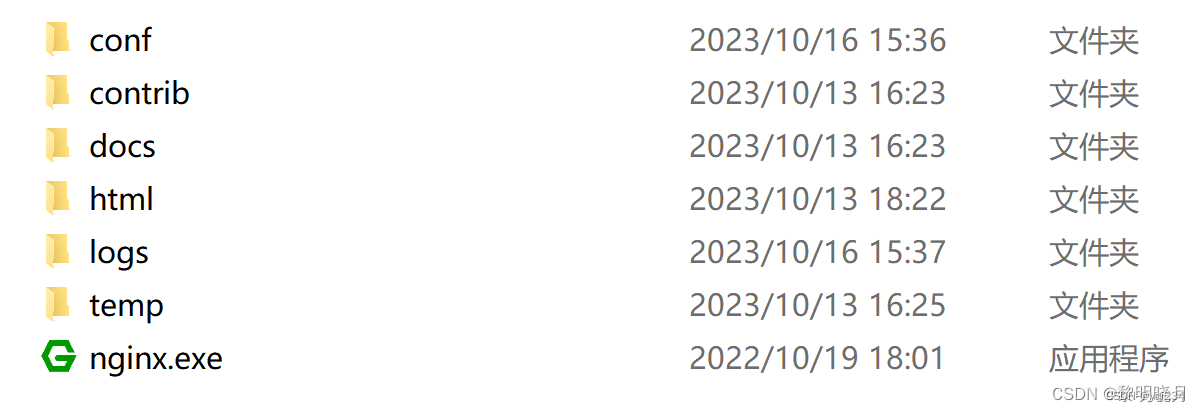
1.2 使用解压到安装目录
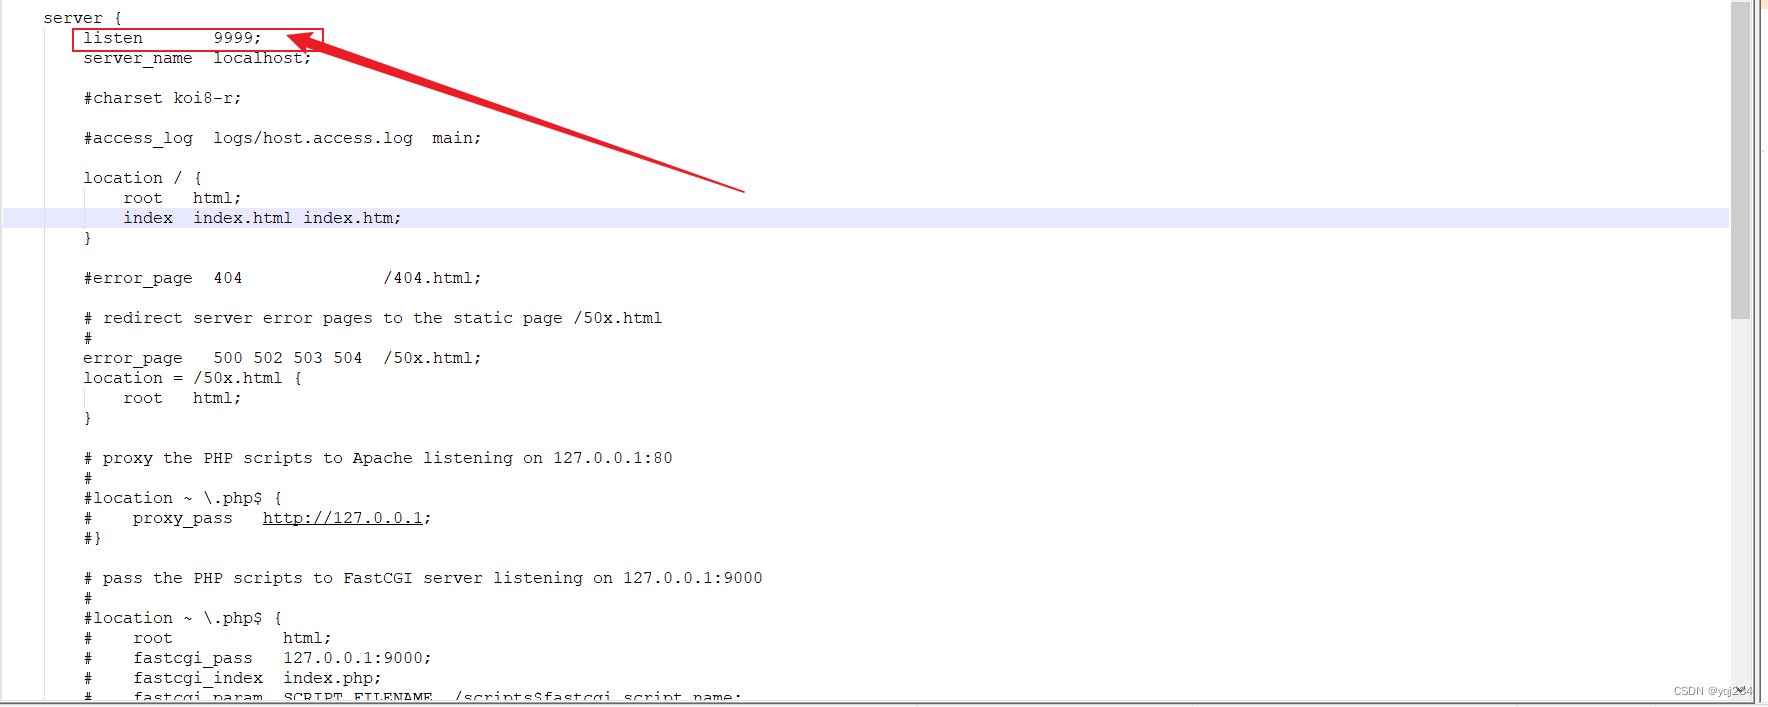
1.3 更改配置 conf目录下nginx.conf? 修改为未被占用的端口,地址改成你的地址
server {
        listen       9999;
        server_name  localhost;

        #charset koi8-r;

        #access_log  logs/host.access.log  main;

        location / {
            root   html;
            index  index.html index.htm;
        }

        #error_page  404              /404.html;

        # redirect server error pages to the static page /50x.html
        #
        error_page   500 502 503 504  /50x.html;
        location = /50x.html {
            root   html;
        }

        # proxy the PHP scripts to Apache listening on 127.0.0.1:80
        #
        #location ~ \.php$ {
        #    proxy_pass   http://127.0.0.1;
        #}

        # pass the PHP scripts to FastCGI server listening on 127.0.0.1:9000
        #
        #location ~ \.php$ {
        #    root           html;
        #    fastcgi_pass   127.0.0.1:9000;
        #    fastcgi_index  index.php;
        #    fastcgi_param  SCRIPT_FILENAME  /scripts$fastcgi_script_name;
        #    include        fastcgi_params;
        #}

        # deny access to .htaccess files, if Apache's document root
        # concurs with nginx's one
        #
        #location ~ /\.ht {
        #    deny  all;
        #}
    }
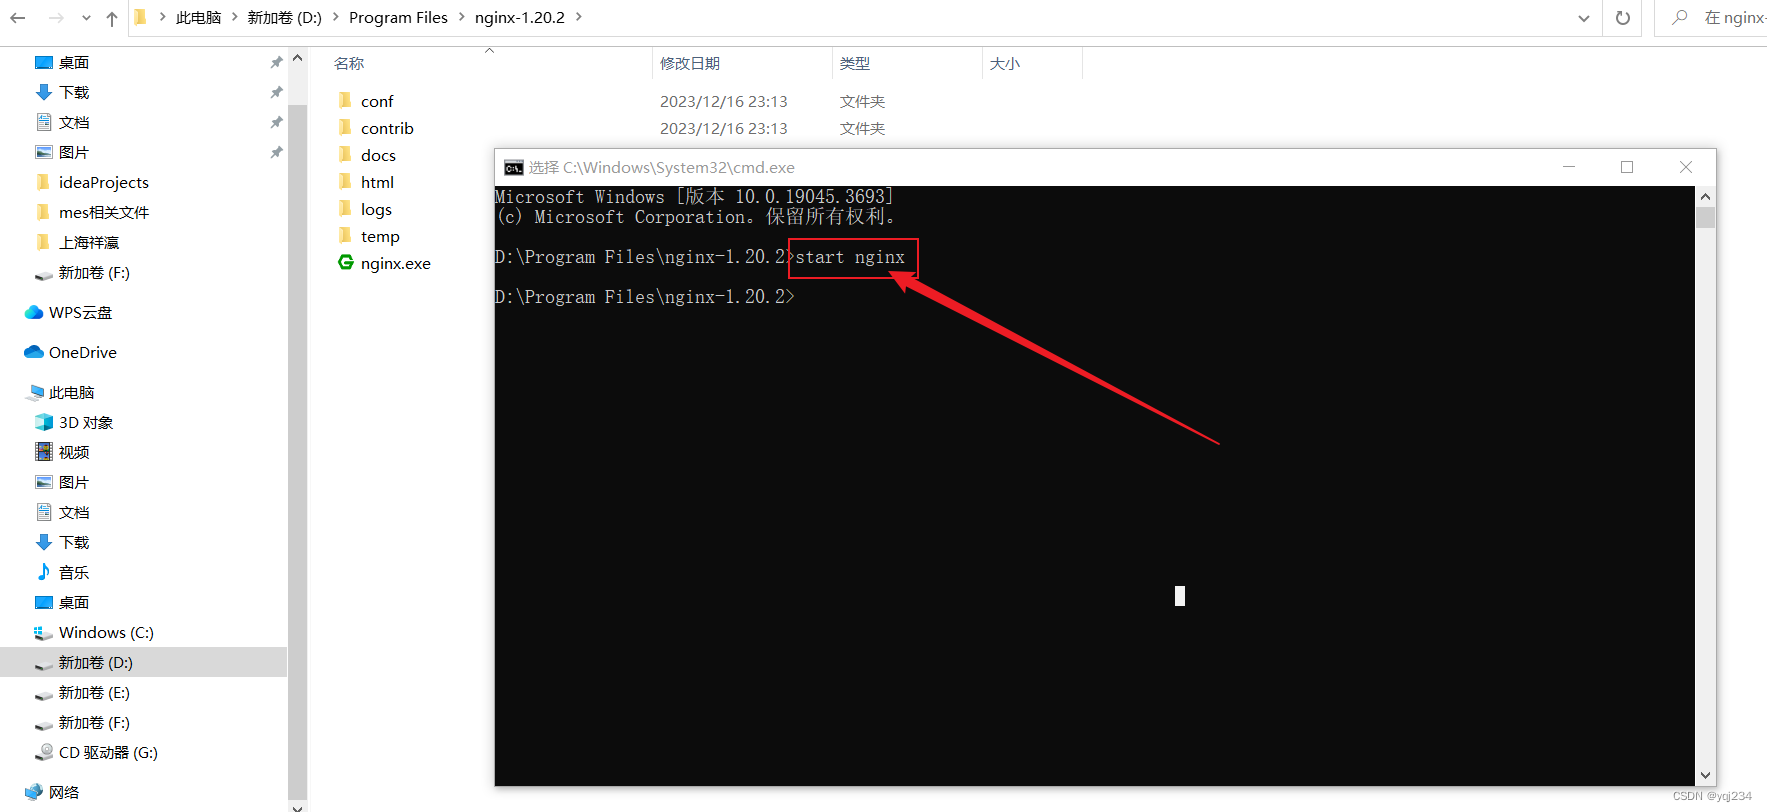
1.4? 启动解压后的目录cmd窗口执行启动命令(start nginx)并查看是否启动成功
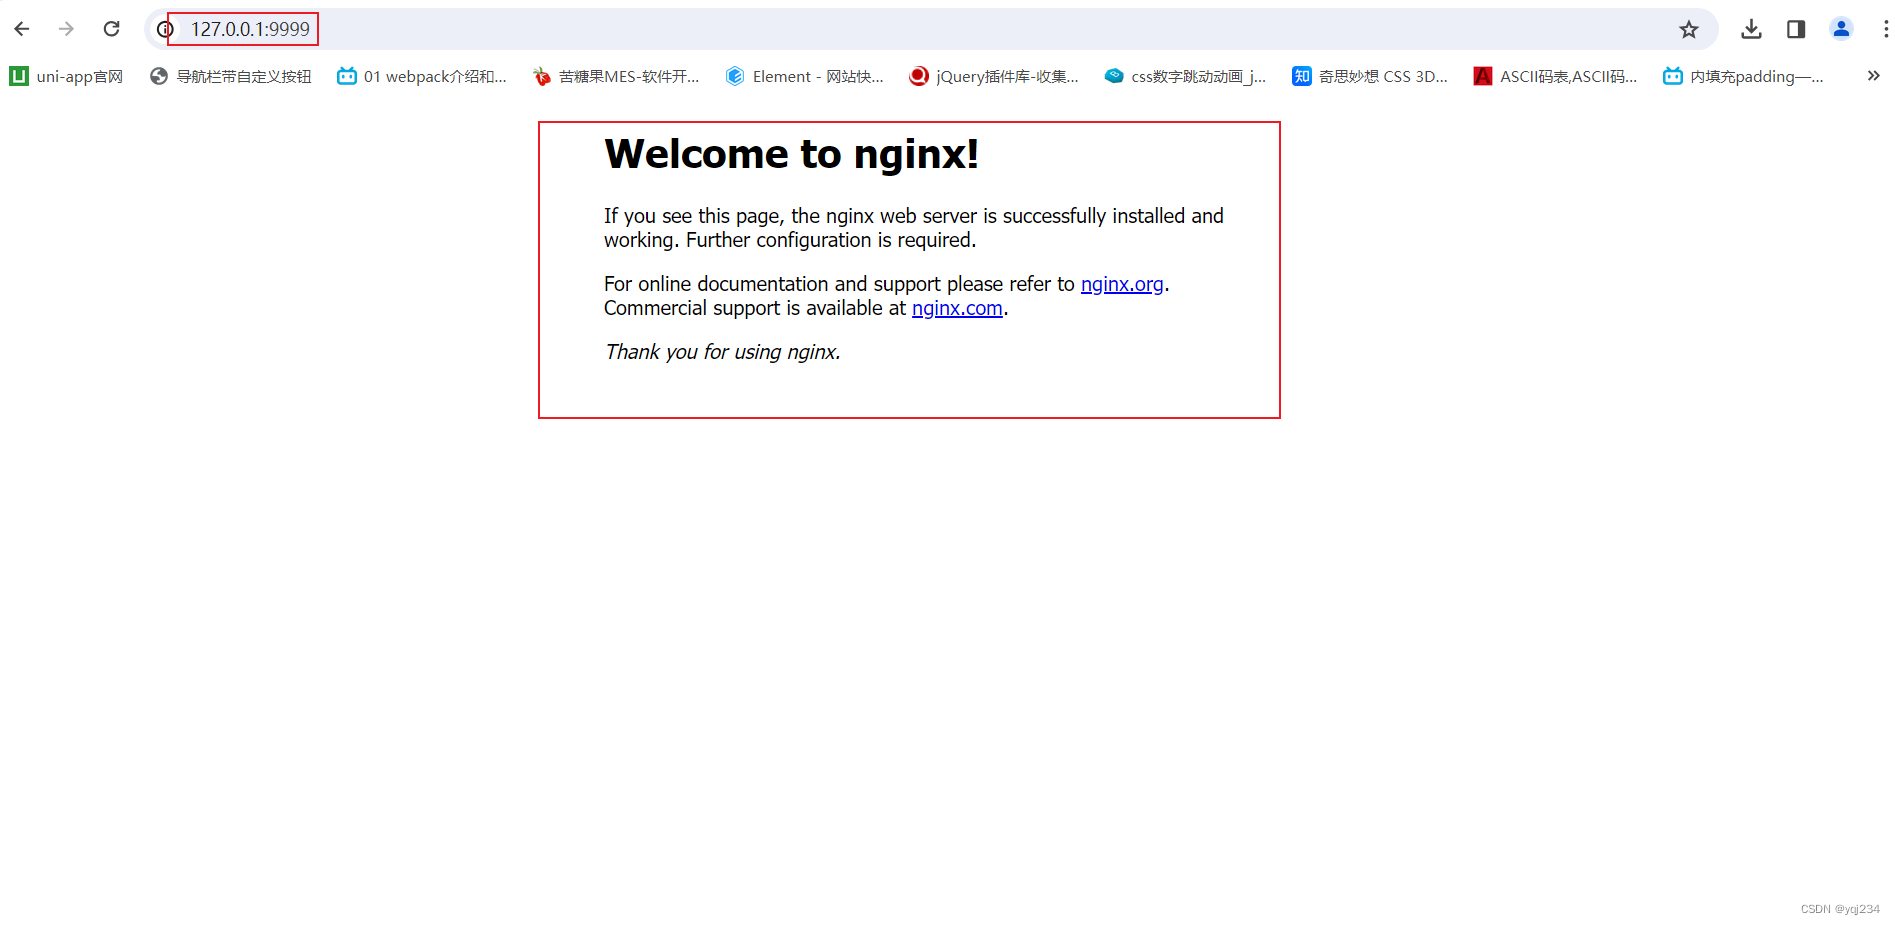
1.5? 浏览器访问测试,以下状态为成功启动状态
命令总结
start nginx //启动
tasklist /fi “imagename eq nginx.exe” //查看nginx服务
taskkill /f /t /im nginx.exe //停止nginx服务
nginx -t conf/nginx.conf //检查Nginx配置文件中的语法错误
nginx -s reload //重新加载
nginx -s stop //此方式相当于先查出nginx进程id再使用kill命令强制杀掉进程
nginx -s quit //此方式停止步骤是待nginx进程处理任务完毕进行停止
1
2
3
4
5
6
7
文章知识点与官方知识档案匹配,可进一步学习相关知识
————————————————
版权声明:本文为CSDN博主「黎明晓月」的原创文章,遵循CC 4.0 BY-SA版权协议,转载请附上原文出处链接及本声明。
原文链接:https://blog.csdn.net/weixin_42949219/article/details/133862817
文章来源:https://blog.csdn.net/yqj234/article/details/135039488
本文来自互联网用户投稿,该文观点仅代表作者本人,不代表本站立场。本站仅提供信息存储空间服务,不拥有所有权,不承担相关法律责任。 如若内容造成侵权/违法违规/事实不符,请联系我的编程经验分享网邮箱:chenni525@qq.com进行投诉反馈,一经查实,立即删除!
本文来自互联网用户投稿,该文观点仅代表作者本人,不代表本站立场。本站仅提供信息存储空间服务,不拥有所有权,不承担相关法律责任。 如若内容造成侵权/违法违规/事实不符,请联系我的编程经验分享网邮箱:chenni525@qq.com进行投诉反馈,一经查实,立即删除!
最新文章
- Python教程
- 深入理解 MySQL 中的 HAVING 关键字和聚合函数
- Qt之QChar编码(1)
- MyBatis入门基础篇
- 用Python脚本实现FFmpeg批量转换
- /dev/sda1 contains a file system uith errors,check forced.
- 第四章[结构化程序]:4.6:break/continue语句
- 安科瑞AM3SE系列微机保护装置——安科瑞 顾烊宇
- 如何在Windows系统中添加右键新建Markdown文件功能
- .Net 8 引用虚拟目录、自定义静态文件目录和默认主页
- 态势研判能力再获“赞” | 安全狗连续3年获得中国网络空间安全协会感谢
- Java:多线程和JUC详解
- 如何将Docker中的Tomact彻底删除
- 【操作系统习题】输入/输出系统
- 01第一个Mybatis程序+引入Junit+引入日志文件logback