NestJS入门手册:零基础开发第一个 HTTP 接口
发布时间:2023年12月18日
前言
NestJS 是一个用于开发高效、可扩展的 Node.js 服务器端应用程序的框架。其优雅的 TypeScript 支持和深度集成的系统模块,使得开发复杂的后端服务变得前所未有的简单。在这篇文章中,我们将介绍 NestJS 的基础知识,帮助你快速入门。
准备工作
以下准备工作是 nestjs 运行的基础环境,如果你已经学习或了解了nodejs相关的知识以及开发设备已经成功安装了Node环境和开发IDE,请忽略这部分内容。
- 安装 NodeJS
- 安装 pnpm(可选项)
- 安装 VsCode 编辑器
开始入门
一、安装 nestjs 脚手架
npm install -g @nestjs/cli

或者

pnpm install -g @nestjs/cli
二、创建第一个 nestjs 服务项目
nest new your-custom-project-name


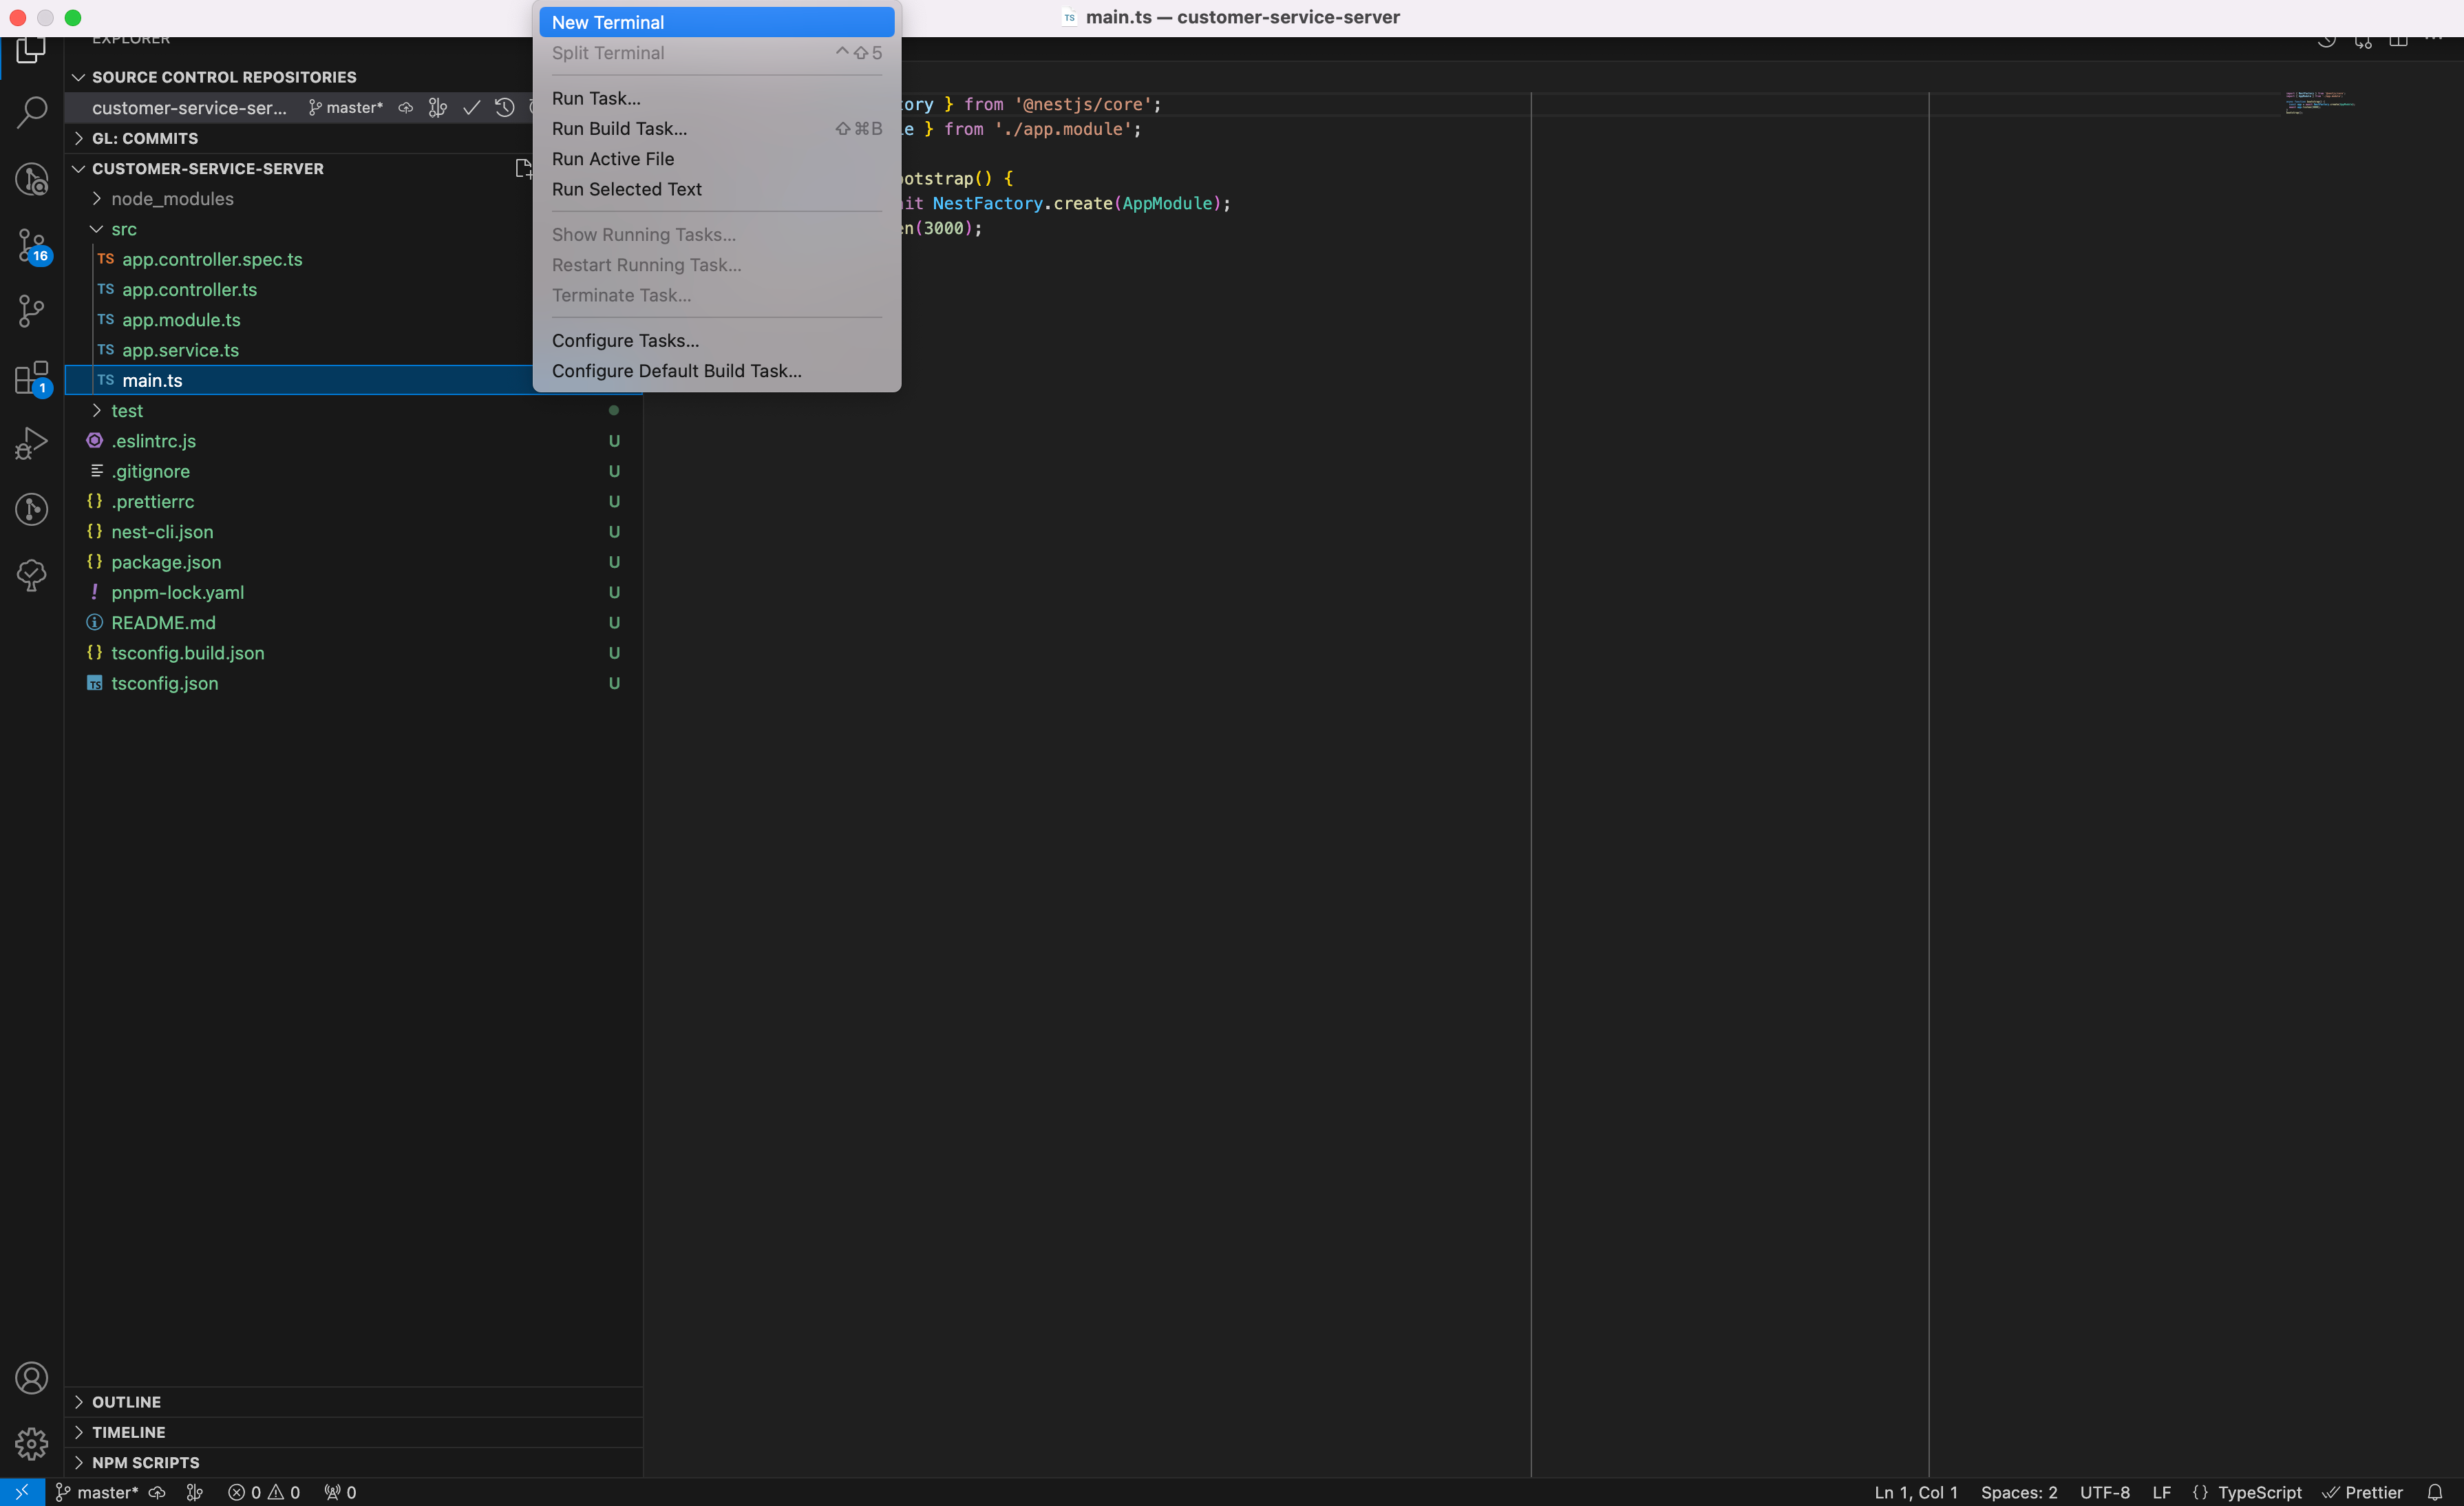
三、通过 VsCode 打开创建的项目
npm run start


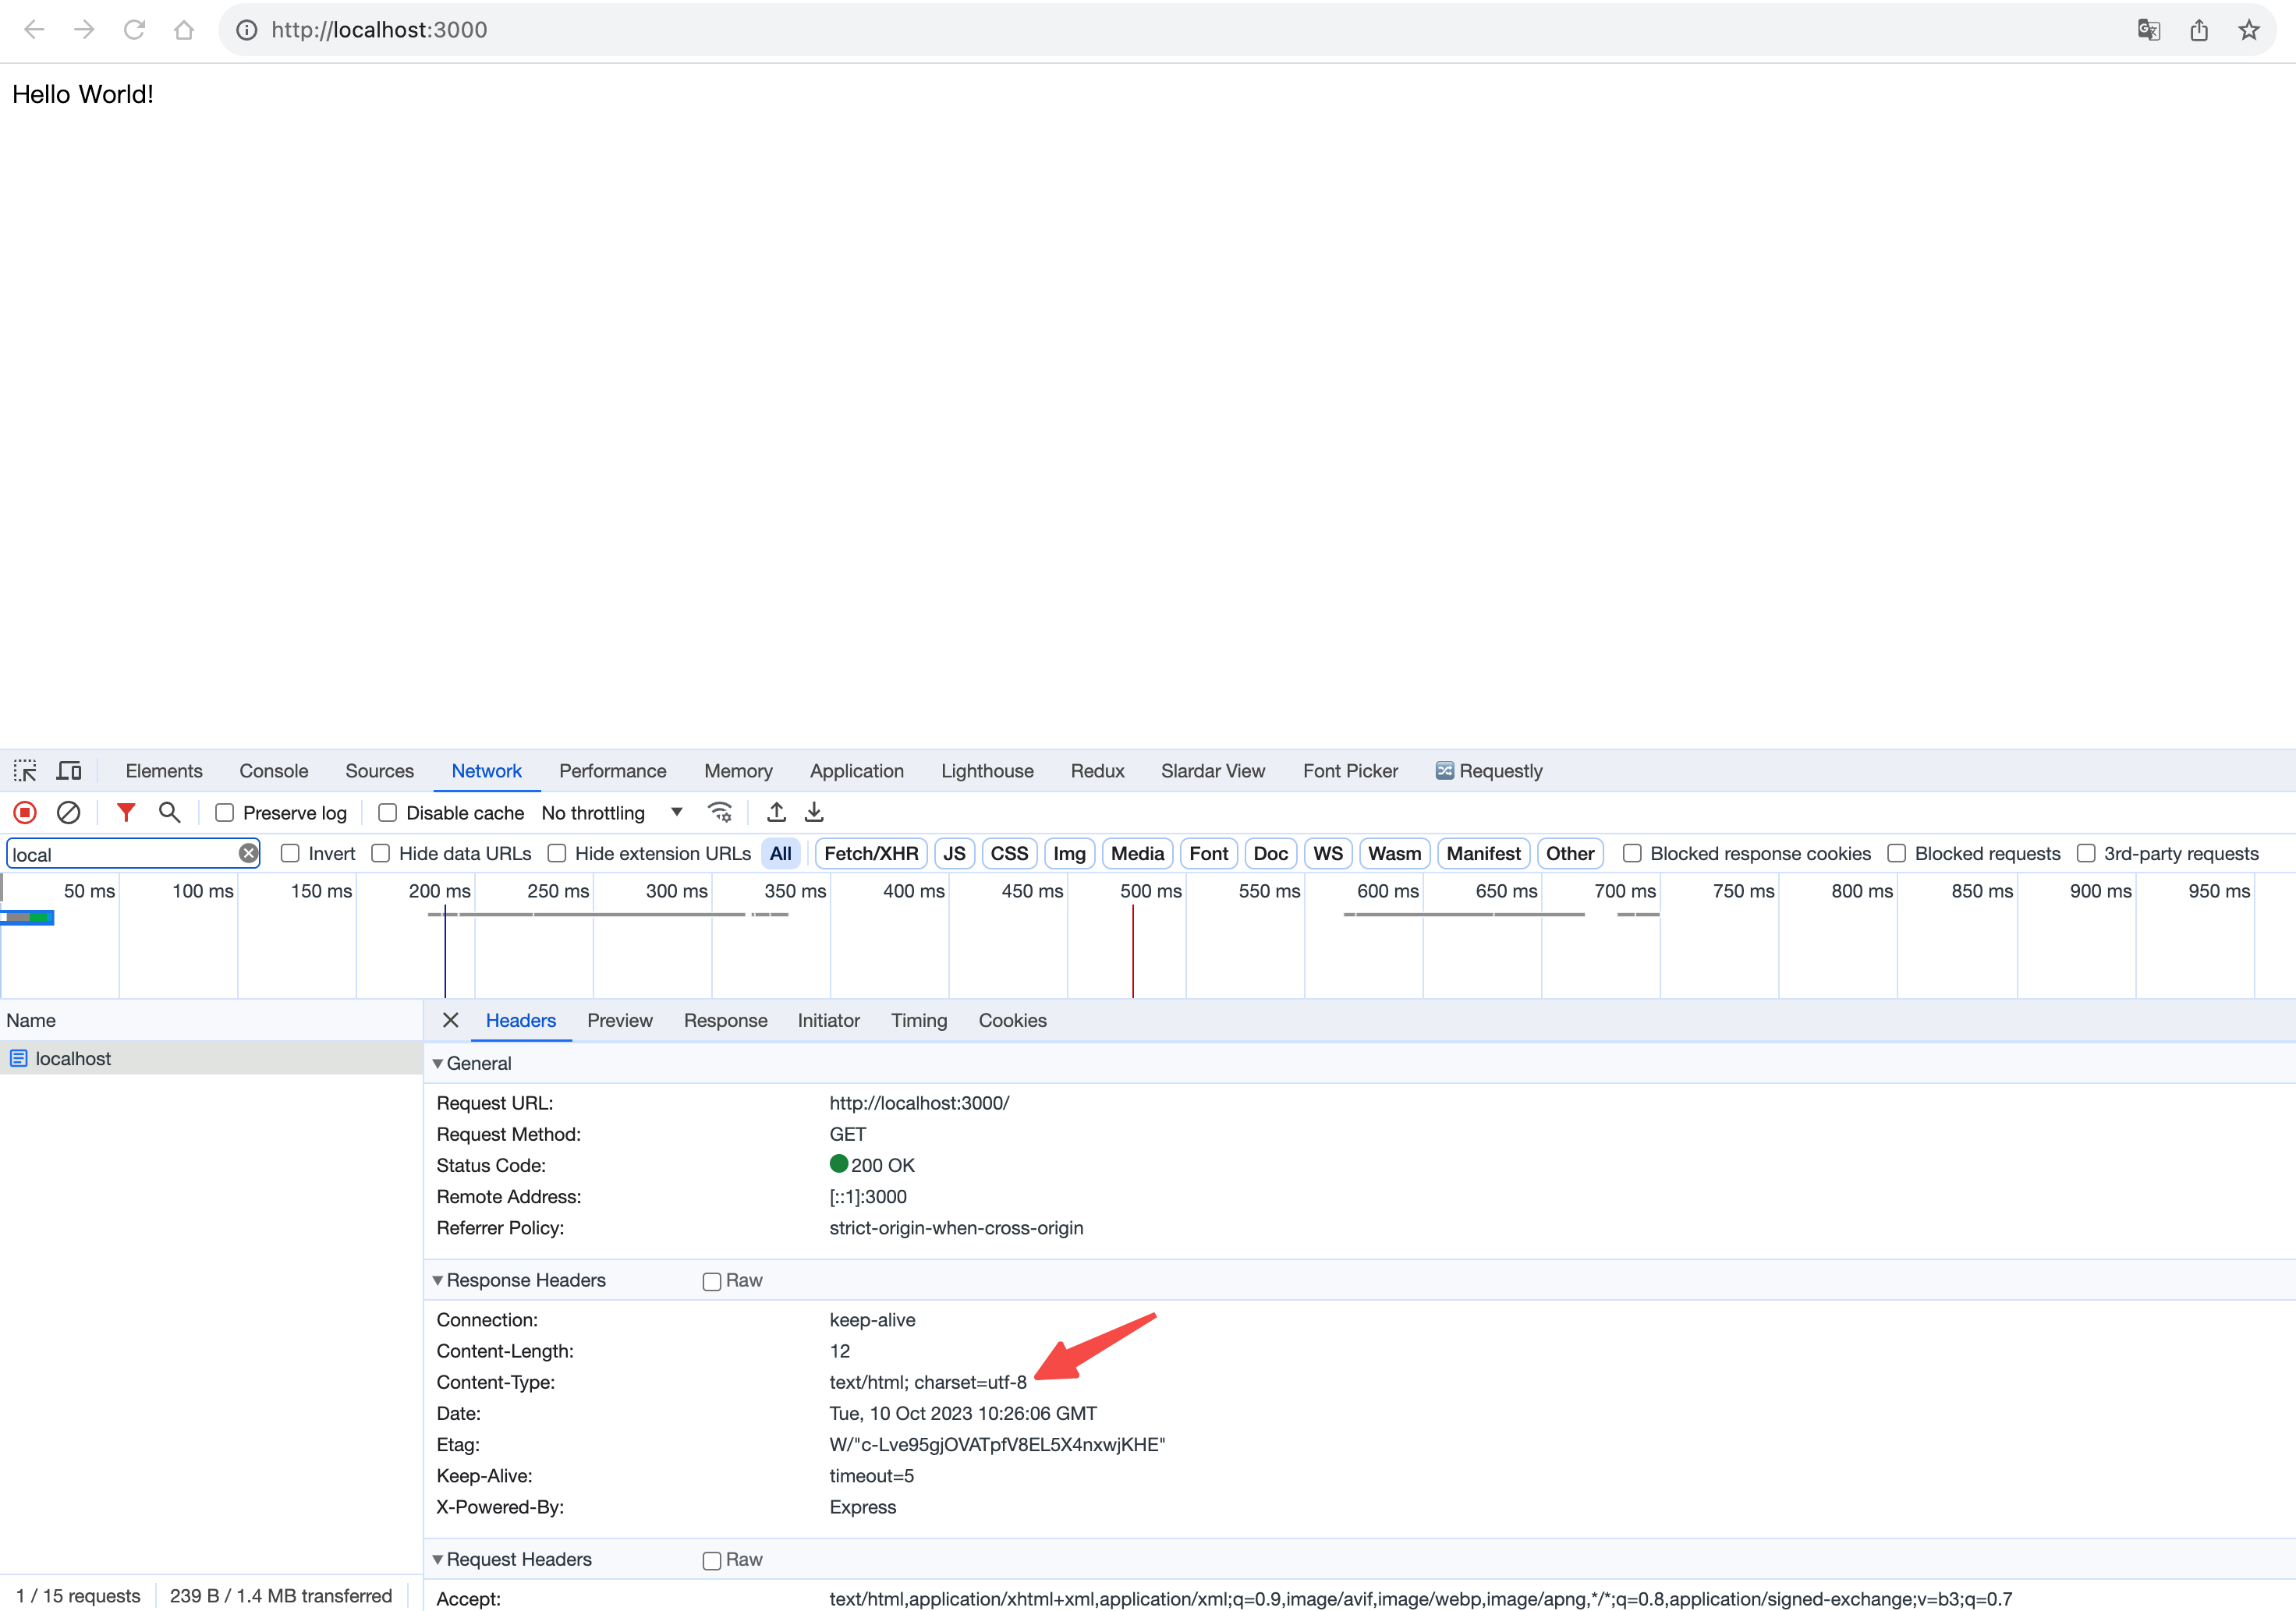
四、访问第一个HTTP接口
浏览器访问 http://localhost:3000

项目文件分析
nestjs 脚手架生成的最基础的项目包含如下文件列表
├── package.json
├── pnpm-lock.yaml
├── src
│   ├── app.controller.spec.ts
│   ├── app.controller.ts
│   ├── app.module.ts
│   ├── app.service.ts
│   └── main.ts
├── test
│   ├── app.e2e-spec.ts
│   └── jest-e2e.json
├── tsconfig.build.json
└── tsconfig.json
文件介绍:
- package.json 项目核心配置文件,主要包含项目基础信息,项目依赖等。
- src/main.ts 服务运行入口文件,定义了nest服务加载流程。
- src/module.ts nest服务依赖的核心模块,其中定义了
imports,controllers,providers,exports等。 - src/controller.ts 提供HTTP接口、微服务等对外的方法集合;
- src/service.ts 提供运行时公共方法,相对于静态的utils方法,service实例可以注入其他的provider服务。
- 其他文件都是 「单元测试」相关的文件,有没有都不会影响整个服务启动运行的,暂xiug 时按下不表。
编写第一个HTTP接口
?? 当我们尝试新鲜事物时,给自己制定一些简单容易实现的目标然后实现它,通过成就感不断的刺激,才会让我们能够坚持深入使用并掌握它。
目标一
-
实现如下HTTP接口
URL /api/user Method GET Request {“name”:”levenx”}Response {“code”:0,“message”:”ok”,“data”:{“name”:”levenx”}}接口要求分析,前端通过/api/user接口的query参数携带name参数,接口按照要求格式返回即可。
-
修改app.controllers.ts文件代码内容
import { Controller, Get, Query } from '@nestjs/common';
import { AppService } from './app.service';

@Controller()
export class AppController {

  @Get('/api/user')
  getUserName(@Query() query) {
    return {
      code: 0,
      message: 'ok',
      data: {
        name: query.name,
      },
    };
  }
}
分析:
- nestjs 通过在方法上添加@Get注解定义接口,注解方法的参数(/api/user)就是需要定义的接口路径。
- nestjs 提供了很多注解让开发者获取自己想要的信息,比如通过@Query获取GET请求的query参数。
- 方法return返回的内容就是HTTP返回的相应体内容。
-
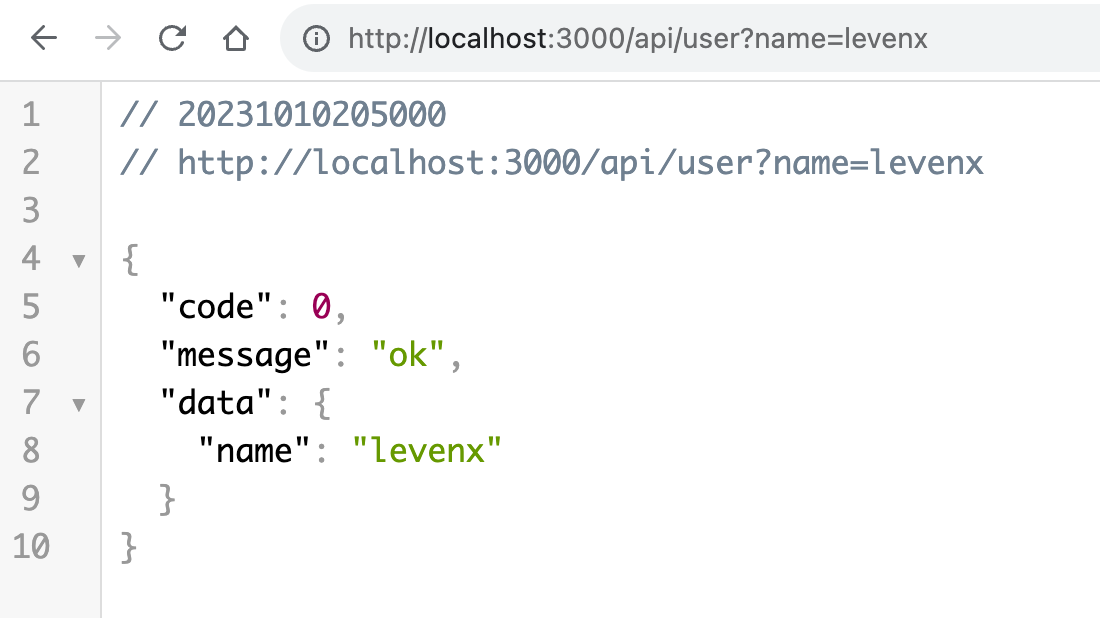
在浏览器中访问 http://localhost:3000/api/user?name=levenx,看看返回是否符合预期。

目标二
-
实现公共的service方法给多个HTTP接口使用,service方法的作用是在用户name前面加上 hi!
-
修改app.service.ts文件内容
import { Injectable } from '@nestjs/common'; @Injectable() export class AppService { setHi(name: string): string { return `hi! ${name}`; } } -
在app.controller.ts 中使用service方法
import { Controller, Get, Query } from '@nestjs/common';
import { AppService } from './app.service';

@Controller()
export class AppController {
++  constructor(private readonly appService: AppService) {}

  @Get('/api/user')
  getUserName(@Query() query) {
    return {
      code: 0,
      message: 'ok',
      data: {
++        name: this.appService.setHi(query.name),
      },
    };
  }
}
代码分析:
- 首先需要在Controller的构造方法中添加appService方法,这一步让整个AppController中所有的方法都能够调用appService的方法;
- 在需要使用service方法的地方调用即可。
-
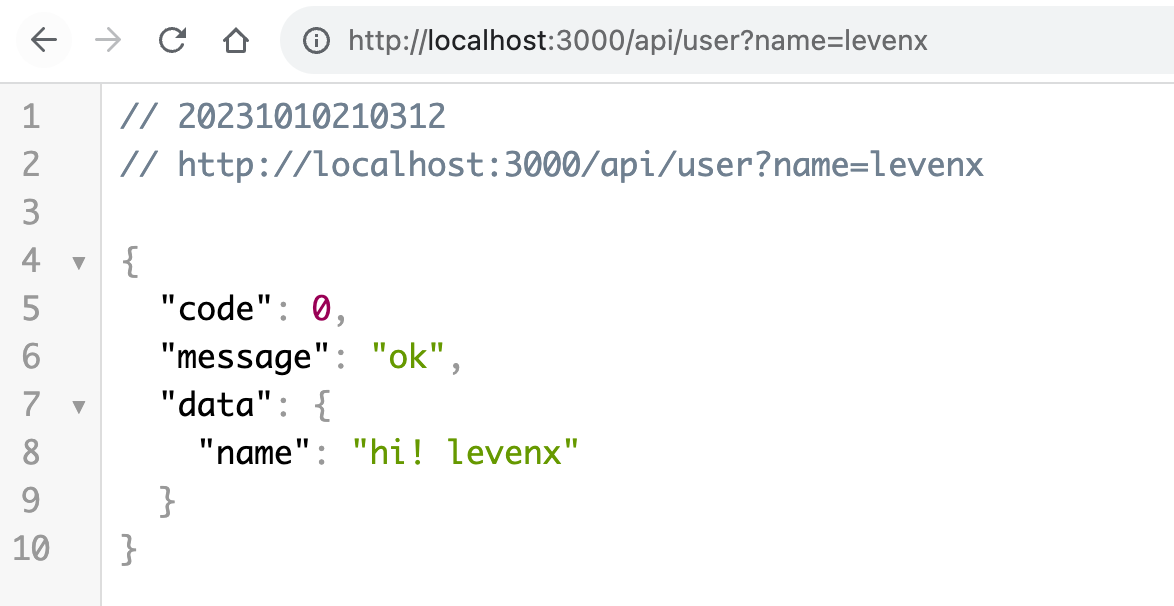
在浏览器中访问 http://localhost:3000/api/user?name=levenx

总结
Nestjs 是一个非常强大的 Node 框架,它支持了很多能力丰富后端项目工程,本篇教程只是对Nestjs的浅尝辄止,后续我们继续深入Nestjs的更多方面。
文章来源:https://blog.csdn.net/m0_37890289/article/details/135045427
本文来自互联网用户投稿,该文观点仅代表作者本人,不代表本站立场。本站仅提供信息存储空间服务,不拥有所有权,不承担相关法律责任。 如若内容造成侵权/违法违规/事实不符,请联系我的编程经验分享网邮箱:chenni525@qq.com进行投诉反馈,一经查实,立即删除!
本文来自互联网用户投稿,该文观点仅代表作者本人,不代表本站立场。本站仅提供信息存储空间服务,不拥有所有权,不承担相关法律责任。 如若内容造成侵权/违法违规/事实不符,请联系我的编程经验分享网邮箱:chenni525@qq.com进行投诉反馈,一经查实,立即删除!
最新文章
- Python教程
- 深入理解 MySQL 中的 HAVING 关键字和聚合函数
- Qt之QChar编码(1)
- MyBatis入门基础篇
- 用Python脚本实现FFmpeg批量转换
- Java最全面试题专题---4、并发编程(3)
- React-hook-form-mui (二):表单数据处理
- 第十一部分 隐含规则(三)
- TongRDS2.2 Center 哨兵配置
- 搞懂flyaway一篇就够了
- [数据结构 C++] AVL树的模拟实现
- 老牌网站监测应用 Pingdom 体验,与百川云网站有什么区别?
- 设备树(2)-设备树在Linux系统的具体体现及内核解析设备树文件过程
- 世微AP5219 平均电流型LED 降压恒流驱动器
- 10w 字前端技术文档分析