css原子化的框架Tailwindcss的使用教程(元素html和vue项目的安装与配置)
发布时间:2023年12月28日
安装教程
原始的HTML里面使用
- 新建文件夹
- npm init -y 初始化项目
安装相关依赖
npm install -D tailwindcss postcss-cli autoprefixer
初始化两个文件
npx tailwindcss init -p
根目录下新建src/style.css
@tailwind base;
@tailwind components;
@tailwind utilities;
tailwind.config.js内增加如下配置
/** @type {import('tailwindcss').Config} */
module.exports = {
  // purge内代表匹配所有的html文件,即会扫描所有的html文件进行自动生成对应的css
  purge: ['./src/**/*.html'],
  content: [],
  theme: {
    extend: {},
  },
  plugins: [],
}
package.json新增节点
"scripts":{
    "watch":"postcss src/style.css -o dist/style.css --watch",
    "build":"postcss src/style.css -o dist/style.css"
}
html引入只需要引入src下面的css文件即可
至此,当我们运行npm run watch之后,html类名有变动则对应的dist/style.css文件内也会增加对应的类
当我们运行npm run build会打包生成dist/style.css
多个类的内容整合成一个类
在html中
<div class='heading'></div>

在src/style.css内
新增如下:
.heading{
    @apply text-9xl text-center text-blue-600 sm:bg-black sm:text-white;
}

打包出来dist/style.css的结果为
.heading{
    font-size:8rem;
    line-height:1;
    text-align:center;
    --te-text-opacity:1;
    color:rgba(37,99,235,var(--tw-text-opacity))
}
// 后面还有关于heading的响应式,就不写了
vue内使用安装教程
这里使用vite配置
创建项目
npm create vite@latest
安装依赖
npm install  // 先全部安装
npm install -D tailwindcss postcss-cli autoprefixer  // 再安装需要的依赖
初始化两个文件
npx tailwindcss init -p
设置tailwind.config.js文件的目录位置
/** @type {import('tailwindcss').Config} */
export default {
  // 当以下被匹配到的文件内的类名变化时,会被匹配到,同时会在打包目录下新增类对应的样式
  purge:['./index.html','./src/**/*.{vue,js,ts,jsx,tsx}'],
  content: [],
  theme: {
    extend: {},
  },
  plugins: [],
}
在src下面新增index.css
@tailwind base;
@tailwind components;
@tailwind utilities;
在main.js内引入index.css
import { createApp } from 'vue'
import './index.css'
import App from './App.vue'

createApp(App).mount('#app')
编辑App.vue
<script setup>
import { ref, reactive } from 'vue';
const count = ref(0);
</script>
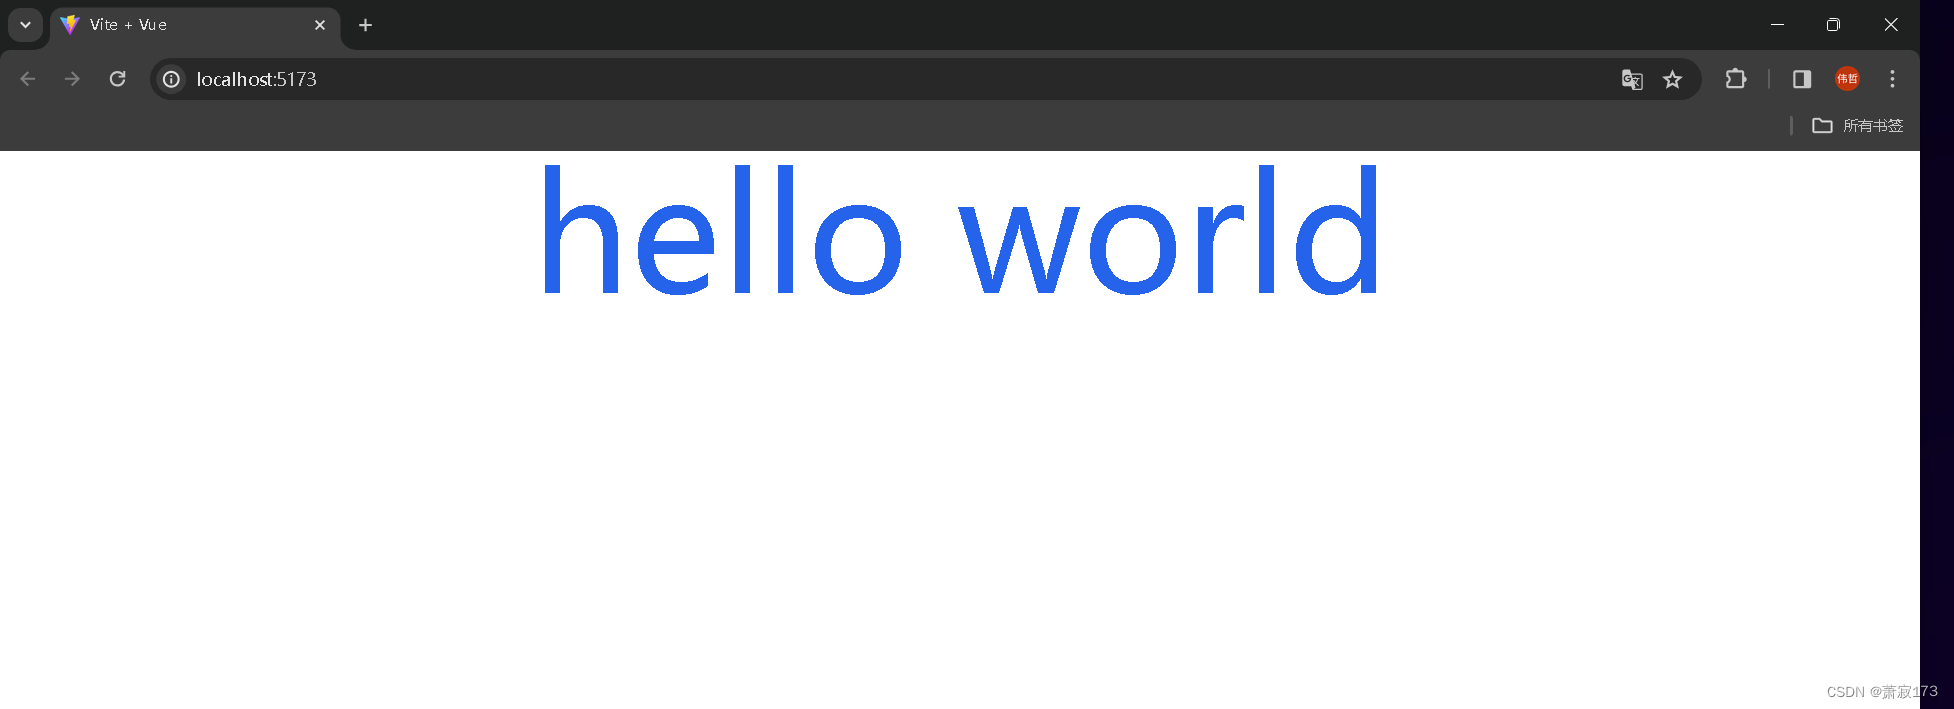
<template>
<div class="text-9xl text-center text-blue-600 sm:block">
hello world
</div>
</template>
<style scoped lang="scss">
</style>
运行项目
npm run dev
文章来源:https://blog.csdn.net/weixin_68658847/article/details/135263929
本文来自互联网用户投稿,该文观点仅代表作者本人,不代表本站立场。本站仅提供信息存储空间服务,不拥有所有权,不承担相关法律责任。 如若内容造成侵权/违法违规/事实不符,请联系我的编程经验分享网邮箱:chenni525@qq.com进行投诉反馈,一经查实,立即删除!
本文来自互联网用户投稿,该文观点仅代表作者本人,不代表本站立场。本站仅提供信息存储空间服务,不拥有所有权,不承担相关法律责任。 如若内容造成侵权/违法违规/事实不符,请联系我的编程经验分享网邮箱:chenni525@qq.com进行投诉反馈,一经查实,立即删除!
最新文章
- Python教程
- 深入理解 MySQL 中的 HAVING 关键字和聚合函数
- Qt之QChar编码(1)
- MyBatis入门基础篇
- 用Python脚本实现FFmpeg批量转换
- 对相机位姿 导出 Tum 格式的位姿
- 安卓Android Studioy读写NXP ICODE2 15693标签源码
- 寿宁县五校迁建项目(现为寿宁县一中)企业微电网能效管理系统项目的设计与应用(公建)
- XPath语法,爬虫必备技能
- XDOJ135.拼数字排序
- 计算机网络-网络层
- 虚拟机NAT模式联网问题排查
- Ubuntu安装mysql8详细步骤
- C++基础语法——基本知识、数据类型、运算符及程序流程结构
- 单元测试、系统测试、集成测试知识总结