手写一个starter来理解SpringBoot的自动装配
自动装配以及简单的解析源码
自动装配是指SpringBoot在启动的时候会自动的将系统中所需要的依赖注入进Spring容器中
我们可以点开@SpringBootApplication这个注解来一探究竟
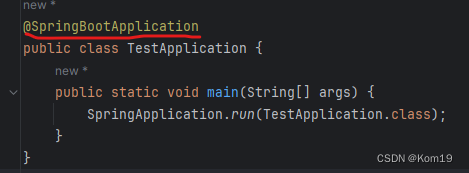
点开这个注解可以发现这些
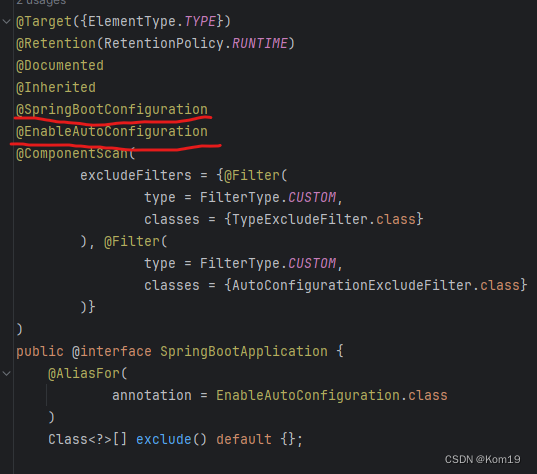
我们点开@SpringBootConfiguration这个注解
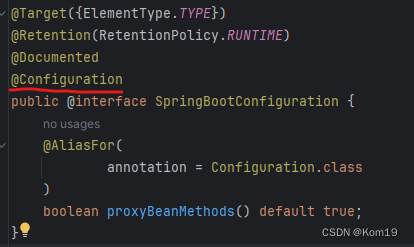
可以发现实际上@SpringBootApplication这个其实是一个配置类
再点开@EnableAutoConfiguration(允许自动配置)这个注解,
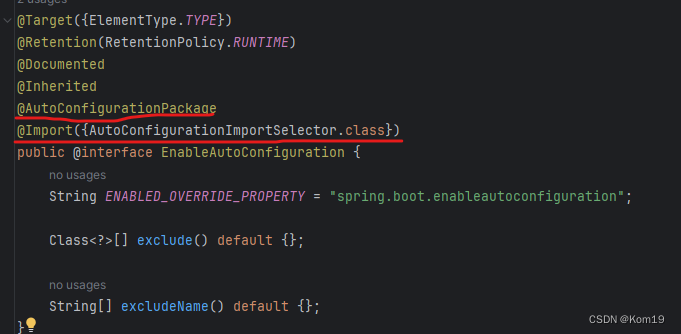
在这里最重要的是@AutoConfigurationPackage和@Import这两个注解
@AutoConfigurationPackage这个注解的作用是扫描与启动类同目录底下的所有包以及其子包,将相关的Bean注入进Spring容器中
而@Import注解则是将AutoConfigurationImportSelector.class将这个类作为Bean注入进Spring容器中,我们再点开这个类来看看

找到这个方法,然后再点 loadFactoryNames这个方法
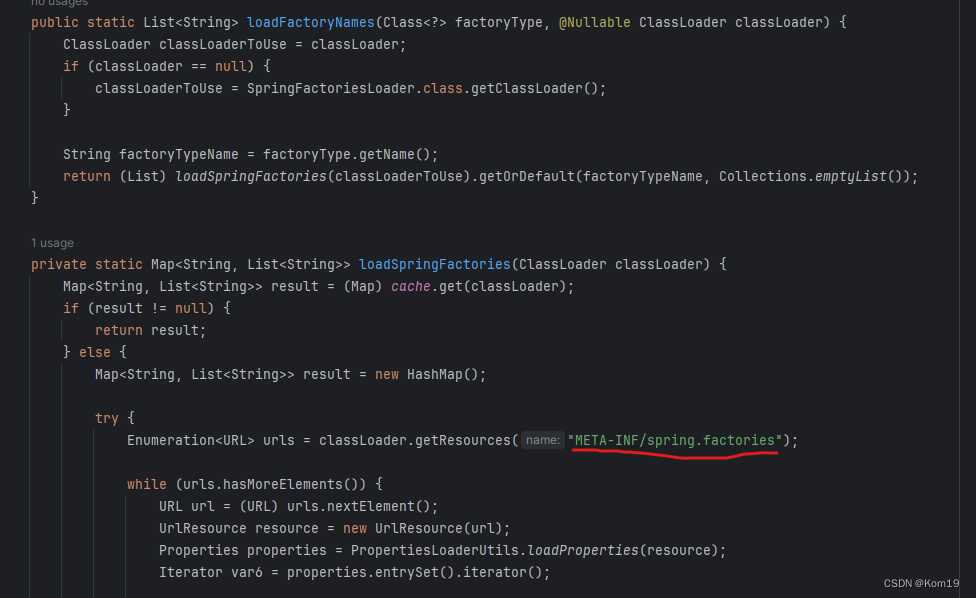
我们可以看到这段代码,这段代码的意思就是说,加载META-INF/spring.factories 这个目录底下的配置类到Spring容器里面,再根据配置类来生成相应的Bean对象
所以说这两个注解,一个是将同一个项目里面的bean注入进Spring容器中,另外一个注解是将别人写好的配置类里面的Bean注入进Spring容器中
手写一个starter帮助理解自动装配
手把手教学
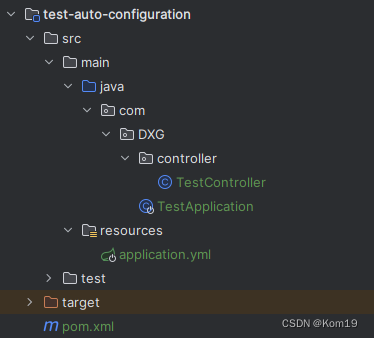
首先创建一个maven工程,名字应该是xxx-spring-boot-starter(Spring官方规定,如果是第三方的starter命名规则应该是xxx-spring-boot-starter,而Spring官方的starter应该是spring-boot-xxx-starter)
创建好了以后添加如下依赖
    <parent>
        <groupId>org.springframework.boot</groupId>
        <artifactId>spring-boot-starter-parent</artifactId>
        <version>2.4.2</version>
    </parent>


    <dependencies>
        <dependency>
            <groupId>org.springframework.boot</groupId>
            <artifactId>spring-boot-starter</artifactId>
        </dependency>

        <dependency>
            <groupId>org.springframework.boot</groupId>
            <artifactId>spring-boot-autoconfigure</artifactId>
        </dependency>
    </dependencies>
然后我们创建两个类
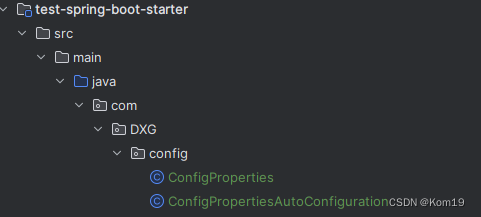
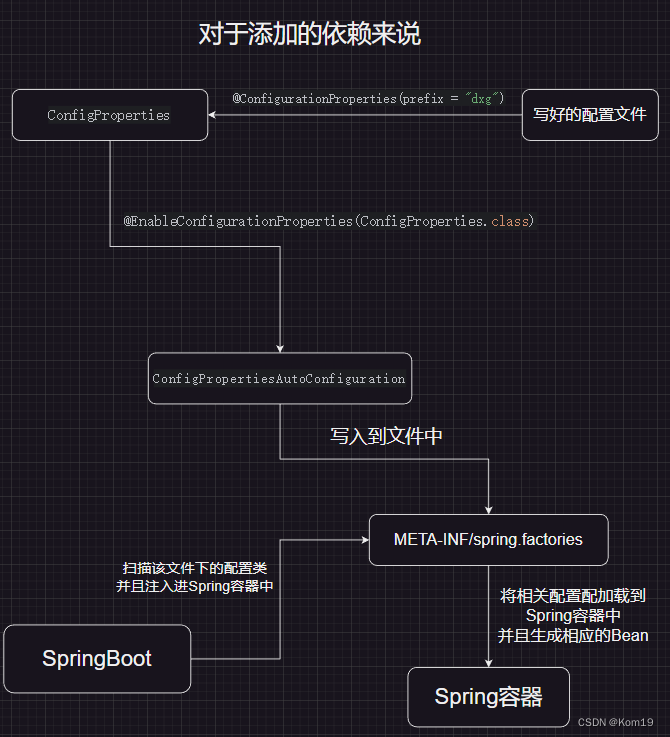
ConfigProperties 这个类是与Spring的配置文件关联的,配置文件中的值会被注入相应的字段中
@ConfigurationProperties(prefix = "dxg")这个注解的意思就是,在配置文件中相关配置前缀是什么
package com.DXG.config;

import org.springframework.boot.context.properties.ConfigurationProperties;

@ConfigurationProperties(prefix = "dxg")
public class ConfigProperties {
    private Integer age;
    private String name;

    public ConfigProperties(){
    }

    public ConfigProperties(Integer age, String name) {
        this.age = age;
        this.name = name;
    }


    public Integer getAge() {
        return age;
    }

    public void setAge(Integer age) {
        this.age = age;
    }

    public String getName() {
        return name;
    }

    public void setName(String name) {
        this.name = name;
    }
}
然后我们再编写这个配置类
@Configuration
@EnableConfigurationProperties(ConfigProperties.class)
public class ConfigPropertiesAutoConfiguration {
    public ConfigProperties configProperties;

    public ConfigPropertiesAutoConfiguration(ConfigProperties configProperties){
        this.configProperties = configProperties;
    }
}
在这个配置类中,首先打上@Configuration这个注解表明这是一个配置类
然后再打上@EnableConfigurationProperties(ConfigProperties.class)这个注解,这个注解的意思是让使用了@ConfigurationProperties(prefix = "dxg")的ConfigProperties.class注入进IOC容器中
然后我们就可以根据配置来生成相应的Bean了,比如我们编写了两个Bean
    @Bean
    public TestService testService(){
        return new TestService(configProperties.getAge(), configProperties.getName());
    }

    @Bean
    public TestService1 testService1(){
        return new TestService1(configProperties.getAge());
    }
package com.DXG.service;


public class TestService {
    private Integer age;
    private String name;

    public TestService(Integer age, String name) {
        this.age = age;
        this.name = name;
    }

    @Override
    public String toString() {
        return "ConfigProperties{" +
                "age=" + age +
                ", name='" + name + '\'' +
                '}';
    }
}
package com.DXG.service;

public class TestService1 {
    private Integer age;

    public TestService1(Integer age) {
        this.age = age;
    }

    @Override
    public String toString() {
        return "TestService1{" +
                "age=" + age +
                '}';
    }
}
最重要的一步来了,我们需要在META-INF这个目录下面创建spring.factories这个文件
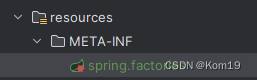
在这里面输入我们的配置类,这样才能被SpringBoot扫描到然后加载进Spring容器里面生成相应的Bean
org.springframework.boot.autoconfigure.EnableAutoConfiguration=\
    com.DXG.config.ConfigPropertiesAutoConfiguration
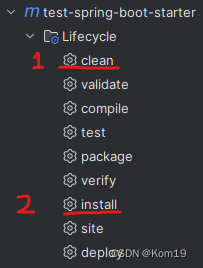
然后我们打包这个项目,生成相应的jar包
接下来我们就需要测试自动装配到底有没有生效了
在创建一个项目然后引入这个jar包
    <parent>
        <groupId>org.springframework.boot</groupId>
        <artifactId>spring-boot-starter-parent</artifactId>
        <version>2.4.2</version>
    </parent>

    <dependencies>
        <dependency>
            <groupId>org.springframework.boot</groupId>
            <artifactId>spring-boot-starter-web</artifactId>
        </dependency>

        <dependency>
            <groupId>com.DXG</groupId>
            <artifactId>test-spring-boot-starter</artifactId>
            <version>1.0-SNAPSHOT</version>
        </dependency>
    </dependencies>
编写相应的代码来进行测试
package com.DXG.controller;

import com.DXG.service.TestService;
import com.DXG.service.TestService1;
import org.springframework.web.bind.annotation.RequestMapping;
import org.springframework.web.bind.annotation.RestController;

import javax.annotation.Resource;

@RestController
@RequestMapping("/test/")
public class TestController {

    @Resource
    private TestService testService;

    @Resource
    private TestService1 testService1;

    @RequestMapping("/testString")
    public String testString(){
        return testService.toString();
    }

    @RequestMapping("/testString1")
    public String testString1(){
        return testService1.toString();
    }
}
在配置文件里面填写相应的配置
server:
  port: 8080

dxg:
  age: 12
  name: "DXG"
接下来启动SpringBoot项目
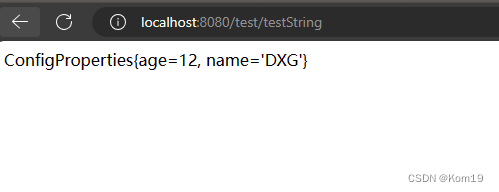
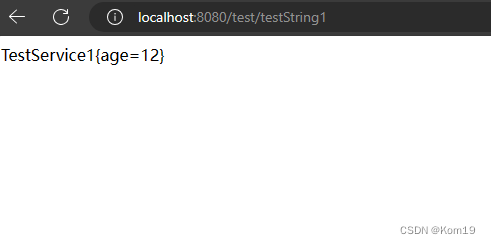
可以看到,确实是将两个Bean都注入进Spring容器中供我们使用了
总结
接下来画个流程图总结一下
本文来自互联网用户投稿,该文观点仅代表作者本人,不代表本站立场。本站仅提供信息存储空间服务,不拥有所有权,不承担相关法律责任。 如若内容造成侵权/违法违规/事实不符,请联系我的编程经验分享网邮箱:chenni525@qq.com进行投诉反馈,一经查实,立即删除!
- Python教程
- 深入理解 MySQL 中的 HAVING 关键字和聚合函数
- Qt之QChar编码(1)
- MyBatis入门基础篇
- 用Python脚本实现FFmpeg批量转换
- CMake支持的编译平台和IDE
- Python实现API接口并发测试
- 手机上最危险的3个操作,千万小心!
- 机器学习-模型评估优化
- JMM到底如何理解?JMM与MESI到底有没有关系?
- 设备树下Led驱动实验-Led驱动代码框架搭建
- java.lang.UnsupportedOperationException
- mybatis-plus实现真正的批量插入
- 1.18~1.19蚯蚓(未完),树状数组(区间修改(差分数组),定点查询)(定点修改,区间查询),线段树(未完)
- 计算机网络考试选择题——附答案