商品小程序(6.商品详情)
发布时间:2024年01月05日
目录
本章主要完成商品详情页面的前端编写:主要页面为分包下的goods-detail页面

一、获取商品详情数据
还是先来看看后端api端口的url,以及参数,返回数据样式
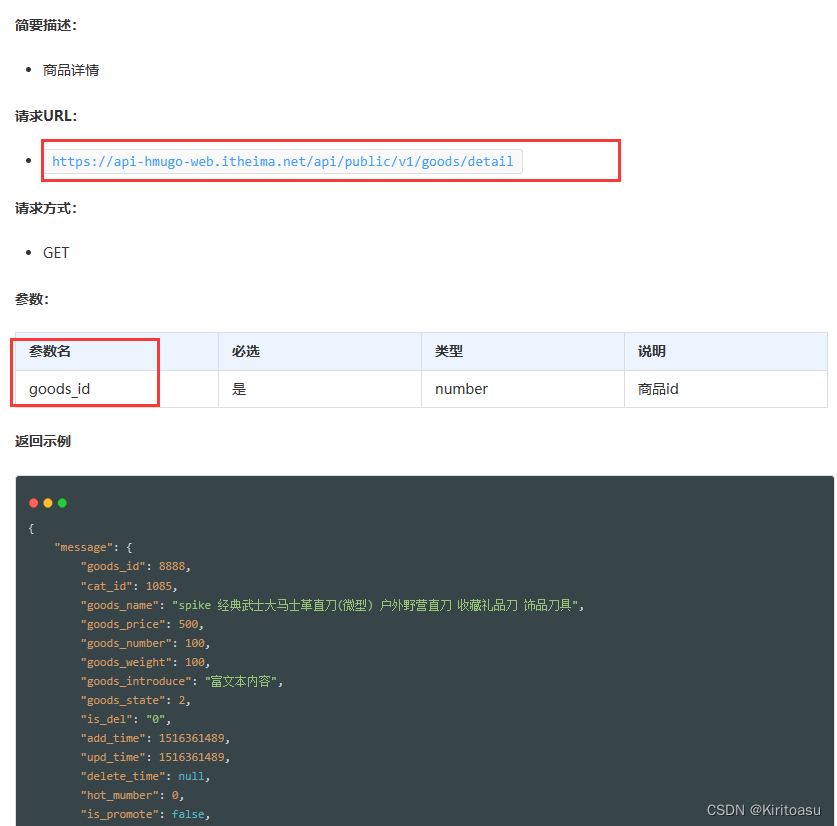
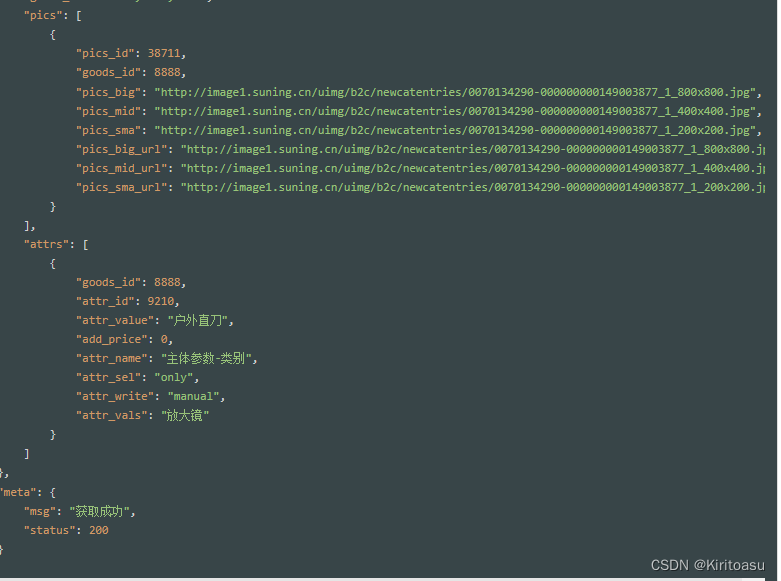
请求数据前面写个很多次了,不多赘述
<script>
	export default {
		data() {
			return {
				goods_info: {}
			};
		},
		onLoad(options) {
			const goods_id = options.goods_id
			this.getGoodsDetail(goods_id)
		},
		methods: {
			getGoodsDetail(goods_id){
				const {data : res} = await uni.request({
					url: 'https://api-hmugo-web.itheima.net/api/public/v1/goods/detail?goods_id=' + goods_id,
					method: 'GET'
				})
				if(res.meta.status !== 200){
					return uni.showToast({
						title: '数据请求失败!',
						duration: 1500,
						icon: 'none',
					})
				}
				this.goods_info = res.message
			}
		}
	}
</script>
二、渲染商品详情页的UI结构
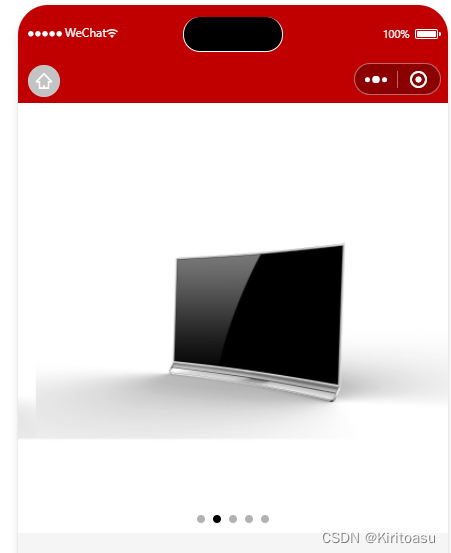
1、渲染轮播图区域
前面轮播图也是做过了,具体的一些组件中的参数也不多介绍,直接使用,鼠标悬停上去也有翻译
根据返回结果,主要变量结构中的pics 下的 pics_big大图
	<view>
		<!-- 轮播图区域 -->
		<swiper :indicator-dots="true" :autoplay="true" :interval="3000" :duration="1000" :circular="true">
			<swiper-item v-for="(item, i) in goods_info.pics" :key="i">
				<image :src="item.pics_big"></image>
			</swiper-item>
		</swiper>
	</view>
渲染UI结构
<style lang="scss">
swiper {
	height: 750rpx;

	image {
		width:100%;
		height:100%;
	}
}
</style>
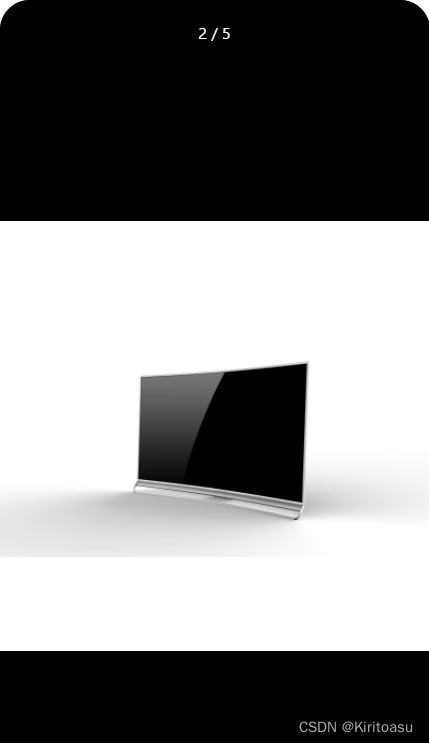
2、实现轮播图预览效果
为轮播图中的image图片绑定click事件处理函数

在methods中定义preview事件处理函数用于点击预览大图(用uni自带的previewImage浏览图片)
			preview(i) {
				uni.previewImage({
					current: i,
					urls: this.goods_info.pics.map(x => x.pics_big)
				})
			}
点击商品轮播图图片进入预览图
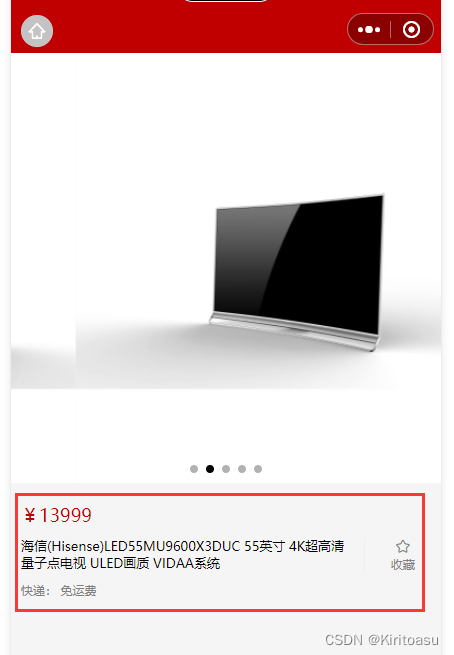
3、渲染商品信息区域
在与轮播图同级的view下创建商品信息的UIview
		<!-- 商品信息区域 -->
		<view class="goods-info-box">
			<!-- 商品价格 -->
			<view class="price">¥{{goods_info.goods_price}}</view>
			<!-- 商品信息主体区域 -->
			<view class="goods-info-body">
				<!-- 商品的名字 -->
				<view class="goods-name">{{goods_info.goods_name}}</view>
				<!-- 收藏 -->
				<view class="favi">
					<uni-icons type="star" size="18" color="gray"></uni-icons>
					<text>收藏</text>
				</view>
			</view>
			<!-- 运费 -->
			<view class="yf">快递: 免运费</view>
		</view>
美化UI
.goods-info-box {
	padding: 10px;
	padding-right: 0;

	.price {
		color: #C00000;
		font-size: 18px;
		margin: 10px 0;
	}
	.goods-info-body {
		display: flex;
		justify-content: space-between;

		.goods-name{
			font-size: 13px;
			margin-right: 10px;
		}

		.favi{
			width: 120px;
			font-size: 12px;
			display: flex;
			flex-direction: column;
			align-items: center;
			justify-content: center;
			border-left: 1px solid #efefef;
			color: gray;
		}
	}
	.yf{
		font-size: 12px;
		color: gray;
		margin: 10px 0;
	}
}
4、渲染商品详情信息
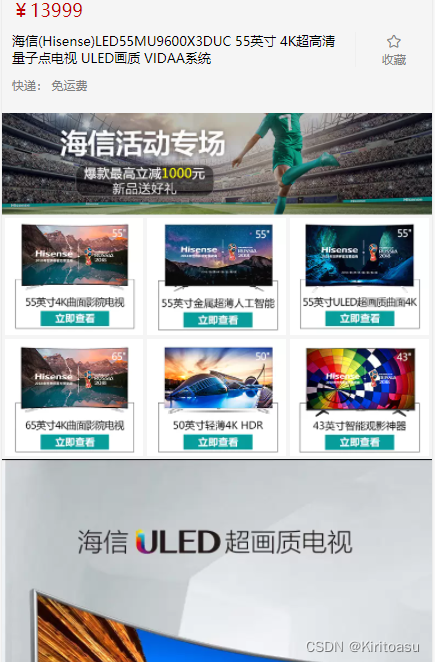
在页面结构中,使用rich-text组件,将带有html标签的内容渲染为小程序的页面结构(轮播图,商品详情的同级)
		<!-- 商品详情信息 -->
		<rich-text :node="goods_info.goods_introduce"></rich-text>
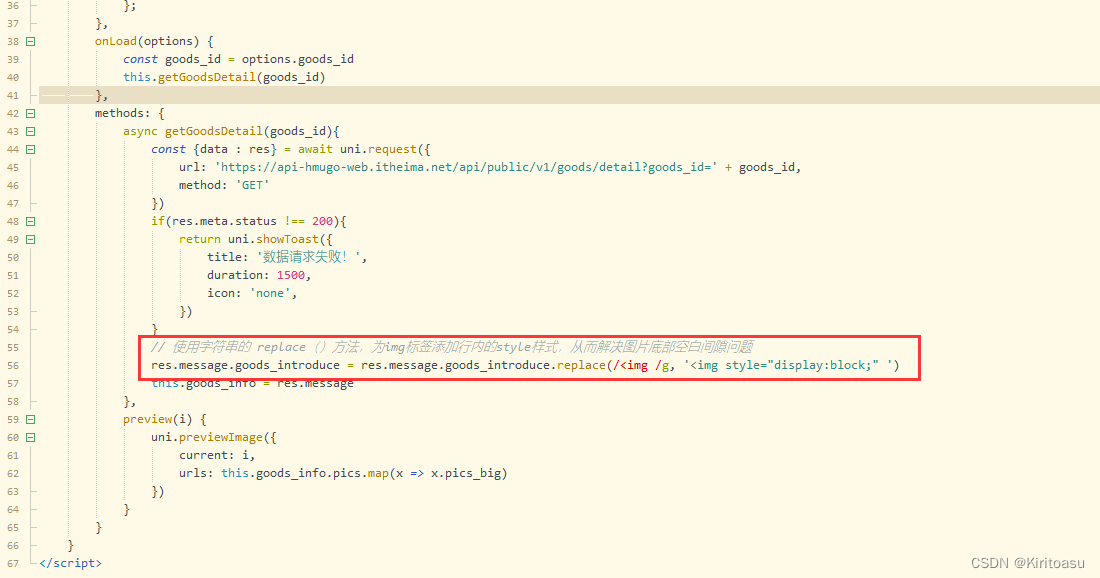
修改getGoodsDetail方法,从而解决图片底部空白间隙的问题
解决.webp格式图片在ios设备无法正常显示问题

5、解决商品价格闪烁的问题

三、渲染详情页底部的商品导航区域
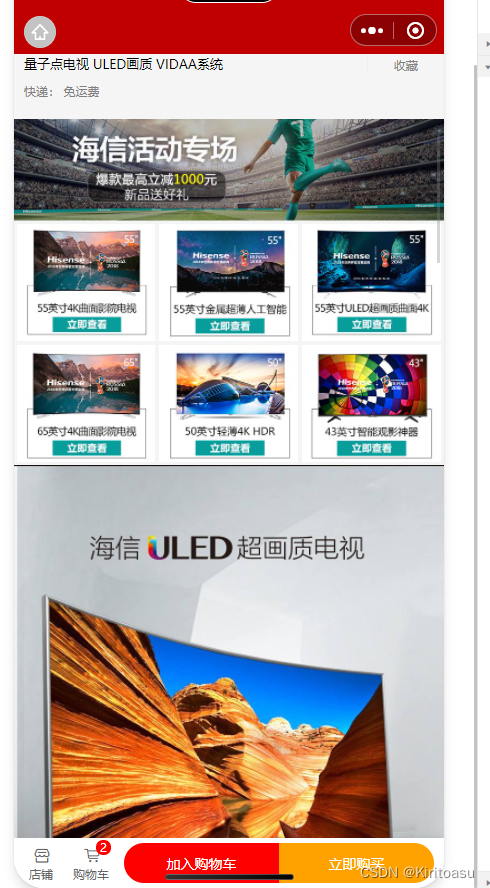
1、渲染商品导航区域的UI结构
基于uni-ui提供的goodsnav组件来实现商品导航区域的效果
在data中,通过options和buttongroup两个数组,来声明商品导航组件的按钮配置对象:
		data() {
			return {
				goods_info: {},
				// 左侧按钮组的配置对象
				options: [{
					icon: 'shop',
					text: '店铺'
				}, {
					icon: 'cart',
					text: '购物车',
					info: 2
				}],
				// 右侧按钮组的配置对象
				buttonGroup: [{
					text: '加入购物车',
					backgroundColor: '#ff0000',
					color: '#fff'
				}, {
					text: '立即购买',
					backgroundColor: '#ffa200',
					color: '#fff'
				}]
			};
		},
使用uni-goods-nav商品导航组件
		<!-- 商品导航组件区域 -->
		<view class="goods_nav">
			<uni-goods-nav :fill="true"  :options="options" :buttonGroup="buttonGroup"  @click="onClick" @buttonClick="buttonClick" />
		</view>
美化商品导航,并使他固定在底部
.goods_nav {
	position: fixed;
	bottom: 0;
	left: 0;
	width: 100%;
}
2、点击跳转到购物车页面
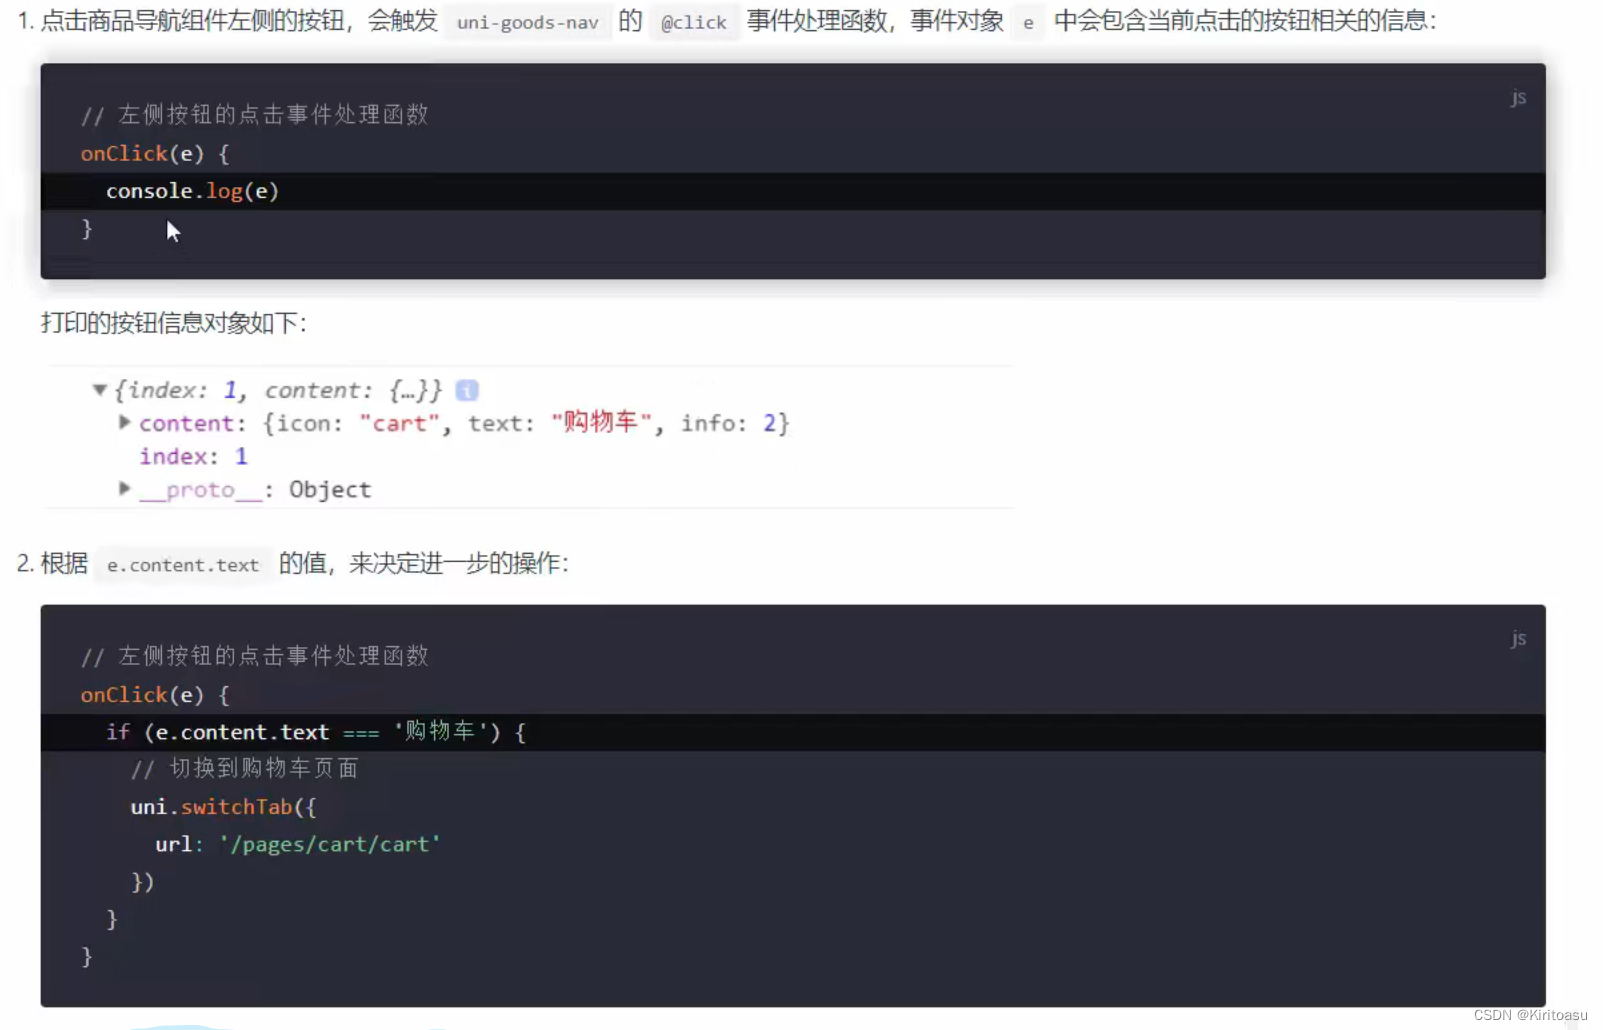
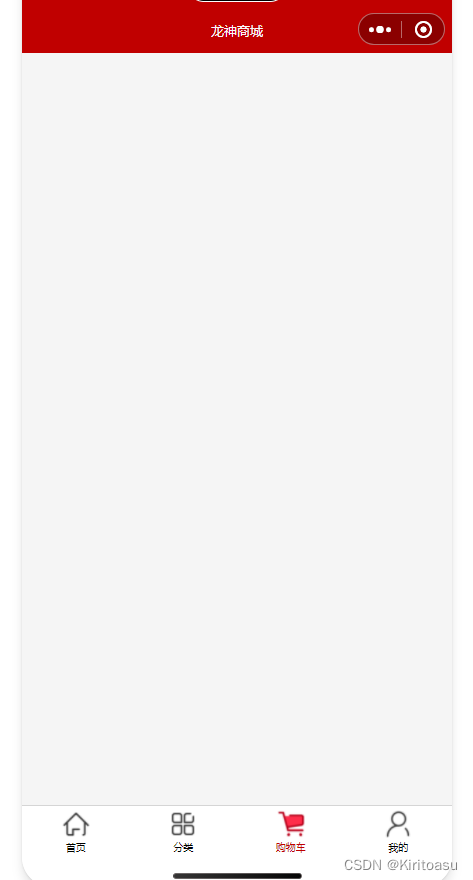
点击左下角购物车按钮,跳转购物车页面
文章来源:https://blog.csdn.net/Kiritoasu/article/details/135391362
本文来自互联网用户投稿,该文观点仅代表作者本人,不代表本站立场。本站仅提供信息存储空间服务,不拥有所有权,不承担相关法律责任。 如若内容造成侵权/违法违规/事实不符,请联系我的编程经验分享网邮箱:chenni525@qq.com进行投诉反馈,一经查实,立即删除!
本文来自互联网用户投稿,该文观点仅代表作者本人,不代表本站立场。本站仅提供信息存储空间服务,不拥有所有权,不承担相关法律责任。 如若内容造成侵权/违法违规/事实不符,请联系我的编程经验分享网邮箱:chenni525@qq.com进行投诉反馈,一经查实,立即删除!
最新文章
- Python教程
- 深入理解 MySQL 中的 HAVING 关键字和聚合函数
- Qt之QChar编码(1)
- MyBatis入门基础篇
- 用Python脚本实现FFmpeg批量转换
- 后端开发_单元测试
- react-native生命周期函数
- 「优选算法刷题」:移动零
- 正运动荣膺2023深圳先进制造业“红帆奖”,持续自主自研助力智能制造
- 实用的业务逻辑漏洞最全总结
- EI级 | Matlab实现VMD-TCN-GRU变分模态分解结合时间卷积门控循环单元多变量光伏功率时间序列预测
- 「HDLBits题解」Vector3
- 2024年全国教资笔试报名流程(建议电脑报名),看看有啥新要求?
- 王道考研计算机组成原理——数据的表示和运算
- 蓝牙简学(二)