机器人持续学习基准LIBERO系列5——获取显示深度图
发布时间:2024年01月13日
0.前置
- 机器人持续学习基准LIBERO系列1——基本介绍与安装测试
- 机器人持续学习基准LIBERO系列2——路径与基准基本信息
- 机器人持续学习基准LIBERO系列3——相机画面可视化及单步移动更新
- 机器人持续学习基准LIBERO系列4——robosuite最基本demo
1.更改环境设置
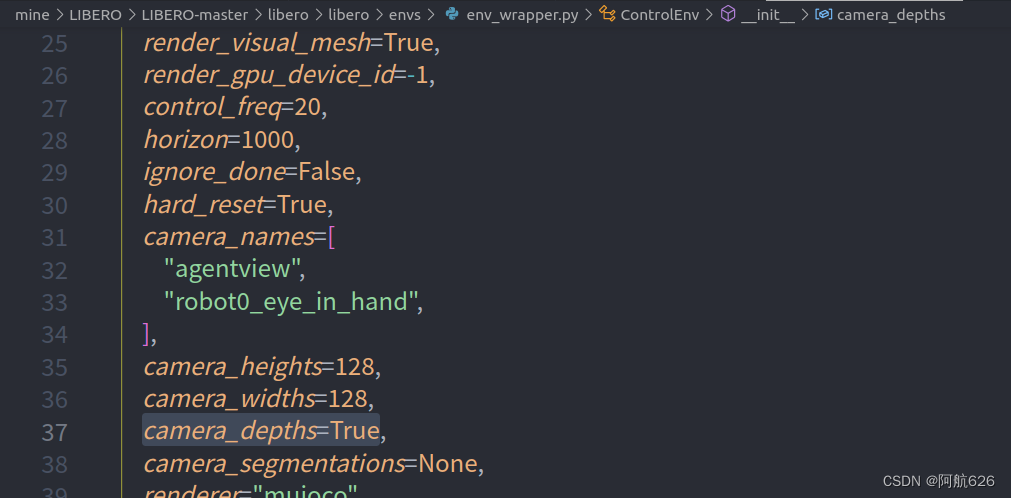
- LIBERO-master/libero/libero/envs/env_wrapper.py,第37行camera_depths=False改为True

2.获取归一化后的深度图
- robosuite里面直接获取到的是三维的归一化到[0,1]区间的深度图
- 其中第三个维度为通道数1
agentview_depth = (obs["agentview_depth"])
robot0_eye_in_hand_depth =  (obs["robot0_eye_in_hand_depth"])
3.调整显示深度图
- 要把第三个维度去掉,再把值扩大到0-255,化为整数才能显示(参考)
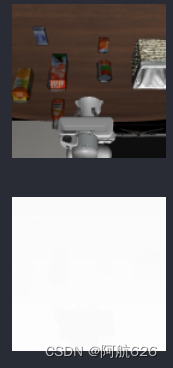
agentview_depth = (agentview_depth.squeeze() * 255) .astype(np.uint8)
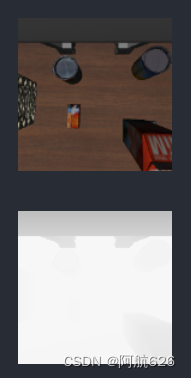
robot0_eye_in_hand_depth = (robot0_eye_in_hand_depth.squeeze() * 255) .astype(np.uint8)
- 显示
display(Image.fromarray(agentview_depth))
display(Image.fromarray(robot0_eye_in_hand_depth))
4.同时可视化彩色图和深度图
env_args = {
    "bddl_file_name": os.path.join(os.path.join(get_libero_path("bddl_files"), task.problem_folder, task.bddl_file)),
    "camera_heights": 128,
    "camera_widths": 128
}

env = OffScreenRenderEnv(**env_args)
#设置种子
env.seed(0)
#环境重置
env.reset()
#初始化
env.set_init_state(init_states[0])

import numpy as np
#运动机械臂更新环境
obs, _, _, _ = env.step([0.] * 7)
#获取手外相机视角图片
agentview_image = (obs["agentview_image"])
robot0_eye_in_hand_image = (obs["robot0_eye_in_hand_image"])
agentview_depth = (obs["agentview_depth"])
robot0_eye_in_hand_depth =  (obs["robot0_eye_in_hand_depth"])
#深度图第三个维度是1,还是归一化后的,所以要把第三个维度去掉,再把值扩大到0-255,化为整数才能显示
#https://www.coder.work/article/7752795
agentview_depth = (agentview_depth.squeeze() * 255) .astype(np.uint8)
robot0_eye_in_hand_depth = (robot0_eye_in_hand_depth.squeeze() * 255) .astype(np.uint8)
display(Image.fromarray(agentview_image))
display(Image.fromarray(agentview_depth))
display(Image.fromarray(robot0_eye_in_hand_image))
display(Image.fromarray(robot0_eye_in_hand_depth))


- 关闭环境
env.close()
文章来源:https://blog.csdn.net/weixin_53610475/article/details/135562144
本文来自互联网用户投稿,该文观点仅代表作者本人,不代表本站立场。本站仅提供信息存储空间服务,不拥有所有权,不承担相关法律责任。 如若内容造成侵权/违法违规/事实不符,请联系我的编程经验分享网邮箱:chenni525@qq.com进行投诉反馈,一经查实,立即删除!
本文来自互联网用户投稿,该文观点仅代表作者本人,不代表本站立场。本站仅提供信息存储空间服务,不拥有所有权,不承担相关法律责任。 如若内容造成侵权/违法违规/事实不符,请联系我的编程经验分享网邮箱:chenni525@qq.com进行投诉反馈,一经查实,立即删除!
最新文章
- Python教程
- 深入理解 MySQL 中的 HAVING 关键字和聚合函数
- Qt之QChar编码(1)
- MyBatis入门基础篇
- 用Python脚本实现FFmpeg批量转换
- leaflet学习笔记-带过滤的图例(九)
- 解决C# Visual Studio 2022 Installer Projects打包报错Unable to finish updating...
- (2)(2.1) Andruav Android Cellular(一)
- 数据结构.线性表(1)
- How to Use the Git Restore Command
- 【flutter】Dart介绍及flutter环境配置
- Oracle中的dblink简介
- 街机模拟游戏逆向工程(HACKROM)教程:[2]68K汇编的一些规则
- <C++>STL->list
- 零食销售系统设计与实现