Jupyter Lab | 在指定文件夹的 jupyter 中使用 conda 虚拟环境
发布时间:2024年01月06日
Hi,大家好,我是源于花海。本文主要了解如何在指定文件夹的 jupyter 中使用 conda 虚拟环境,即在 conda 里面创建虚拟环境、将虚拟环境添加至 jupyter lab/notebook、安装软件包。
目录
四、安装 ipykernel,将虚拟环境加入 jupyter 内核中
一、创建虚拟环境
conda create -n env_name python=x.x二、激活并进入虚拟环境
activate env_name三、安装 ipykernel
pip install ipykernel -i https://pypi.tuna.tsinghua.edu.cn/simple/四、安装 ipykernel,将虚拟环境加入 jupyter 内核中
python -m ipykernel install --name env_name --display-name env_name- name —— 你的虚拟环境名称
- display-name —— 在 jupyter 中想显示的名称
检查新虚拟环境是否成功加入内核:
jupyter kernelspec list五、从指定文件夹里进入 jupyter
1. 在?指定文件夹的路径处?输入?jupyter lab
jupyter lab
或者
jupyter notebook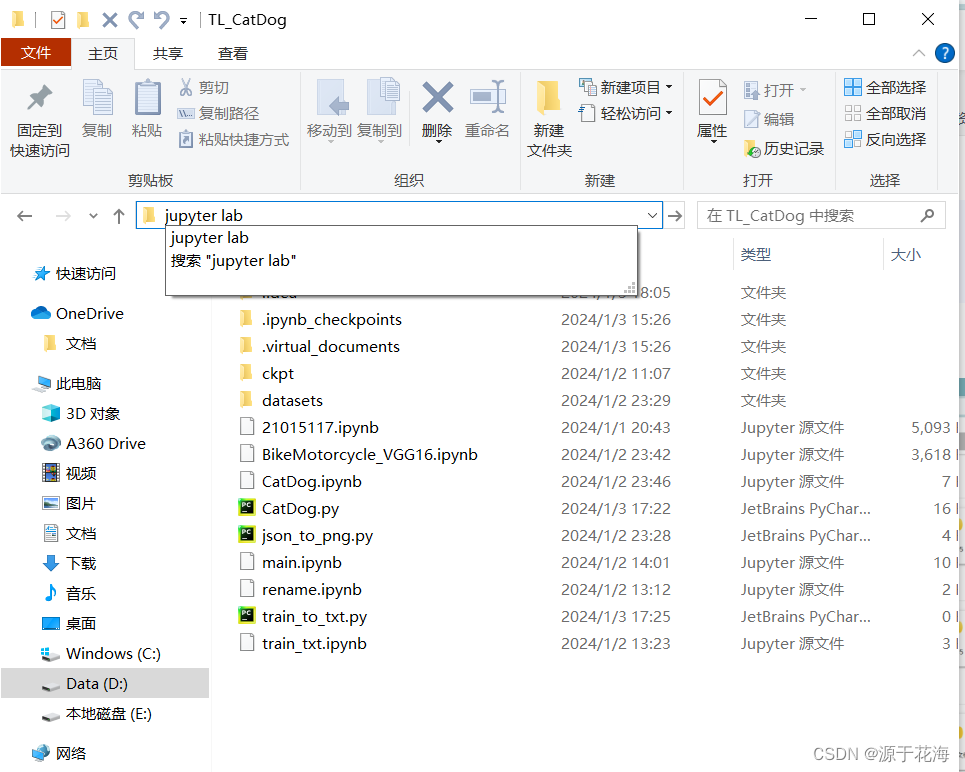
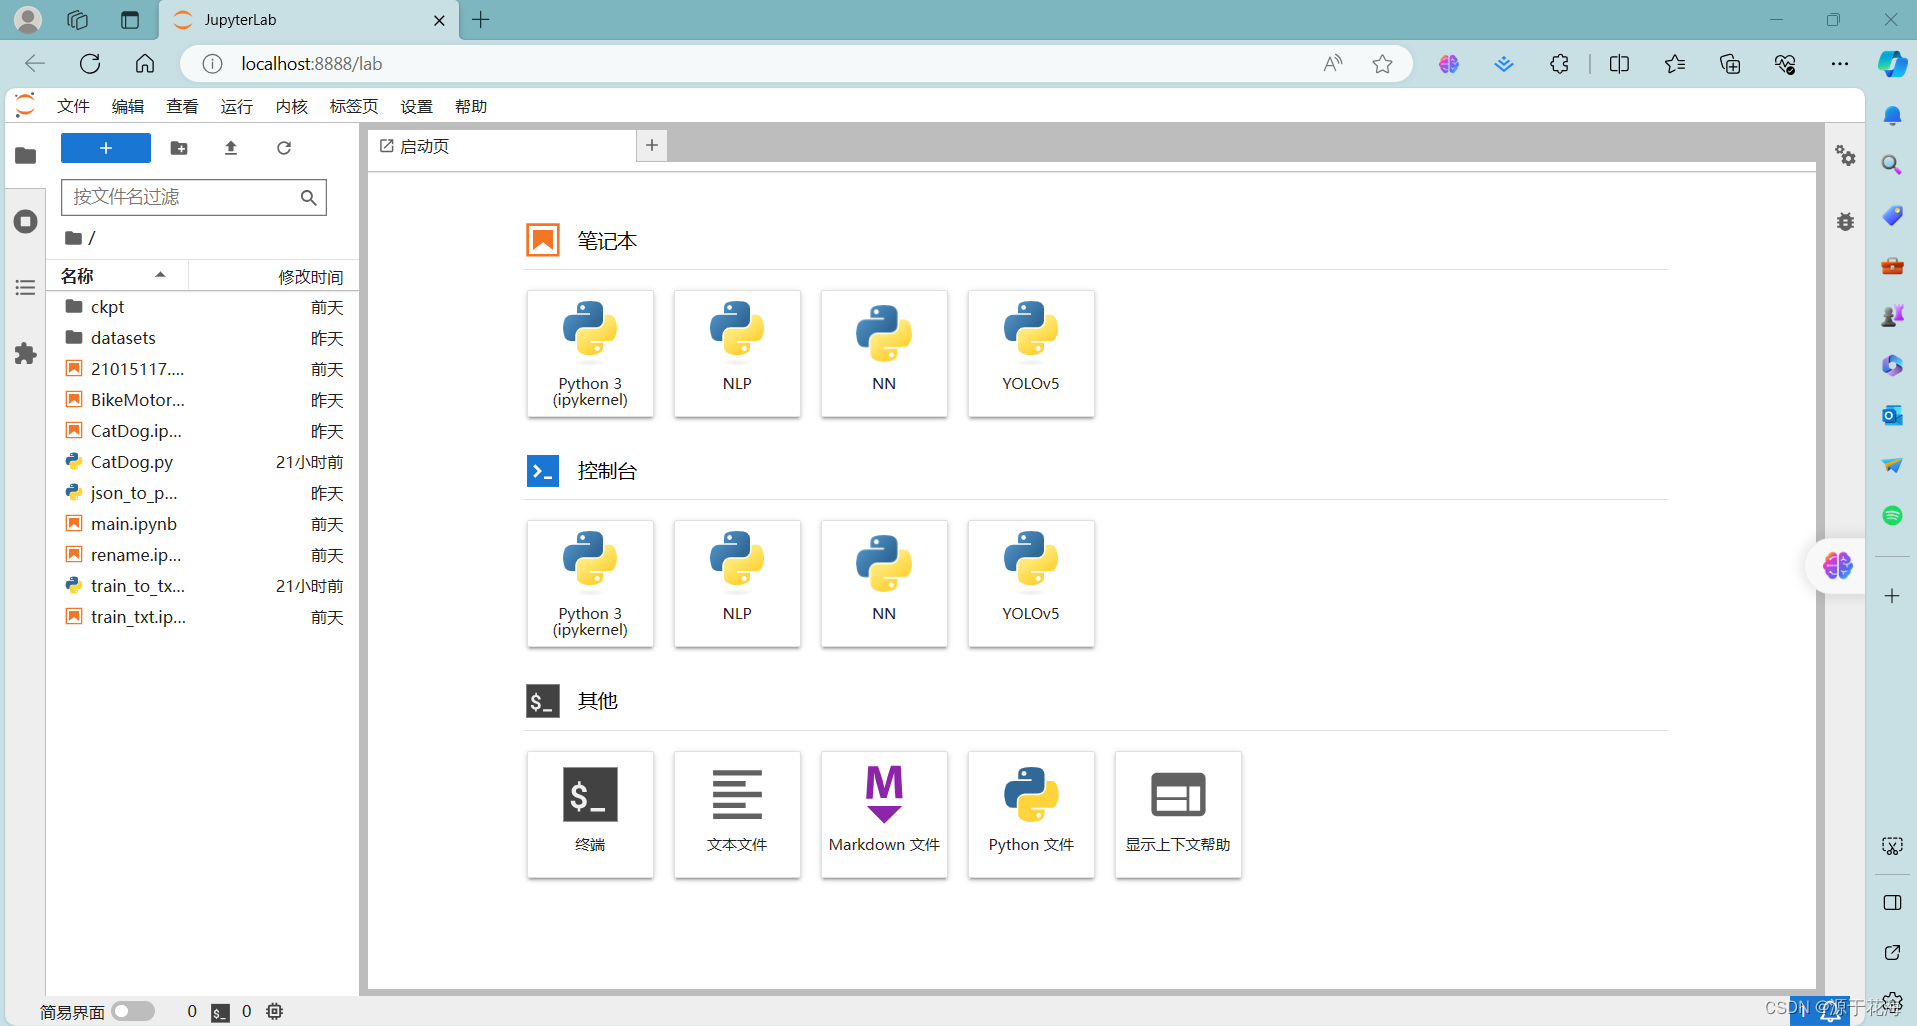
2. 进入?指定文件夹的 jupyter lab 的界面
六、安装各软件包
pip install tensorflow==2.1.0 -i https://pypi.tuna.tsinghua.edu.cn/simple
pip install keras==2.3.1 -i https://pypi.tuna.tsinghua.edu.cn/simple
······
文章来源:https://blog.csdn.net/ttrr27/article/details/135387190
本文来自互联网用户投稿,该文观点仅代表作者本人,不代表本站立场。本站仅提供信息存储空间服务,不拥有所有权,不承担相关法律责任。 如若内容造成侵权/违法违规/事实不符,请联系我的编程经验分享网邮箱:chenni525@qq.com进行投诉反馈,一经查实,立即删除!
本文来自互联网用户投稿,该文观点仅代表作者本人,不代表本站立场。本站仅提供信息存储空间服务,不拥有所有权,不承担相关法律责任。 如若内容造成侵权/违法违规/事实不符,请联系我的编程经验分享网邮箱:chenni525@qq.com进行投诉反馈,一经查实,立即删除!
最新文章
- Python教程
- 深入理解 MySQL 中的 HAVING 关键字和聚合函数
- Qt之QChar编码(1)
- MyBatis入门基础篇
- 用Python脚本实现FFmpeg批量转换
- Python comp233
- Mysql核心知识命令汇总
- 【第64例】IPD产品开发:CDP流程市场分析
- 深度强化学习基础
- 智慧校园电子班牌管理系统源码 Java Android原生
- 在Flutter中使用Install_Plugin安装APK
- Linux安装MongoDB教程
- 如何在飞书创建企业ChatGPT智能问答助手应用并实现公网远程访问(1)
- 小程序项目-Uniapp+ssm+vue奶茶点餐订餐餐饮小程序
- 近屿智能OJAC带您从0到1全方位深度学习AI大模型,星辰大海和你开创!