React 、Vue进度 条首屏加载制作

React 大家都听说过,是一个非常出名的前端 框架 ,目前在公司 用的比较多的两个前端框架 ,一个是 React , 一个 是 Vue 2 、3 ,公司 的首页 ,后台 前端部分 都是 以这两个为主 ,做了 不下 数十个 项目 但是 真正总结的 却很少 ,所以 这节和大家 讲 下 首屏的开屏动画制作
不是水文章、 每一个 字 都是认真敲的,学完本节可实现下方效果 ,在项目的初始化的时候进行载入

React 介绍

React是用于构建用户界面的JavaScript库, [1]起源于Facebook的内部项目,该公司对市场上所有 JavaScript MVC框架都不满意,决定自行开发一套,用于架设Instagram的网站。于2013年5月开源。
React 安装
全局安装创建
新建终端输入以下命令进行全局安装
npm install -g create-react-app
- 操作步骤这里 掠过, 本篇文章 主要针对有一度基础的同行进行学习, 可直接进行使用
(1)README.md:
README.md文件是一个项目的入门手册
它里面介绍了整个项目达到什么样子的效果、需要搭建什么样的环境、具备什么样的技能等等。
README文件写得好不好,关系到这个项目能不能更容易的被其他人使用。
(2).gittignore:
每个Git项目中都需要一个“.gitignore”文件,这个文件的作用就是告诉Git哪些文件不需要添加到版本管理中。比如我们项目中的npm包(node_modules),它在我们项目中是很重要的,但是它占的内存也是很大的,所以一般我们用Git管理的时候是不需要添加npm包的。参考:https://help.github.com/ignore-files/
(3)package.json和package-lock.json:(转自https://blog.csdn.net/qq_34295211/article/details/103858589)
package.json文件:记录你项目中所需要的所有模块。当你执行npm install的时候,node会先从package.json文件中读取所有dependencies信息,然后根据dependencies中的信息与node_modules中的模块进行对比,没有的直接下载,已有的检查更新(最新版本的nodejs不会更新,因为有package-lock.json文件,下面再说)。另外,package.json文件只记录你通过npm install方式安装的模块信息,而这些模块所依赖的其他子模块的信息不会记录。
**package-lock.json文件:**锁定所有模块的版本号,包括主模块和所有依赖子模块。当你执行npm install的时候,node从package.json文件读取模块名称,从package-lock.json文件中获取版本号,然后进行下载或者更新。 因此,正因为有了package-lock.json文件锁定版本号,所以当你执行npm install的时候,node不会自动更新package.json文件中的模块,必须用npm install packagename(自动更新小版本号)或者npm install packagename@x.x.x(指定版本号)来进行安装才会更新,package-lock.json文件中的版本号也会随着更新。
附:当package.json与package-lock.json都不存在,执行"npm install"时,node会重新生成package-lock.json文件,然后把node_modules中的模块信息全部记入package-lock.json文件,但不会生成package.json文件,此时,你可以通过"npm init --yes"来生成package.json文件
(4)tsconfig.json:
参考https://typescript.bootcss.com/tsconfig-json.html
(5)yarn.lock:
Yarn使用确定性算法,在将文件放置到需要的位置之前构建整个依赖关系树。安装过程中重要信息存储到yarn.lock文件中,以便可以在安装依赖关系的每个系统之间共享!此文件包含有关已安装的每个依赖项的确切版本的信息以及代码的校验和以确保代码完全相同。
(6)config-overrides: (转自https://www.jianshu.com/p/65b1f2cdcf76)
通过react脚手架[create-react-app]创建的项目,如果需要在项目中配置一些webpack配置,需要在根目录下新建一个名称为config-overrides.js的文件。
React 开屏动画介绍
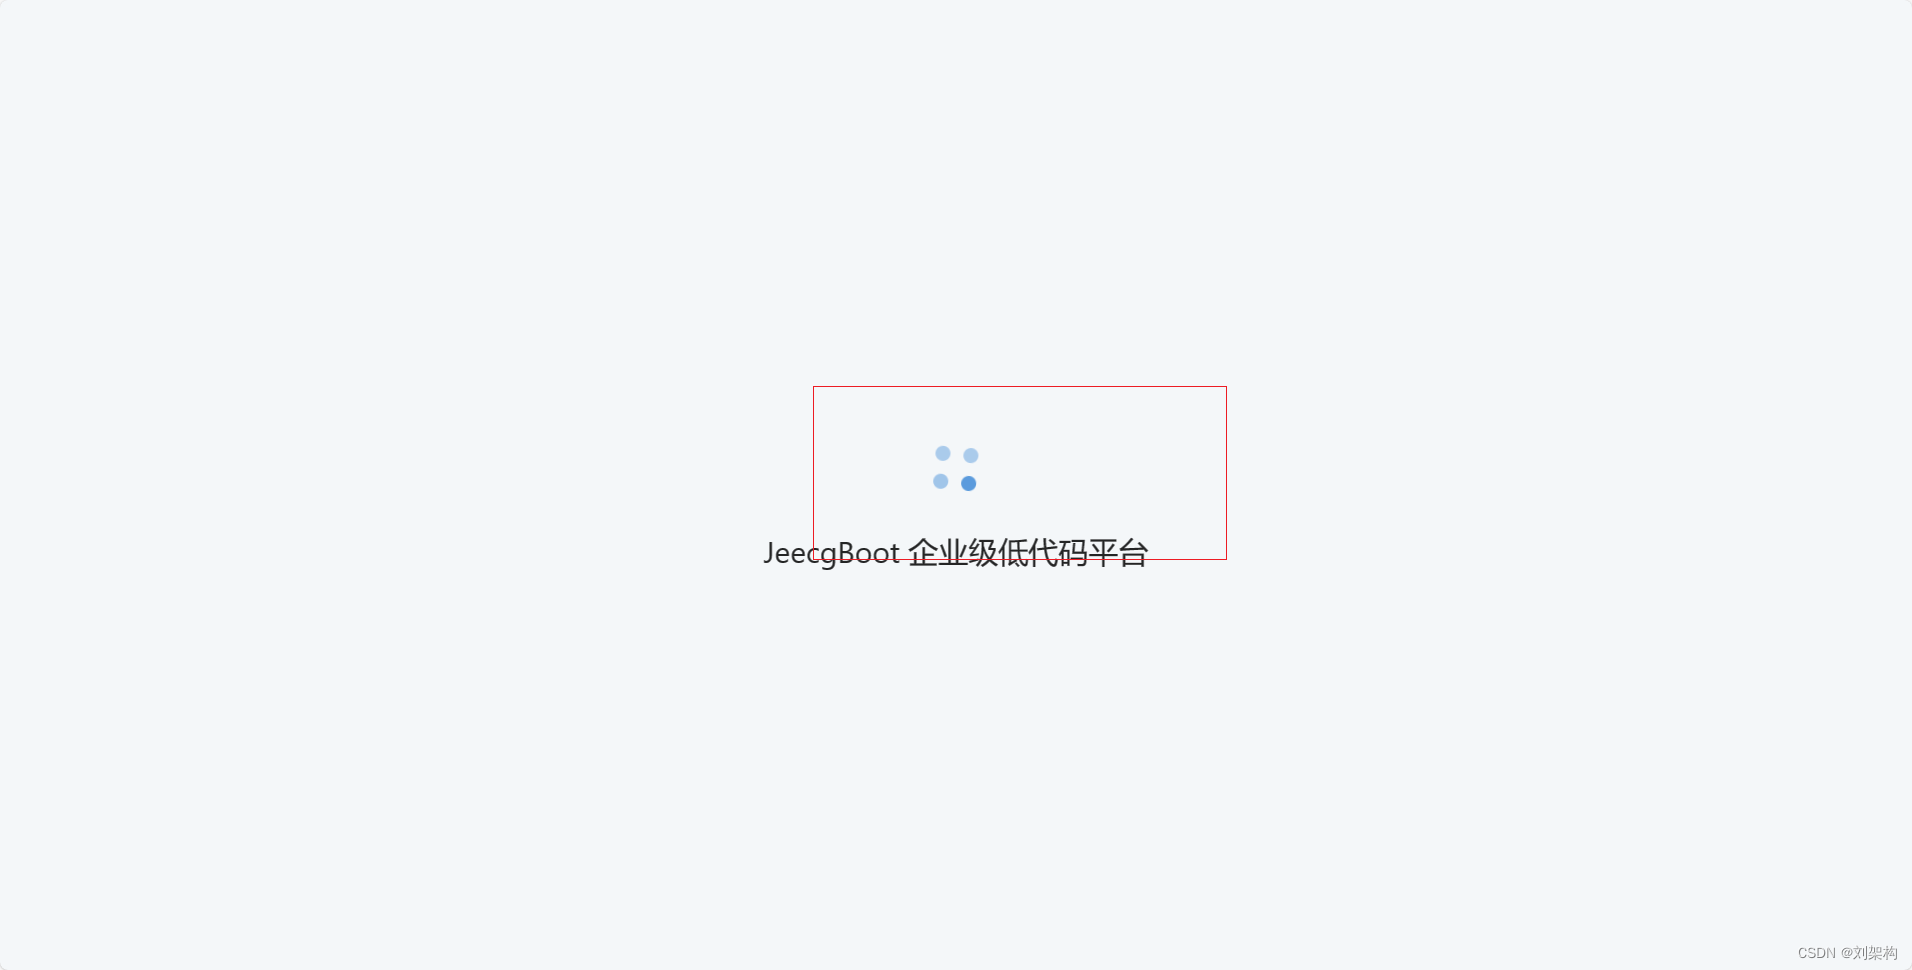

大家上面看到的两张图,就是我们常见的开屏动画,一般这种开屏动画,一般用于加载项目的初始化,动画,大概2秒左右,适合用于启动慢的项目,能够让我的注意力关注到这个动画上面
React 开屏实现方式
-
- 自己些一个 DIV ,通过定时任务的方式 ,进行 在 开始的生命周期停留3 秒 ,3秒后进行关闭,实现开屏动画的效果
-
- 使用 开源的第三方库,生态相对成熟
这里我们来讲一下第一种方式 ,创建一个Loading 的 tsx 文件
import React from 'react';
import './index.less';
import { Card } from 'antd';
import { CodeSandboxSquareFilled } from '@ant-design/icons';

interface LoadingProps {
  duration: number; // 添加 duration 属性的类型声明
}

const Loading: React.FC<LoadingProps> = ({ duration }) => {
  return (
    <Card className="Loading">
      <div className="roots">
        <h2 style={{fontSize:'34px',fontWeight:400}}><CodeSandboxSquareFilled />加载中...</h2>
        <section>
          <div className="box"> </div>
          <div className="box-circle"></div>
          <div className="box-circle1"></div>
          <div className="box-circle2"></div>
        </section>
      </div>
    </Card>
  );
};

export default Loading;
- CSS 文件
.Loading {
    .roots {
      --color: orange;
      --lineColor: rgba(102, 163, 224, 0.2);
    }

    .roots {
      width: 100%;
      height: 80vh;
      display: flex;
      justify-content: center;
      align-items: center;
      overflow: hidden;
    }

    section {
      position: relative;
      width: 200px;
      height: 200px;
    }

    section::before {
      content: "";
      position: absolute;
      height: 10px;
      width: 10px;
      border-radius: 100%;
      border-top: 1px solid orange;
      top: 50%;
      left: 50%;
      margin-top: -5px;
      margin-left: -5px;
      animation: turn 1s infinite linear;
      filter: drop-shadow(0 0 2px var(--color)) drop-shadow(0 0 5px var(--color))
        drop-shadow(0 0 10px var(--color)) drop-shadow(0 0 20px var(--color));
    }

    .box,
    .box::after,
    .box::before {
      border: 2px solid var(--lineColor);
      border-left: 2px solid var(--color);
      border-right: 2px solid var(--color);
      border-radius: 50%;
    }

    .box::after,
    .box::before {
      position: absolute;
      content: "";
      left: 50%;
      top: 50%;
    }

    .box {
      width: 200px;
      height: 200px;
      position: relative;
      animation: turn 1s linear infinite;
      transform-origin: 50% 50%;
    }

    .box::before {
      width: 180px;
      height: 180px;
      margin-top: -90px;
      margin-left: -90px;
      animation: turn2 1.25s linear infinite;
    }

    .box::after {
      width: 160px;
      height: 160px;
      margin-top: -80px;
      margin-left: -80px;
      animation: turn 1.5s linear infinite;
    }

    .box-circle,
    .box-circle1,
    .box-circle2 {
      border: 2px solid var(--color);
      opacity: 0.9;
      border-radius: 50%;
      position: absolute;
      left: 50%;
      top: 50%;
      transform-origin: 50% 50%;
      transform: translate(-50%, -50%);
      width: 100px;
      height: 100px;
      animation: rotate 3s linear infinite;
    }

    .box-circle {
      animation-delay: 0.2s;
    }

    .box-circle1 {
      animation-delay: 1.2s;
    }

    .box-circle2 {
      animation-delay: 2.2s;
    }

    @keyframes turn {
      100% {
        transform: rotateZ(-1turn);
      }
    }

    @keyframes turn2 {
      100% {
        transform: rotateZ(1turn);
      }
    }

    @keyframes rotate {
      100% {
        border: none;
        border-top: 2px solid var(--color);
        border-bottom: 2px solid var(--color);
        transform: translate(-50%, -50%) rotate3d(0.5, 0.5, 0.5, -720deg);
      }
    }
  }
上面一个 关于 CSS3 的 开屏 动画 ,我们编写了一个 DIV ,让这个 DIV 加载 动画 ,接下来,我们使用定时任务进行调用
import { useRoutes, useLocation, useNavigate } from 'react-router-dom'

import routes from './router'
import { Button, message } from 'antd'
import { FloatButton } from 'antd';
import { QuestionCircleOutlined } from '@ant-design/icons';
import { useState, useEffect } from 'react';
import { instance } from "./utils/request";
import { Drawer,Divider,List,Skeleton } from 'antd';
import InfiniteScroll from 'react-infinite-scroll-component';
import Loading from './components/loading/index'

// 前往登陆页面的组件
function GoLogin() {
  const navigate = useNavigate();
  useEffect(() => {
    navigate('/login');
    message.warning('请登录后访问');
  }, [navigate]);

  return null;
}

// 前往默认页面的组件
function GoHome() {
  const navigate = useNavigate();
  useEffect(() => {
    navigate('/home');
  }, [navigate]);

  return null;
}

function AdminRouter() {
  const outlet = useRoutes(routes);
  const location = useLocation();
  const token = localStorage.getItem('react-jwt-token');

  console.log('token的值',token==null)
  // 前往登录但已经登陆
  if (location.pathname!= '/login' && token==null) {
    return <GoLogin />;
  } else if (location.pathname === '/' && token!==null) {
    // 前往首页但未登录
    return <GoHome />;
  }

  return outlet;
}

function App() {
  const [noticeCount, setNoticeCount] = useState(0);
  const [isDrawerVisible, setIsDrawerVisible] = useState(false);
  const [noticeList, setNoticeList] = useState([]);

  const [loading, setLoading] = useState(true);

     message.useMessage();

  useEffect(() => {

    // 开屏动画
    const timer = setTimeout(() => {
      setLoading(false);
    }, 3000); // 设置动画持续时间为 3000ms
    loadMoreNoticeCount()

    return () => clearTimeout(timer);

  }, []);

  const loadMoreNoticeCount=()=>{
    instance.get('notices/noticesCounts')
    .then(res => {
      // 假设后端返回的数据格式为 { count: 123 }
      setNoticeCount(res.data.data[0].NoticeCount);
    })
    .catch(error => {
      message.error('获取通知消息数量失败');
    });
  }


  const loadMoreData = () => {
    if (loading) {
      return;
    }
   // 在这里发起获取通知列表的 axios 请求
   instance.get('notices/noticesNoify')
   .then(res => {
     setNoticeList(res.data.data);
   })
   .catch(error => {
     message.error('获取通知列表失败');
   });
    setLoading(true);

  };


  // 打开抽屉
  const handleFloatButtonClick = () => {
    setIsDrawerVisible(true);
    loadMoreData()
  };

  const closeDrawer = () => {
    setIsDrawerVisible(false);
    // 刷新数量
    loadMoreNoticeCount()
  };

  const handleMarkAsRead = async (noticeId: any) => {
    try {
      const mark = await instance.get(`notices/markAsRead/${noticeId}`);
      if (mark.data.meta.status === 200) {
        message.success('已读完成');
        // 移除已读项
        setNoticeList(prevList => prevList.filter(notice => notice.notice_id !== noticeId));
      } else {
        message.error('标记为已读失败');
      }
    } catch (error) {
      message.error('标记为已读失败');
    }
  };


  return (
    <div>
       {
       loading ? (
        <Loading duration={2000} />
      ) : (
      <div>
      {/*  通知消息 */}
       <FloatButton.Group shape="circle">
       <FloatButton badge={{ count: noticeCount, overflowCount: 999 }} onClick={handleFloatButtonClick} />
        </FloatButton.Group>
      <AdminRouter />
      <Drawer visible={isDrawerVisible} onClose={closeDrawer}>
         <h1>通知列表</h1>

         <div
      id="scrollableDiv"
      style={{
        height: 400,
        overflow: 'auto',
        padding: '0 16px',
        border: '1px solid rgba(140, 140, 140, 0.35)',
      }}
    >
      <InfiniteScroll
        dataLength={noticeList.length}
        next={loadMoreData}
        hasMore={noticeList.length < 50}
        loader={<Skeleton avatar paragraph={{ rows: 1 }} active />}
        endMessage={<Divider plain>It is all, nothing more 🤐</Divider>}
        scrollableTarget="scrollableDiv"
      >
          {/* <ul>
           {noticeList.map(notice => (
             <li key={notice.notice_id}>{notice.notice_name}</li>
           ))}
         </ul> */}
        <List
          dataSource={noticeList}
          renderItem={(notice) => (
            <List.Item key={notice.notice_id}>
              <List.Item.Meta
                title={<a href="https://ant.design">{notice.notice_name}</a>}
                description={notice.notice_content}
                          />
                <Button onClick={() => handleMarkAsRead(notice.notice_id)}>标记为已读</Button>
            </List.Item>
          )}
        />
      </InfiniteScroll>
    </div>

       </Drawer>
    </div>
    )
    }
    </div>
  );
}

export default App;
下面这段代码是核心的代码,我们导入了开屏的Loading 组件, 这时候 通过三元运算符,判断一下 ,当这个 开屏动画结束后,立即加载我们的内容 路由
    <div>
       {
       loading ? (
        <Loading duration={2000} />
      ) : (
      <div>
      {/*  通知消息 */}
       <FloatButton.Group shape="circle">
       <FloatButton badge={{ count: noticeCount, overflowCount: 999 }} onClick={handleFloatButtonClick} />
        </FloatButton.Group>
      <AdminRouter />
      <Drawer visible={isDrawerVisible} onClose={closeDrawer}>
         <h1>通知列表</h1>

         <div
      id="scrollableDiv"
      style={{
        height: 400,
        overflow: 'auto',
        padding: '0 16px',
        border: '1px solid rgba(140, 140, 140, 0.35)',
      }}
    >
      <InfiniteScroll
        dataLength={noticeList.length}
        next={loadMoreData}
        hasMore={noticeList.length < 50}
        loader={<Skeleton avatar paragraph={{ rows: 1 }} active />}
        endMessage={<Divider plain>It is all, nothing more 🤐</Divider>}
        scrollableTarget="scrollableDiv"
      >
          {/* <ul>
           {noticeList.map(notice => (
             <li key={notice.notice_id}>{notice.notice_name}</li>
           ))}
         </ul> */}
        <List
          dataSource={noticeList}
          renderItem={(notice) => (
            <List.Item key={notice.notice_id}>
              <List.Item.Meta
                title={<a href="https://ant.design">{notice.notice_name}</a>}
                description={notice.notice_content}
                          />
                <Button onClick={() => handleMarkAsRead(notice.notice_id)}>标记为已读</Button>
            </List.Item>
          )}
        />
      </InfiniteScroll>
    </div>

       </Drawer>
    </div>
    )
    }
    </div>
React 其他相关库
react-lottie-player 是一个 Loading 的 库 ,可以快速的实现 Loading效果
- https://npm.taobao.org/package/react-lottie-player
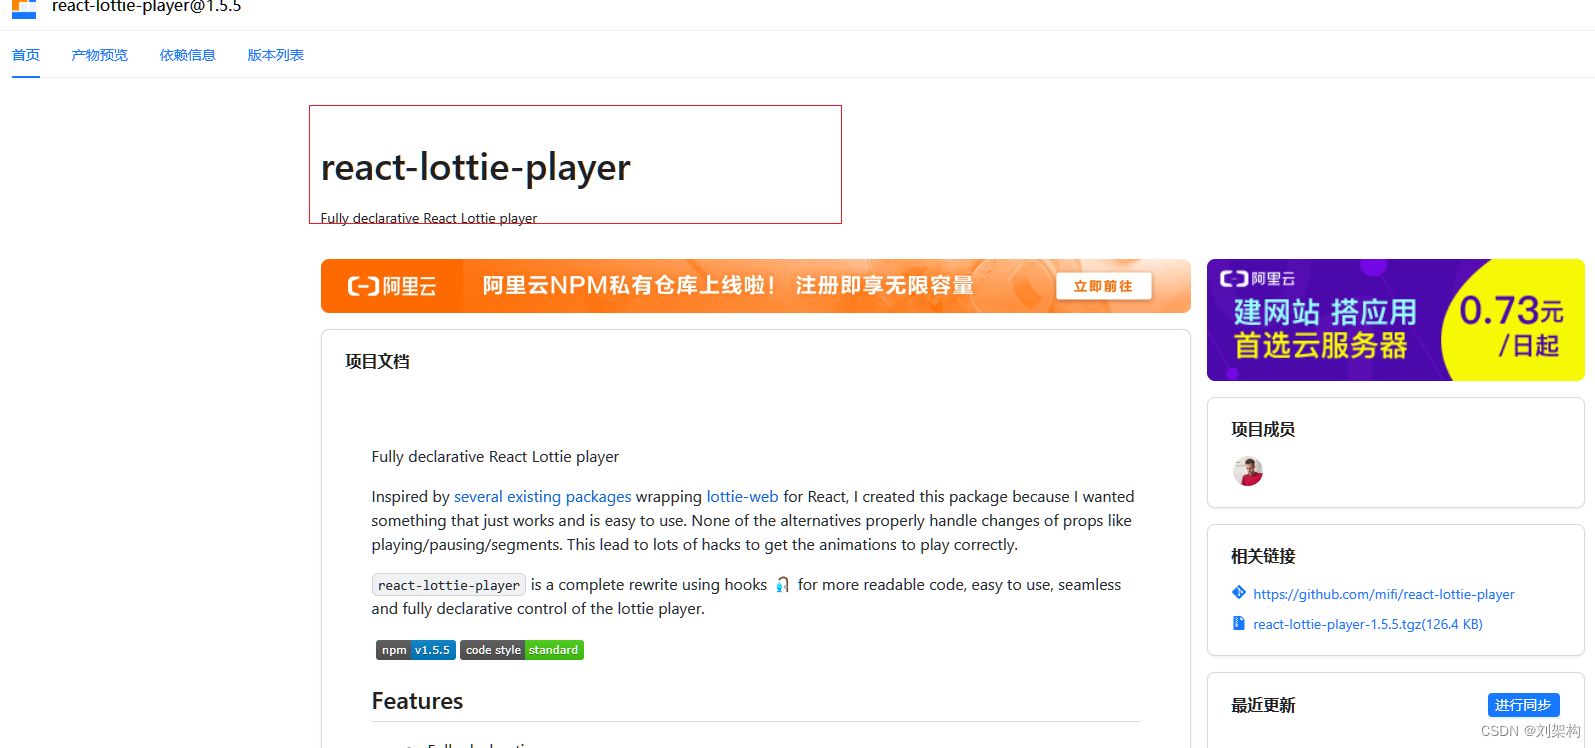
- 安装
npm install --save react-lottie-player
- 使用
import React from 'react'

import Lottie from 'react-lottie-player'
// Alternatively:
// import Lottie from 'react-lottie-player/dist/LottiePlayerLight'

import lottieJson from './my-lottie.json'

export default function Example() {
  return (
    <Lottie
      loop
      animationData={lottieJson}
      play
      style={{ width: 150, height: 150 }}
    />
  )
}
下面是json 文件
{
  "v": "5.7.4",
  "fr": 30,
  "ip": 0,
  "op": 75,
  "w": 200,
  "h": 200,
  "nm": "loading-animation",
  "ddd": 0,
  "assets": [],
  "layers": [
    {
      "ddd": 0,
      "ind": 1,
      "ty": 4,
      "nm": "Shape Layer 1",
      "sr": 1,
      "ks": {
        "o": {
          "a": 0,
          "k": 100,
          "ix": 11
        },
        "r": {
          "a": 0,
          "k": 0,
          "ix": 10
        },
        "p": {
          "a": 1,
          "k": [
            {
              "i": {
                "x": 0.5,
                "y": 1
              },
              "o": {
                "x": 0.5,
                "y": 0
              },
              "t": 0,
              "s": [
                100,
                100,
                0
              ],
              "e": [
                100,
                62.5,
                0
              ],
              "to": [
                0,
                -14,
                0
              ],
              "ti": [
                0,
                14,
                0
              ]
            },
            {
              "t": 15,
              "s": [
                100,
                62.5,
                0
              ]
            }
          ],
          "ix": 2
        },
        "a": {
          "a": 0,
          "k": [
            100,
            100,
            0
          ],
          "ix": 1
        },
        "s": {
          "a": 0,
          "k": [
            100,
            100,
            100
          ],
          "ix": 6
        }
      },
      "ao": 0,
      "sw": 100,
      "sh": 100,
      "sc": "#000000",
      "ip": 0,
      "op": 75,
      "st": 0,
      "bm": 0,
      "sr": 1
    }
  ],
  "markers": []
}
- 在代码中加载
// MyLottieAnimation.jsx

import Lottie from 'react-lottie-player';
import animation from './animation.json';

export default function MyLottieAnimation(props) {
  return <Lottie animationData={animation} {...props} />;
}

// MyComponent.jsx

import React from 'react';
const MyLottieAnimation = React.lazy(() => import('./MyLottieAnimation'));

export default function MyComponent() {
  return <MyLottieAnimation play />;
}
- 其他方式
import React, { useState, useEffect } from 'react';
import Lottie from 'react-lottie-player';
import animationData from './loadingAnimation.json'; // 请替换成你的加载动画 JSON 文件路径

const SplashScreen = () => {
  const [loading, setLoading] = useState(true);

  useEffect(() => {
    // 模拟加载时间
    const timer = setTimeout(() => {
      setLoading(false);
    }, 3000); // 这里的 3000 表示加载动画显示的持续时间,你可以根据实际情况调整

    return () => clearTimeout(timer);
  }, []);

  return (
    <div>
      {loading ? (
        <div className="loading-animation">
          <Lottie
            loop
            animationData={animationData}
            play
            style={{ width: 200, height: 200 }}
          />
        </div>
      ) : (
        // 加载完成后显示的内容
        <div className="content">
          {/* 在这里放置加载完成后要显示的其他内容 */}
        </div>
      )}
    </div>
  );
};

export default SplashScreen;
- 其他
好的,以下是使用 react-loading 实现加载效果的修改后的代码:
首先,您需要安装 react-loading 包:
npm install react-loading --save
然后在文件顶部导入 react-loading:
import ReactLoading from 'react-loading';
在请求拦截器中添加以下代码来展示 loading 效果:
// 展示 loading 效果
loadingInstance = document.createElement('div');
ReactDOM.render(
  <ReactLoading type={'spin'} color={'#007bff'} height={50} width={50} />,
  loadingInstance
);
document.body.appendChild(loadingInstance);
在响应拦截器中添加以下代码来关闭 loading 效果:
// 关闭 loading 效果
document.body.removeChild(loadingInstance);
具体地,在您的代码中,可以这样修改:
import NProgress from 'nprogress';
import 'nprogress/nprogress.css';
import axios, { AxiosError, AxiosInstance, AxiosRequestConfig, AxiosResponse } from 'axios';
import { Loading } from 'element-react';
import React from 'react';
import ReactDOM from 'react-dom';
import ReactLoading from 'react-loading';

var loadingInstance: any = null;
const instance: AxiosInstance = axios.create({
  baseURL: 'http://127.0.0.1:8888/api/private/v1',
  timeout: 5000,
  responseType: 'json'
});
instance.interceptors.request.use(config => {

  NProgress.start(); // 请求开始时显示进度条
  const localToken = localStorage.getItem('react-jwt-token');
  if (localToken) {
    config.headers['Authorization'] = localToken;
  }

  // 展示 loading 效果
  loadingInstance = document.createElement('div');
  ReactDOM.render(
    <ReactLoading type={'spin'} color={'#007bff'} height={50} width={50} />,
    loadingInstance
  );
  document.body.appendChild(loadingInstance);

  return config;
}, error => {
  return Promise.reject(error);
});

instance.interceptors.response.use((response: AxiosResponse) => {

  NProgress.done(); // 响应完成时停止进度条

  // 关闭 loading 效果
  document.body.removeChild(loadingInstance);

  return response;
}, (error: AxiosError) => {
  NProgress.done(); // 响应错误时停止进度条
  return Promise.reject(error);
});
const {request,get,post} = instance;
//暴露axios实例
export {request,get,post,instance};
注意,还需要在文件顶部导入 React 和 ReactDOM:
import React from 'react';
import ReactDOM from 'react-dom';
参考其中 一种即可
Vue 中 使用 Loading
您好!根据您提供的代码,我注意到您正在使用 TypeScript 来配置 Axios 实例并添加拦截器。以下是我帮您修改后的 TypeScript 代码:
import NProgress from 'nprogress';
import 'nprogress/nprogress.css';
import axios, { AxiosError, AxiosInstance, AxiosRequestConfig, AxiosResponse } from 'axios';
import { Loading, ElLoadingComponent } from 'element-ui';

let loadingInstance: ElLoadingComponent | null = null;
const instance: AxiosInstance = axios.create({
  baseURL: 'http://127.0.0.1:8888/api/private/v1',
  timeout: 5000,
  responseType: 'json'
});

instance.interceptors.request.use((config: AxiosRequestConfig) => {
  NProgress.start(); // 请求开始时显示进度条
  const localToken = localStorage.getItem('react-jwt-token');
  if (localToken) {
    config.headers['Authorization'] = localToken;
  }

  // 展示 loading 效果
  loadingInstance = Loading.service({
    // 全屏展示
    fullscreen: true,
    // 背景颜色
    background: 'rgba(0, 0, 0, 0.1)',
    // 设置 loading 图标
    spinner: 'el-icon-loading'
  });

  return config;
}, (error: AxiosError) => {
  return Promise.reject(error);
});

instance.interceptors.response.use((response: AxiosResponse) => {
  NProgress.done(); // 响应完成时停止进度条
  // 关闭 loading 效果
  if (loadingInstance) {
    loadingInstance.close();
  }
  return response;
}, (error: AxiosError) => {
  NProgress.done(); // 响应错误时停止进度条
  if (loadingInstance) {
    loadingInstance.close();
  }
  return Promise.reject(error);
});

const { request, get, post } = instance;
// 暴露axios实例
export { request, get, post, instance };
以上修改主要包括了对loadingInstance变量的定义和空值检查的添加,以及对element-ui中Loading.service返回的类型进行赋值。
本文来自互联网用户投稿,该文观点仅代表作者本人,不代表本站立场。本站仅提供信息存储空间服务,不拥有所有权,不承担相关法律责任。 如若内容造成侵权/违法违规/事实不符,请联系我的编程经验分享网邮箱:chenni525@qq.com进行投诉反馈,一经查实,立即删除!
- Python教程
- 深入理解 MySQL 中的 HAVING 关键字和聚合函数
- Qt之QChar编码(1)
- MyBatis入门基础篇
- 用Python脚本实现FFmpeg批量转换
- 网编(IO模型)_D5(2023-12-20)
- SpringBoot 单元测试用例怎么写
- 细说JavaScript内置对象(JavaScript内置对象详解)
- spring boot 自动扫描Controller、Service、Component原理
- 不会代码(零基础)学语音开发(语音控制舵机)
- 比特 币现货ETF获批 波场TRON迎来全球发展新征程
- 深入了解 Python MongoDB 查询:find 和 find_one 方法完全解析
- ctfshow——文件上传
- 在Oracle数据库中,你可以使用LENGTH和LENGTHB函数来判断一个字符串是否包含中文。
- 无人地磅系统|内蒙古中兴首创无人地磅和远程高效管理的突破