RealSense Depth Cameras with ROS1 安装和启动教程
首先进入下面的网址:
https://dev.intelrealsense.com/docs/ros1-wrapper

?进入该链接后,点击最右边的“忍者神龟”

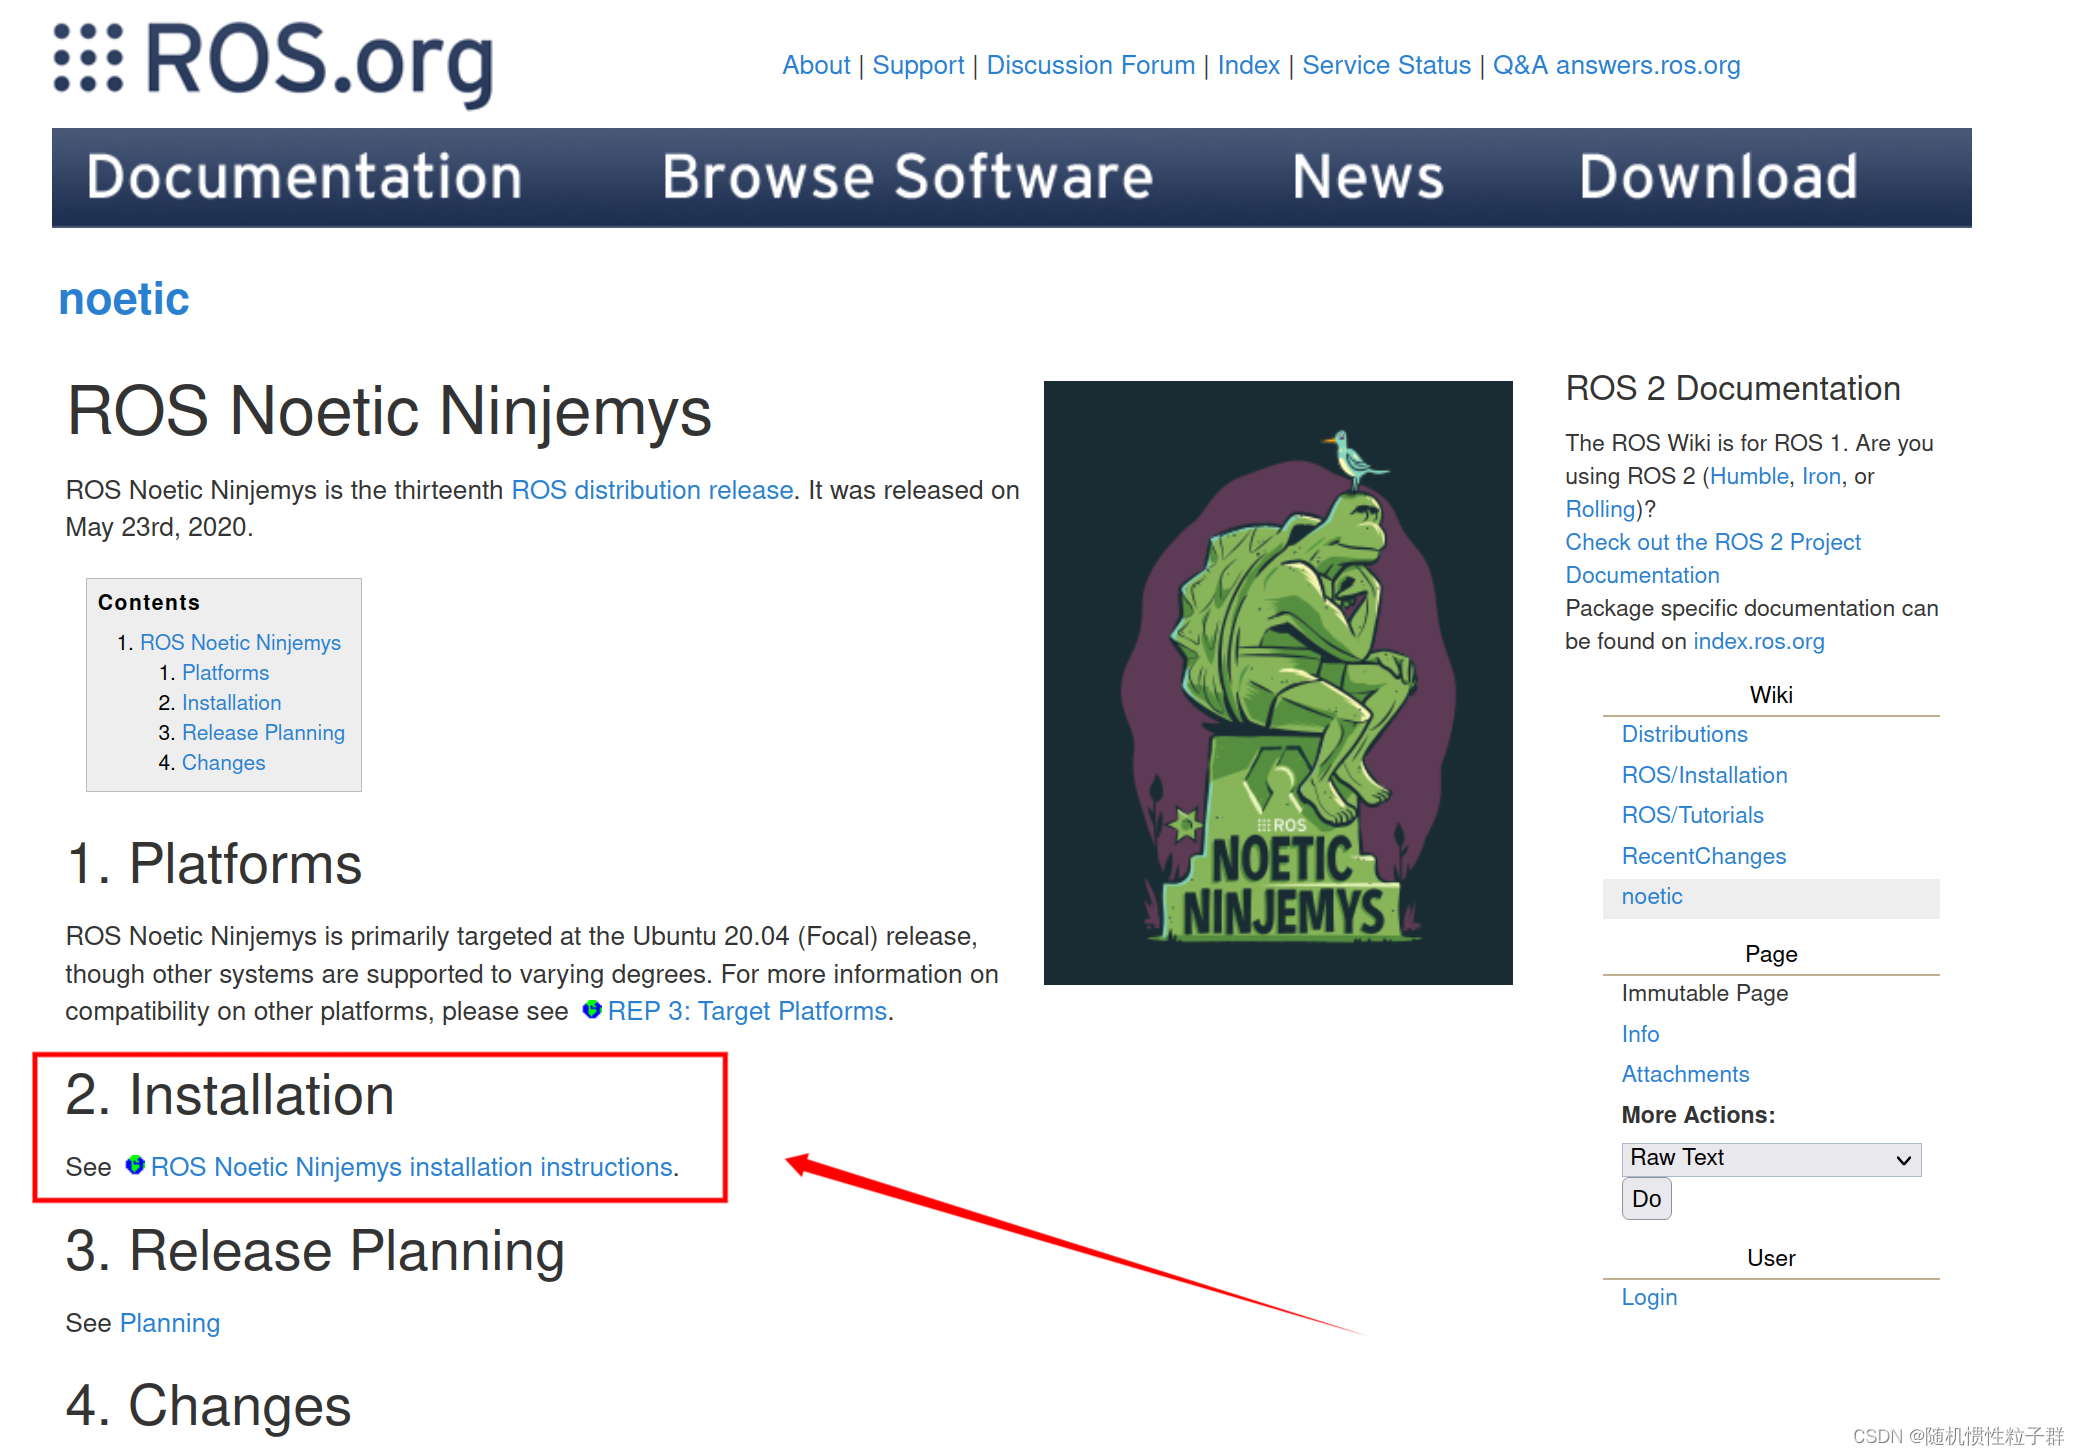
继续点进去

?继续点进去后,终于来到了下载安装教程页面:
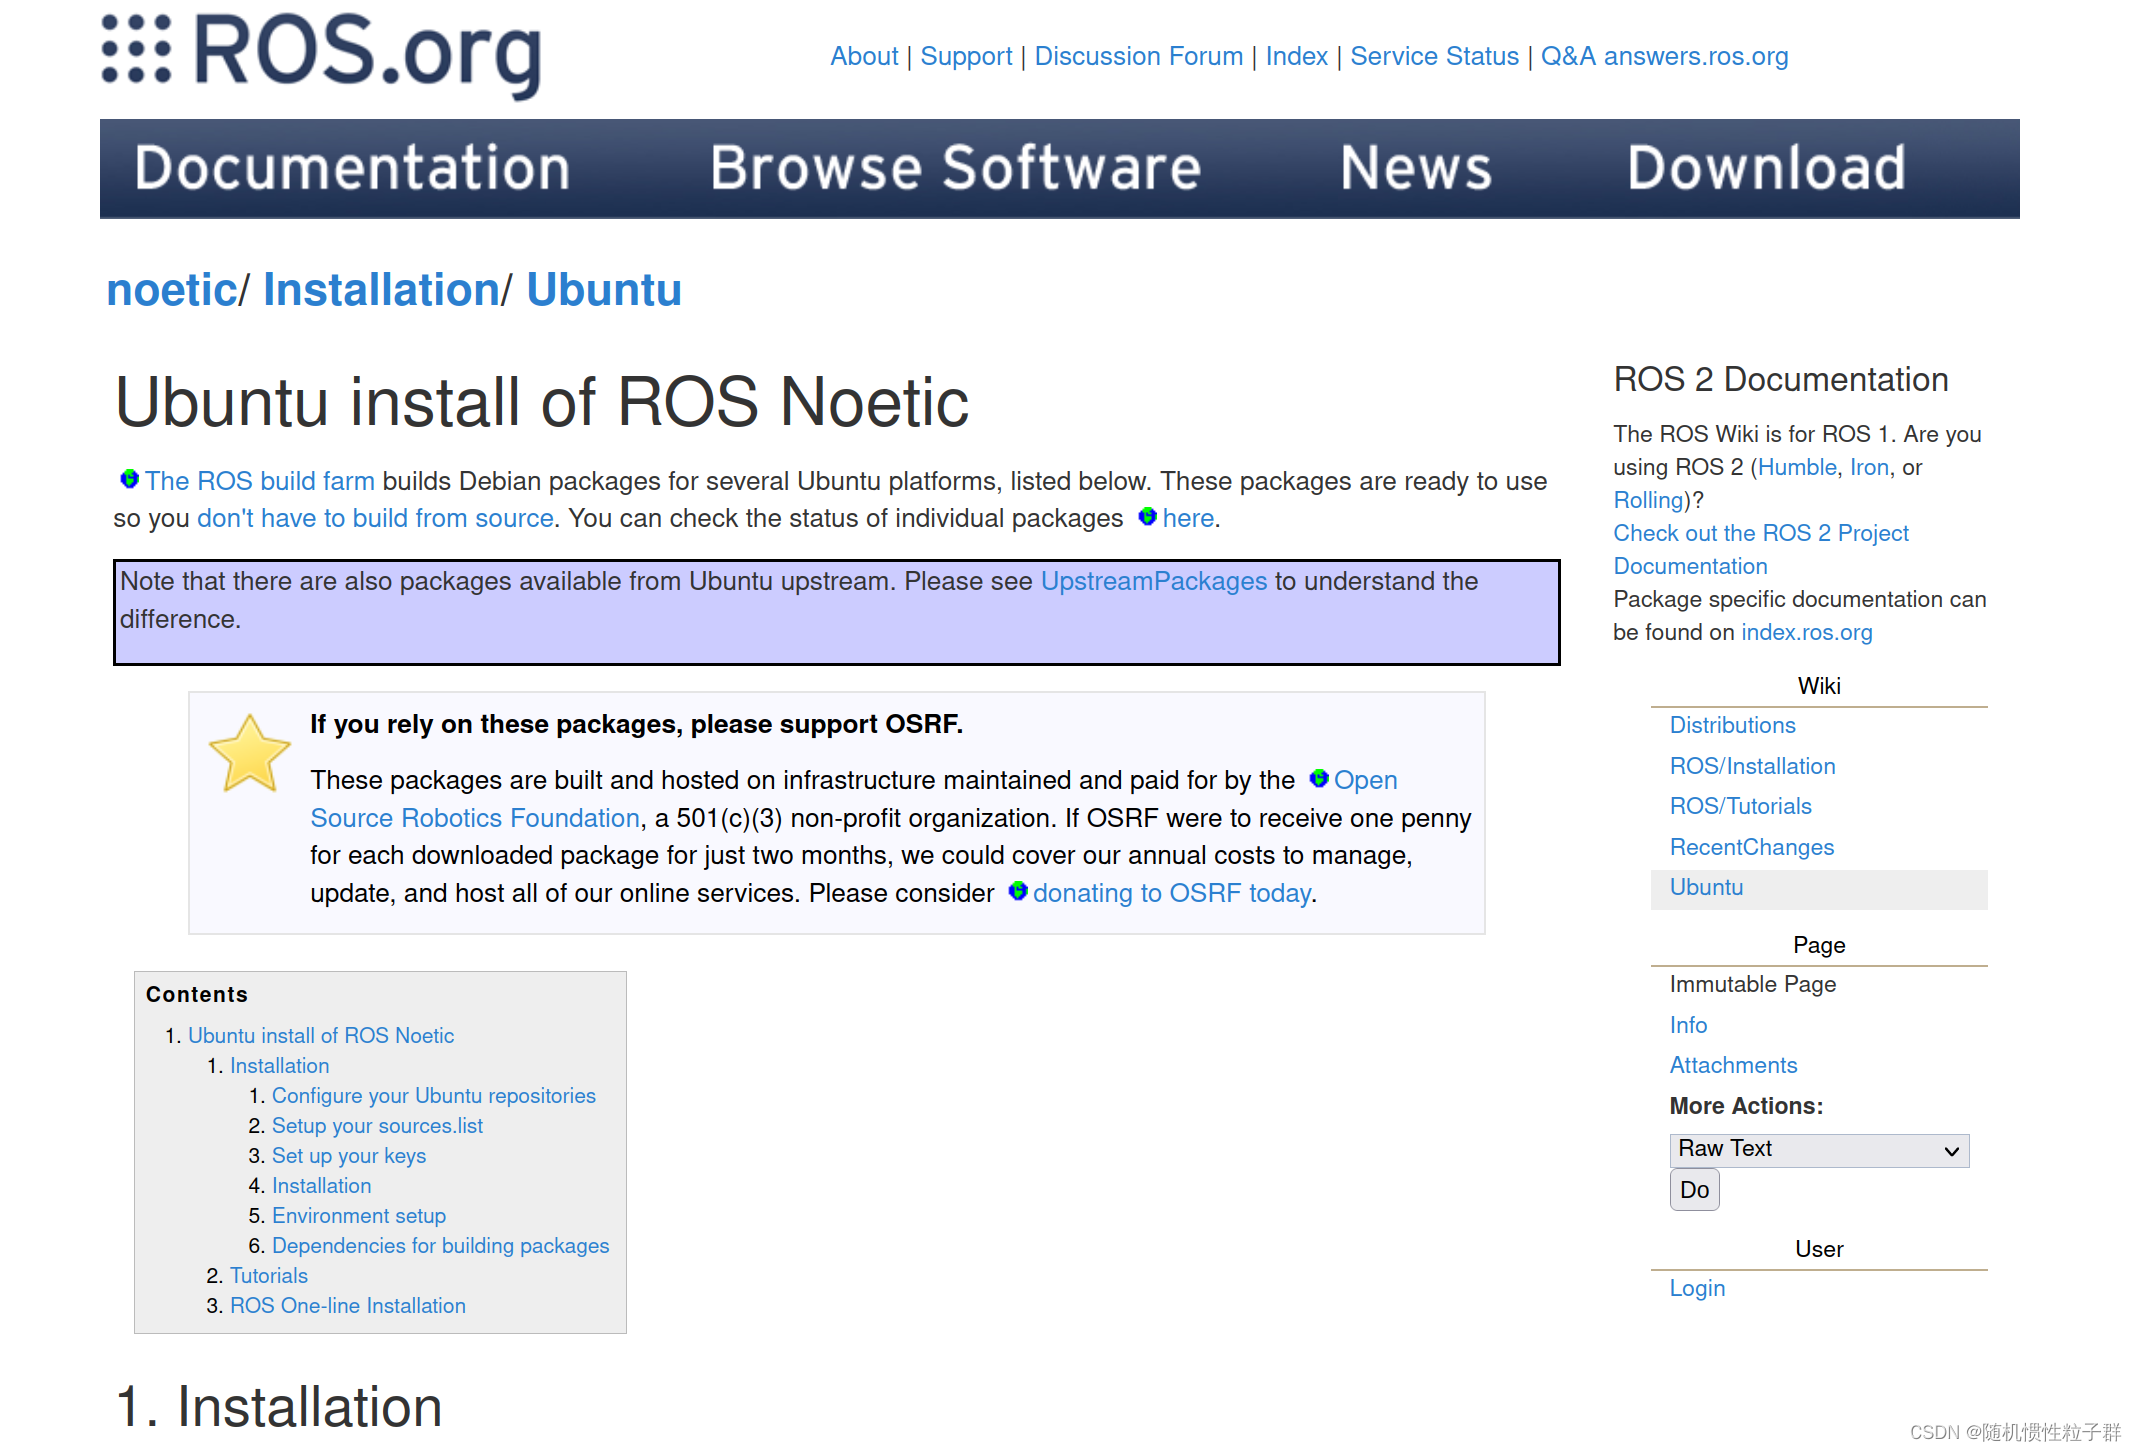
下面开始命令行代码的搬运:
一、ROS安装(若安装过可以跳过,直接看二、三)
设置资源列表
设置您的计算机以接受packages.ros.org中的软件。
sudo sh -c 'echo "deb http://packages.ros.org/ros/ubuntu $(lsb_release -sc) main" > /etc/apt/sources.list.d/ros-latest.list'
Set up your keys
sudo apt install curl # if you haven't already installed curl
curl -s https://raw.githubusercontent.com/ros/rosdistro/master/ros.asc | sudo apt-key add -
Installation(ROS安装)
首先,确保您的Debian包索引是最新的:
sudo apt update
Now pick how much of ROS you would like to install.
?????? Desktop-Full Install: (Recommended) : Everything in Desktop plus 2D/3D simulators and 2D/3D perception packages
-
sudo apt install ros-noetic-desktop-full
Desktop Install: Everything in ROS-Base plus tools like rqt and rviz
-
sudo apt install ros-noetic-desktop
ROS-Base: (Bare Bones) ROS packaging, build, and communication libraries. No GUI tools.
-
sudo apt install ros-noetic-ros-base
There are even more packages available in ROS. You can always install a specific package directly.
sudo apt install ros-noetic-PACKAGE
e.g.
sudo apt install ros-noetic-slam-gmapping
To find available packages, see ROS Index or use:
apt search ros-noetic
Environment setup
You must source this script in every bash terminal you use ROS in.
source /opt/ros/noetic/setup.bash
It can be convenient to automatically source this script every time a new shell is launched. These commands will do that for you.
Bash
If you have more than one ROS distribution installed, ~/.bashrc must only source the setup.bash for the version you are currently using.
echo "source /opt/ros/noetic/setup.bash" >> ~/.bashrc
source ~/.bashrc
zsh
echo "source /opt/ros/noetic/setup.zsh" >> ~/.zshrc
source ~/.zshrc
Dependencies for building packages
Up to now you have installed what you need to run the core ROS packages. To create and manage your own ROS workspaces, there are various tools and requirements that are distributed separately. For example, rosinstall is a frequently used command-line tool that enables you to easily download many source trees for ROS packages with one command.
To install this tool and other dependencies for building ROS packages, run:
sudo apt install python3-rosdep python3-rosinstall python3-rosinstall-generator python3-wstool build-essential
Initialize rosdep
Before you can use many ROS tools, you will need to initialize rosdep. rosdep enables you to easily install system dependencies for source you want to compile and is required to run some core components in ROS. If you have not yet installed rosdep, do so as follows.
sudo apt install python3-rosdep
With the following, you can initialize rosdep.
sudo rosdep init
rosdep update
Tutorials
Now, to test your installation, please proceed to the ROS Tutorials.
二、启动相机节点
参考链接: https://dev.intelrealsense.com/docs/starting-camera-node
接下来需要将深度相机连接电脑的usb接口
This example demonstrates how to launch camera node in ROS
To start the camera node in ROS:
此示例演示了如何在ROS中启动相机节点
要在ROS中启动相机节点:
roslaunch realsense2_camera demo_pointcloud.launch
This will stream all camera sensors and publish on the appropriate ROS topics.
Other stream resolutions and frame rates can optionally be provided as parameters to the 'demo_pointcloud.launch' file.
这将流式传输所有相机传感器,并在适当的ROS主题上发布。
可以选择性地将其他流分辨率和帧速率作为参数提供给“demo_pointcloud.slaunch”文件。
运行后的效果:
三、PointCloud ROS Examples
1. PointCloud visualization(PointCloud可视化)
This example demonstrates how to start the camera node and make it publish point cloud using the pointcloud option.
此示例演示了如何启动相机节点并使用点云选项使其发布点云
?roslaunch realsense2_camera rs_camera.launch filters:=pointcloud
The following example starts the camera and simultaneously opens RViz GUI to visualize the published pointcloud. It performs the 2 examples above.
以下示例启动相机,同时打开RViz GUI以可视化发布的点云。它执行上面的两个示例。
roslaunch realsense2_camera demo_pointcloud.launch
2. Ordered PointCloud using rgbd(使用rgbd的有序PointCloud)
The following example demonstrates using rgbd that builds an ordered pointcloud from the streams (as opposed to the un-ordered pointcloud we currently publish). This example doesn't open a GUI for visualization. Running it requires the installation of rgbd package (as described in the file).
以下示例演示了使用rgbd从流构建有序点云(与我们当前发布的未排序点云相反)。此示例没有打开用于可视化的GUI。运行它需要安装rgbd包(如文件中所述)。
roslaunch realsense2_camera rs_rgbd.launch
3. PointCloud with different coordinate systems(具有不同坐标系的PointCloud)
This example opens rviz and shows the camera model with different coordinate systems and the pointcloud, so it presents the pointcloud and the camera together.
此示例打开rviz并显示具有不同坐标系的相机模型和点云,因此它将点云和相机一起显示。
?roslaunch realsense2_camera rs_d435_camera_with_model.launch
~~~~~~~~~~~~~~~~~~~~~~~~~~~~~~~ 搬运结束 ~~~~~~~~~~~~~~~~~~~~~~~~~~~~~~~
本文来自互联网用户投稿,该文观点仅代表作者本人,不代表本站立场。本站仅提供信息存储空间服务,不拥有所有权,不承担相关法律责任。 如若内容造成侵权/违法违规/事实不符,请联系我的编程经验分享网邮箱:chenni525@qq.com进行投诉反馈,一经查实,立即删除!
- Python教程
- 深入理解 MySQL 中的 HAVING 关键字和聚合函数
- Qt之QChar编码(1)
- MyBatis入门基础篇
- 用Python脚本实现FFmpeg批量转换
- 商城免 费搭建之java鸿鹄云商 java电子商务商城 Spring Cloud+Spring Boot+mybatis+MQ+VR全景+b2b2c
- 数据结构-怀化学院期末题(490)
- 如何使用支付宝沙箱环境本地配置模拟支付并结合内网穿透远程调试
- RocketMQ系统性学习-SpringCloud Alibaba集成RocketMQ以及消息追踪、延时消息实战
- 海南海洋欢乐世界度假区顺利开播,创意云推动文旅营销新升级
- ChatGPT可以帮你做什么?
- 【LeetCode2696】删除子串后的字符串最小长度
- 服务器RAID配置及功能介绍
- 《SPSS统计学基础与实证研究应用精解》视频讲解:数据编辑器基本操作
- Mescius:DataViewsJS 1.8.16.1047 Crack