5分钟搭建属于你个人的chatgpt网站,申请内测API-key,chatgpt
发布时间:2023年12月28日
5分钟搭建属于你个人的chatgpt网站,申请内测API-key
ps:
chatgpt版本:3.5,4.0也可以在该网站使用
使用到的运维技术:docker + nginx
需要访问的网站:github
前提条件
- 一台服务器,没有服务器的可以往下看(使用vercel托管)
- 一个Api-key,没有的往下(申请内测Api-key)。
方式一:部署在自己的服务器上
第一步:连接到你的服务器,下载docker
我这里以linux的centos7.6系统为例子,用腾讯云自带的连接工具操作,当然使用xshell或则finalshell等类似工具都是可以的,其他系统命令可以自行搜索。运行以下命令:
- 更新系统的软件包列表和已安装的软件包,需要等待几分钟,出现y就按y回车等待完成。
sudo yum update
- 安装 Docker:依次运行以下命令,出现yes就输入y回车,因为是国外的可能会有点慢。
sudo yum install -y yum-utils
sudo yum-config-manager --add-repo https://download.docker.com/linux/centos/docker-ce.repo
sudo yum install docker-ce docker-ce-cli containerd.io
- 安装完成后,启动 Docker 服务并设置为开机自启动
sudo systemctl start docker
sudo systemctl enable docker
- 检查docker是否安装完成,出现版本号是,docker就安装成功了。
docker --version

第二步:拉取项目镜像并运行容器
这个网站是个在github的开源项目,作者已经把项目的镜像上传到了dockerhub,我们只需要拉取就行了,也可以拉取我的镜像,在原项目的基础上做了一些修改。这里以我的镜像为例,两个镜像暴露的端口都是3000。
- 拉取镜像
docker pull yidadaa/chatgpt-next-web # 作者的镜像
docker pull luoxiaopi/chatgpt:latest # 我的镜像
- 查看拉取完成的镜像
docker images

- 运行镜像,跑为容器
在下方填入你的api-key和你的访问密码,最后一行是你的镜像的名称,我这里拉取的是我的镜像,所以是luoxiaopi/chatgpt:latest,根据docker images查看。其他内容不要改动,BASE_URL是代理地址,这里我们采用github开源的一个项目的代理。修改完成后执行命令
我的镜像
docker run -d -p 80:3000 \
  -e OPENAI_API_KEY="你的Api-key" \
  -e CODE="设置你的访问密码" \
  -e BASE_URL="https://api.chatanywhere.com.cn" \
luoxiaopi/chatgpt:latest
###### 作者镜像
docker run -d -p 80:3000 \
  -e OPENAI_API_KEY="你的Api-key" \
  -e CODE="设置你的访问密码" \
  -e BASE_URL="https://api.chatanywhere.com.cn" \
yidadaa/chatgpt-next-web:latest
- 查看容器是否运行成功
docker ps
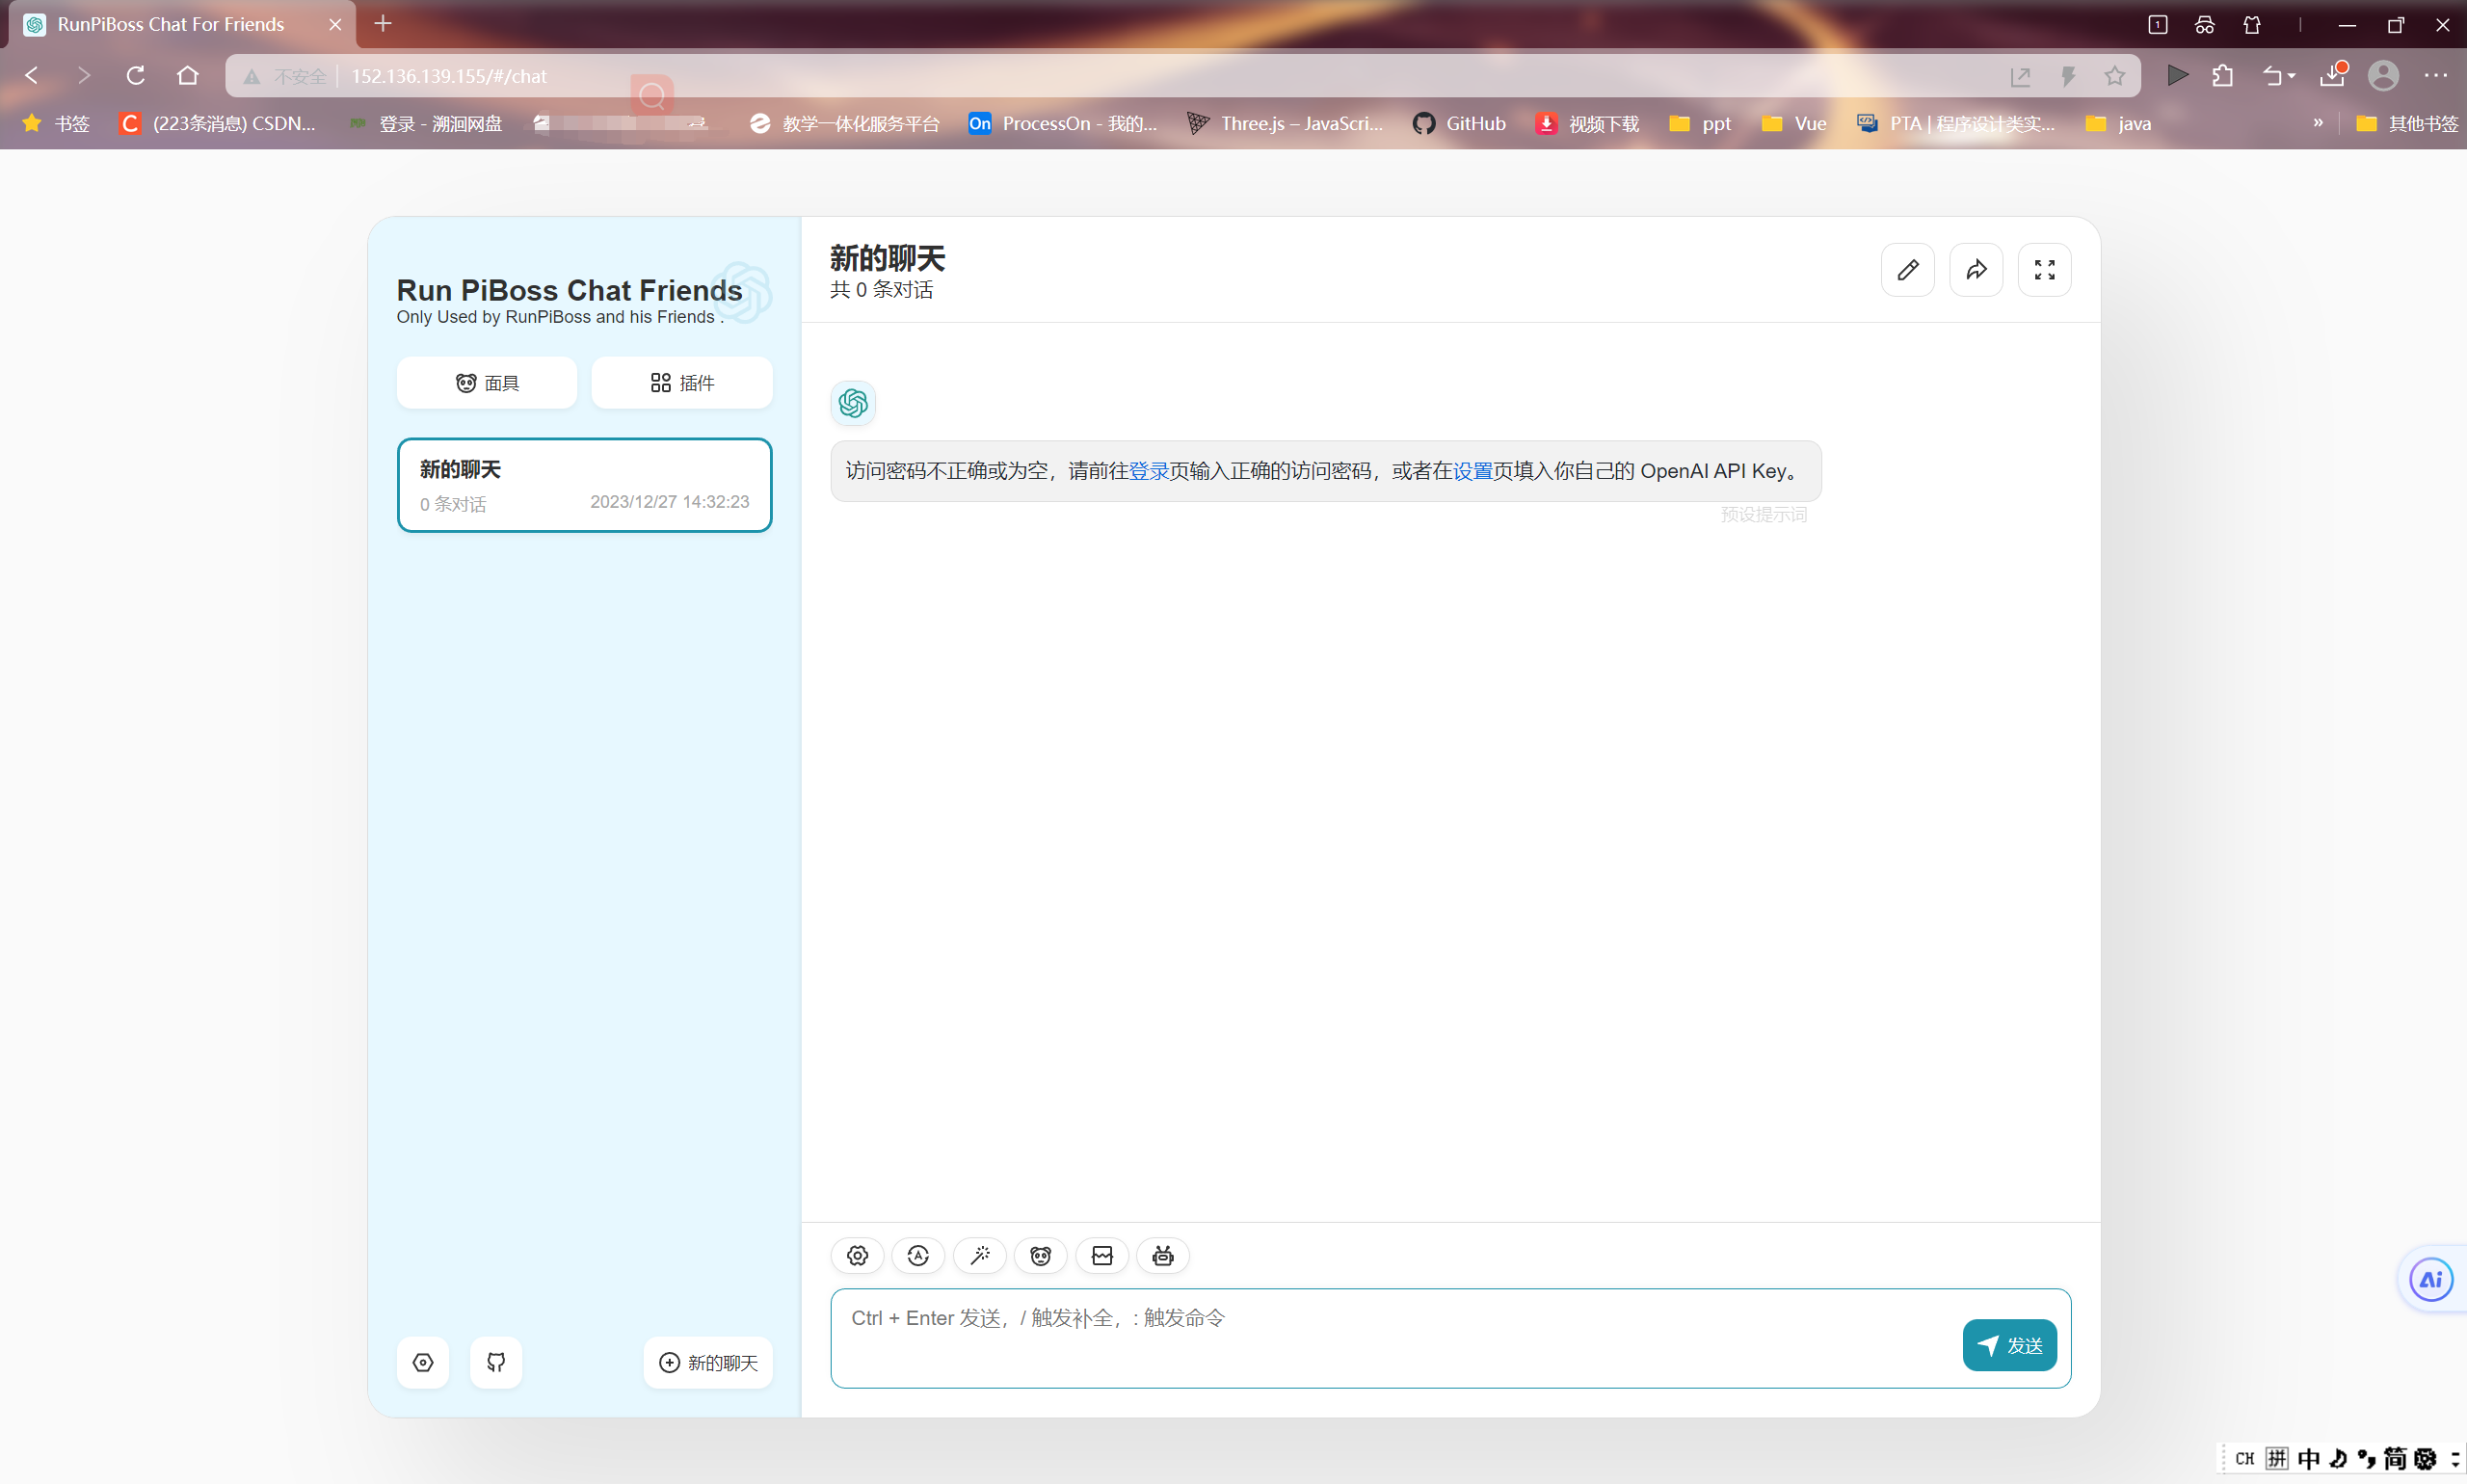
可以看到我的容器已经跑起来了,现在通过ip地址就能访问项目了。

点击登录,填入你设置的密码,就可以正常使用了。


方式二:使用vercel托管
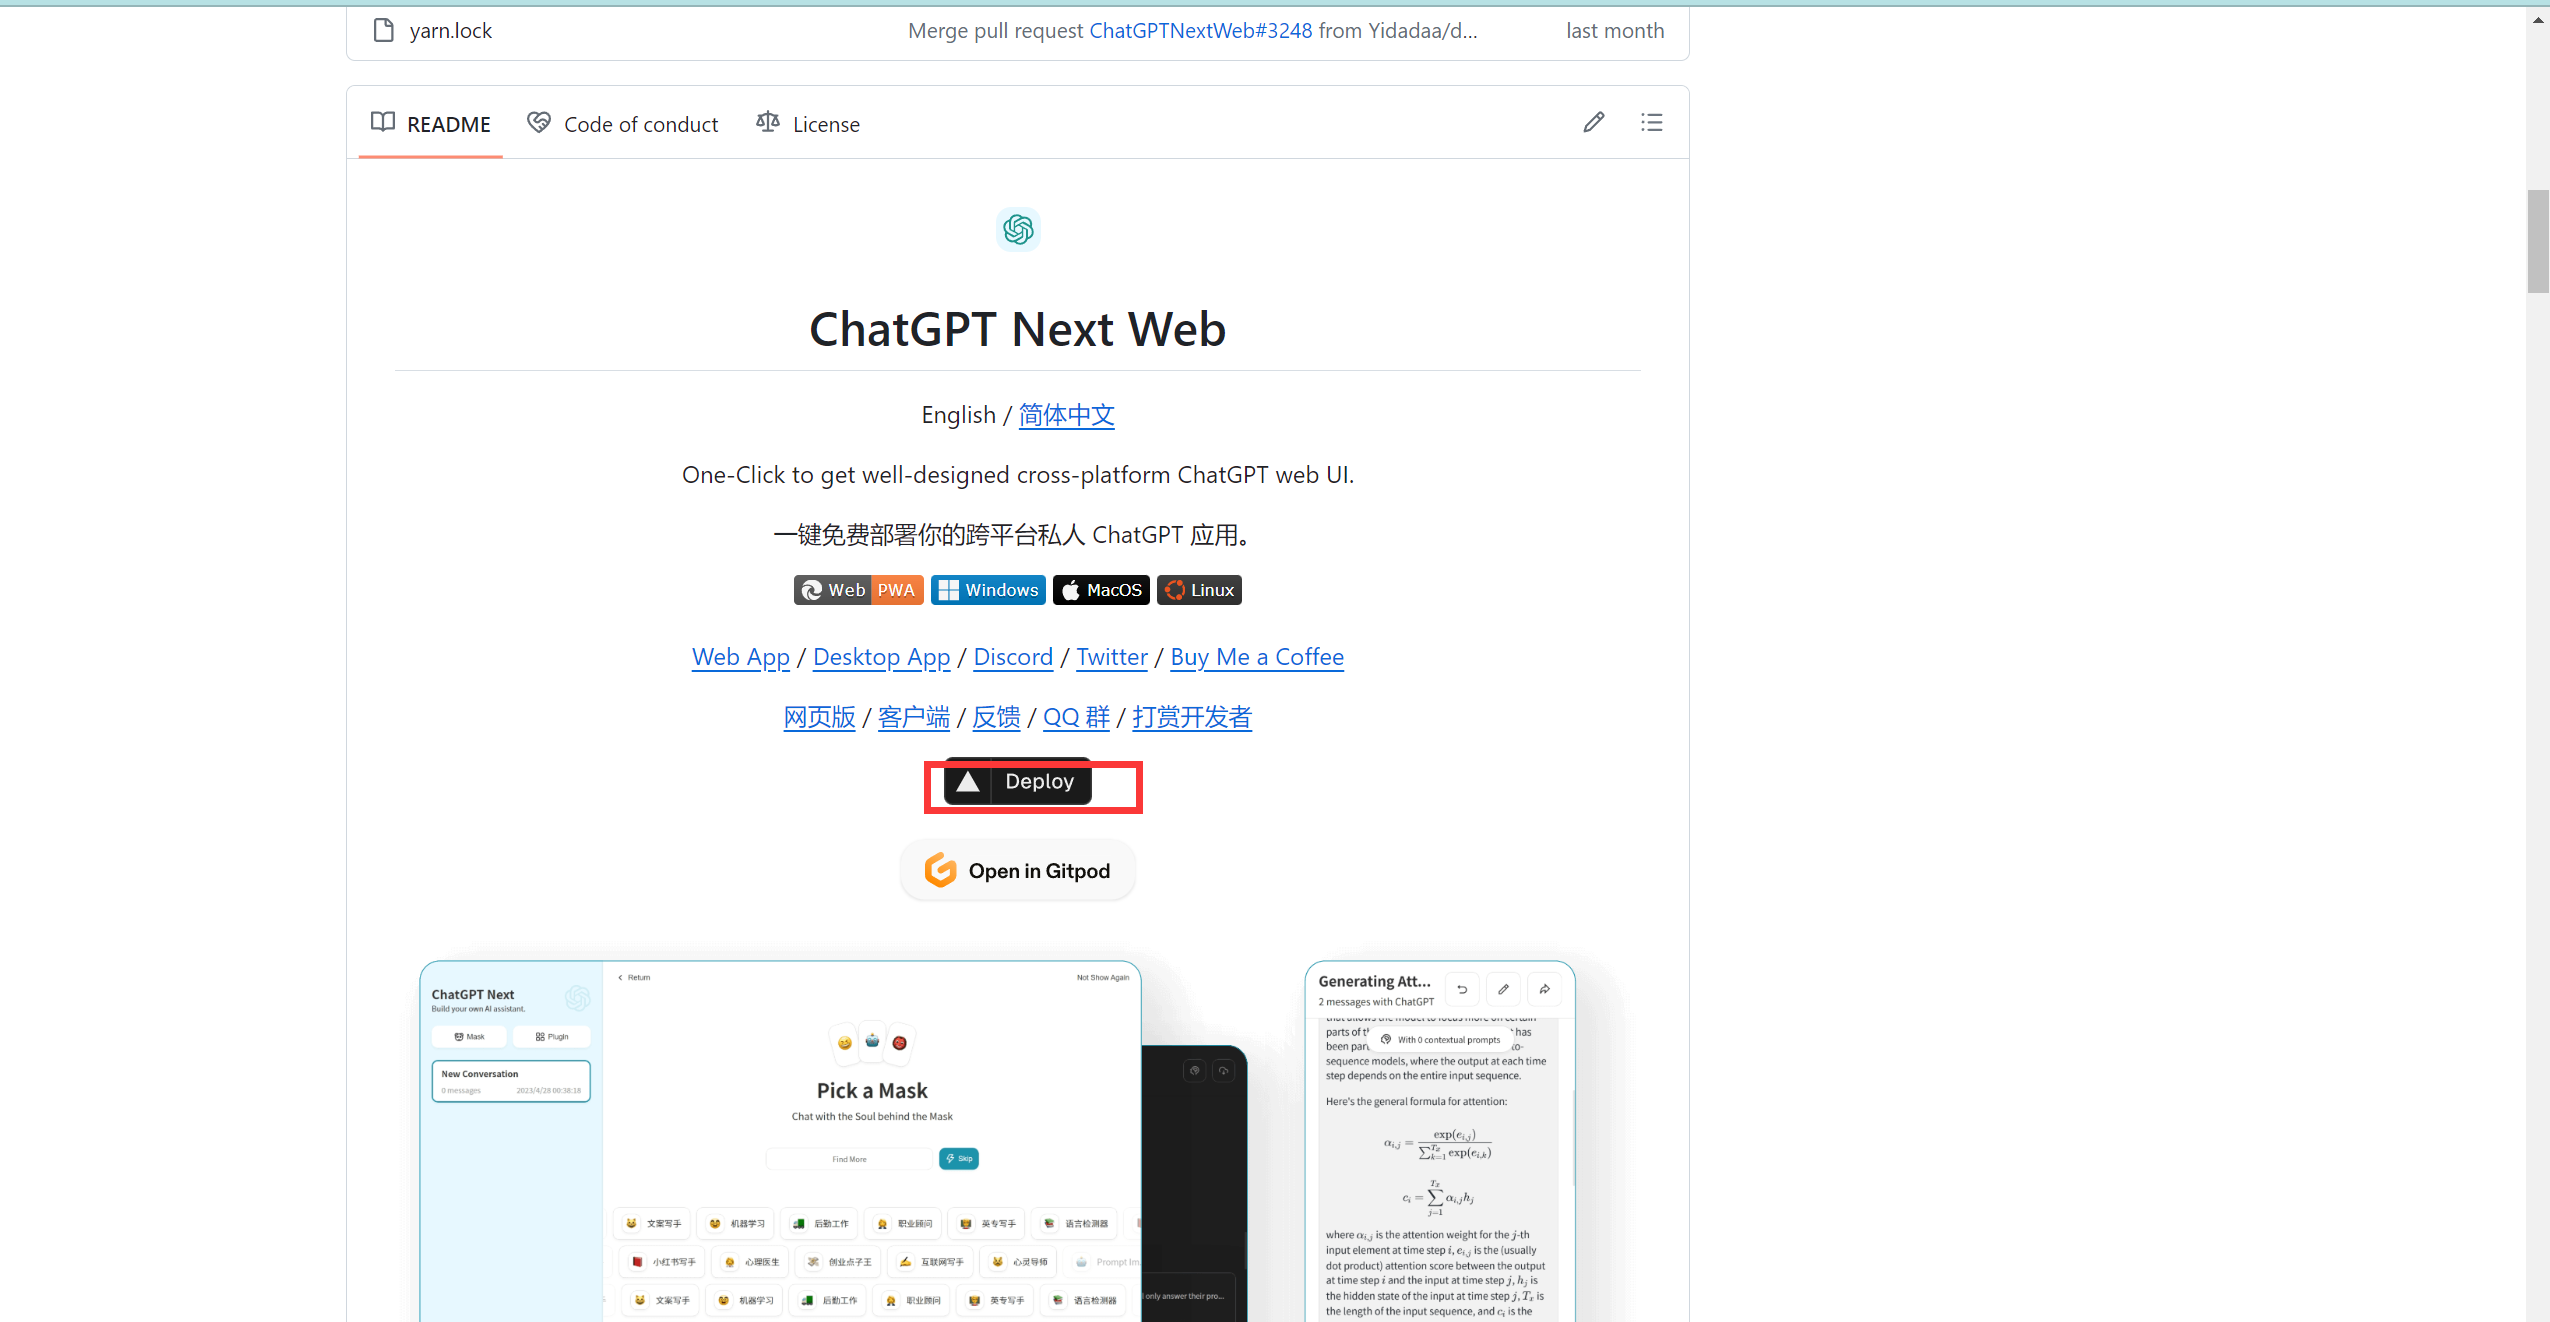
第一步:打开github中的开源项目,点击Deploy

第二步,填写项目名

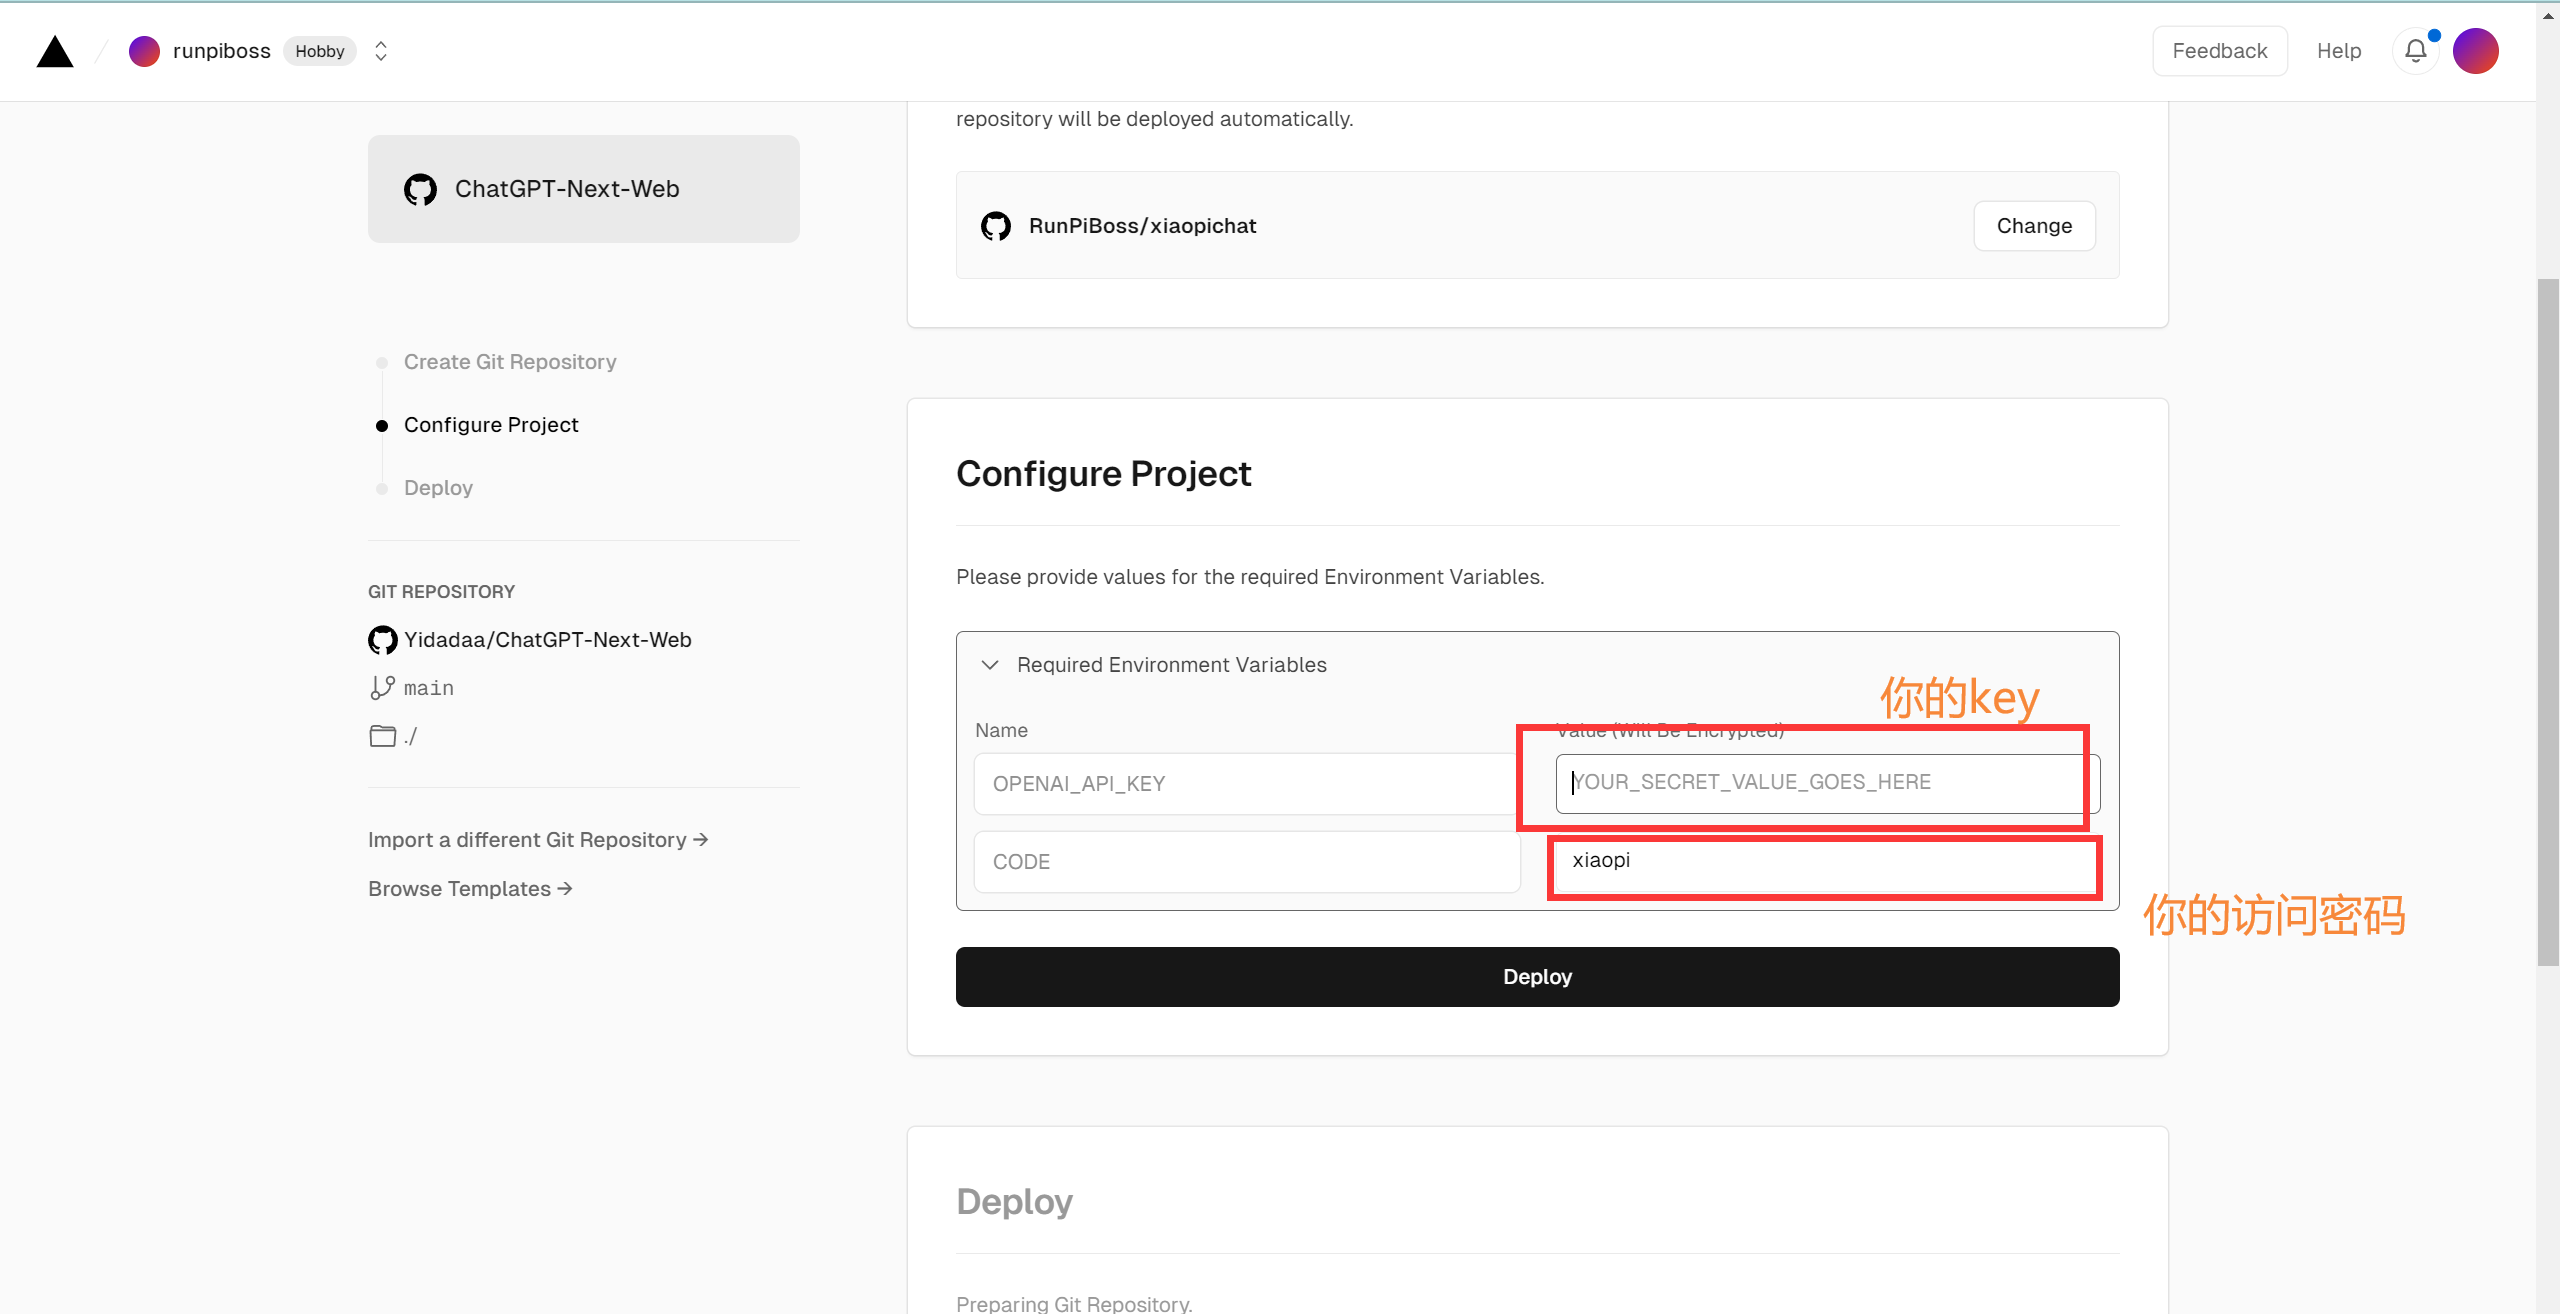
第三步,填写代理地址和api-key,点击Deploy开始部署,部署完成点击visit预览,会发现输入密码后无法正常对话。

第四步,添加一个新的环境变量,save保存后重新部署,将下方代码依次填入键和值。
BASE_URL
https://api.chatanywhere.com.cn

第五步,成功部署后,vercel会给你分配一个免费域名,点击预览,通过域名就可访问项目,如果你有域名,可以在Domains中设置关联。

申请内测Api-key
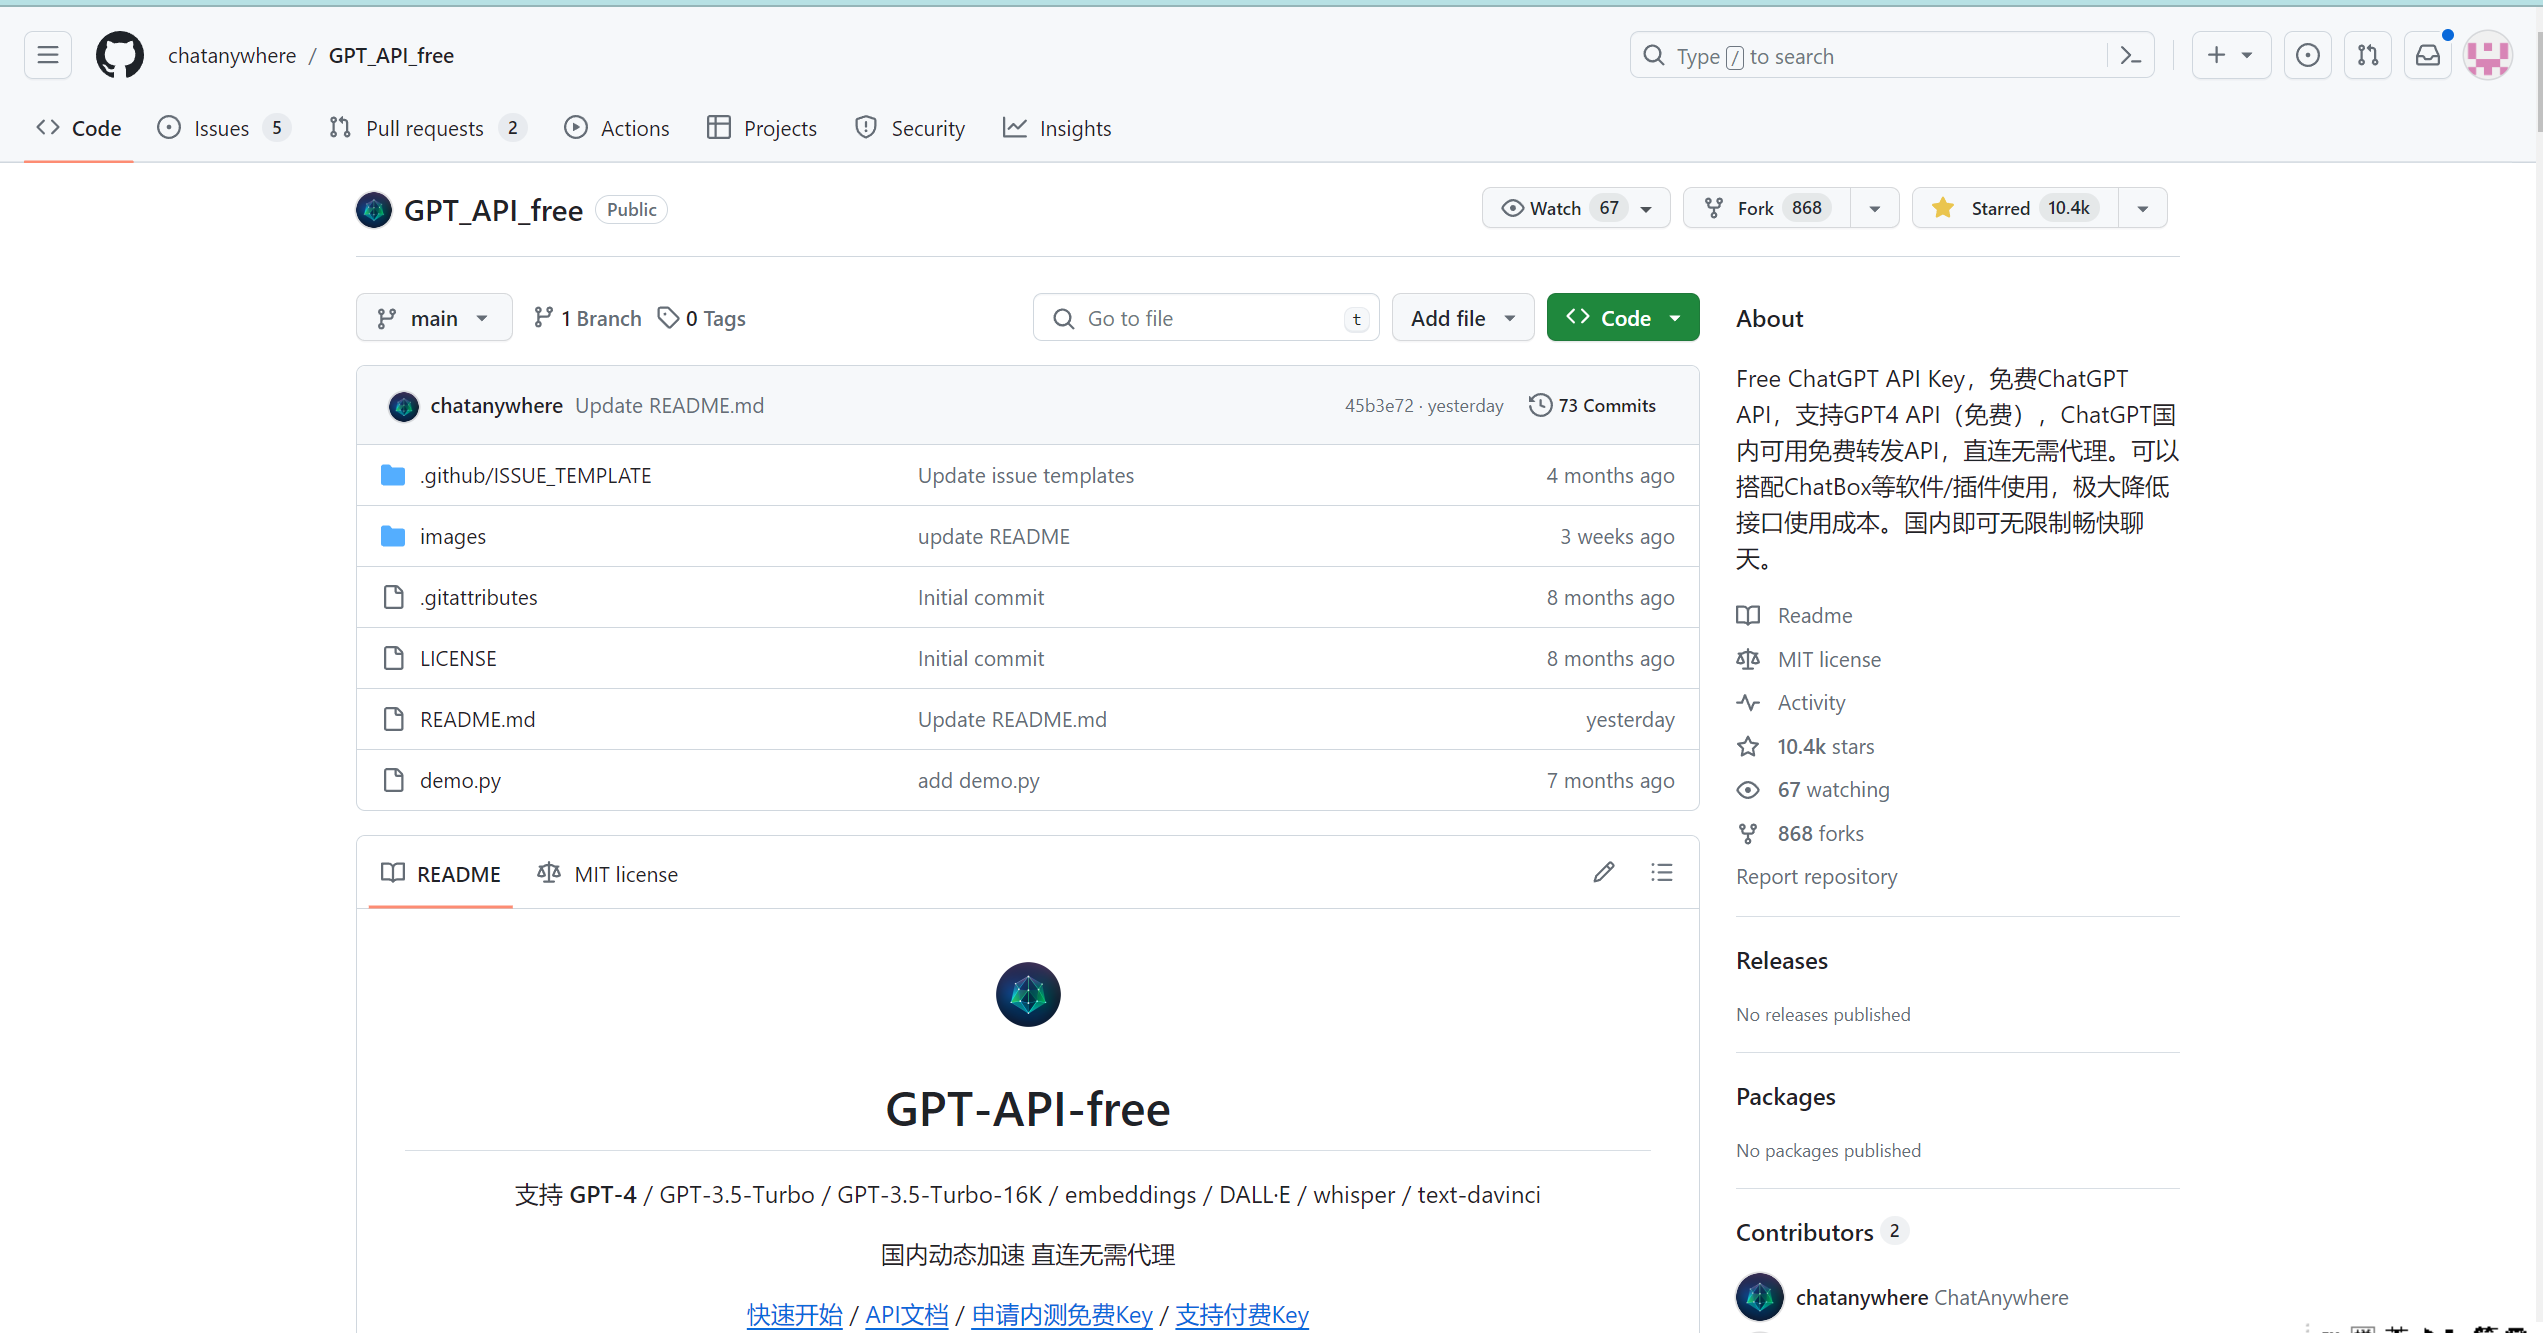
这个内测Api-key是github的一个开源的项目,每个github账号都能领取一个Api-key
申请地址,点击申请内测免费Key。将获取的Api-key填入即可。

参考资料,及相关链接
文章来源:https://blog.csdn.net/qq_62465320/article/details/135250853
本文来自互联网用户投稿,该文观点仅代表作者本人,不代表本站立场。本站仅提供信息存储空间服务,不拥有所有权,不承担相关法律责任。 如若内容造成侵权/违法违规/事实不符,请联系我的编程经验分享网邮箱:chenni525@qq.com进行投诉反馈,一经查实,立即删除!
本文来自互联网用户投稿,该文观点仅代表作者本人,不代表本站立场。本站仅提供信息存储空间服务,不拥有所有权,不承担相关法律责任。 如若内容造成侵权/违法违规/事实不符,请联系我的编程经验分享网邮箱:chenni525@qq.com进行投诉反馈,一经查实,立即删除!
最新文章
- Python教程
- 深入理解 MySQL 中的 HAVING 关键字和聚合函数
- Qt之QChar编码(1)
- MyBatis入门基础篇
- 用Python脚本实现FFmpeg批量转换
- Unity中Shader语义的理解
- 地方版权和国家版权有什么区别?两者效力是一样的吗?
- 双指针——移动零
- Android 获取wlan0地址
- 基于java web的网上书城系统的设计与实现论文
- 【Qt+SQLite使用】
- gdb使用
- npm install -g node-gyp error -13
- RK3568驱动指南|第九篇 设备模型-第98章 创建多个属性文件的简便方法
- kotlin filter 过滤集合(filterIndexed,filterNot,filterIsInstance,filterNotNull)