三、nginx代理功能
发布时间:2024年01月10日
目录
SQUID代理服务器配置
安装squid
yum install squid -y
编辑squid配置文件
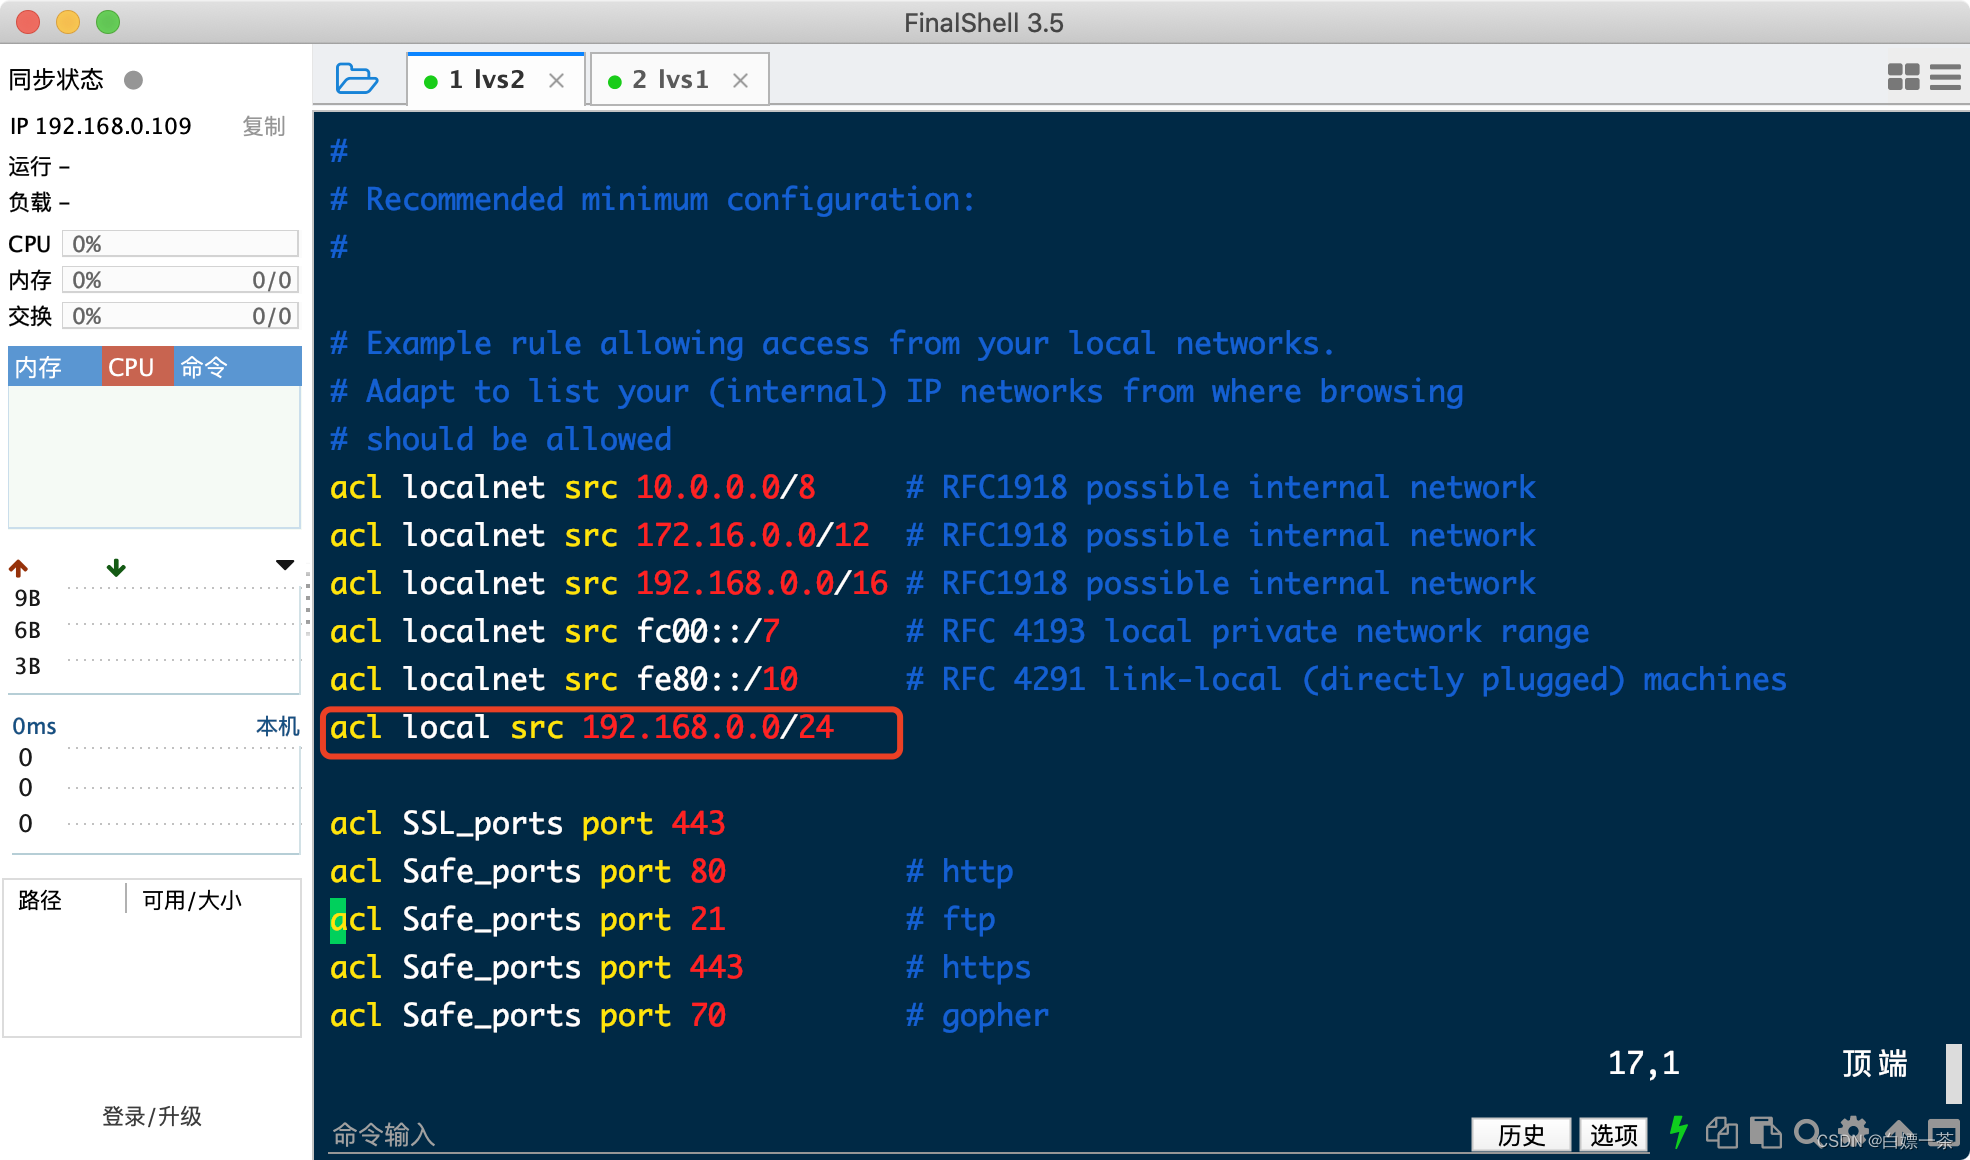
#vim /etc/squid/squid.conf
acl local src 192.168.0.0/24   	   //允许192.168.0.0/24网段内所有客户机访问代理服务器


http_access allow local 		  //该记录一定要添在deny all之前
http_port 3128
定义拒绝访问
# 这一行是定义
acl {定义名字} url_regex -i {关键字}
acl deny_keyword url_regex -i jd.com

# 这一行是调用自己定义的
http_access deny {定义名字}

http_access deny deny_keyword

# 定义好了 之后要重启 服务器
systemctl restart squid

启动squid服务
systemctl start squid
systemctl enable squid
linux客户端配置
linux客户端配置正向代理
export http_proxy=http://192.168.0.109:3128
export https_proxy=http://192.168.0.109:3128
echo "export http_proxy=http://192.168.0.109:3128" >>/etc/profile
echo "export https_proxy=http://192.168.0.109:3128" >>/etc/profile
测试http
wget http://www.jd.com/index.php
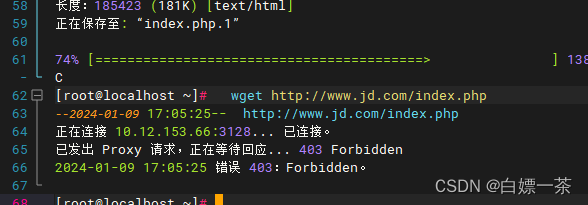
可以看到 403
代理服务器上查看日志/var/log/squid/access.log
cat /var/log/squid/access.log

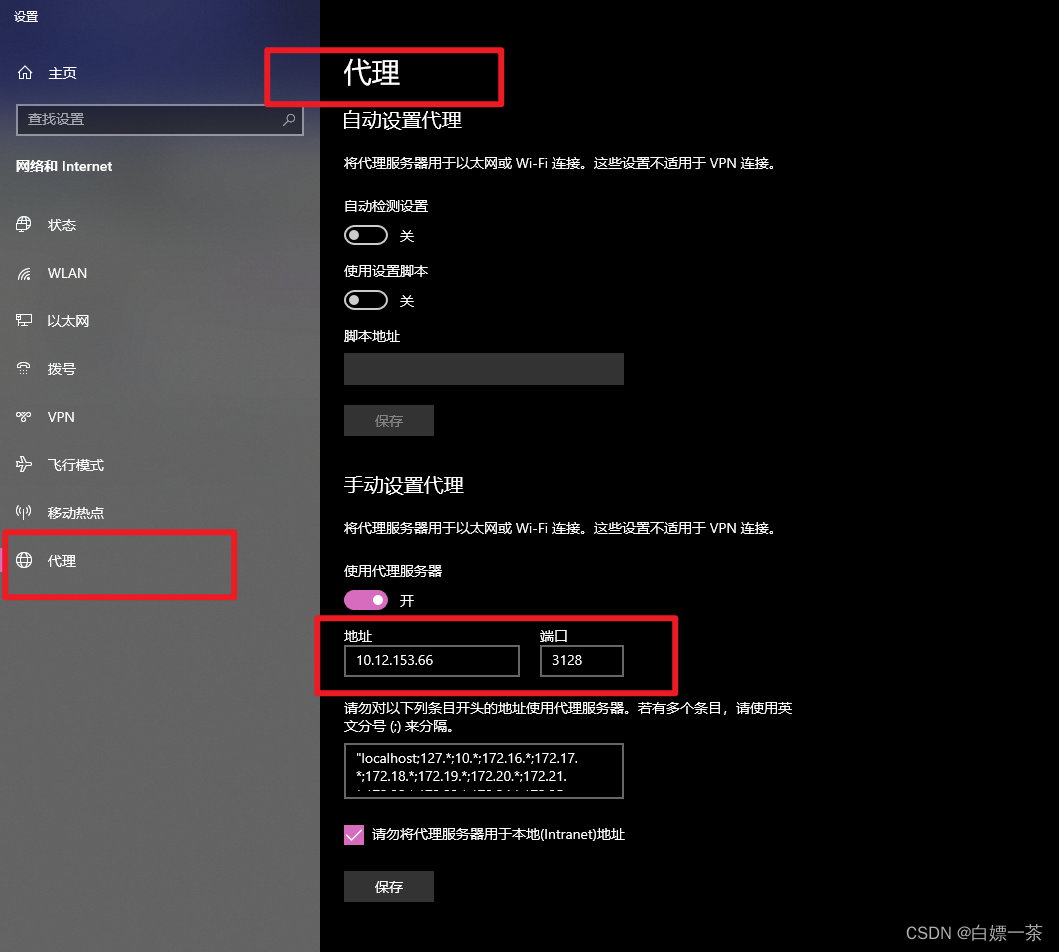
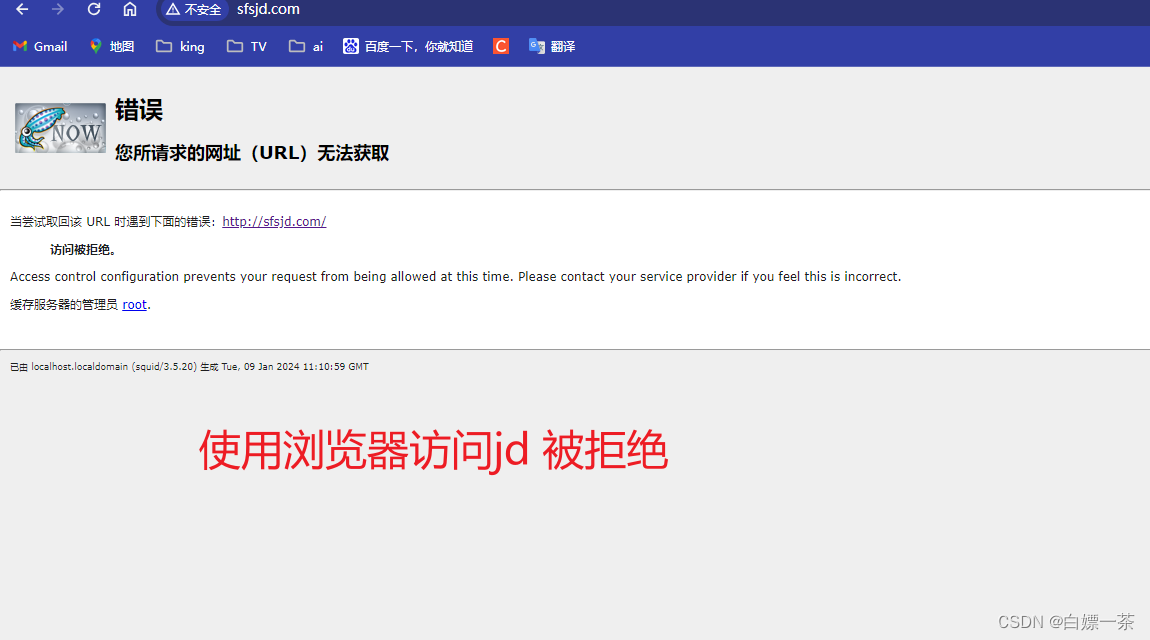
windows 也可以配置网页代理

本章完结
文章来源:https://blog.csdn.net/2301_79996063/article/details/135493089
本文来自互联网用户投稿,该文观点仅代表作者本人,不代表本站立场。本站仅提供信息存储空间服务,不拥有所有权,不承担相关法律责任。 如若内容造成侵权/违法违规/事实不符,请联系我的编程经验分享网邮箱:chenni525@qq.com进行投诉反馈,一经查实,立即删除!
本文来自互联网用户投稿,该文观点仅代表作者本人,不代表本站立场。本站仅提供信息存储空间服务,不拥有所有权,不承担相关法律责任。 如若内容造成侵权/违法违规/事实不符,请联系我的编程经验分享网邮箱:chenni525@qq.com进行投诉反馈,一经查实,立即删除!
最新文章
- Python教程
- 深入理解 MySQL 中的 HAVING 关键字和聚合函数
- Qt之QChar编码(1)
- MyBatis入门基础篇
- 用Python脚本实现FFmpeg批量转换
- 大学物理实验重点——电路暂态过程
- 你知道提升餐饮质量的秘密武器吗?
- 【PWN · 格式化字符串|劫持fini_array|劫持got表】[CISCN 2019西南]PWN1
- 高标准农田的运作模式
- COCO数据集的标注格式
- 【Java基础知识 16】禁止使用Lombok,在Lombok的加持下,“小狗”.equals(“老狗”) = true
- 建造者模式
- 寒假前端第一次作业
- 纯前端 文件上传汇总
- el-table中设置第一列为多选框,且多选框动态禁用