AlmaLinux 9.3 系统 安装配置 Zabbix6.4 监控系统(史上最全 小白都能看懂)
AlmaLinux 9.3 部署 Zabbix6.4
Zabbix安装部署
安装 Zabbix 源
rpm -Uvh https://repo.zabbix.com/zabbix/6.4/rhel/9/x86_64/zabbix-release-6.4-1.el9.noarch.rpm
清除缓存文件
dnf clean all

安装Zabbix server,Web前端,agent
dnf install zabbix-server-mysql zabbix-web-mysql zabbix-nginx-conf zabbix-sql-scripts zabbix-selinux-policy zabbix-agent

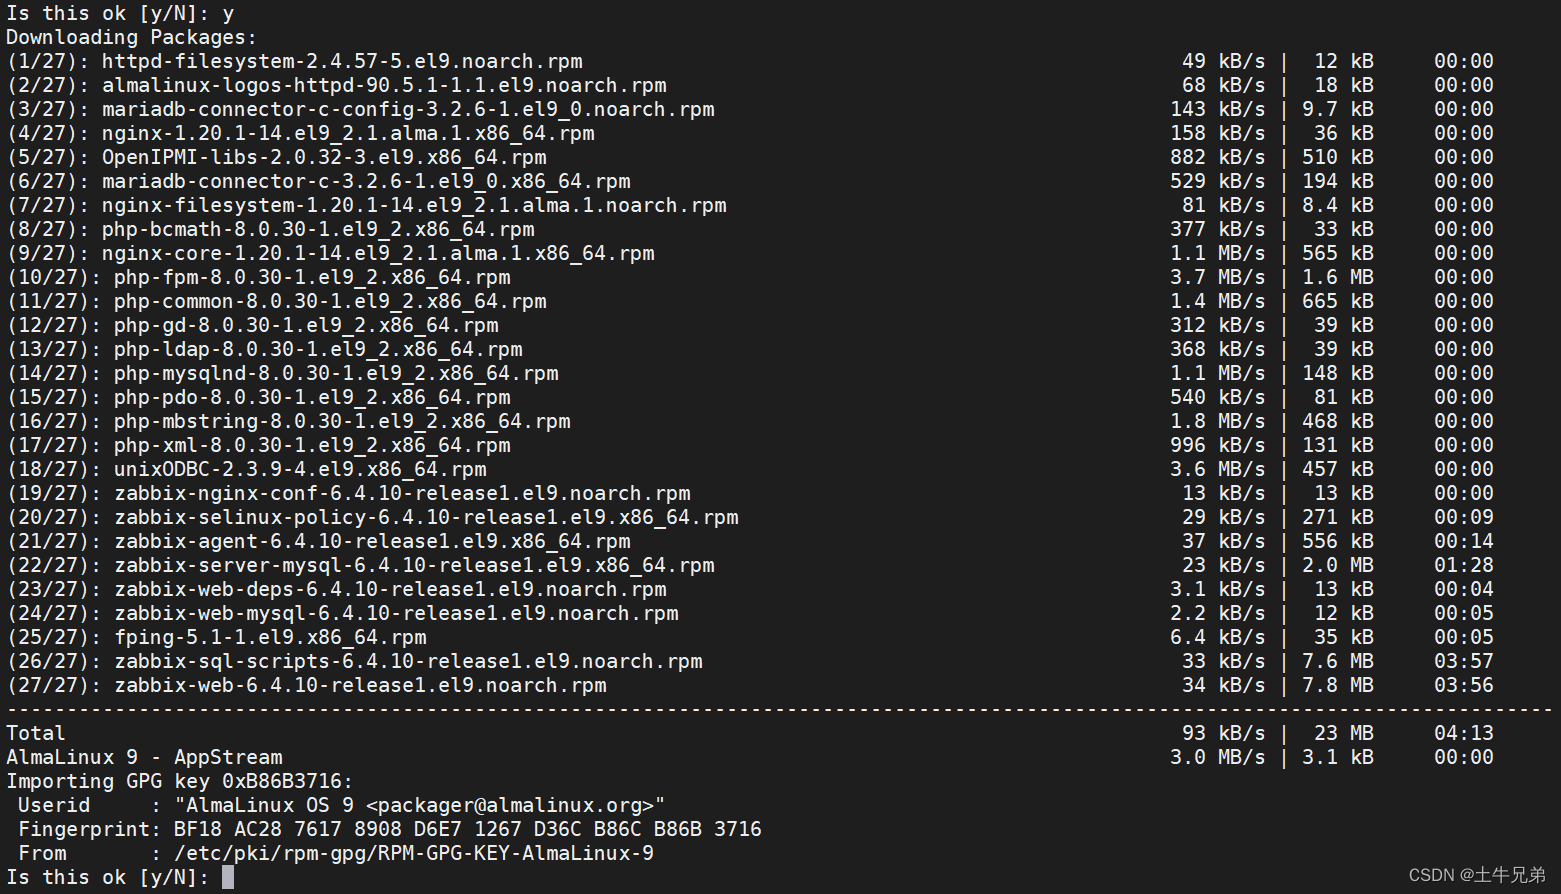

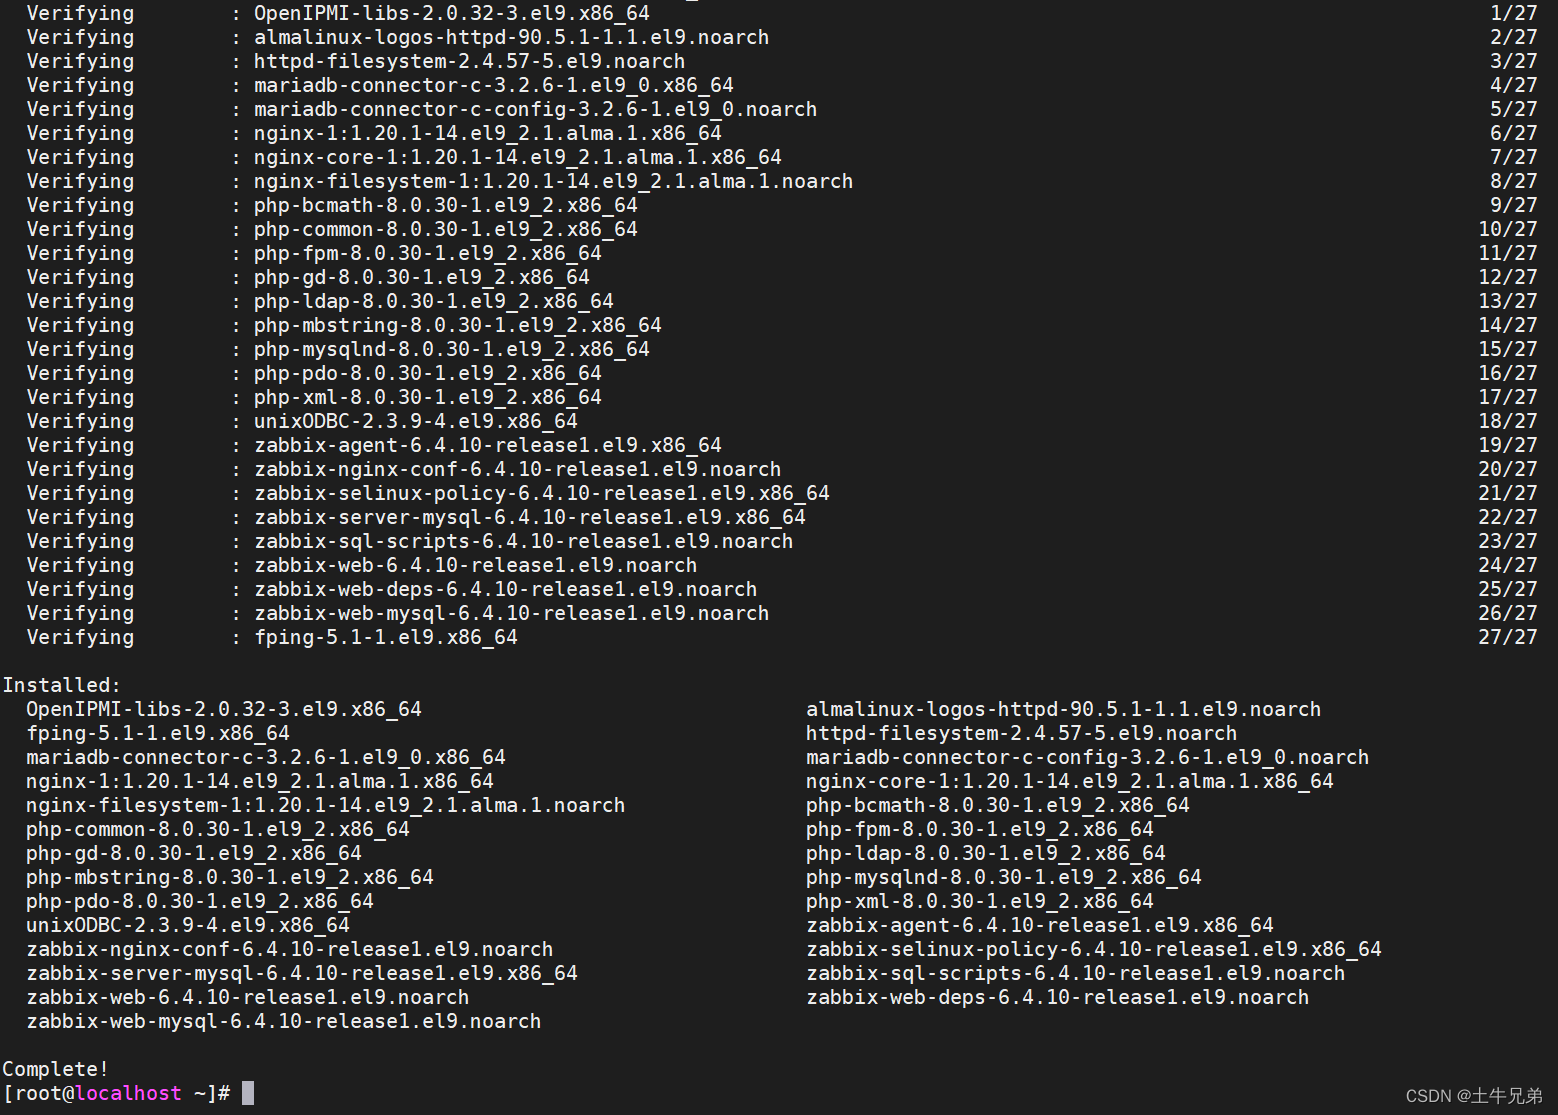
将软件源更新至最新
dnf -y update
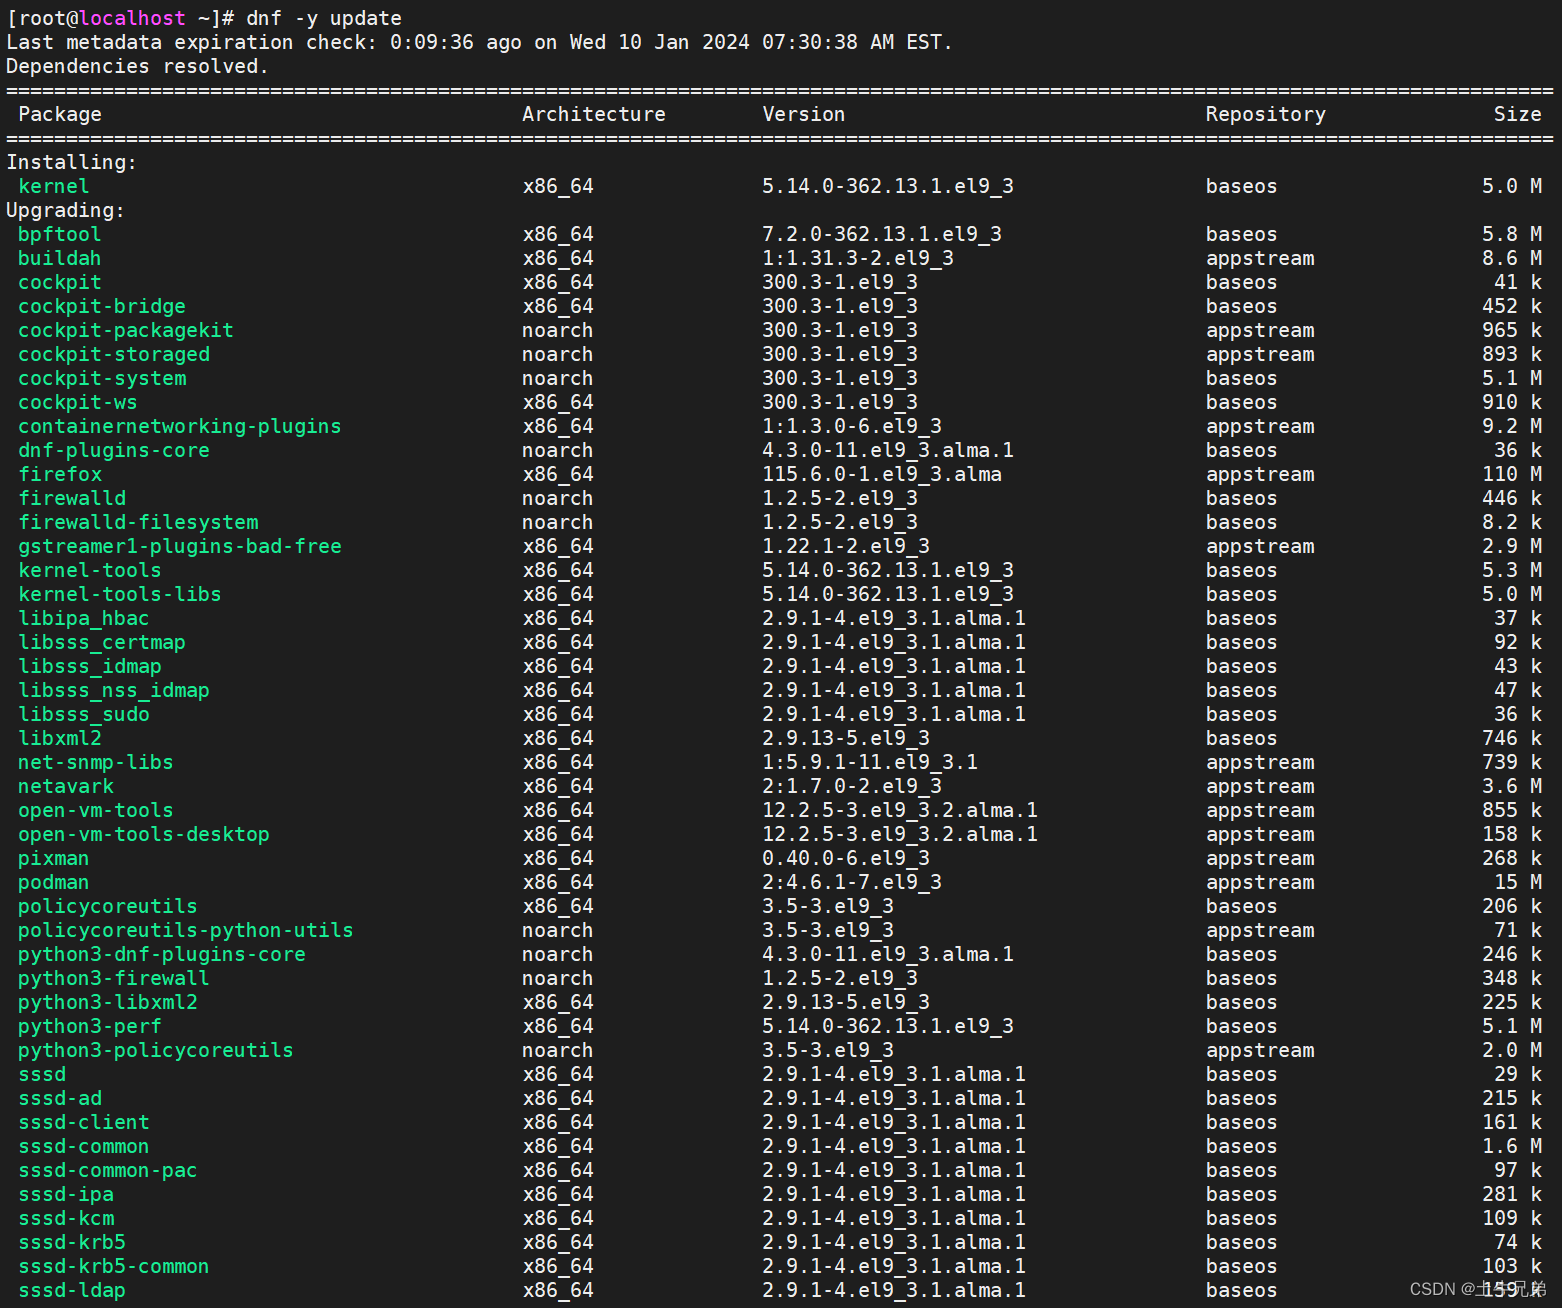

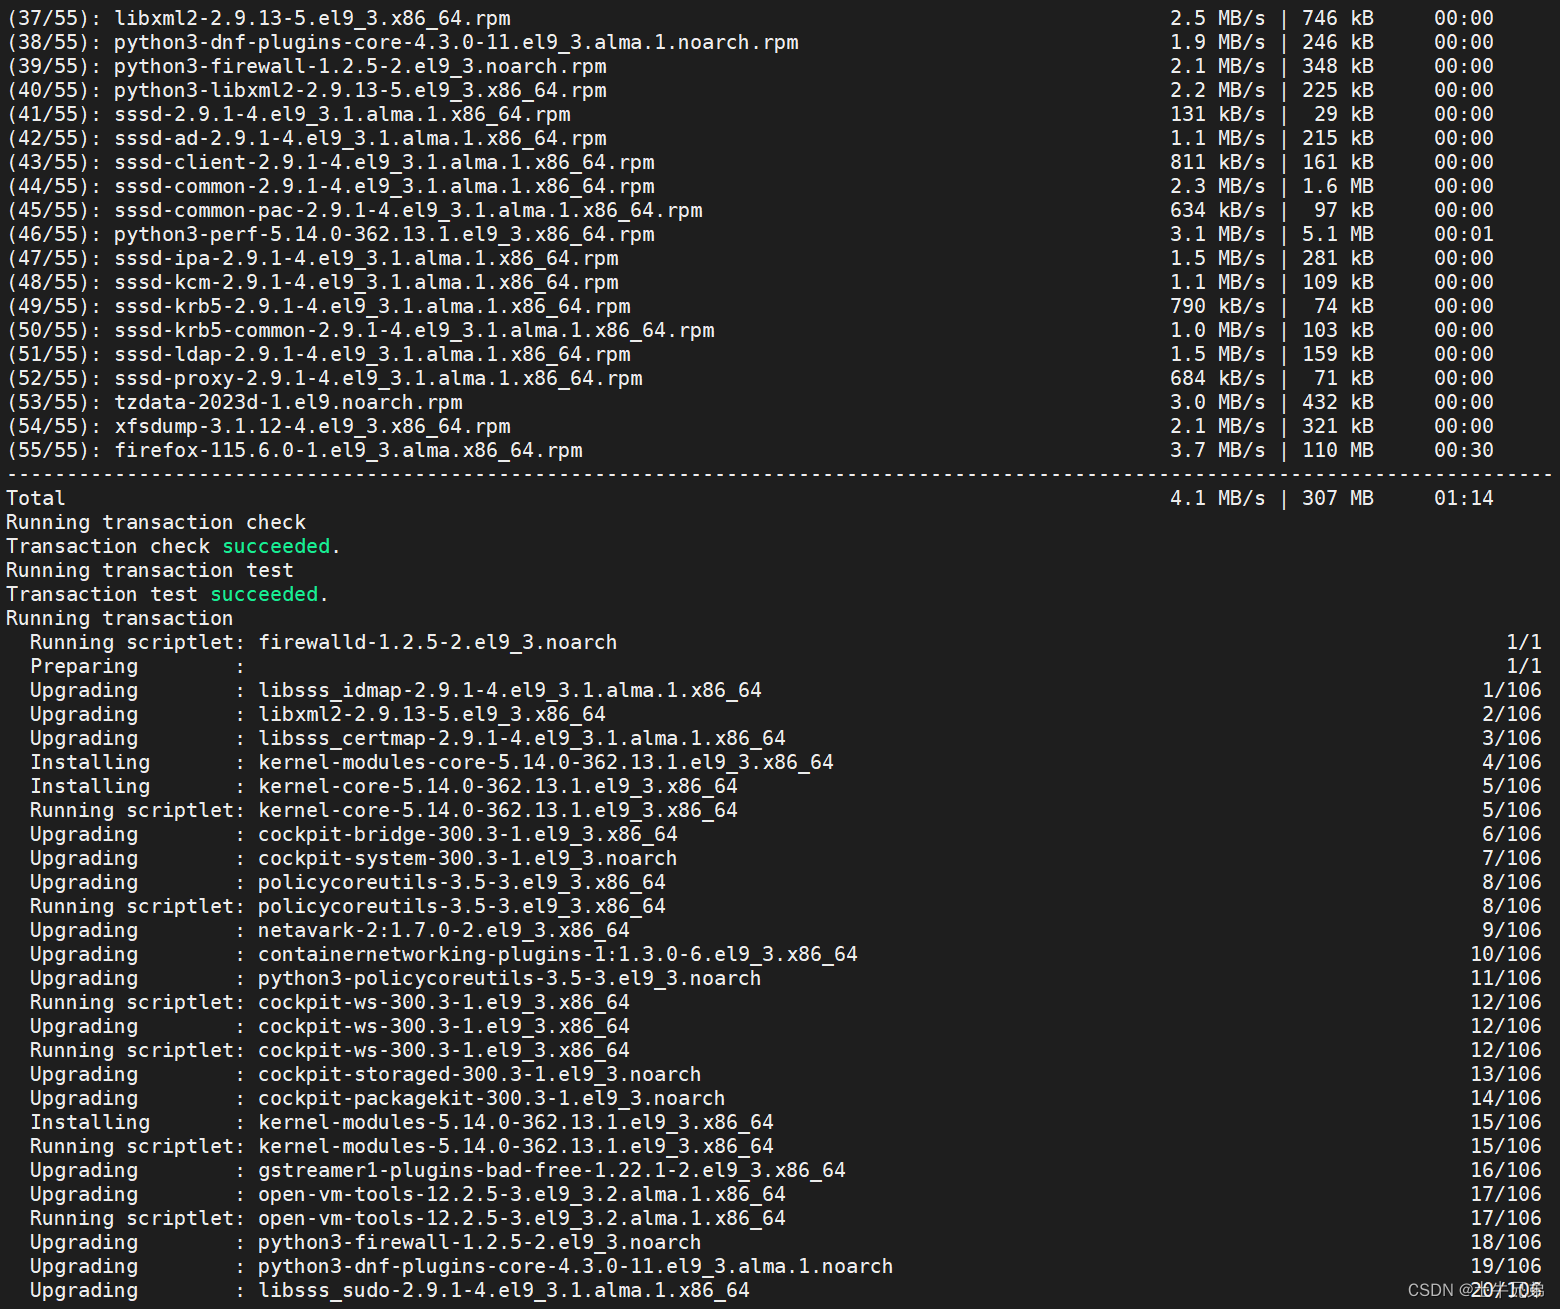


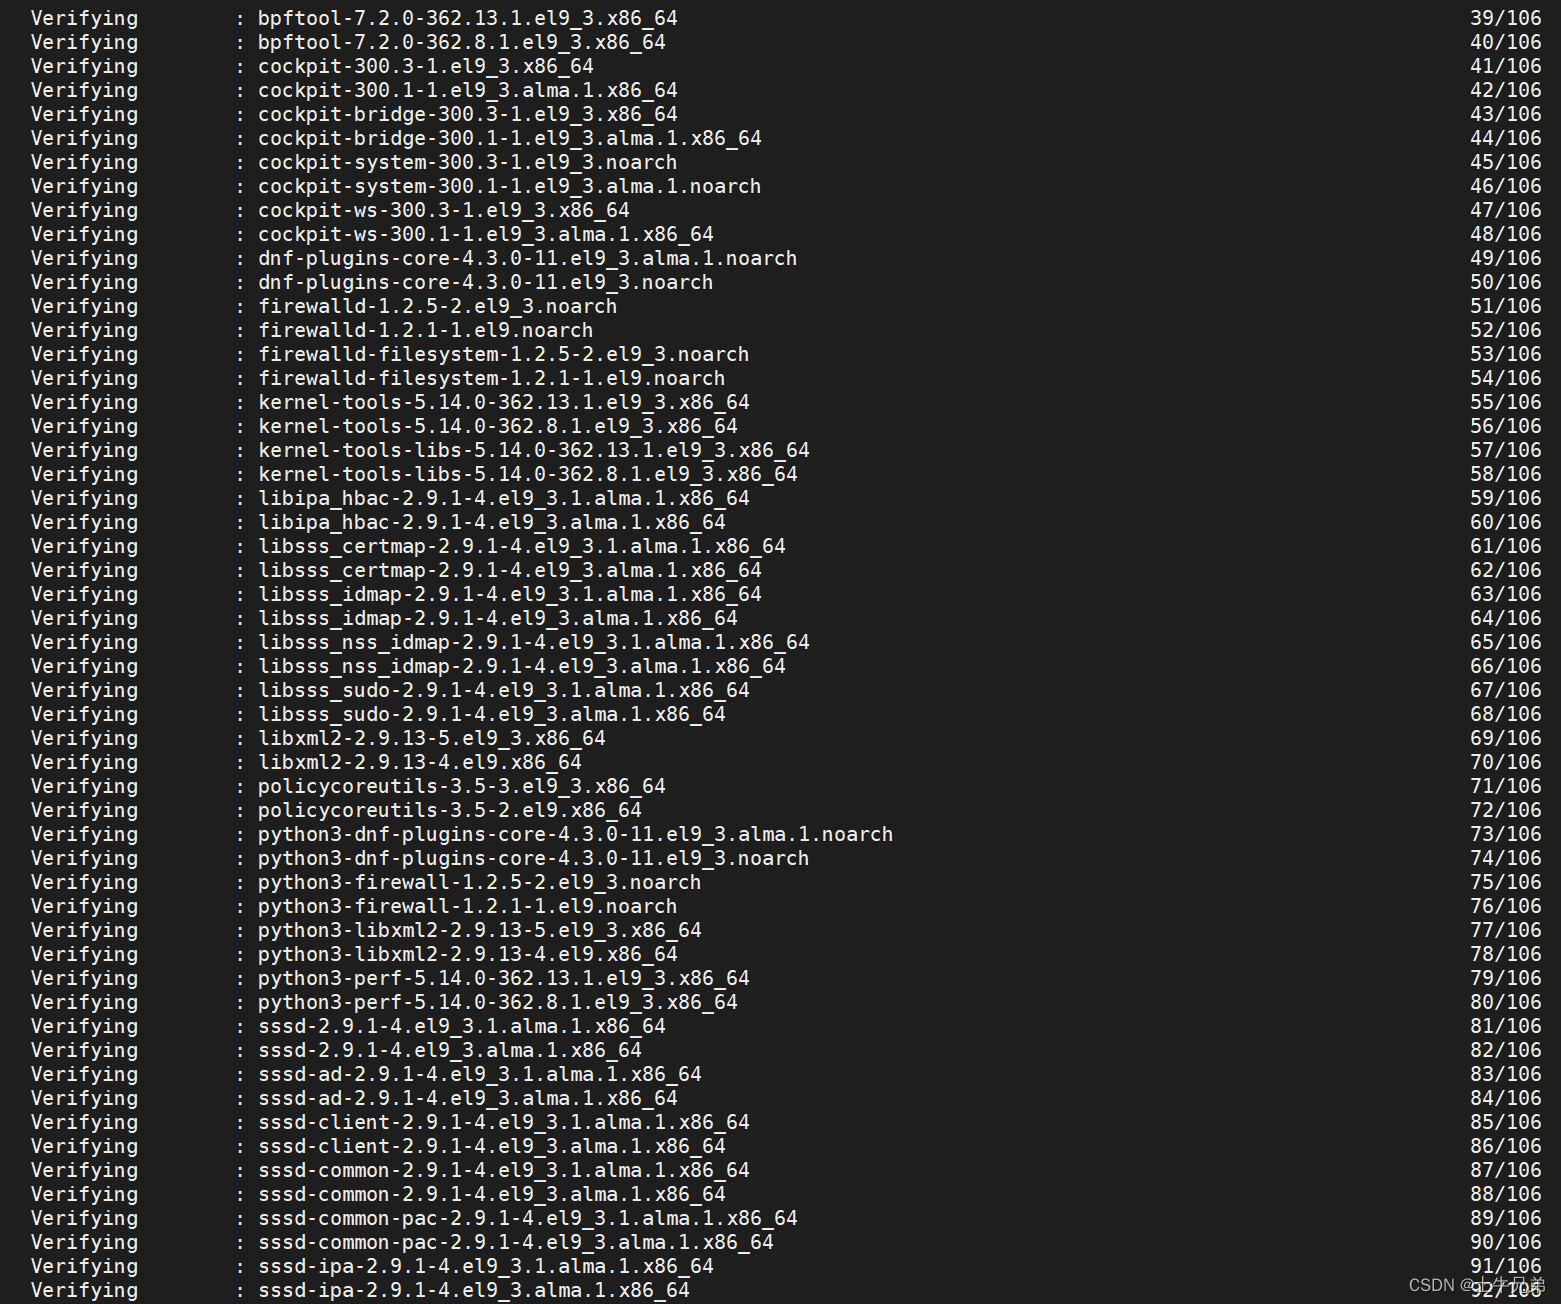
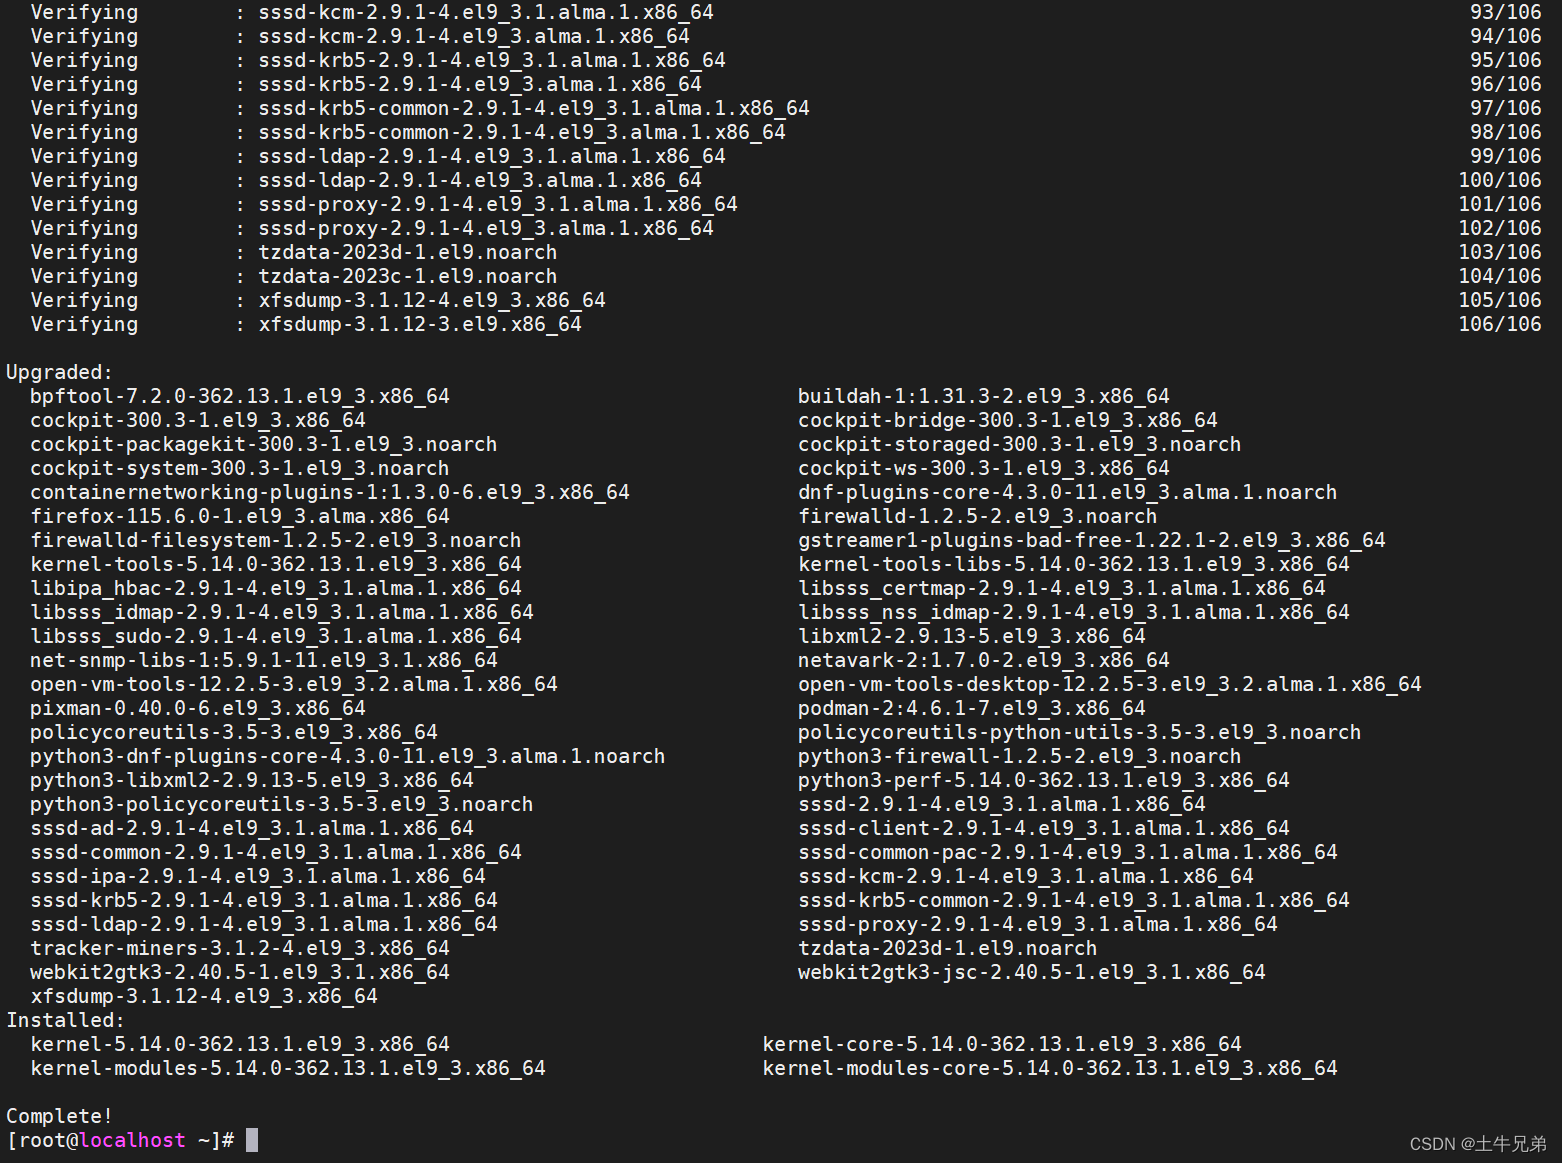
安装数据库
dnf -y install mysql-server

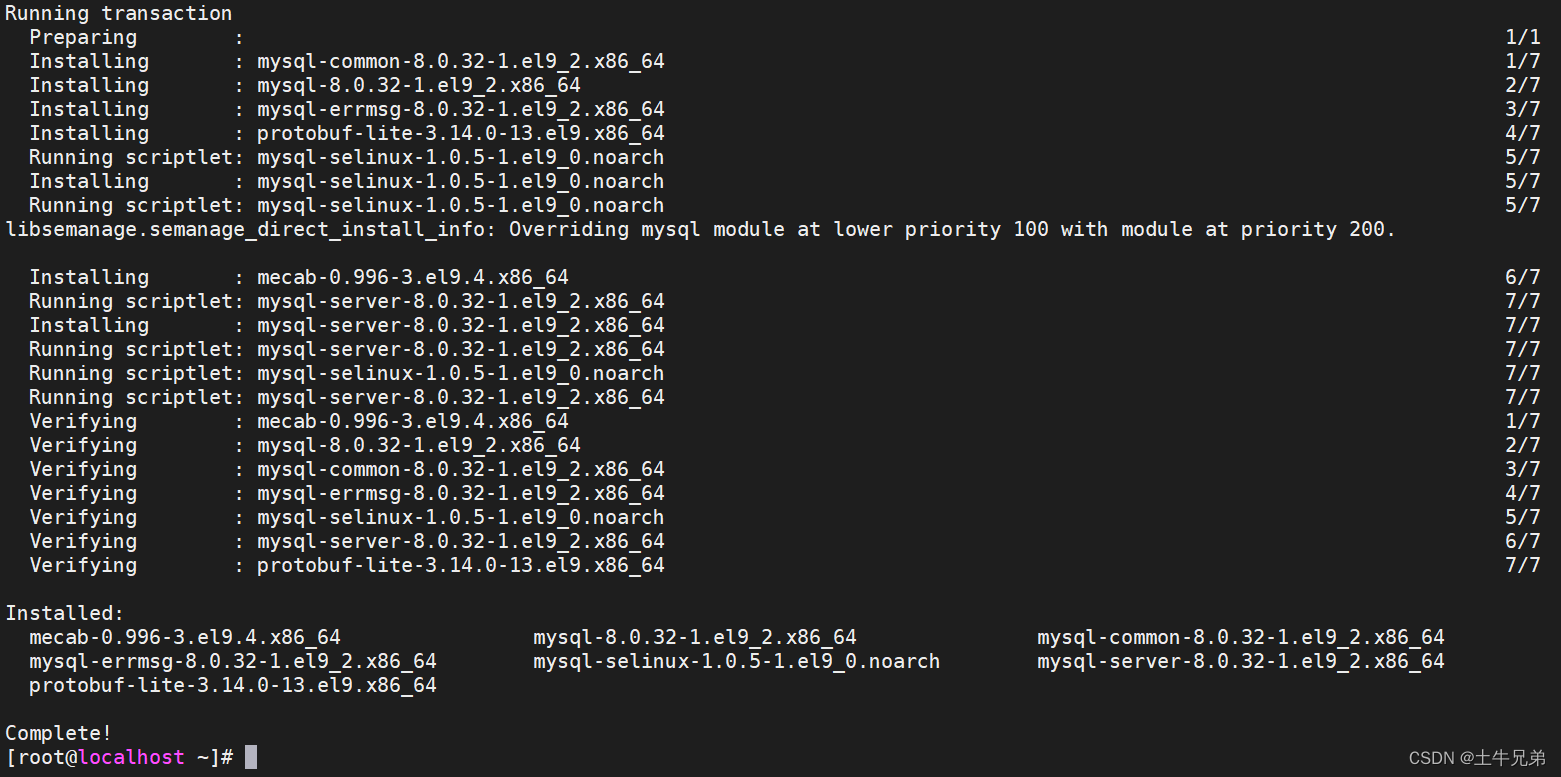
启动数据库
systemctl start mysqld && systemctl enable mysqld

数据库初始化
mysql_secure_installation


创建和配置数据库和用户。
mysql -uroot -p<password>

mysql> create database zabbix character set utf8mb4 collate utf8mb4_bin;
mysql> create user 'zabbix'@'localhost' identified by 'password';
mysql> grant all privileges on zabbix.* to 'zabbix'@'localhost';
mysql> SET GLOBAL log_bin_trust_function_creators = 1;
mysql> quit;

导入初始架构和数据,系统将提示您输入新创建的密码。
zcat /usr/share/zabbix-sql-scripts/mysql/server.sql.gz | mysql --default-character-set=utf8mb4 -uzabbix -p zabbix

成功导入schema后,可以禁用?log_bin_trust_function_creators:
mysql -uroot -p<password>
mysql> SET GLOBAL log_bin_trust_function_creators = 0;
mysql> quit;
为Zabbix server配置数据库
编辑配置文件 /etc/zabbix/zabbix_server.conf

DBPassword=password
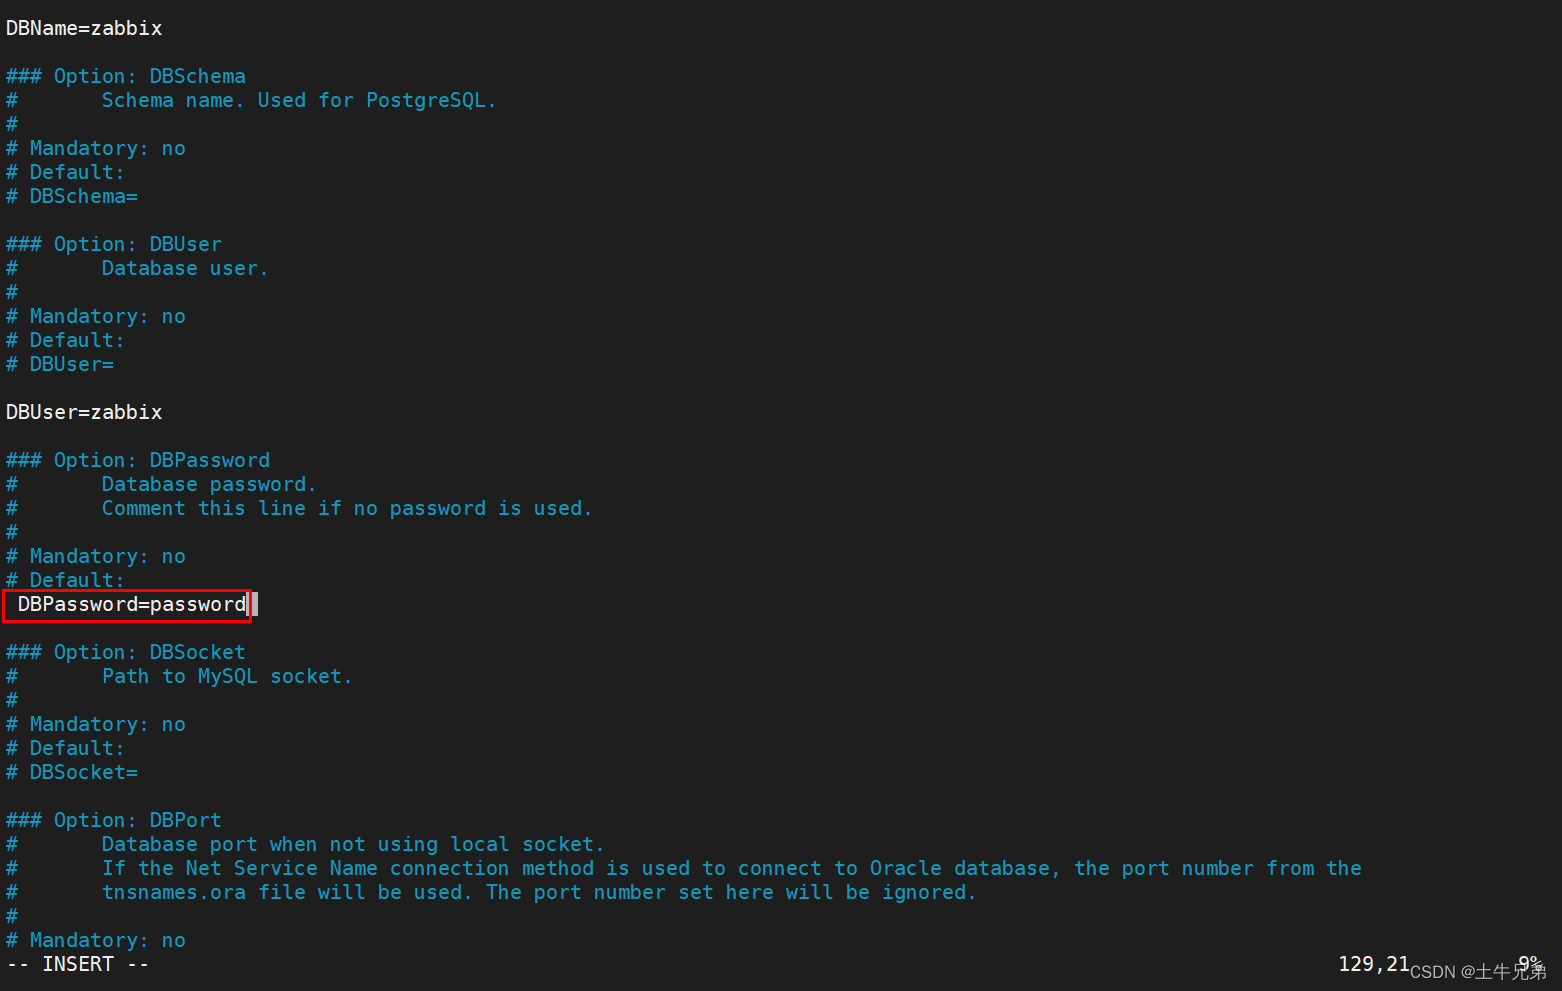
为Zabbix前端配置PHP
编辑配置文件 /etc/nginx/conf.d/zabbix.conf
将下列两行代码首个字符#移除
# listen 8080;
# server_name example.com;

启动Zabbix server和agent进程
启动Zabbix server和agent进程,并为它们设置开机自启:

关掉防火墙服务,确保8080等端口可对外访问

Zabbix Web配置
进入WEB配置界面
http://ip地址:8080,选择语言为:简体中文zh_CN

检查必要的条件

配置数据库连接
输入用户名zabbix和密码password,点下一步

设置Zabbix主机名称

安装前汇总

Zabbix前端配置完成

登录Zabbix平台
zabbix 6.4 默认的账号密码,Admin,zabbix

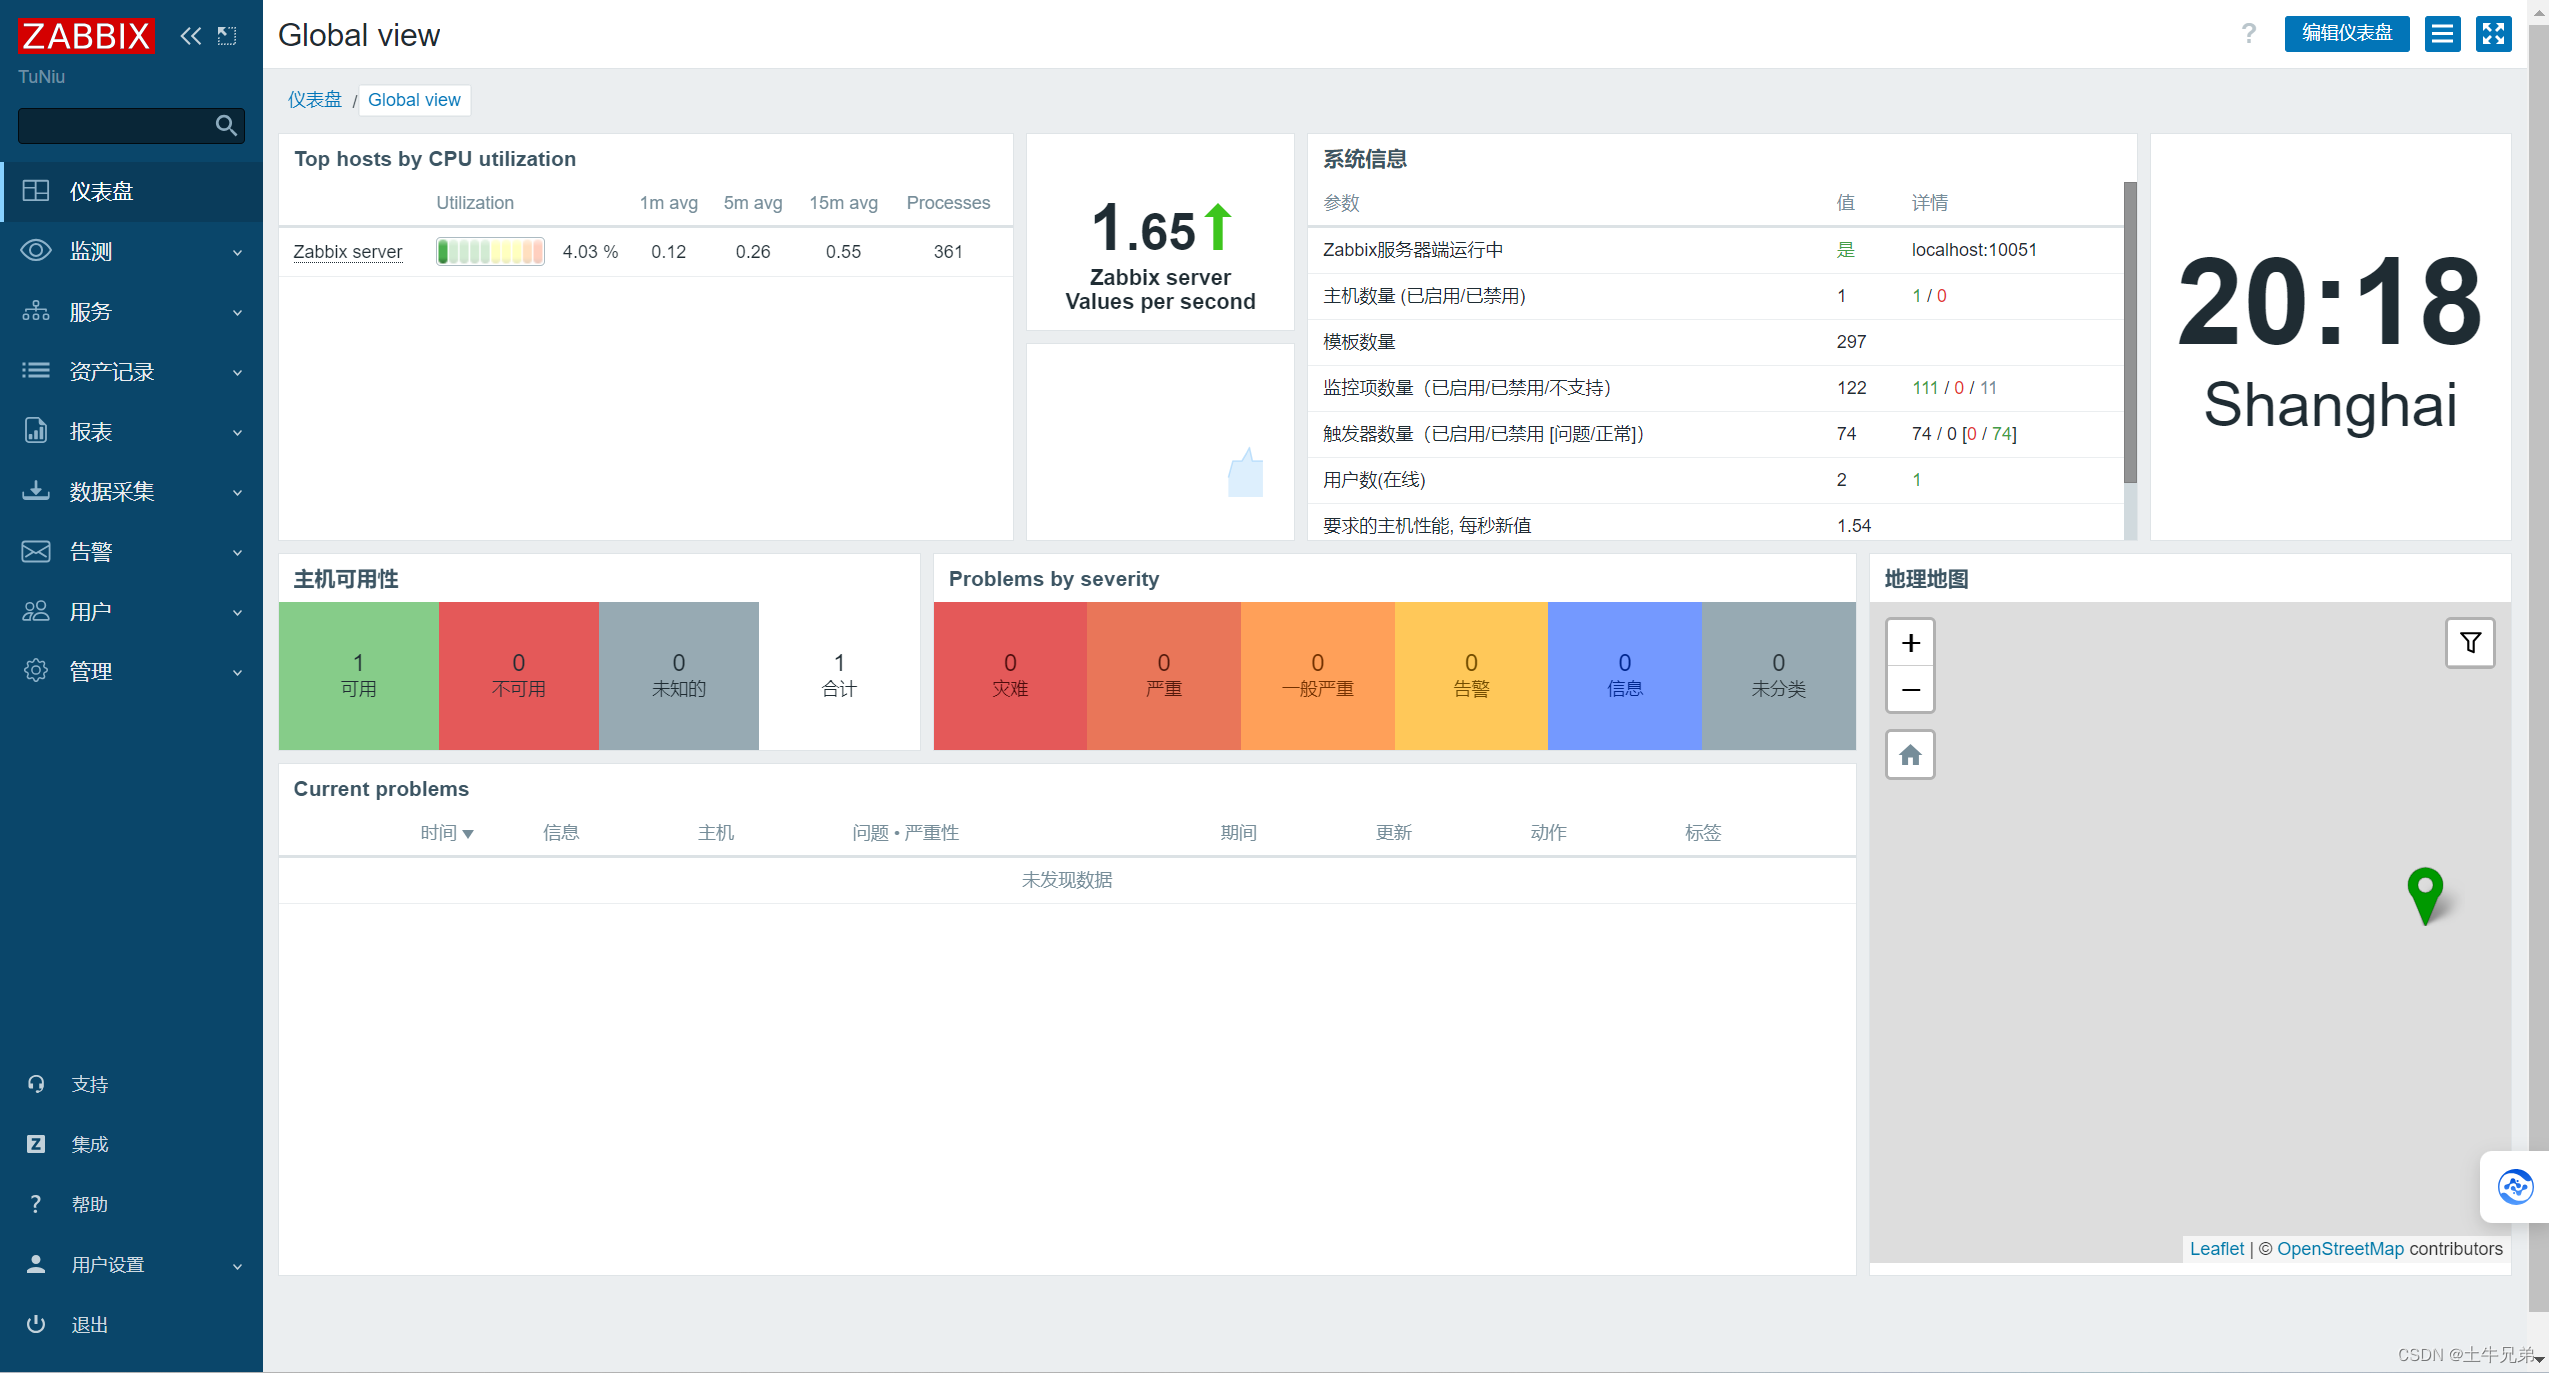
进入Zabbix主界面
若您觉得文章对您有帮助,记得关注+点赞+收藏起来,说不定哪天就用上了。
本文来自互联网用户投稿,该文观点仅代表作者本人,不代表本站立场。本站仅提供信息存储空间服务,不拥有所有权,不承担相关法律责任。 如若内容造成侵权/违法违规/事实不符,请联系我的编程经验分享网邮箱:chenni525@qq.com进行投诉反馈,一经查实,立即删除!
- Python教程
- 深入理解 MySQL 中的 HAVING 关键字和聚合函数
- Qt之QChar编码(1)
- MyBatis入门基础篇
- 用Python脚本实现FFmpeg批量转换
- Python的核心知识点整理大全66(已完结撒花)
- ROS-TF坐标变换
- 【踩坑】JDK1.8 AudioSystem 无法关闭流的问题
- 测试用例设计
- COMSOL 各版本安装指南
- 【18.3K?】WindTerm:一款功能强大、界面优美的开源跨平台终端软件
- neovim调试xv6-riscv过程中索引不到对应头文件问题
- 【实用】Java实现调节图片大小、压缩占用空间
- 国家信息安全水平等级考试NISP二级题目卷④(包含答案)
- ssm高校学生生活智能管理(开题+源码)
