SpringBoot+Mybatis+MySQL+Vue实现CRUD+分页
#创作灵感#
- 最近闲着没事,顺便复习下Springboot、vue,于是就写了这份代码
- 该项目具体功能:简单的crud和分页
- 项目采用前后分离(springboot+vue)
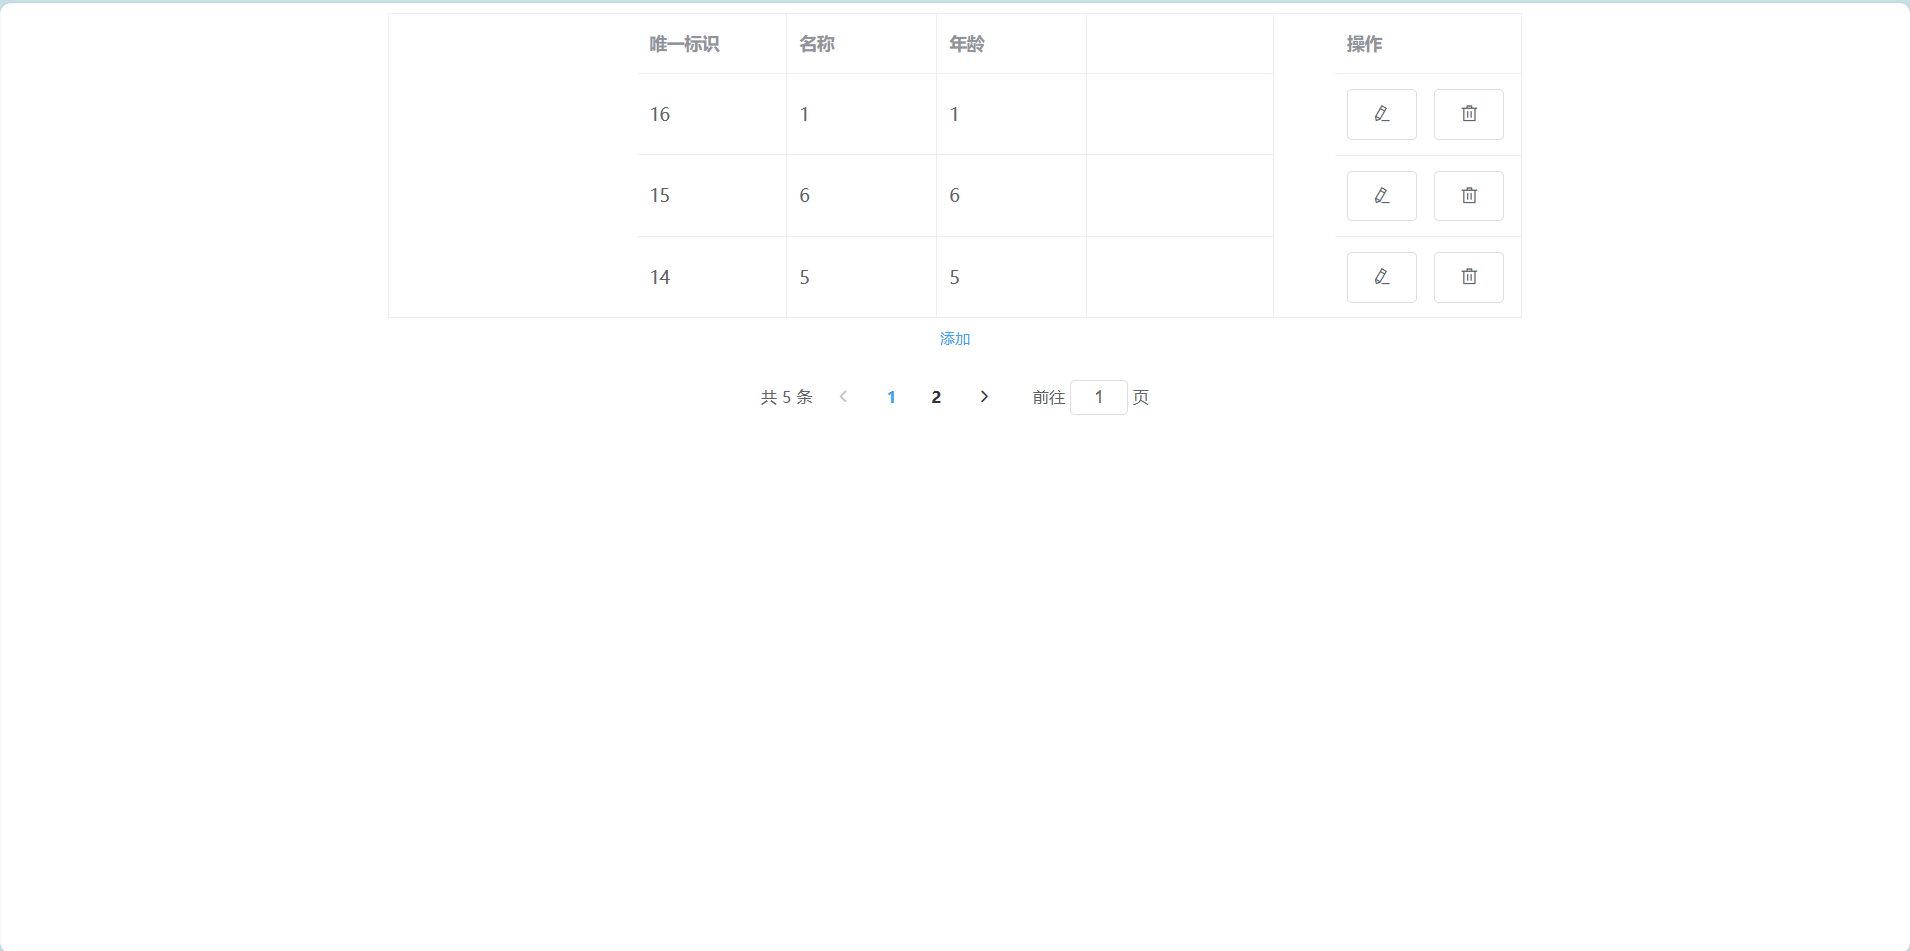
一:项目展示
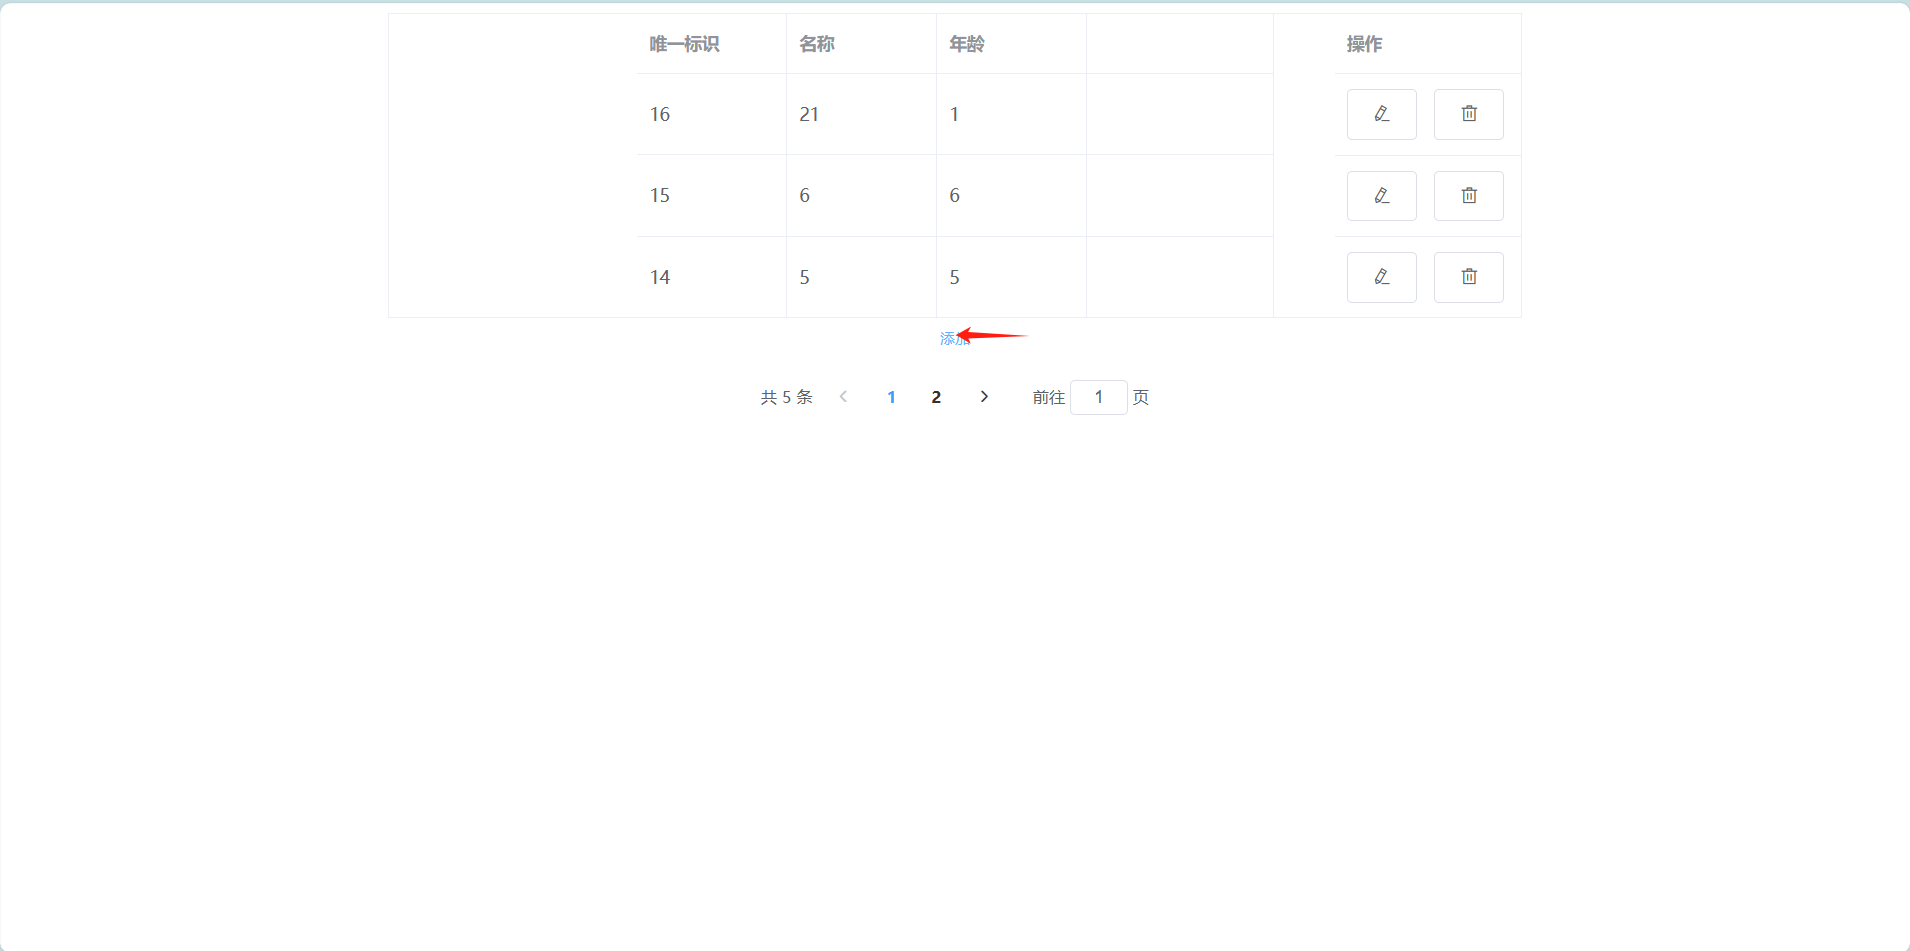
效果展示如下:
首页:
?修改:
?添加:
?删除:
二:创建项目
1:创建后端代码
左侧导航栏选择Spring Initializr
?点击下一步,选择Spring Web和Mysql Driver依赖如下图:
?点击创建即可:
配置文件源码:
在resources下创建application.yml
?配置文件代码如下:
| 1 2 3 4 5 6 7 8 9 10 11 12 13 14 15 16 |
|
我所用到的maven(在项目的pom.xml里面更改即可)依赖如下:
| 1 2 3 4 5 6 7 8 9 10 11 12 13 14 15 16 17 18 19 20 21 22 23 24 25 26 27 28 29 30 31 32 33 34 35 36 37 38 39 40 41 42 43 44 45 46 47 48 49 50 51 52 53 54 55 56 57 58 59 60 61 62 63 64 65 66 67 68 69 70 71 72 73 74 75 76 77 78 79 80 81 82 83 84 85 86 87 88 89 90 91 92 93 94 95 96 97 98 99 100 101 102 103 104 105 |
|
项目整体结构如下:
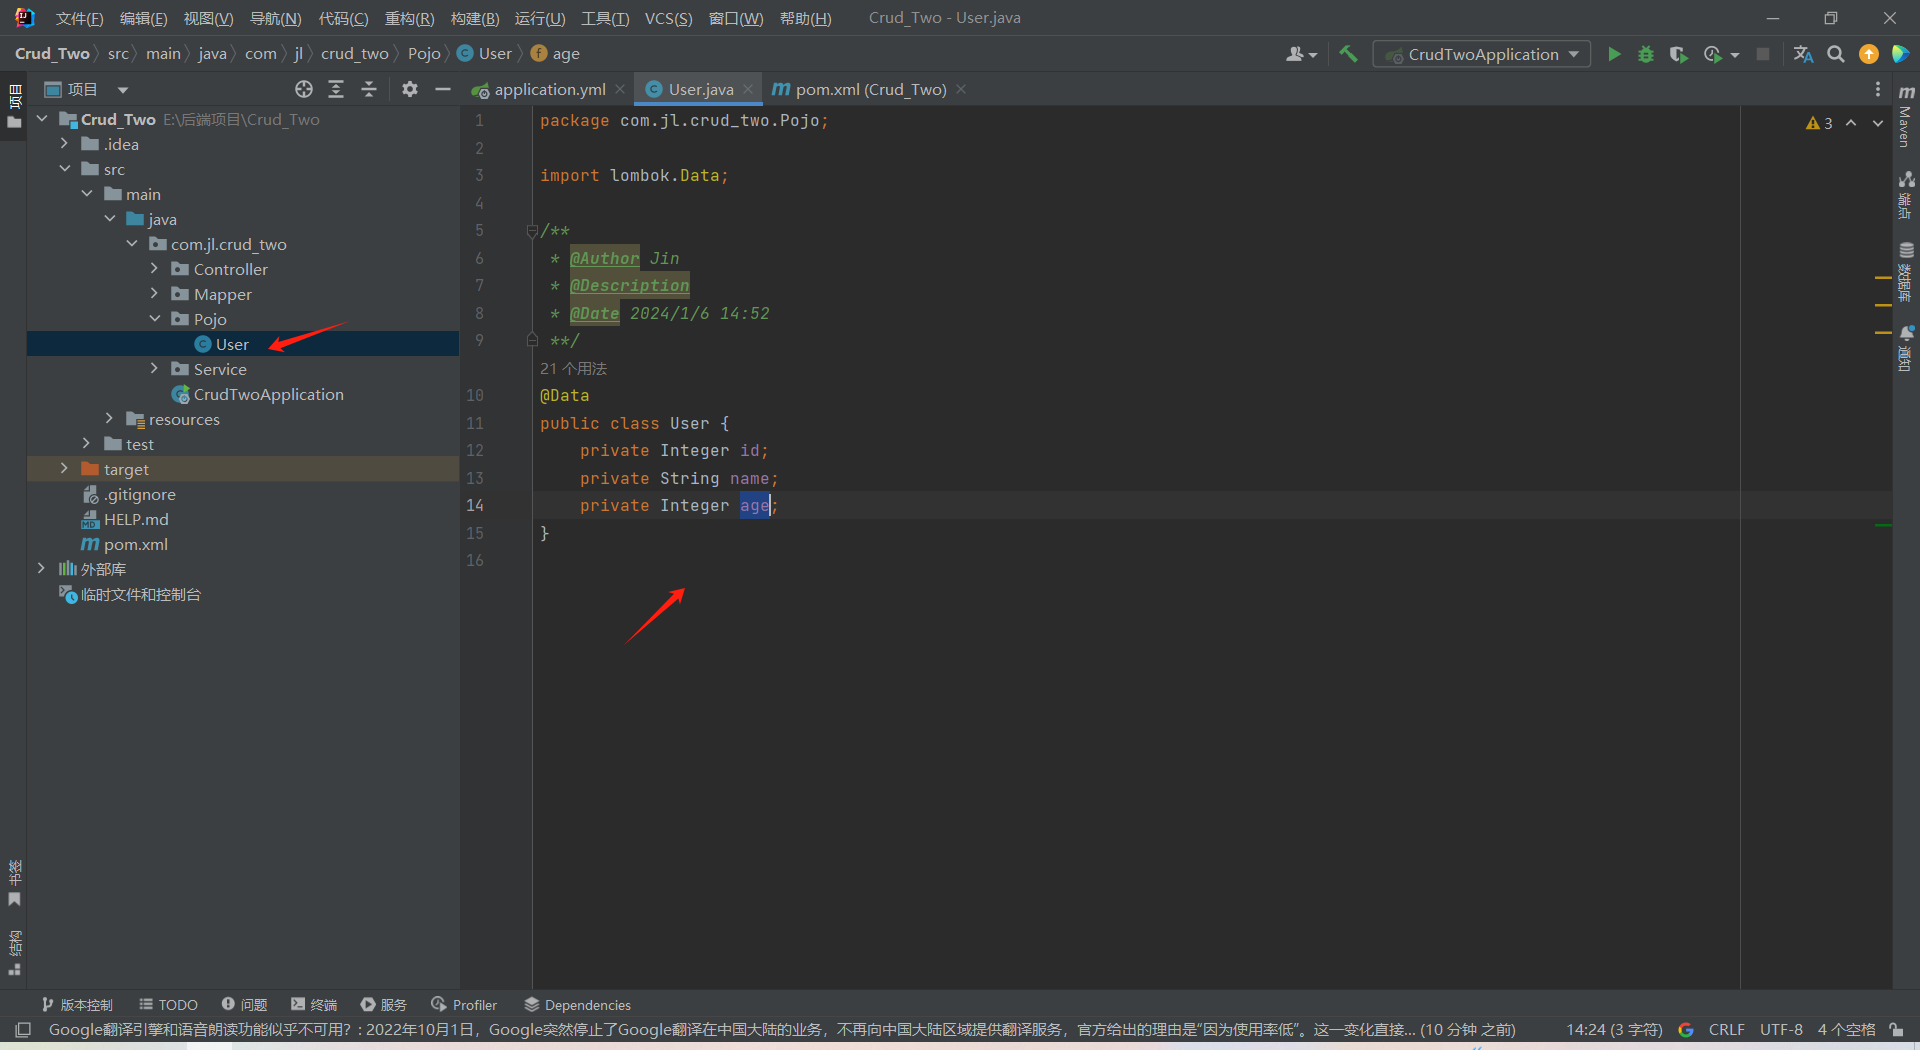
?首先在Pojo目录下创建实体类User
?源码:
| 1 2 3 4 5 6 7 8 9 10 11 12 13 14 15 |
|
在Mapper目录下创建UserMapper:
?源码:
| 1 2 3 4 5 6 7 8 9 10 11 12 13 14 15 16 17 18 19 20 21 22 23 24 25 26 27 28 29 30 31 32 33 34 35 36 37 38 39 40 41 42 43 44 45 46 47 48 49 50 51 52 53 54 55 |
|
在Service目录下创建UserService:
?源码:
| 1 2 3 4 5 6 7 8 9 10 11 12 13 14 15 16 17 18 19 20 21 22 23 24 25 26 27 28 29 30 31 32 33 34 35 36 37 38 39 40 41 42 43 44 45 46 47 48 49 50 51 52 53 54 55 56 57 58 59 60 61 62 63 64 65 66 67 68 69 70 71 72 73 74 |
|
在resources目录下创建mapper目录:
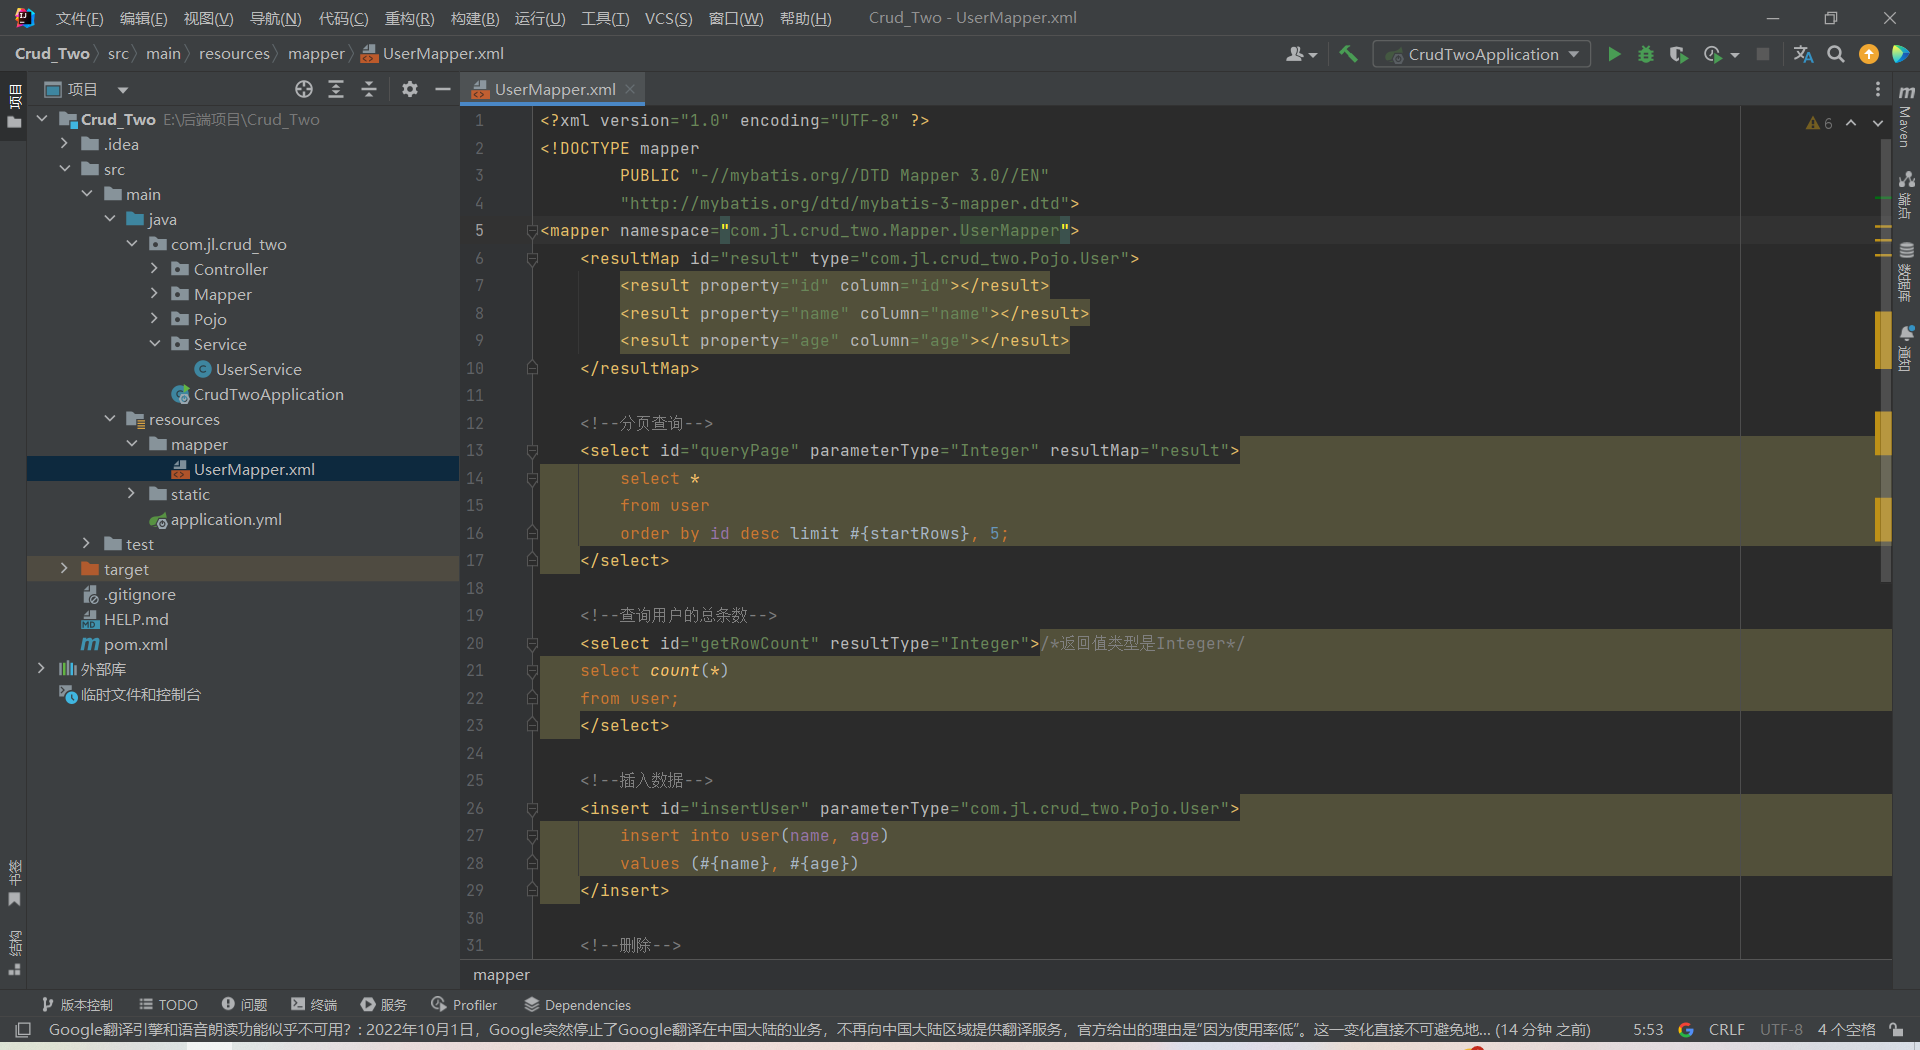
?在mapper目录下创建UserMapper.xml
?源码:
| 1 2 3 4 5 6 7 8 9 10 11 12 13 14 15 16 17 18 19 20 21 22 23 24 25 26 27 28 29 30 31 32 33 34 35 36 37 38 39 40 41 42 43 44 45 46 47 48 49 50 51 52 |
|
在Controller目录下创建UserController
?源码:
package com.jl.cx.Controller;

import com.jl.cx.Pojo.User;
import com.jl.cx.Service.UserService;
import org.apache.ibatis.annotations.Param;
import org.springframework.beans.factory.annotation.Autowired;
import org.springframework.web.bind.annotation.*;

import java.util.List;

/**
 * @Author Jin
 * @Description
 * @Date 2024/1/9 14:03
 **/
@RestController
@RequestMapping("/UserController")
public class UserController {
    @Autowired
    UserService userService;

    /**
     * 通过员工id删除员工
     *
     * @param id
     * @return
     */
    @RequestMapping(value = "/delete", method = RequestMethod.POST)
    public Integer delete(@Param("id") Integer id) {
        System.out.println(id);

        return userService.delete(id);
    }

    /**
     * 更新员工
     *
     * @param user
     * @return
     */
    @RequestMapping(value = "/update", method = RequestMethod.POST)
    @ResponseBody
    public String update(@RequestBody User user) {
        int result = userService.Update(user);
        if (result >= 1) {
            return "修改成功";
        } else {
            return "修改失败";
        }
    }

    /**
     * 插入员工
     *
     * @param user
     * @return
     */
    @RequestMapping(value = "/insert", method = RequestMethod.POST)
    public User insert(@RequestBody User user) {
        return userService.insertUser(user);
    }

    @RequestMapping(value = "/byId")
    @ResponseBody
    public User byId(Integer id) {
        return userService.byId(id);
    }

    /**
     * 查询页数
     *
     * @param page
     * @return
     */
    @RequestMapping(value = "/page", method = RequestMethod.POST)
    @ResponseBody
    public List<User> page(Integer page) {
        int pageNow = page == null ? 1 : page;//传入的页数是null  就查询第一页   否则就根据传入的页数进行查询
        int pageSize = 5;
        int startRows = pageSize * (pageNow - 1);//开始的行数
        List<User> list = userService.queryPage(startRows);
        return list;
    }

    @RequestMapping(value = "rows")
    @ResponseBody
    public int rows() {
        return userService.getRowCount();
    }

}
?
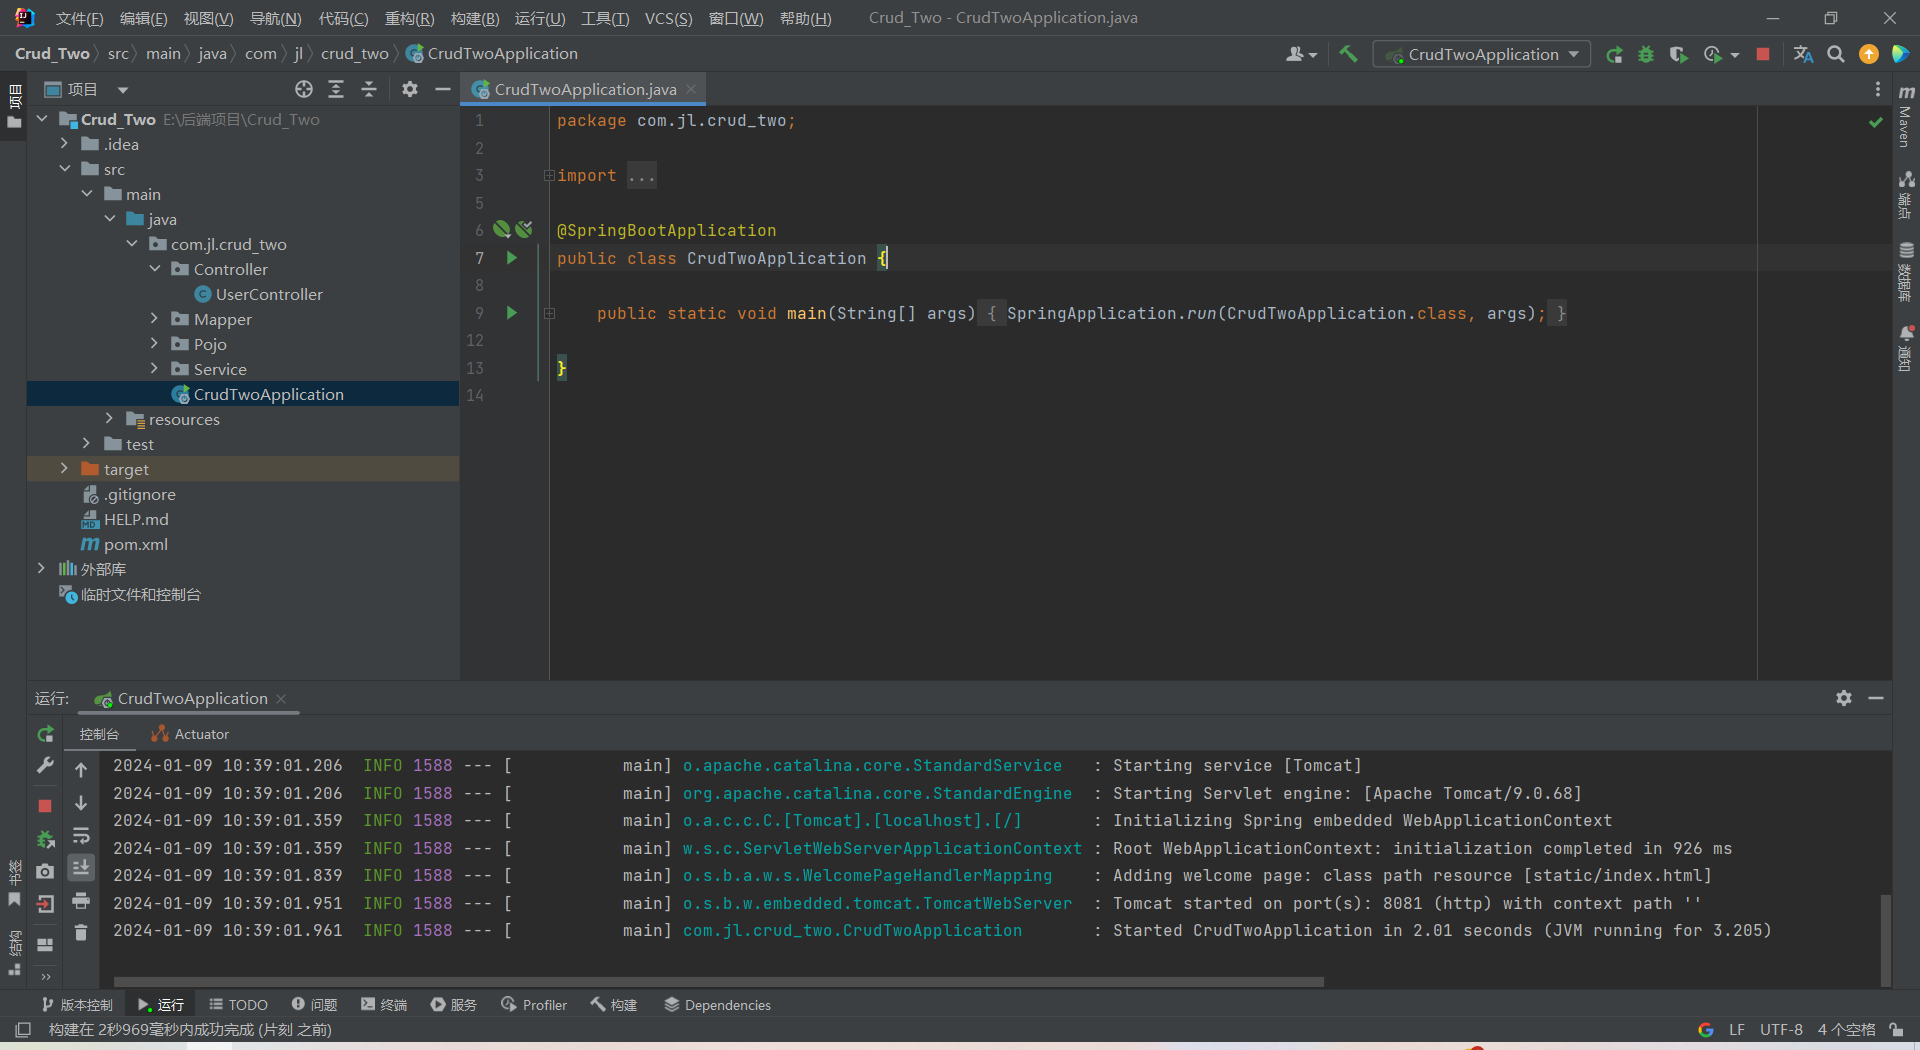
后端代码编写完成,随后启动项目
?2:创建vue项目
1:根据自己的需求,在对应的路径,输入cmd,
?2:在cmd里面输入:vue ui,如下图:
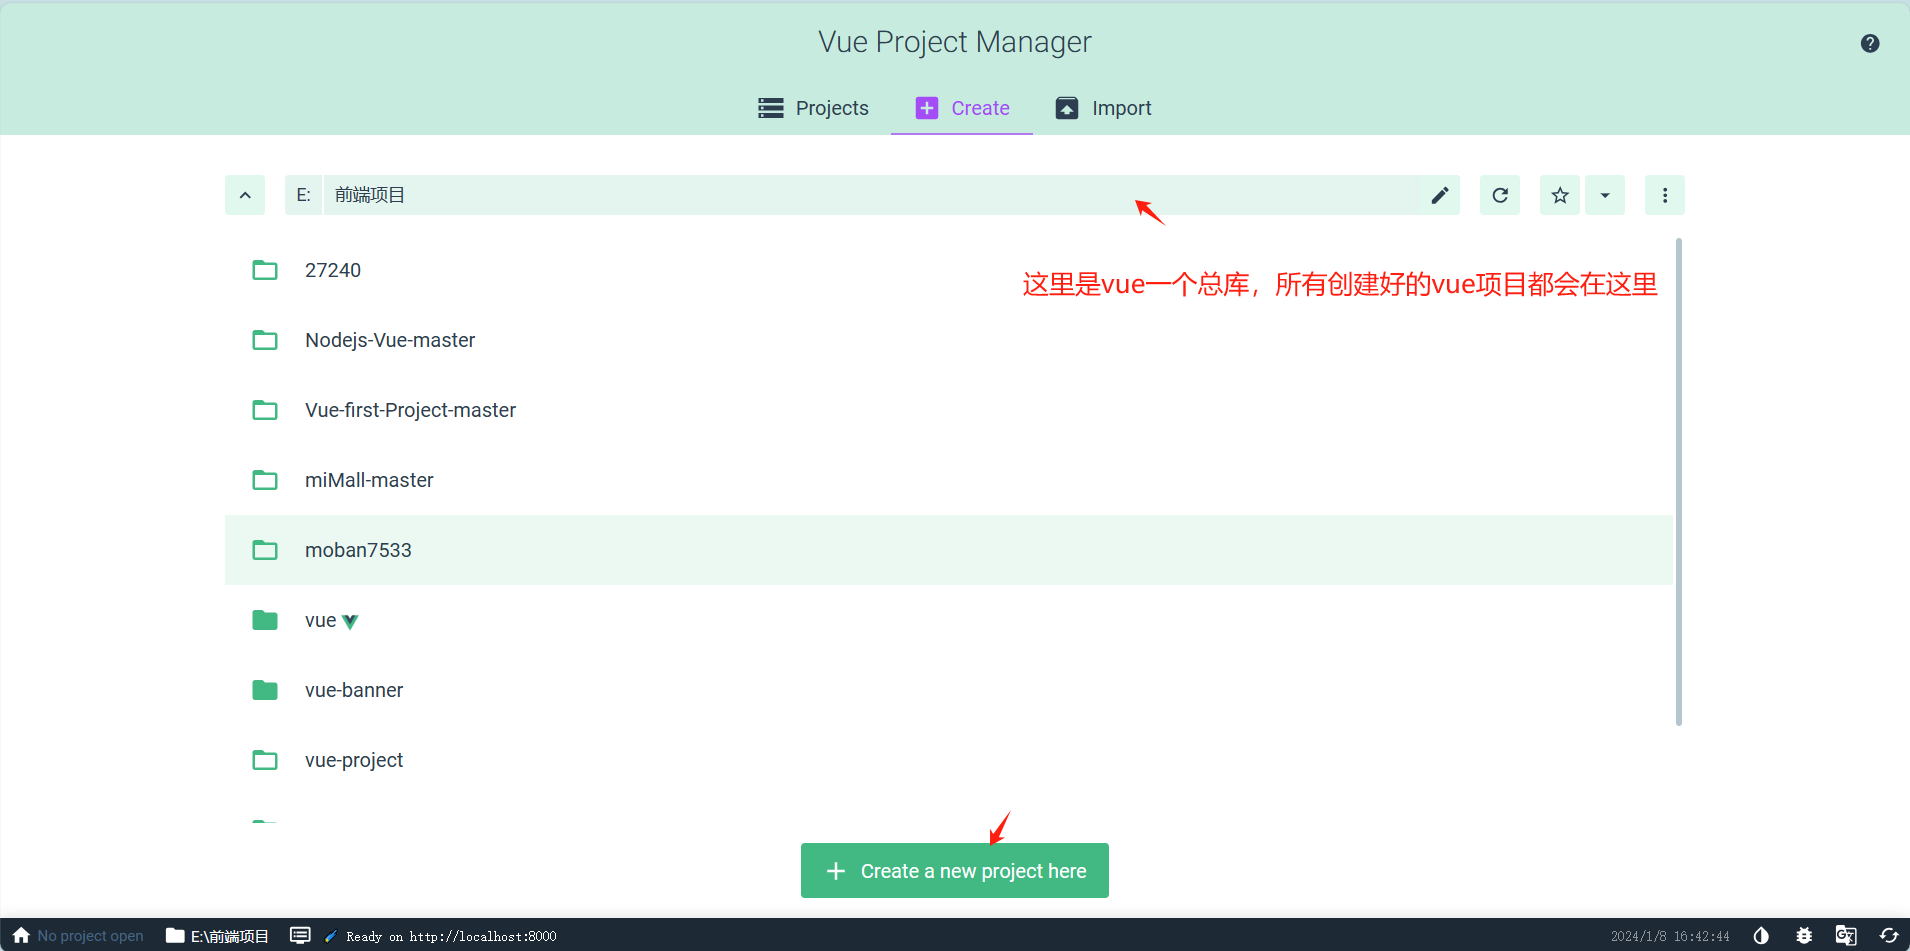
?3:点击create,开始创建vue项目
?4:点击Create a new project here,开始创建项目,详细操作如下图:
?注意:在创建项目的时候,系统给了3种方式创建项目。
①:默认创建操作都一样,这里以vue2版本为主,
?②:选择第二个,如下图
?③:等待系统创建
?④:出现如下图,就代表这项目已成功创建,在这里可以对项目下载插件
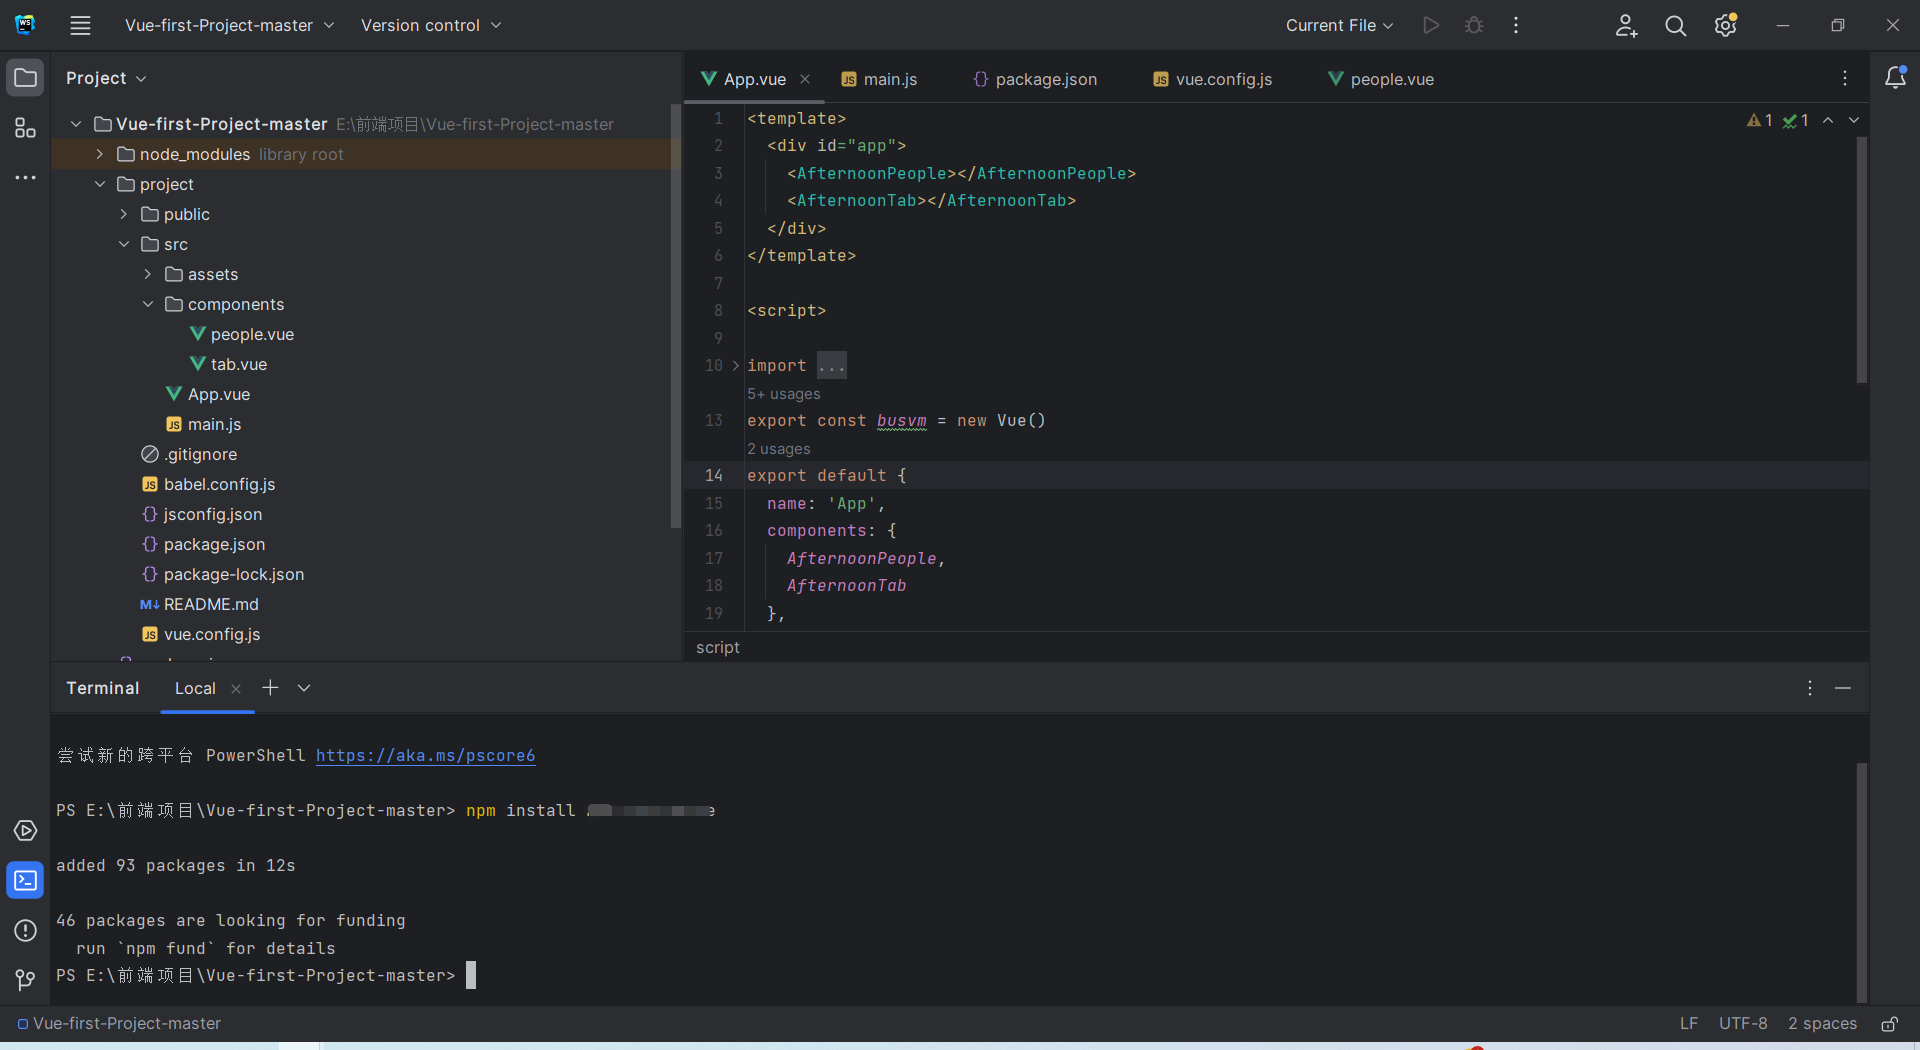
⑤:通过开发软件,来启动项目,分别输入指令:npm-install; npm run serve;npm i vue-router@3.5.2 -S;npm i element-ui;?npm install axios如下图
首先输入:npm-install
以上下载依赖安装成功后,记得在main.xml里面引入依赖:
?源码:
| 1 2 3 4 5 6 7 8 9 10 11 12 13 14 15 16 17 18 19 20 21 22 23 24 25 26 |
|
输入启动项目指令
npm run serve
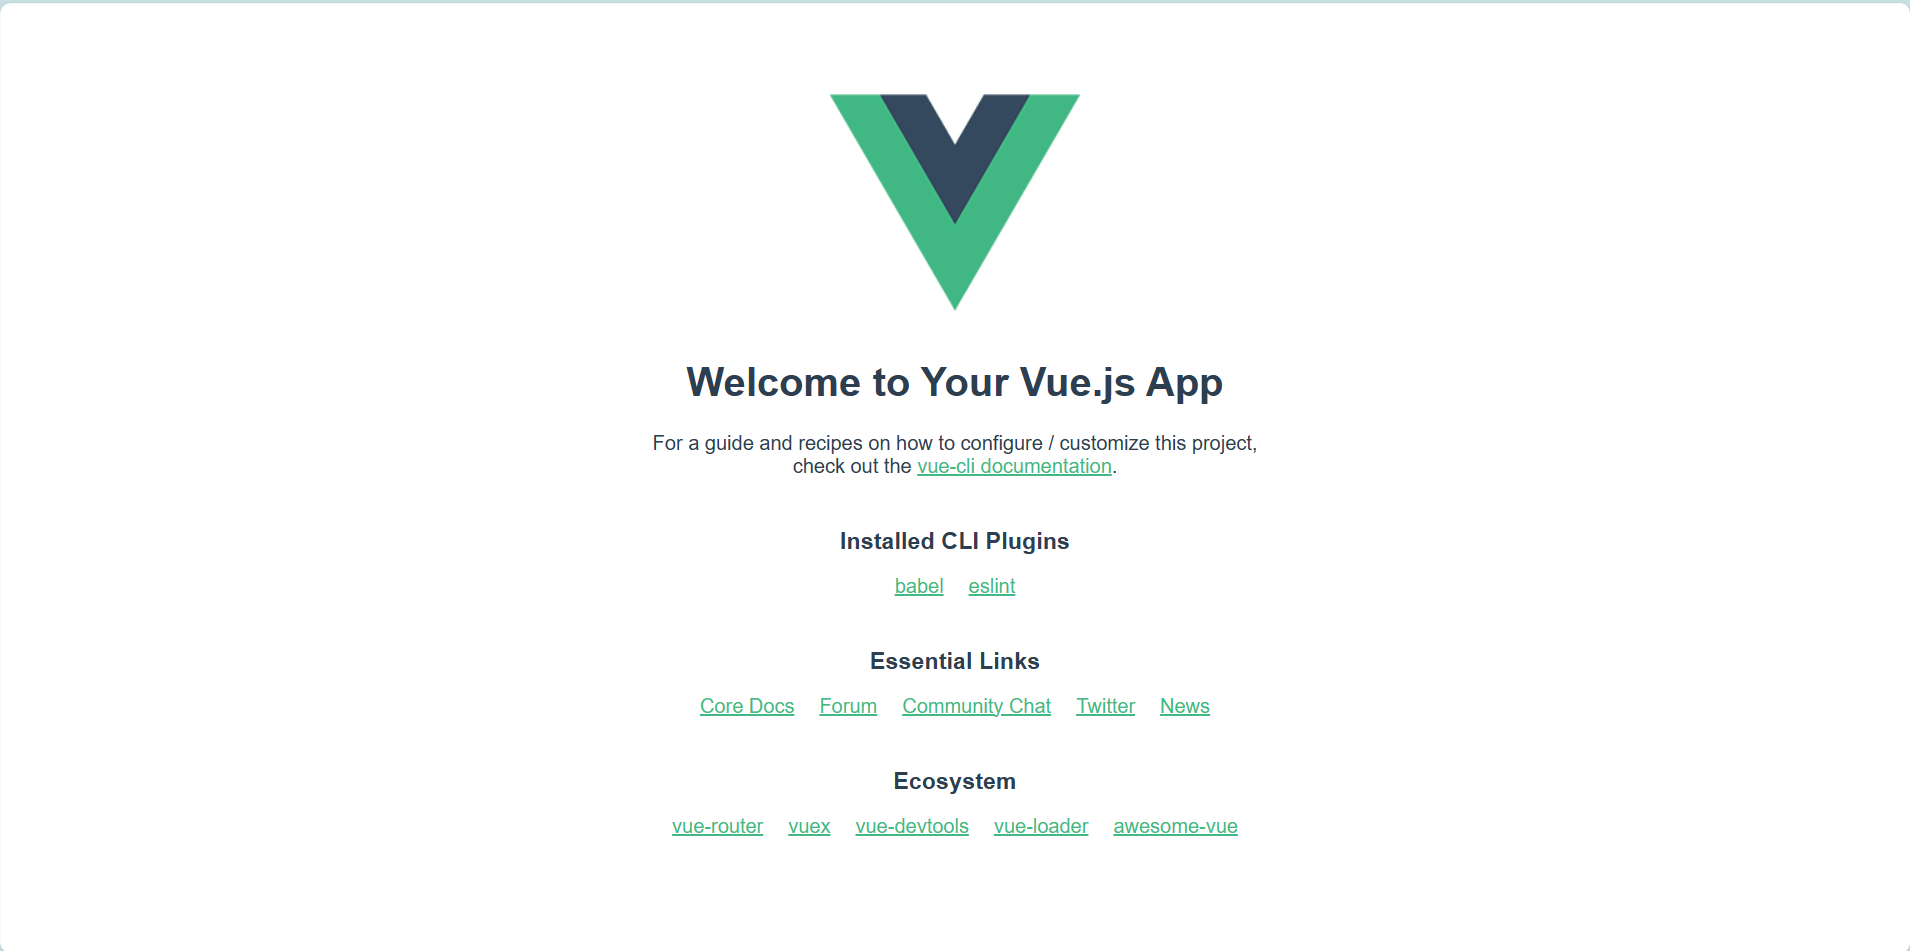
?看到该页面,项目创建成功
1:配置vue.config.js:
?源码:
const { defineConfig } = require('@vue/cli-service')
module.exports = defineConfig({
  lintOnSave: false, // 关闭eslint校验
  transpileDependencies: true,

  devServer: {
    open: true, // 自动打开
    port: 8081, // 设置端口号
    host: '127.0.0.1', // 设置host
    proxy: {
      '/api': {
        target: 'http://localhost:8081',
        changeOrigin: true,
        chunkOrigins: true,
        pathRewrite: {
          '^/api': ''
        }
      }
    }
  }

})
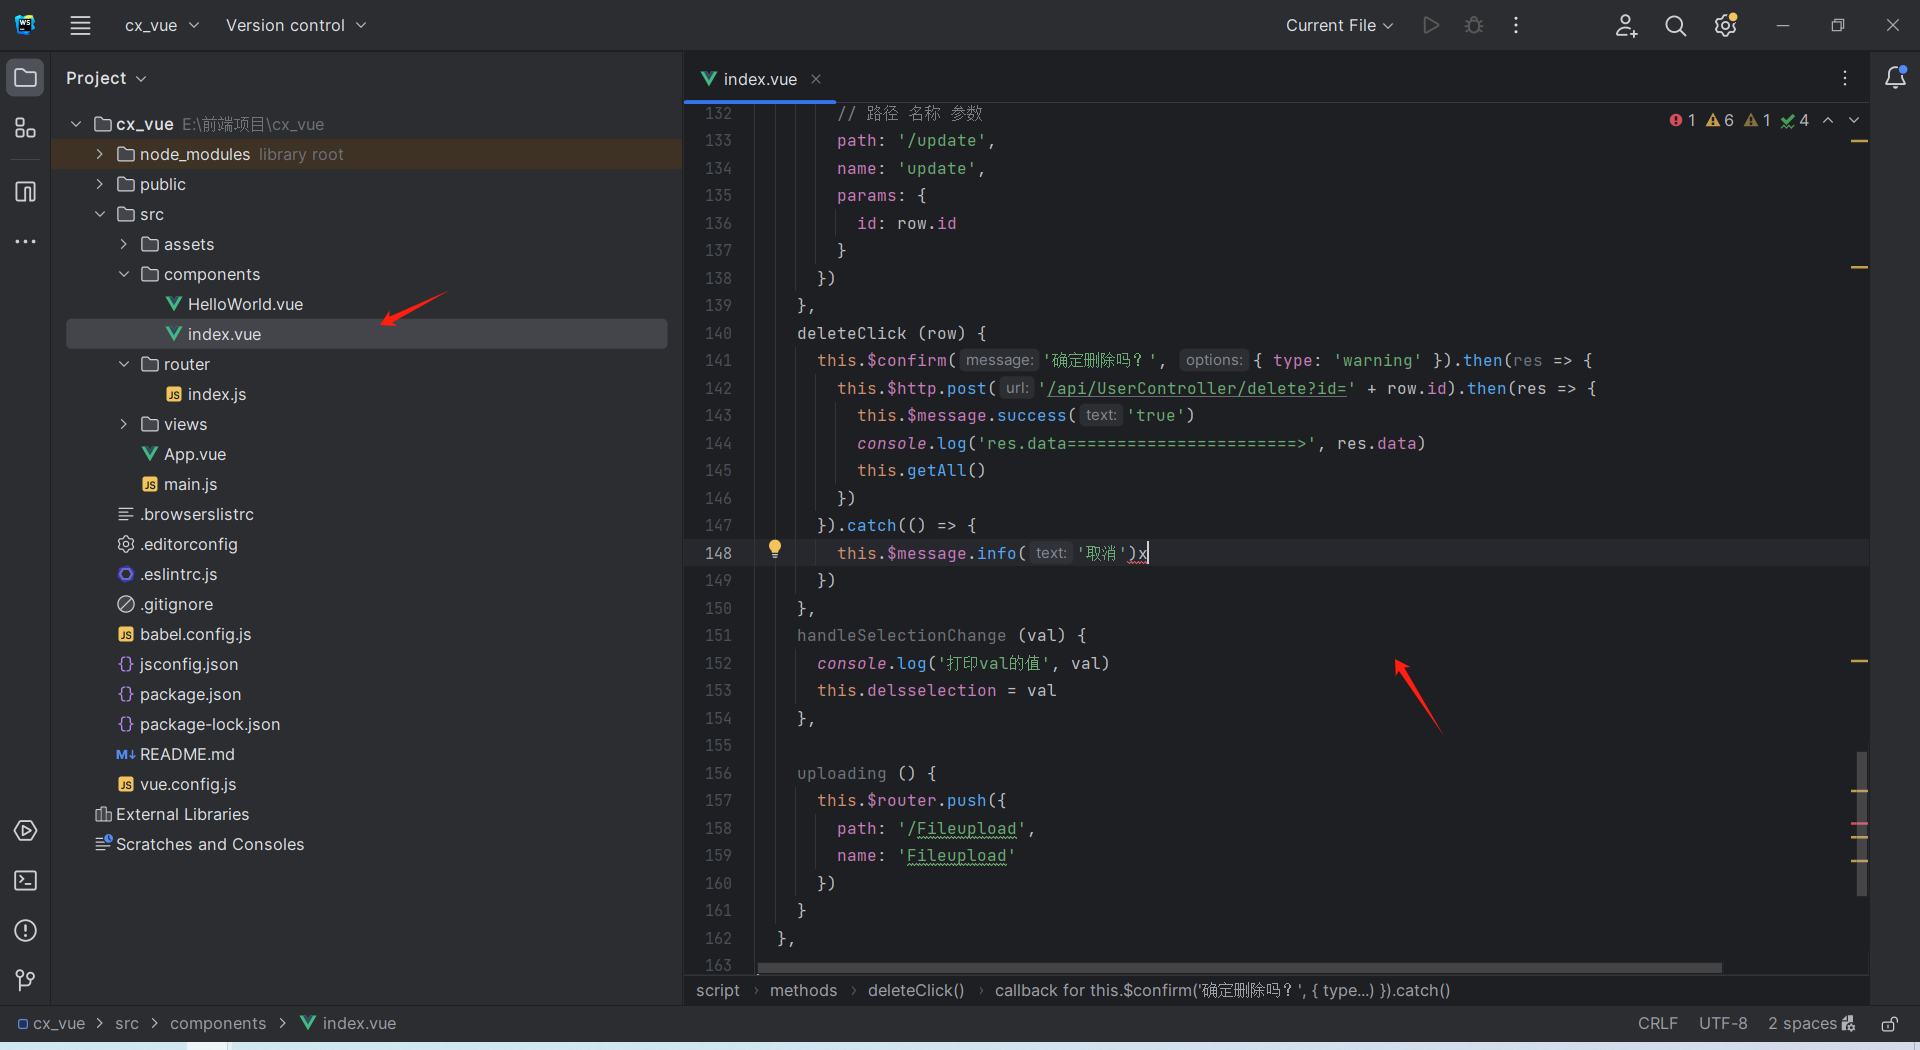
开始编写crud页面
创建首页vue界面,index.vue
?源码:
| 1 2 3 4 5 6 7 8 9 10 11 12 13 14 15 16 17 18 19 20 21 22 23 24 25 26 27 28 29 30 31 32 33 34 35 36 37 38 39 40 41 42 43 44 45 46 47 48 49 50 51 52 53 54 55 56 57 58 59 60 61 62 63 64 65 66 67 68 69 70 71 72 73 74 75 76 77 78 79 80 81 82 83 84 85 86 87 88 89 90 91 92 93 94 95 96 97 98 99 100 101 102 103 104 105 106 107 108 109 110 111 112 113 114 115 116 117 118 119 120 121 122 123 124 125 126 127 128 129 130 131 132 133 134 135 136 137 138 139 140 141 142 143 144 145 146 147 148 149 150 151 152 153 154 155 156 157 158 159 160 161 162 163 164 165 166 167 168 169 170 171 172 173 |
|
配置index路由:
?源码:
| 1 2 3 4 5 6 7 8 9 10 11 12 13 14 15 16 17 18 |
|
创建修改vue界面,update
?源码:
| 1 2 3 4 5 6 7 8 9 10 11 12 13 14 15 16 17 18 19 20 21 22 23 24 25 26 27 28 29 30 31 32 33 34 35 36 37 38 39 40 41 42 43 44 45 46 47 48 49 50 51 52 53 54 55 56 57 58 59 60 61 62 63 64 65 66 67 68 69 |
|
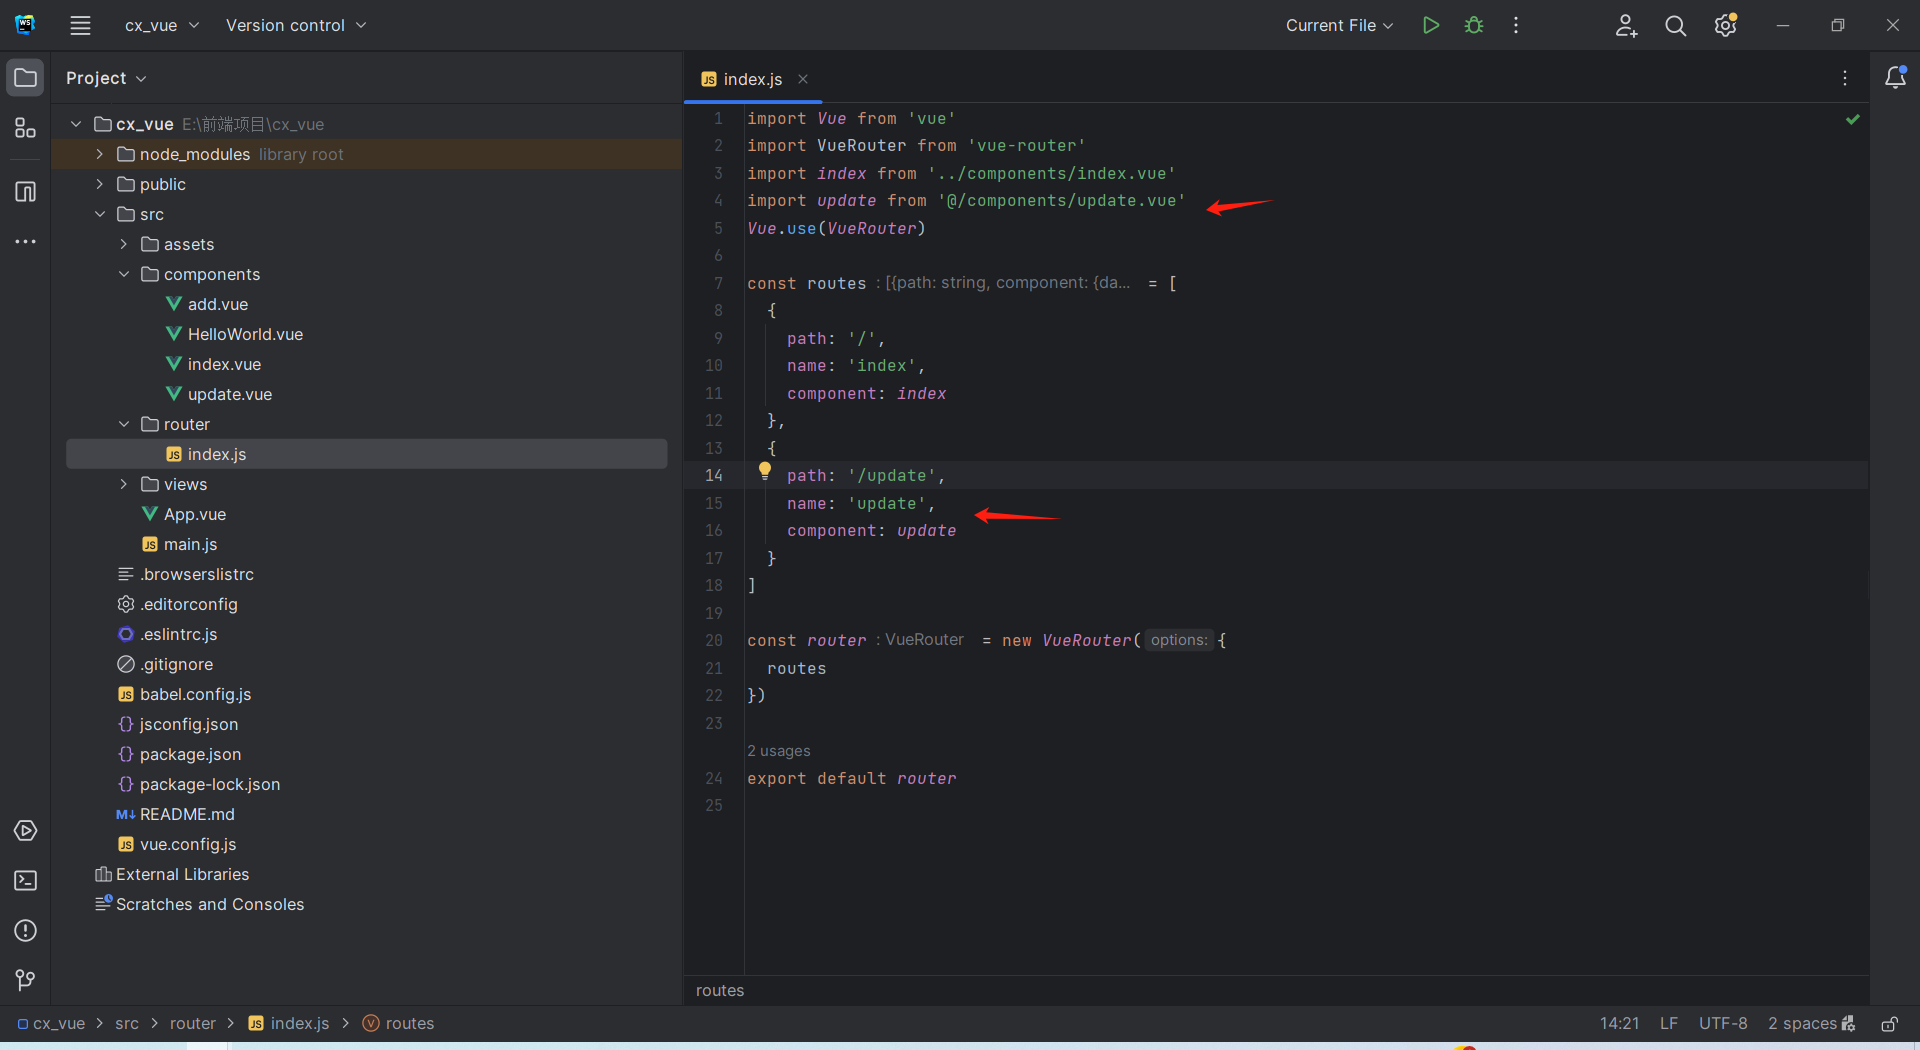
配置update路由:
?源码:
import Vue from 'vue'
import VueRouter from 'vue-router'
import index from '../components/index.vue'
import update from '@/components/update.vue'
Vue.use(VueRouter)

const routes = [
  {
    path: '/',
    name: 'index',
    component: index
  },
  {
    path: '/update',
    name: 'update',
    component: update
  }
]

const router = new VueRouter({
  routes
})

export default router
创建添加vue界面,add.vue
?源码:
| 1 2 3 4 5 6 7 8 9 10 11 12 13 14 15 16 17 18 19 20 21 22 23 24 25 26 27 28 29 30 31 32 33 34 35 36 37 38 39 40 41 42 43 44 45 46 47 48 49 50 51 52 53 54 55 56 |
|
配置add路由
?源码:
import Vue from 'vue'
import VueRouter from 'vue-router'
import index from '../components/index.vue'
import update from '@/components/update.vue'
import add from '@/components/add.vue'
Vue.use(VueRouter)

const routes = [
  {
    path: '/',
    name: 'index',
    component: index
  },
  {
    path: '/update',
    name: 'update',
    component: update
  },
  {
    path: '/add',
    name: 'add',
    component: add
  }
]

const router = new VueRouter({
  routes
})

export default router
由于删除是通过触发按钮进行操作的,所以删除没有单独的页面,删除功能在index界面。
本文来自互联网用户投稿,该文观点仅代表作者本人,不代表本站立场。本站仅提供信息存储空间服务,不拥有所有权,不承担相关法律责任。 如若内容造成侵权/违法违规/事实不符,请联系我的编程经验分享网邮箱:chenni525@qq.com进行投诉反馈,一经查实,立即删除!
- Python教程
- 深入理解 MySQL 中的 HAVING 关键字和聚合函数
- Qt之QChar编码(1)
- MyBatis入门基础篇
- 用Python脚本实现FFmpeg批量转换
- 【Py/Java/C++三种语言详解】LeetCode每日一题240114【链表】LeetCode83、删除排序链表中的重复节点
- macOS 开发 - 报错 Expected expression(空格问题)
- 20240115在ubuntu20.04.6下给GTX1080M显卡安装驱动程序和CUDA
- MySQL单表查询、多表查询、分组查询、等级查询综合练习
- 【网络安全】OSINVGPT:通过数字踪迹追踪黑客
- 为什么避免在生命周期钩子中使用箭头函数
- k8s 环境中ipvs VS iptables
- K8S-应用部署
- tomcat原理模拟和tomcat优化
- JAVA代码优雅实现之Stream流(一)
