WEB 3D技术 three.js 顶点交换
发布时间:2024年01月05日
本文 我们来说 顶点的转换
其实就是 我们所有顶点的位置发生转变 我们整个物体的位置也会随之转变
这里 我们编写代码如下
import './style.css'
import * as THREE from "three";
import { OrbitControls } from "three/examples/jsm/controls/OrbitControls.js";
import { RGBELoader } from "three/examples/jsm/loaders/RGBELoader.js";
//创建相机
const camera = new THREE.PerspectiveCamera(
    45, //视角 视角越大  能看到的范围就越大
    window.innerWidth / window.innerHeight,//相机的宽高比  一般和画布一样大最好
    0.1,
    1000
);
const scene = new THREE.Scene();
let uvTexture = new THREE.TextureLoader().load("/textUv.jpg");

const geometry = new THREE.BufferGeometry();
// 创建顶点数据
const vertices = new Float32Array([
    -1.0 ,-1.0 ,0.0,
    1.0 ,-1.0, 0.0,
    1.0 ,1.0 ,0.0,
    -1.0 ,1.0, 0.0
])
geometry.setAttribute("position", new THREE.BufferAttribute(vertices, 3));
const indices = new Uint16Array([0 ,1 ,2, 0, 3, 2]);
const material = new THREE.MeshBasicMaterial({
    map: uvTexture,
    side: THREE.DoubleSide
})
const uv = new Float32Array([
    0, 0, 1, 0, 1, 1, 0, 1
])
geometry.setAttribute("uv", new THREE.BufferAttribute(uv, 2));
const normals = new Float32Array([
    0, 0, 1,
    0, 0, 1,
    0, 0, 1,
    0, 0, 1
])
geometry.setAttribute("normal", new THREE.BufferAttribute(normals, 3));
geometry.setIndex(new THREE.BufferAttribute(indices, 1));
console.log(geometry);
const cube = new THREE.Mesh(geometry, material);
scene.add(cube)

//c创建一个canvas容器  并追加到 body上
const renderer = new THREE.WebGLRenderer(0);
renderer.setSize(window.innerWidth, window.innerHeight);
document.body.appendChild(renderer.domElement);

//设置相机位置   这里 我们设置Z轴  大家可以试试  S Y 和 Z  都是可以的
camera.position.z = 5;
//设置相机默认看向哪里   三个 0  代表 默认看向原点
camera.lookAt(0, 0, 0);
//将内容渲染到元素上
renderer.render(scene, camera);
const controls = new OrbitControls(camera, renderer.domElement);

let rgbeloader = new RGBELoader();
rgbeloader.load("/xhdr/Alex_Hart-Snow_Pano_2k.hdr",(texture) =>{
    scene.background = texture;
    texture.mapping = THREE.EquirectangularReflectionMapping;
    material.envMap = texture;
})

function animate() {
    controls.update();
    requestAnimationFrame(animate);
    /*cube.rotation.x += 0.01;
    cube.rotation.y += 0.01;*/
    renderer.render(scene, camera);
}
animate();
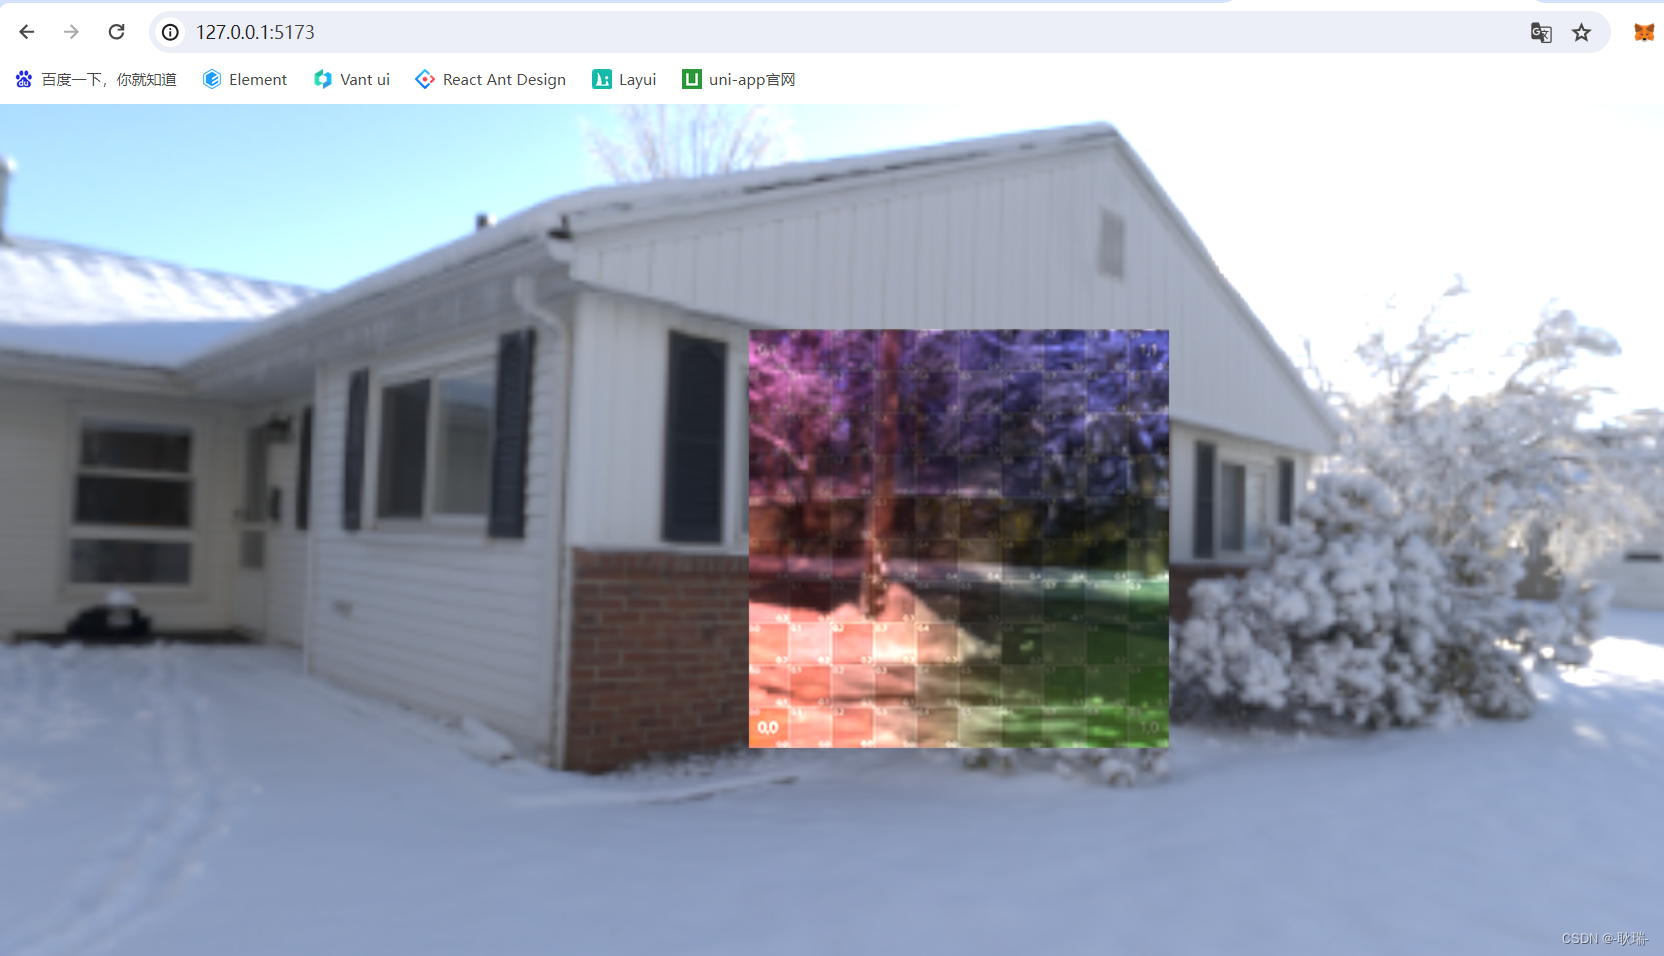
运行代码 我们元素是在中间的
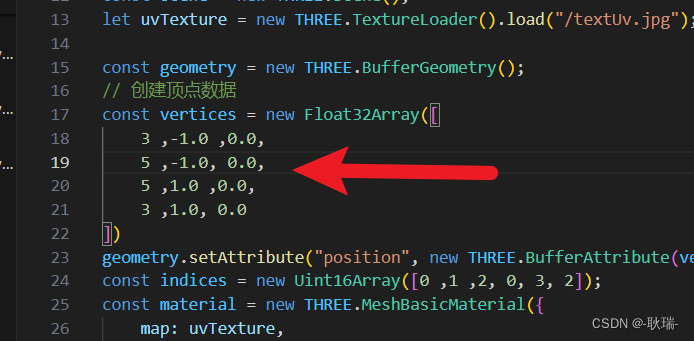
但是 我们统一将他每一个顶点 x轴的值都加四
两个 负一 加四成 3 两个 一加四成 5
运行代码 很明显的看到 我们改了顶点的x轴 整个几何体x轴也向右移动了
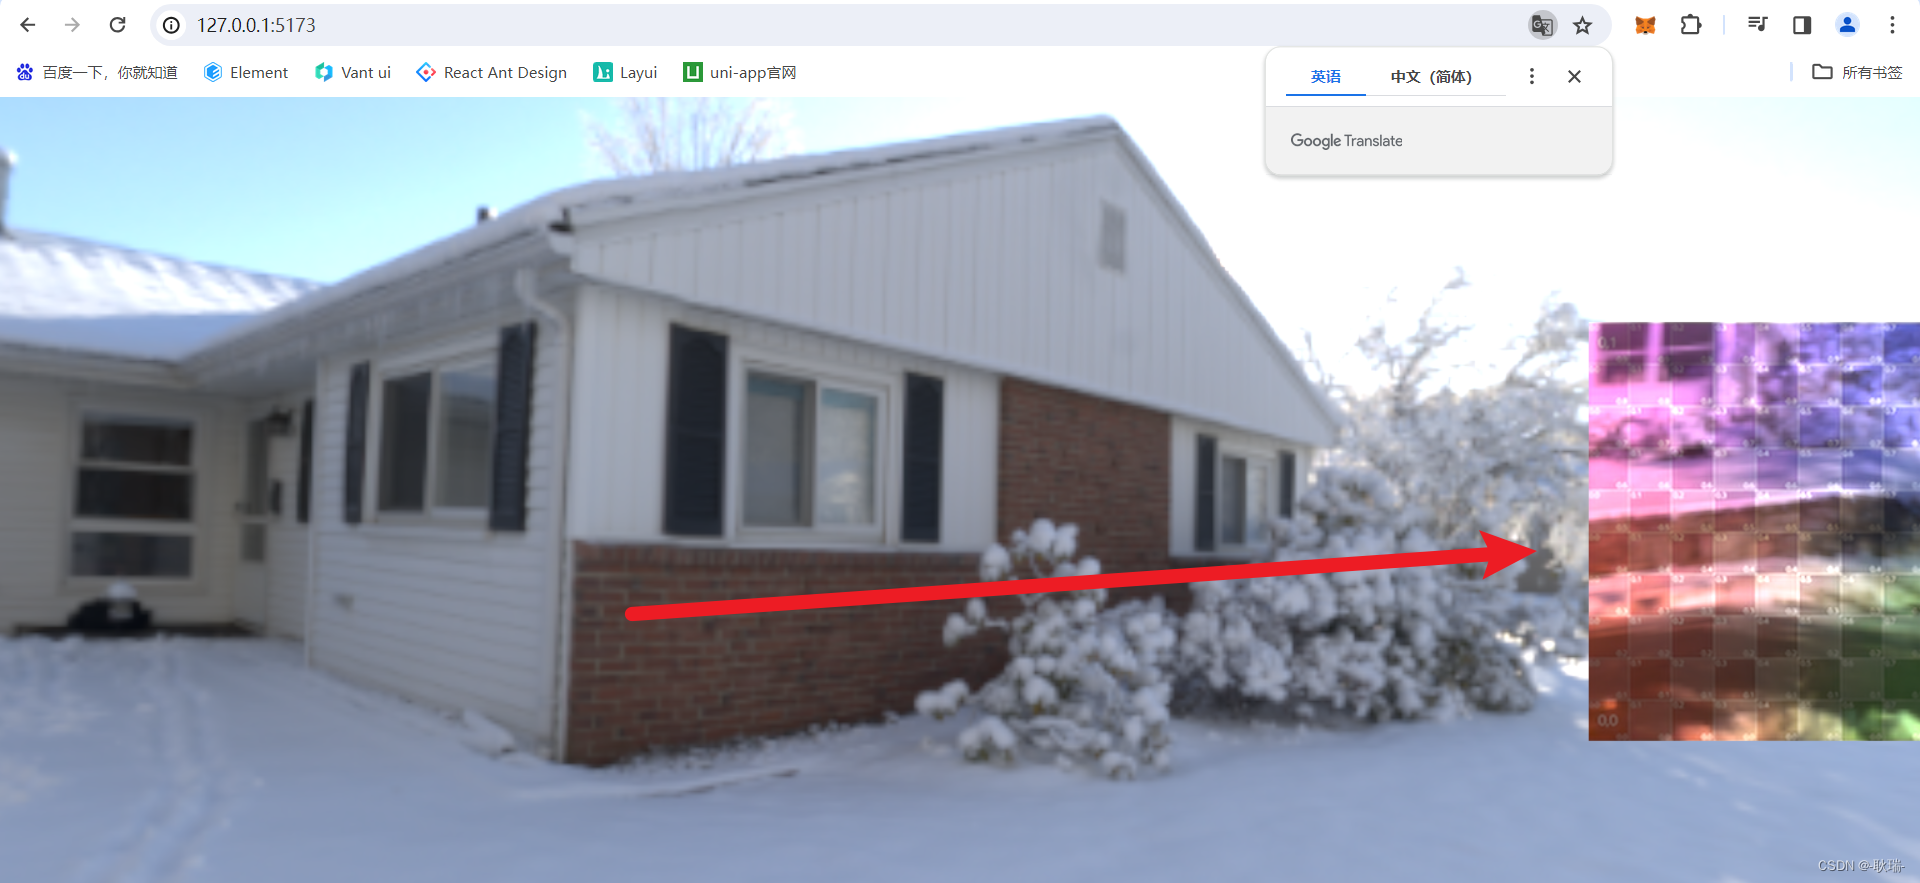
但是这样 position 是不会改变的 我们看到的元素 依旧在中间位置
其实有方法可以帮我们移动顶点
这里 我们官网搜索
BufferGeometry
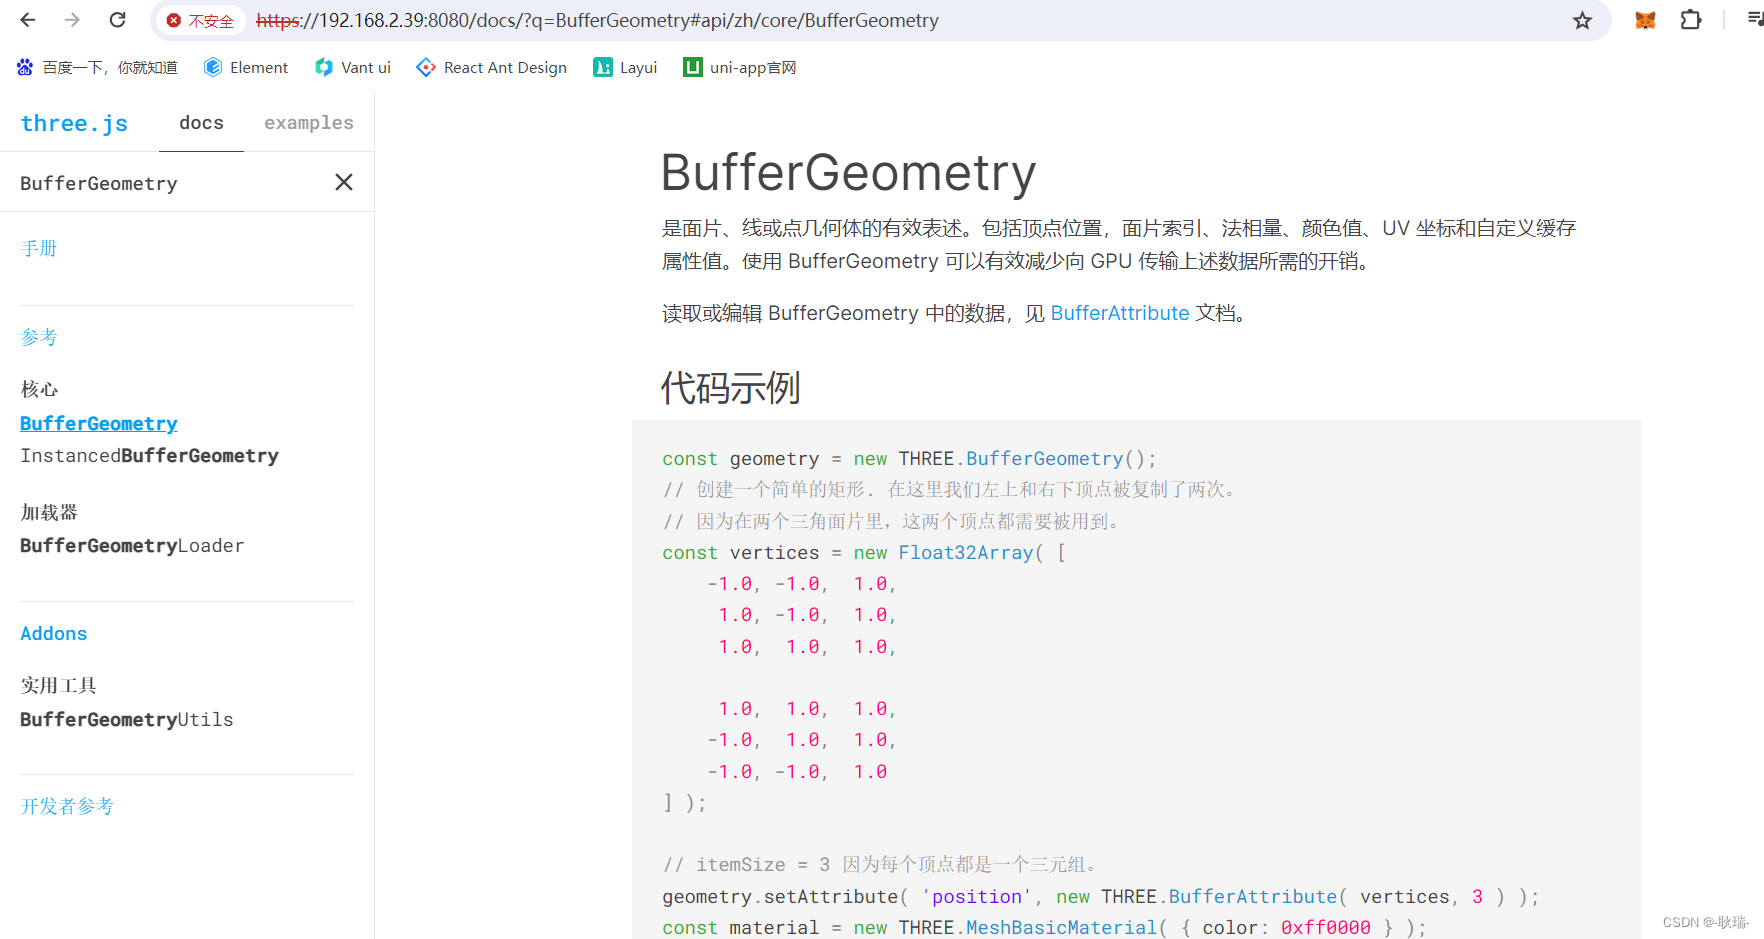
拉到下面 找到它这个 translate 函数
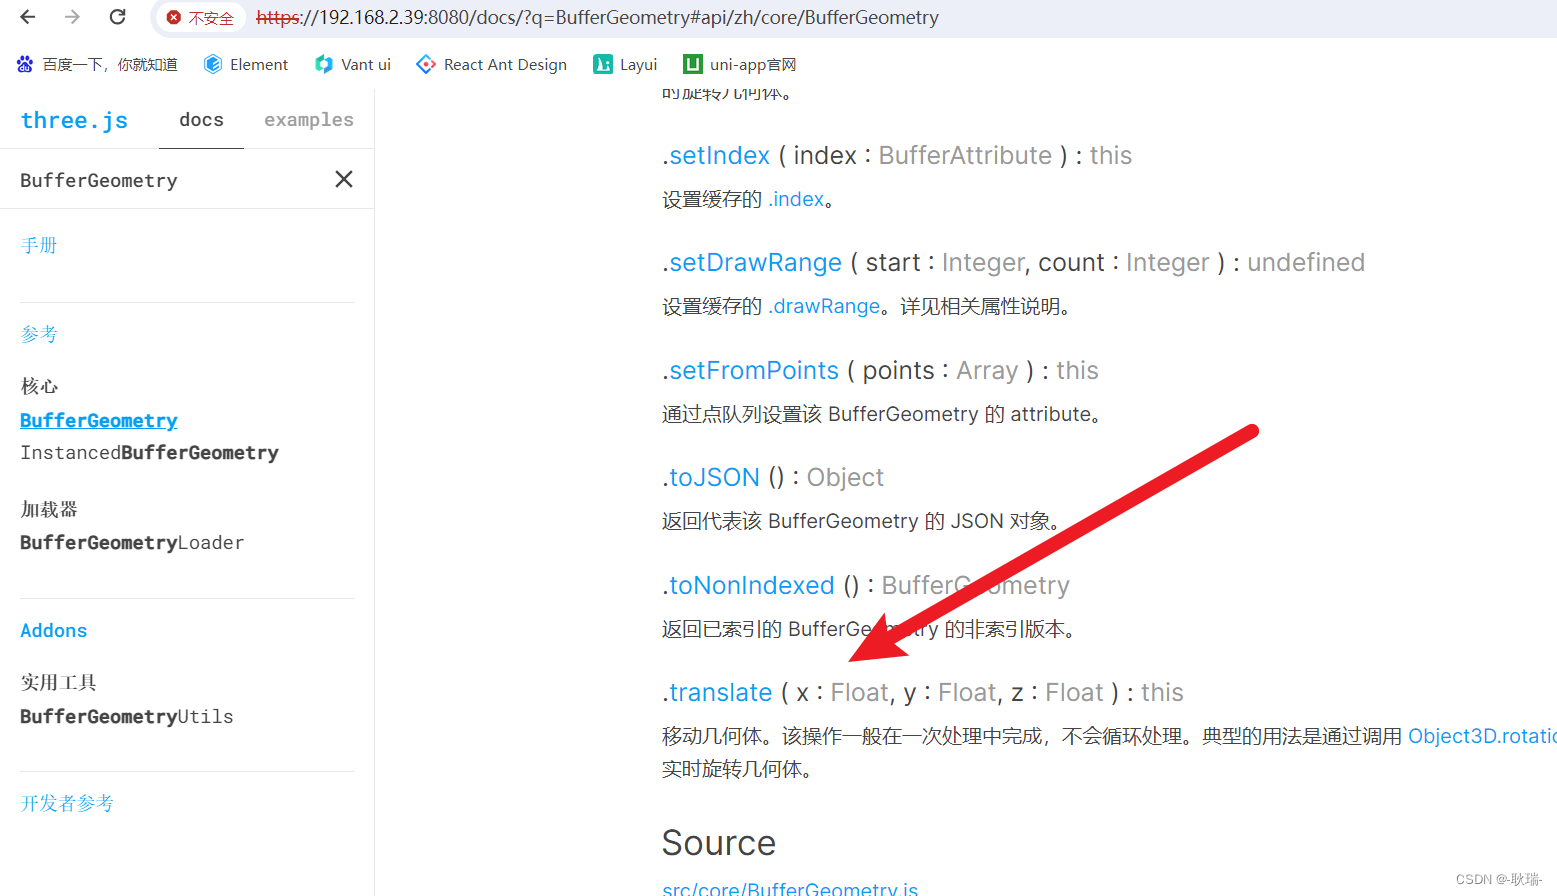
这个函数就可以直接移动顶点
首先 我们将
vertices 顶点的内容还原回去
// 创建顶点数据
const vertices = new Float32Array([
    -1.0,-1.0 ,0.0,
    1.0 ,-1.0, 0.0,
    1.0 ,1.0 ,0.0,
    -1.0 ,1.0, 0.0
])
我们可以直接
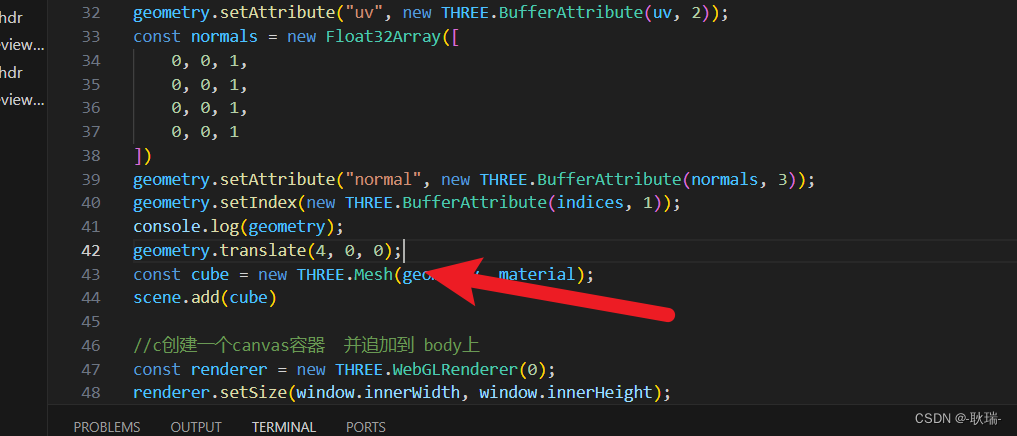
给需要移动顶点的几何体加上 translate 这里 我们设置所有顶点 y z 轴0不变 x轴加4
我们运行代码
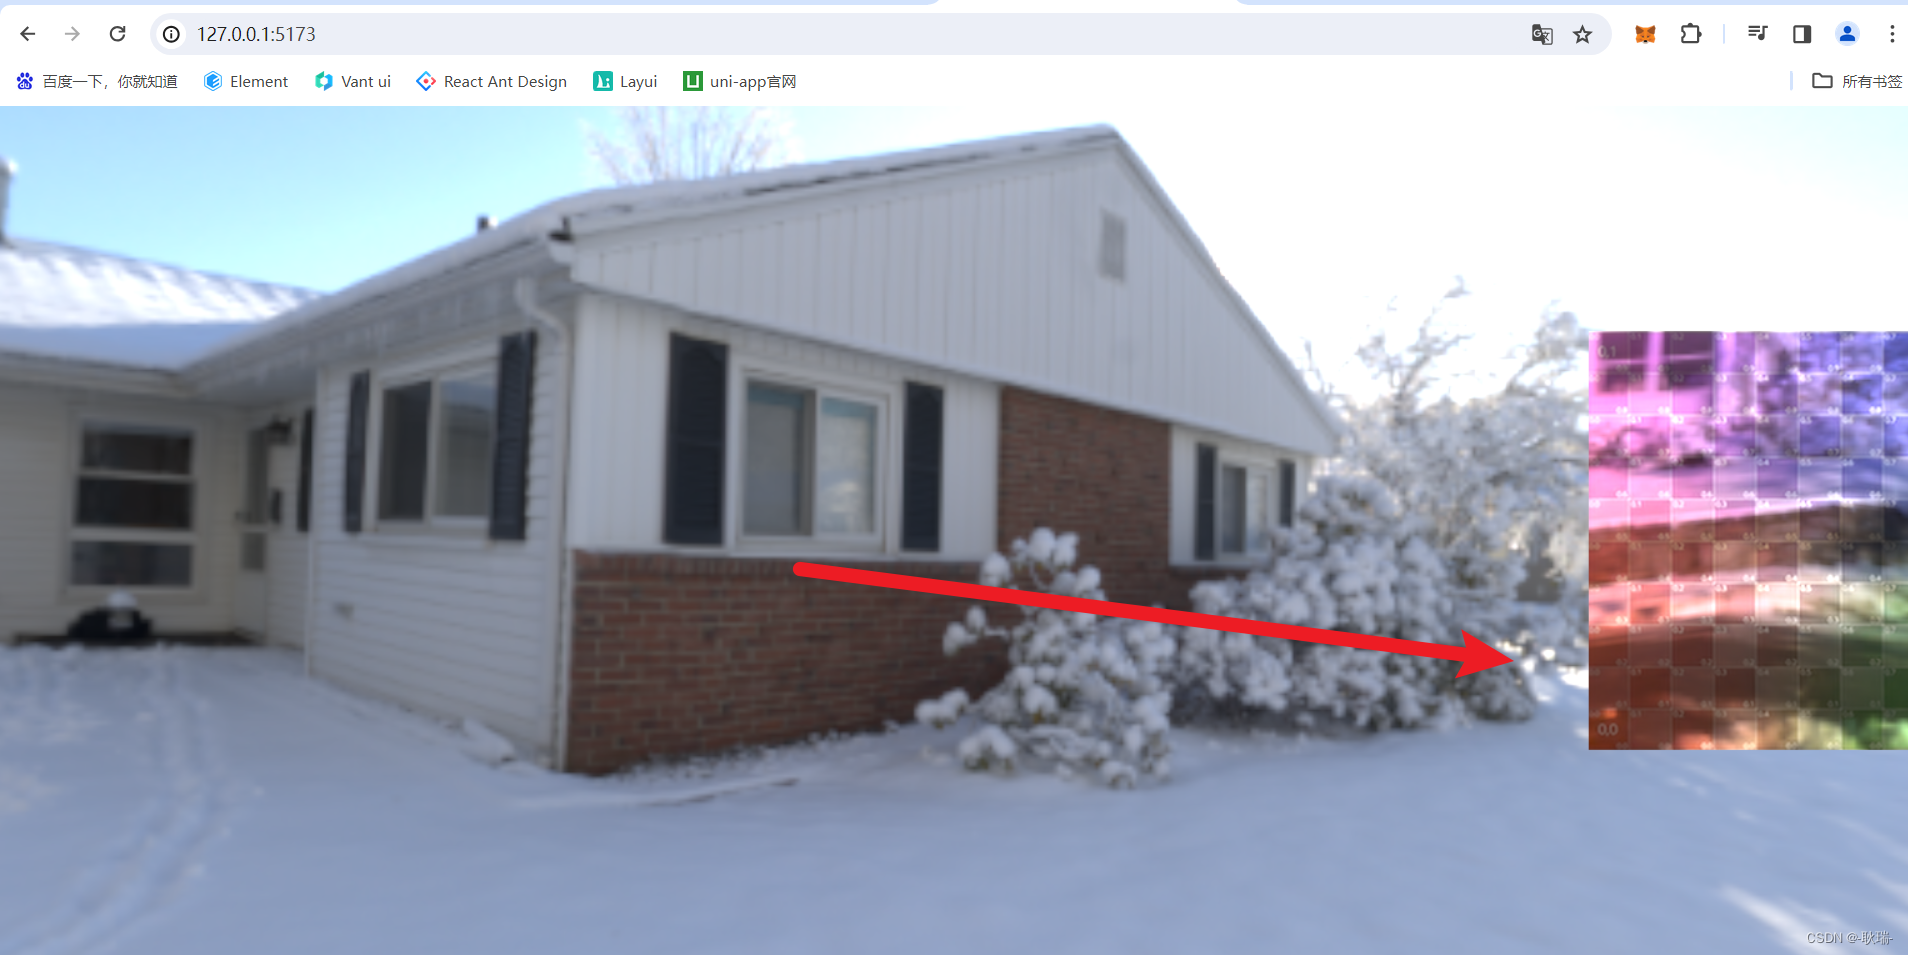
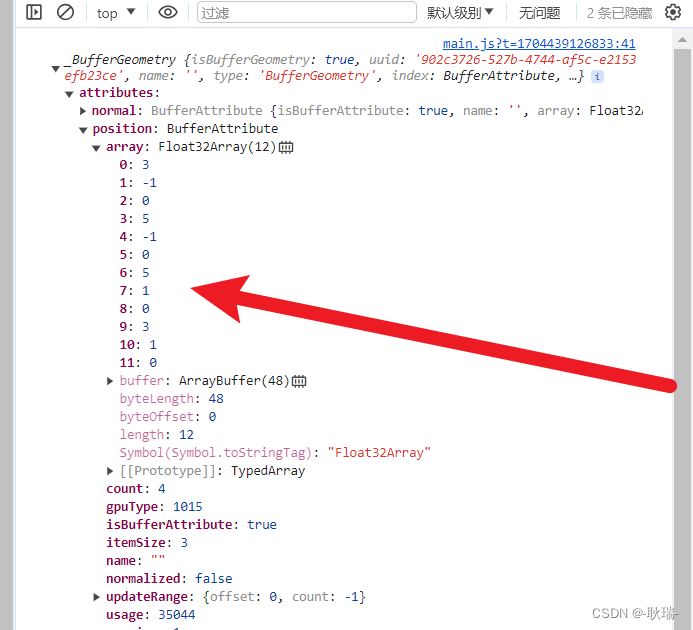
然后 我们查看控制台中的 position
它也帮我们把 各个顶点的 x轴都加了4
那么 问题来了 我们什么时候要移动物体 什么时候又要移动顶点呢?
其实 绝大多数情况 position 直接移动物体是更好的
旋转呀 平移呀 我们都是更倾向于操作物体本身 因为最大的问题在于 移动顶点 你物体的中心点就不在物体中心了
但是有种特殊情况 比如 你的Float32Array 里面的顶点数据是后端接口返回的
它最初甚至的位置又有问题
那么 我们就需要 translate 去修正原点
文章来源:https://blog.csdn.net/weixin_45966674/article/details/135402203
本文来自互联网用户投稿,该文观点仅代表作者本人,不代表本站立场。本站仅提供信息存储空间服务,不拥有所有权,不承担相关法律责任。 如若内容造成侵权/违法违规/事实不符,请联系我的编程经验分享网邮箱:chenni525@qq.com进行投诉反馈,一经查实,立即删除!
本文来自互联网用户投稿,该文观点仅代表作者本人,不代表本站立场。本站仅提供信息存储空间服务,不拥有所有权,不承担相关法律责任。 如若内容造成侵权/违法违规/事实不符,请联系我的编程经验分享网邮箱:chenni525@qq.com进行投诉反馈,一经查实,立即删除!
最新文章
- Python教程
- 深入理解 MySQL 中的 HAVING 关键字和聚合函数
- Qt之QChar编码(1)
- MyBatis入门基础篇
- 用Python脚本实现FFmpeg批量转换
- Python并发与多线程:祥细的说一下GIL线程锁
- Stronghold Village
- 聚类算法与应用
- 谷达冠楠:抖店创业初期需要注意哪些
- 锯齿云服务器租赁使用教程
- SpringBoot,TDengine时序数据库,实现物联网,车联网大批量数据更新最佳实践。
- 谷歌Gemini与GPT-3.5 Turbo的实力比较;半小时写了一个简单的1945游戏
- VG-4231CE(压控晶体振荡器(VCXO)微型低轮廓,宽拉范围)
- 系列六、MindManager取消首字母自动大写
- 高防服务器、高防 IP 和高防 CDN 之间有什么区别?