SpringBoot项目下集成Swagger
发布时间:2024年01月05日
集成Swagger
swagger优点:
- 我们可以通过Swagger给一些比较难理解的属性或者接口,增加注释信息
- 接口文档实时更新
- 可以在线测试
1. 新建SpringBoot项目
2. 导入swagger依赖包
        <!--        swagger  start-->
        <dependency>
            <groupId>io.springfox</groupId>
            <artifactId>springfox-swagger2</artifactId>
            <version>2.9.2</version>
        </dependency>
        <dependency>
            <groupId>io.springfox</groupId>
            <artifactId>springfox-swagger-ui</artifactId>
            <version>2.9.2</version>
        </dependency>
        <!--        swagger  end -->
3. 创建swagger配置类
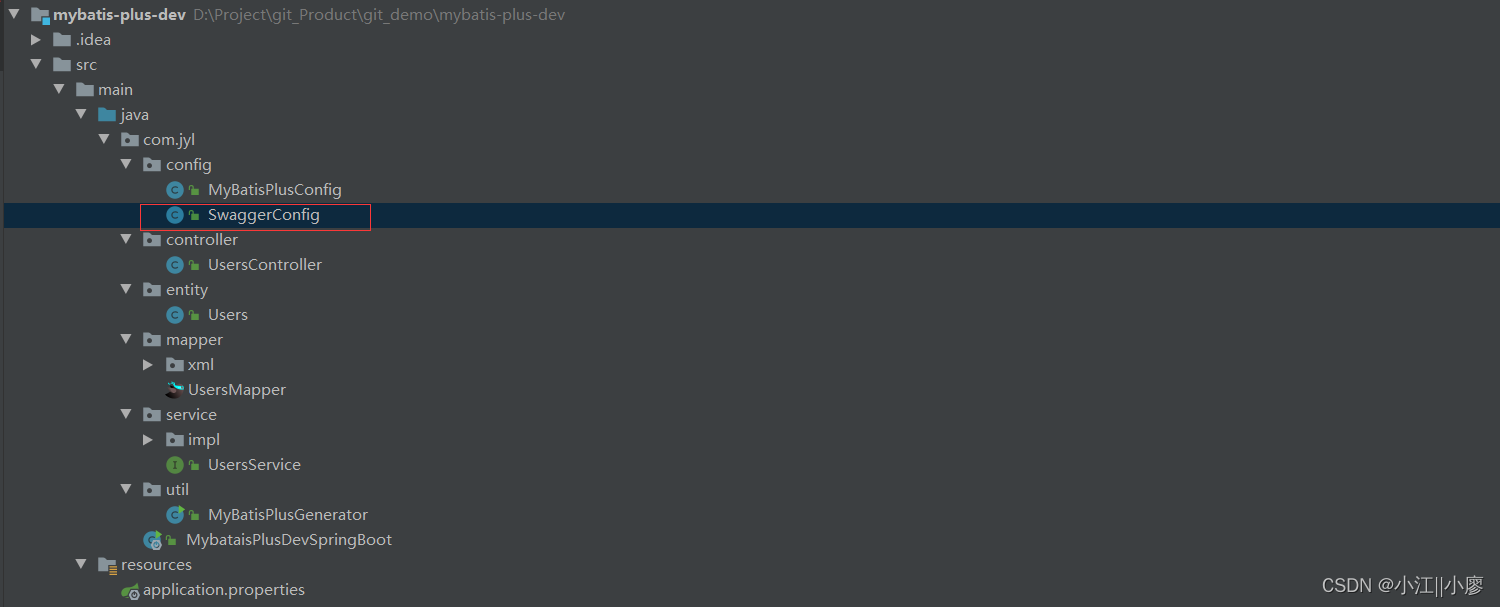
项目我直接利用了mybatis-plus 来快速构建,我之前的文章有写,不太清楚可以看下哦
文章在此:SpringBoot项目集成mybatis-plus
配置类上需要添加 @EnableSwagger2 开启swagger
SwaggerConfig 配置类中使用到的 Docket 和ApiInfo 类可以通过看源码来使用,这两个类的源码还是很容易看懂的
Docket
ApiInfo
Docket

ApiInfo

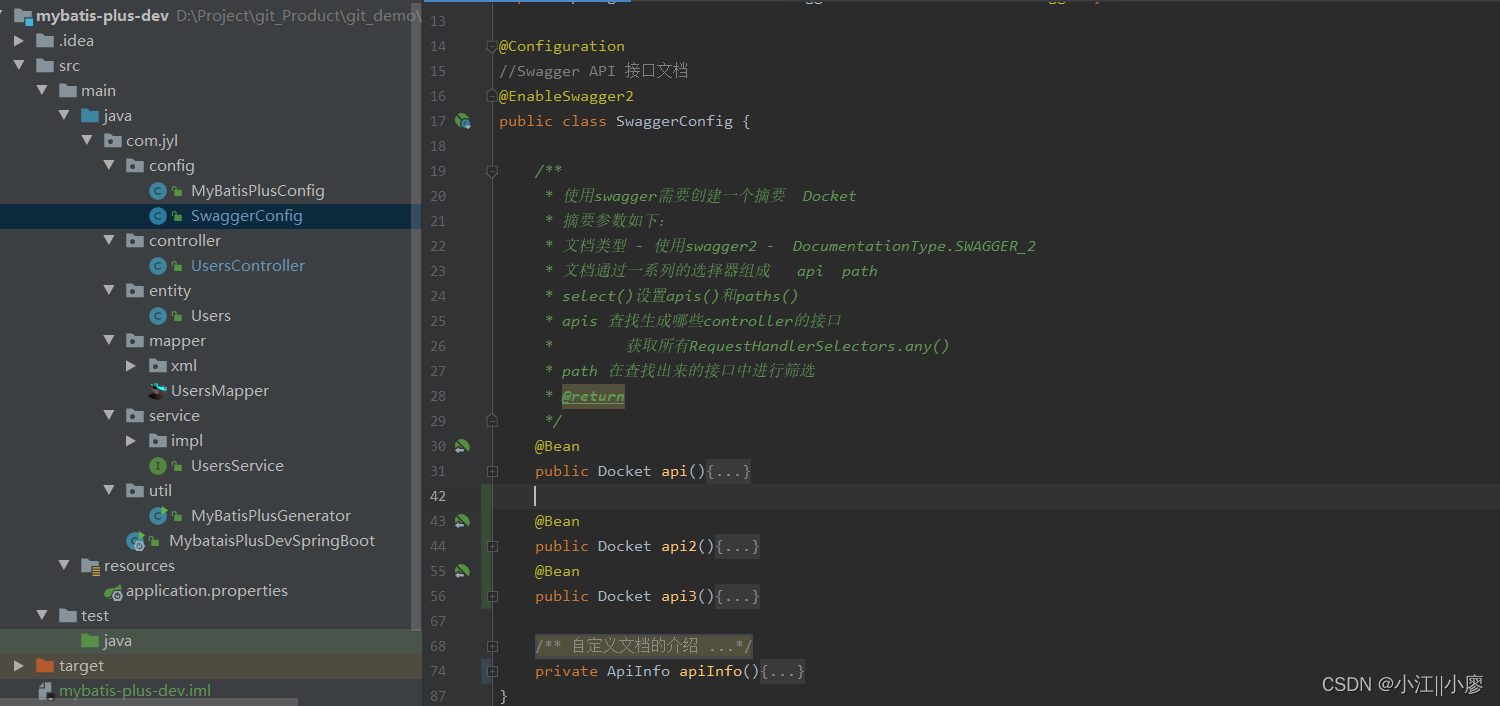
SwaggerConfig配置类代码
import org.springframework.context.annotation.Bean;
import org.springframework.context.annotation.Configuration;
import springfox.documentation.builders.ApiInfoBuilder;
import springfox.documentation.builders.PathSelectors;
import springfox.documentation.builders.RequestHandlerSelectors;
import springfox.documentation.service.ApiInfo;
import springfox.documentation.service.Contact;
import springfox.documentation.spi.DocumentationType;
import springfox.documentation.spring.web.plugins.Docket;
import springfox.documentation.swagger2.annotations.EnableSwagger2;

@Configuration
//Swagger API 接口文档
@EnableSwagger2
@Profile()
public class SwaggerConfig {

    /**
     * 使用swagger需要创建一个摘要  Docket
     * 摘要参数如下:
     * 文档类型 - 使用swagger2 -  DocumentationType.SWAGGER_2
     * 文档通过一系列的选择器组成   api  path
     * select()设置apis()和paths()
     * apis 查找生成哪些controller的接口
     *        获取所有RequestHandlerSelectors.any()
     * path 在查找出来的接口中进行筛选
     * @return
     */
    @Bean
    public Docket api(){

        return new Docket(DocumentationType.SWAGGER_2)
                .groupName("jiangyl") // 分组的名字
                .apiInfo(apiInfo())
                .enable(true)    //enable 是否启动在浏览器中查看
                .select()
                .apis(RequestHandlerSelectors.basePackage("com.jyl.controller"))
                .paths(PathSelectors.any())   //过滤什么路径
                .build();
    }

    /**
     * 自定义文档的介绍
     * 通过ApiInfoBuilder创建ApiInfo
     * 参数可以设置  title description version 标题  描述  本等等
     * @return
     */
    private ApiInfo apiInfo(){
        Contact contact = new Contact("jiangyl", "", "1234567@qq.com");
        //也可以使用下面的方式来返回
//        return new ApiInfo(this.title, this.description, this.version, this.termsOfServiceUrl,
//        this.contact, this.license, this.licenseUrl, this.vendorExtensions);

        return new ApiInfoBuilder()
                .title("springboot-11-swagger")
                .description("这是一个简单的swagger demo。")
                .version("2.0").licenseUrl("http://apache.org/")
                .contact(contact)
                .build();
    }
}
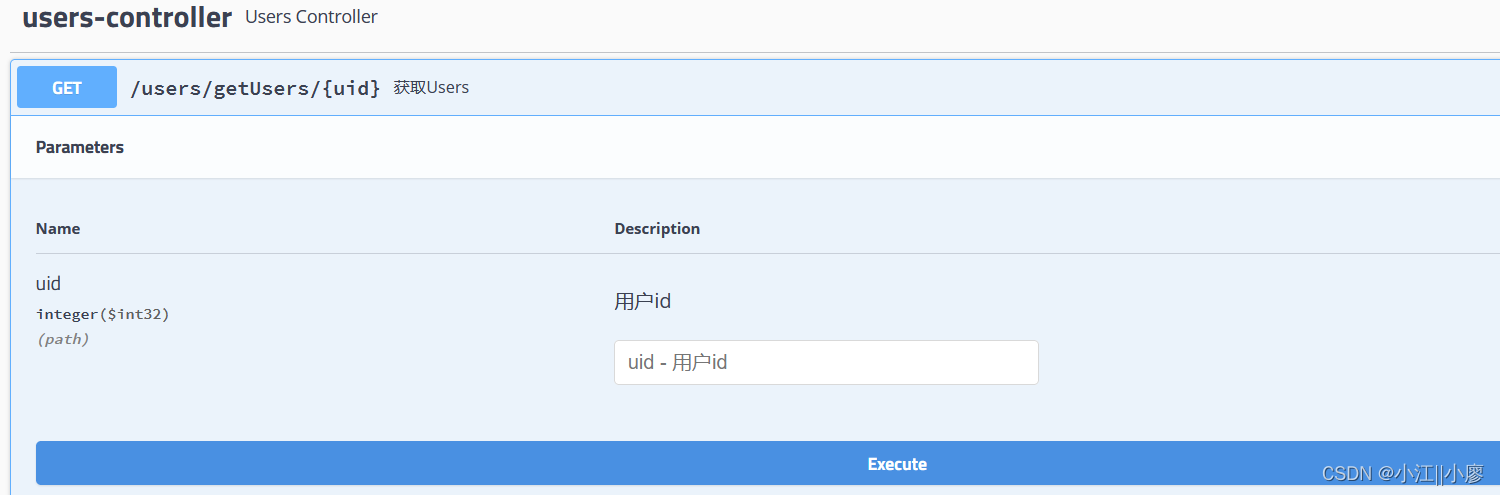
4. 编写controller进行测试
只需要知道@ApiOperation是描述请求类,@ApiParam描述请求的参数就可以,其它注解慢慢掌握
@RestController
@RequestMapping("/users")
public class UsersController {

    @Autowired
    UsersService usersService;

    @ApiOperation("获取Users")
    @GetMapping("/getUsers/{uid}")
    public String getUsers(@ApiParam("用户id") @PathVariable("uid") Integer uid){
        Users users = usersService.getById(uid);
        System.out.println("users = " + users);
        return users.toString();
    }
实体类中会使用到@ApiModel和@ApiModelProperty 一看便知晓
@ApiModel(value="Users对象", description="每个用户的所有信息")
public class Users implements Serializable {
    @ApiModelProperty(value = "姓名")
    private String uname;
    //部分代码展示。。。
}
5. 启动springboot项目
6. 浏览器打开
- 文档url: http://localhost:8080/v2/api-docs
- swagger操作界面:http://localhost:8080/swagger-ui.html
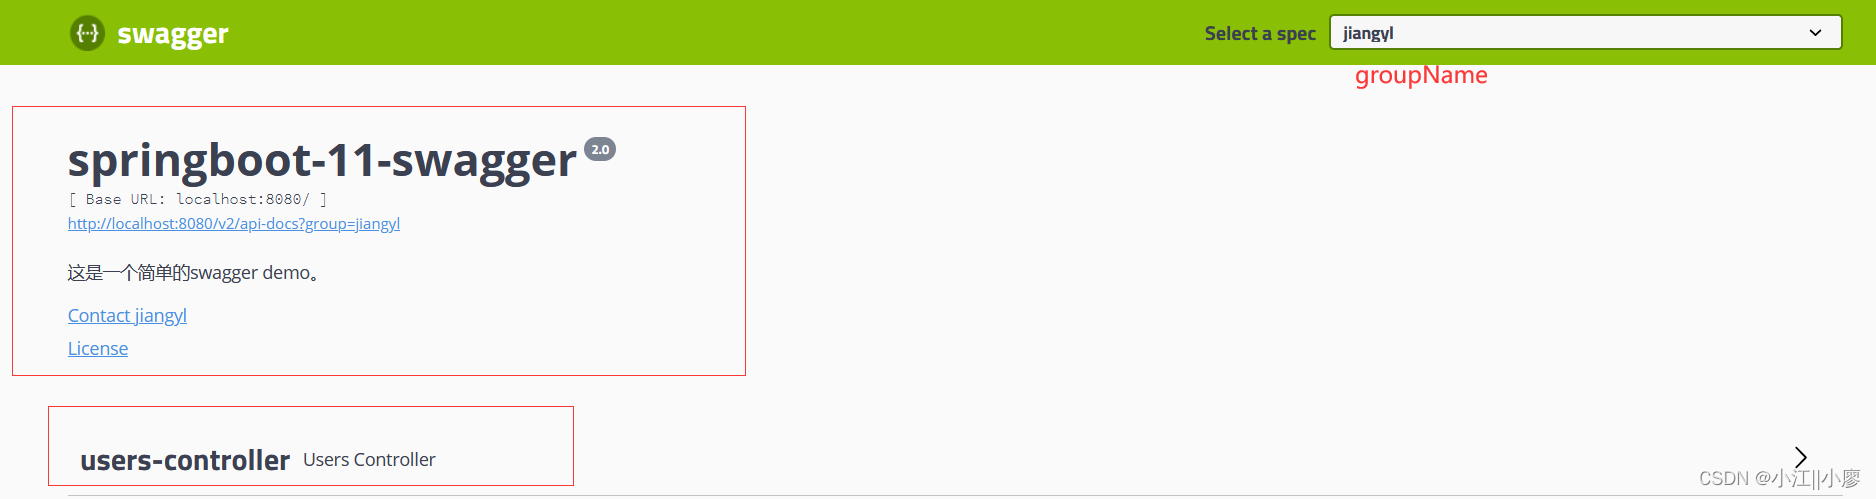
7. 可以在swagger界面中进行测试
两个小问题
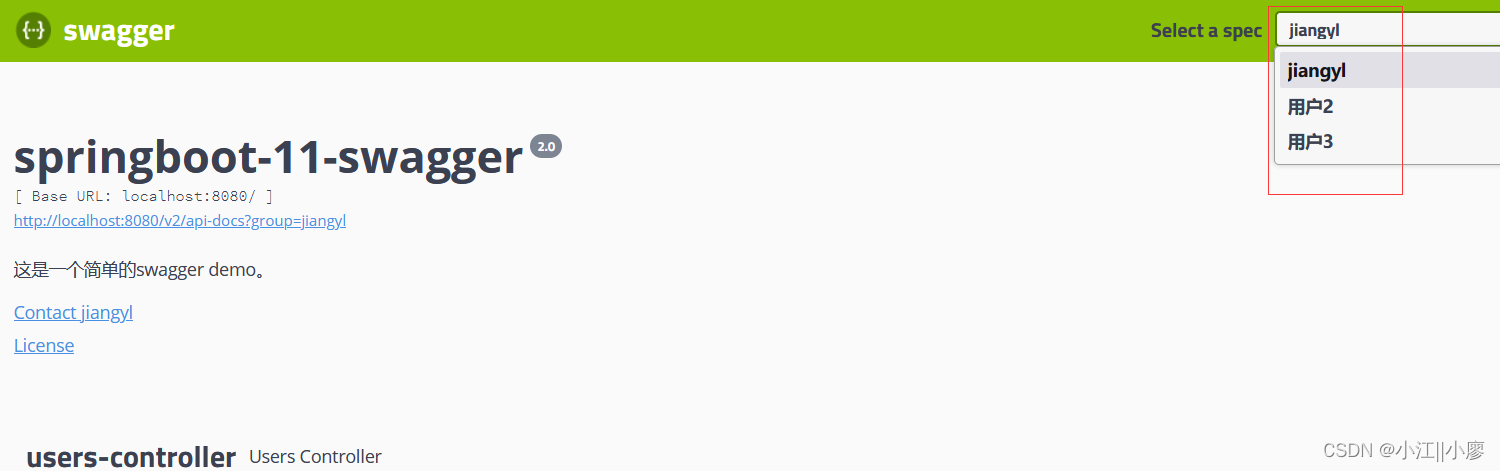
eg: 如何配置多个分组,在公司多人协调进行操作
答:可以创建多个Docker实例
打开浏览器:http://localhost:8080/swagger-ui.html
eg:如何实现Swagger在生产环境中使用,在发布的时候不使用?
SwaggerConfig配置类中部分代码展示
import org.springframework.context.annotation.Bean;
import org.springframework.context.annotation.Configuration;
import org.springframework.context.annotation.Profile;
import org.springframework.core.env.Environment;
import org.springframework.core.env.Profiles;
import springfox.documentation.builders.ApiInfoBuilder;
import springfox.documentation.builders.PathSelectors;
import springfox.documentation.builders.RequestHandlerSelectors;
import springfox.documentation.service.ApiInfo;
import springfox.documentation.service.Contact;
import springfox.documentation.spi.DocumentationType;
import springfox.documentation.spring.web.plugins.Docket;
import springfox.documentation.swagger2.annotations.EnableSwagger2;

@Configuration
//Swagger API 接口文档
@EnableSwagger2
//@Profile({"dev","test"}) // 测试环境可自选
public class SwaggerConfig {


    /**
     * 使用swagger需要创建一个摘要  Docket
     * 摘要参数如下:
     * 文档类型 - 使用swagger2 -  DocumentationType.SWAGGER_2
     * 文档通过一系列的选择器组成   api  path
     * select()设置apis()和paths()
     * apis 查找生成哪些controller的接口
     *        获取所有RequestHandlerSelectors.any()
     * path 在查找出来的接口中进行筛选
     * @return
     */
    @Bean
    public Docket api(Environment environment){
        //设置要显示的Swagger 环境
        Profiles profiles = Profiles.of("dev","pro");
        //通过environment.acceptsProfiles(profiles)
        boolean flag = environment.acceptsProfiles(profiles);
        System.out.println("flag = " + flag);

        //enable 是否启动在浏览器中查看
        return new Docket(DocumentationType.SWAGGER_2)
                .groupName("jiangyl")
                .apiInfo(apiInfo())
                .enable(flag)  //enable 是否启动在浏览器中查看
                .select()
                .apis(RequestHandlerSelectors.basePackage("com.jyl.controller"))
                .paths(PathSelectors.any())   //过滤什么路径
                .build();
    }
	//部分代码。。。
}
需要创建application-dev.properties 和 application-pro.properties两个配置文件,里面我只是做个测试配置了端口 8081 和 8082
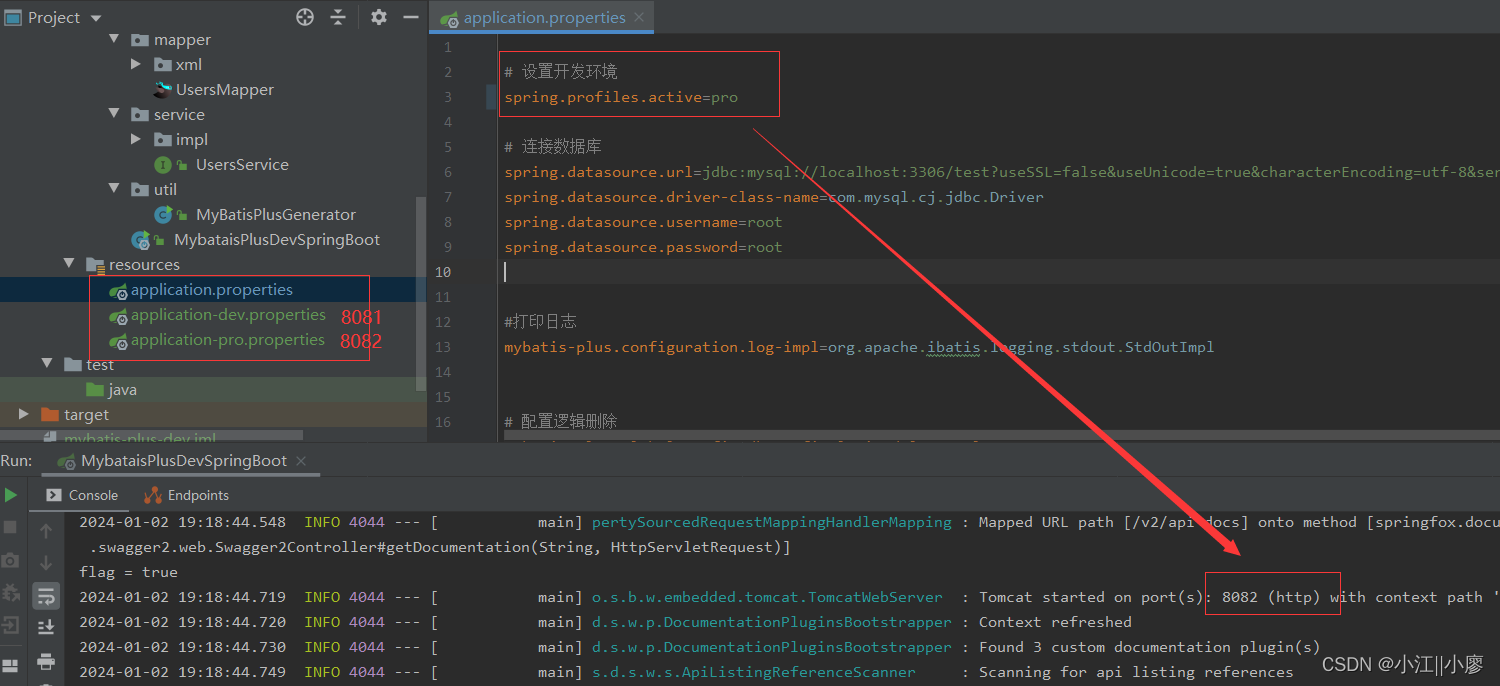
在正式发布的时候,关闭Swagger
如果还是不怎么清楚可以看视频 :狂神说【感谢大佬!!!】
平常多使用,多用几次,熟练了就行。希望可以帮助到@你
文章来源:https://blog.csdn.net/weixin_46171048/article/details/135344270
本文来自互联网用户投稿,该文观点仅代表作者本人,不代表本站立场。本站仅提供信息存储空间服务,不拥有所有权,不承担相关法律责任。 如若内容造成侵权/违法违规/事实不符,请联系我的编程经验分享网邮箱:chenni525@qq.com进行投诉反馈,一经查实,立即删除!
本文来自互联网用户投稿,该文观点仅代表作者本人,不代表本站立场。本站仅提供信息存储空间服务,不拥有所有权,不承担相关法律责任。 如若内容造成侵权/违法违规/事实不符,请联系我的编程经验分享网邮箱:chenni525@qq.com进行投诉反馈,一经查实,立即删除!
最新文章
- Python教程
- 深入理解 MySQL 中的 HAVING 关键字和聚合函数
- Qt之QChar编码(1)
- MyBatis入门基础篇
- 用Python脚本实现FFmpeg批量转换
- 抢先看!Salesforce Spring ‘24中的10个亮点功能!
- 代码随想录算法训练营第11天
- Vue项目搭建过程
- 【计算机组成原理】高速缓冲存储器 Cache 的常用替换算法(Replacement Algorithm)
- ubuntu下使用Live555搭建流媒体服务器
- 删除文件方法并更新未领取报告状态
- 设计模式-代理模式
- wpf 实现3D按钮
- Python jupyter notebook 自定义魔术方法
- 想要在线使用XD就这么做!简单又高效