微信聊天记录生成词云
目录
前置准备
为了获取到微信聊天记录,我们需要在电脑上准备以下软件
MuMu模拟器中安装微信与RE文件管理器。这里是为了微信聊天记录的恢复与导出EnMicroMsg.db文件
EnMicroMsg.db为sqlLite数据库文件,需要解密。
提取码: zbkw
为了生成词云,我们需要在电脑上安装python环境,当然也可以使用其他方式生成词云
- python环境准备
环境搭建教程:https://www.runoob.com/python/python-install.html
一、获取微信聊天记录
(一)配置MuMu模拟器
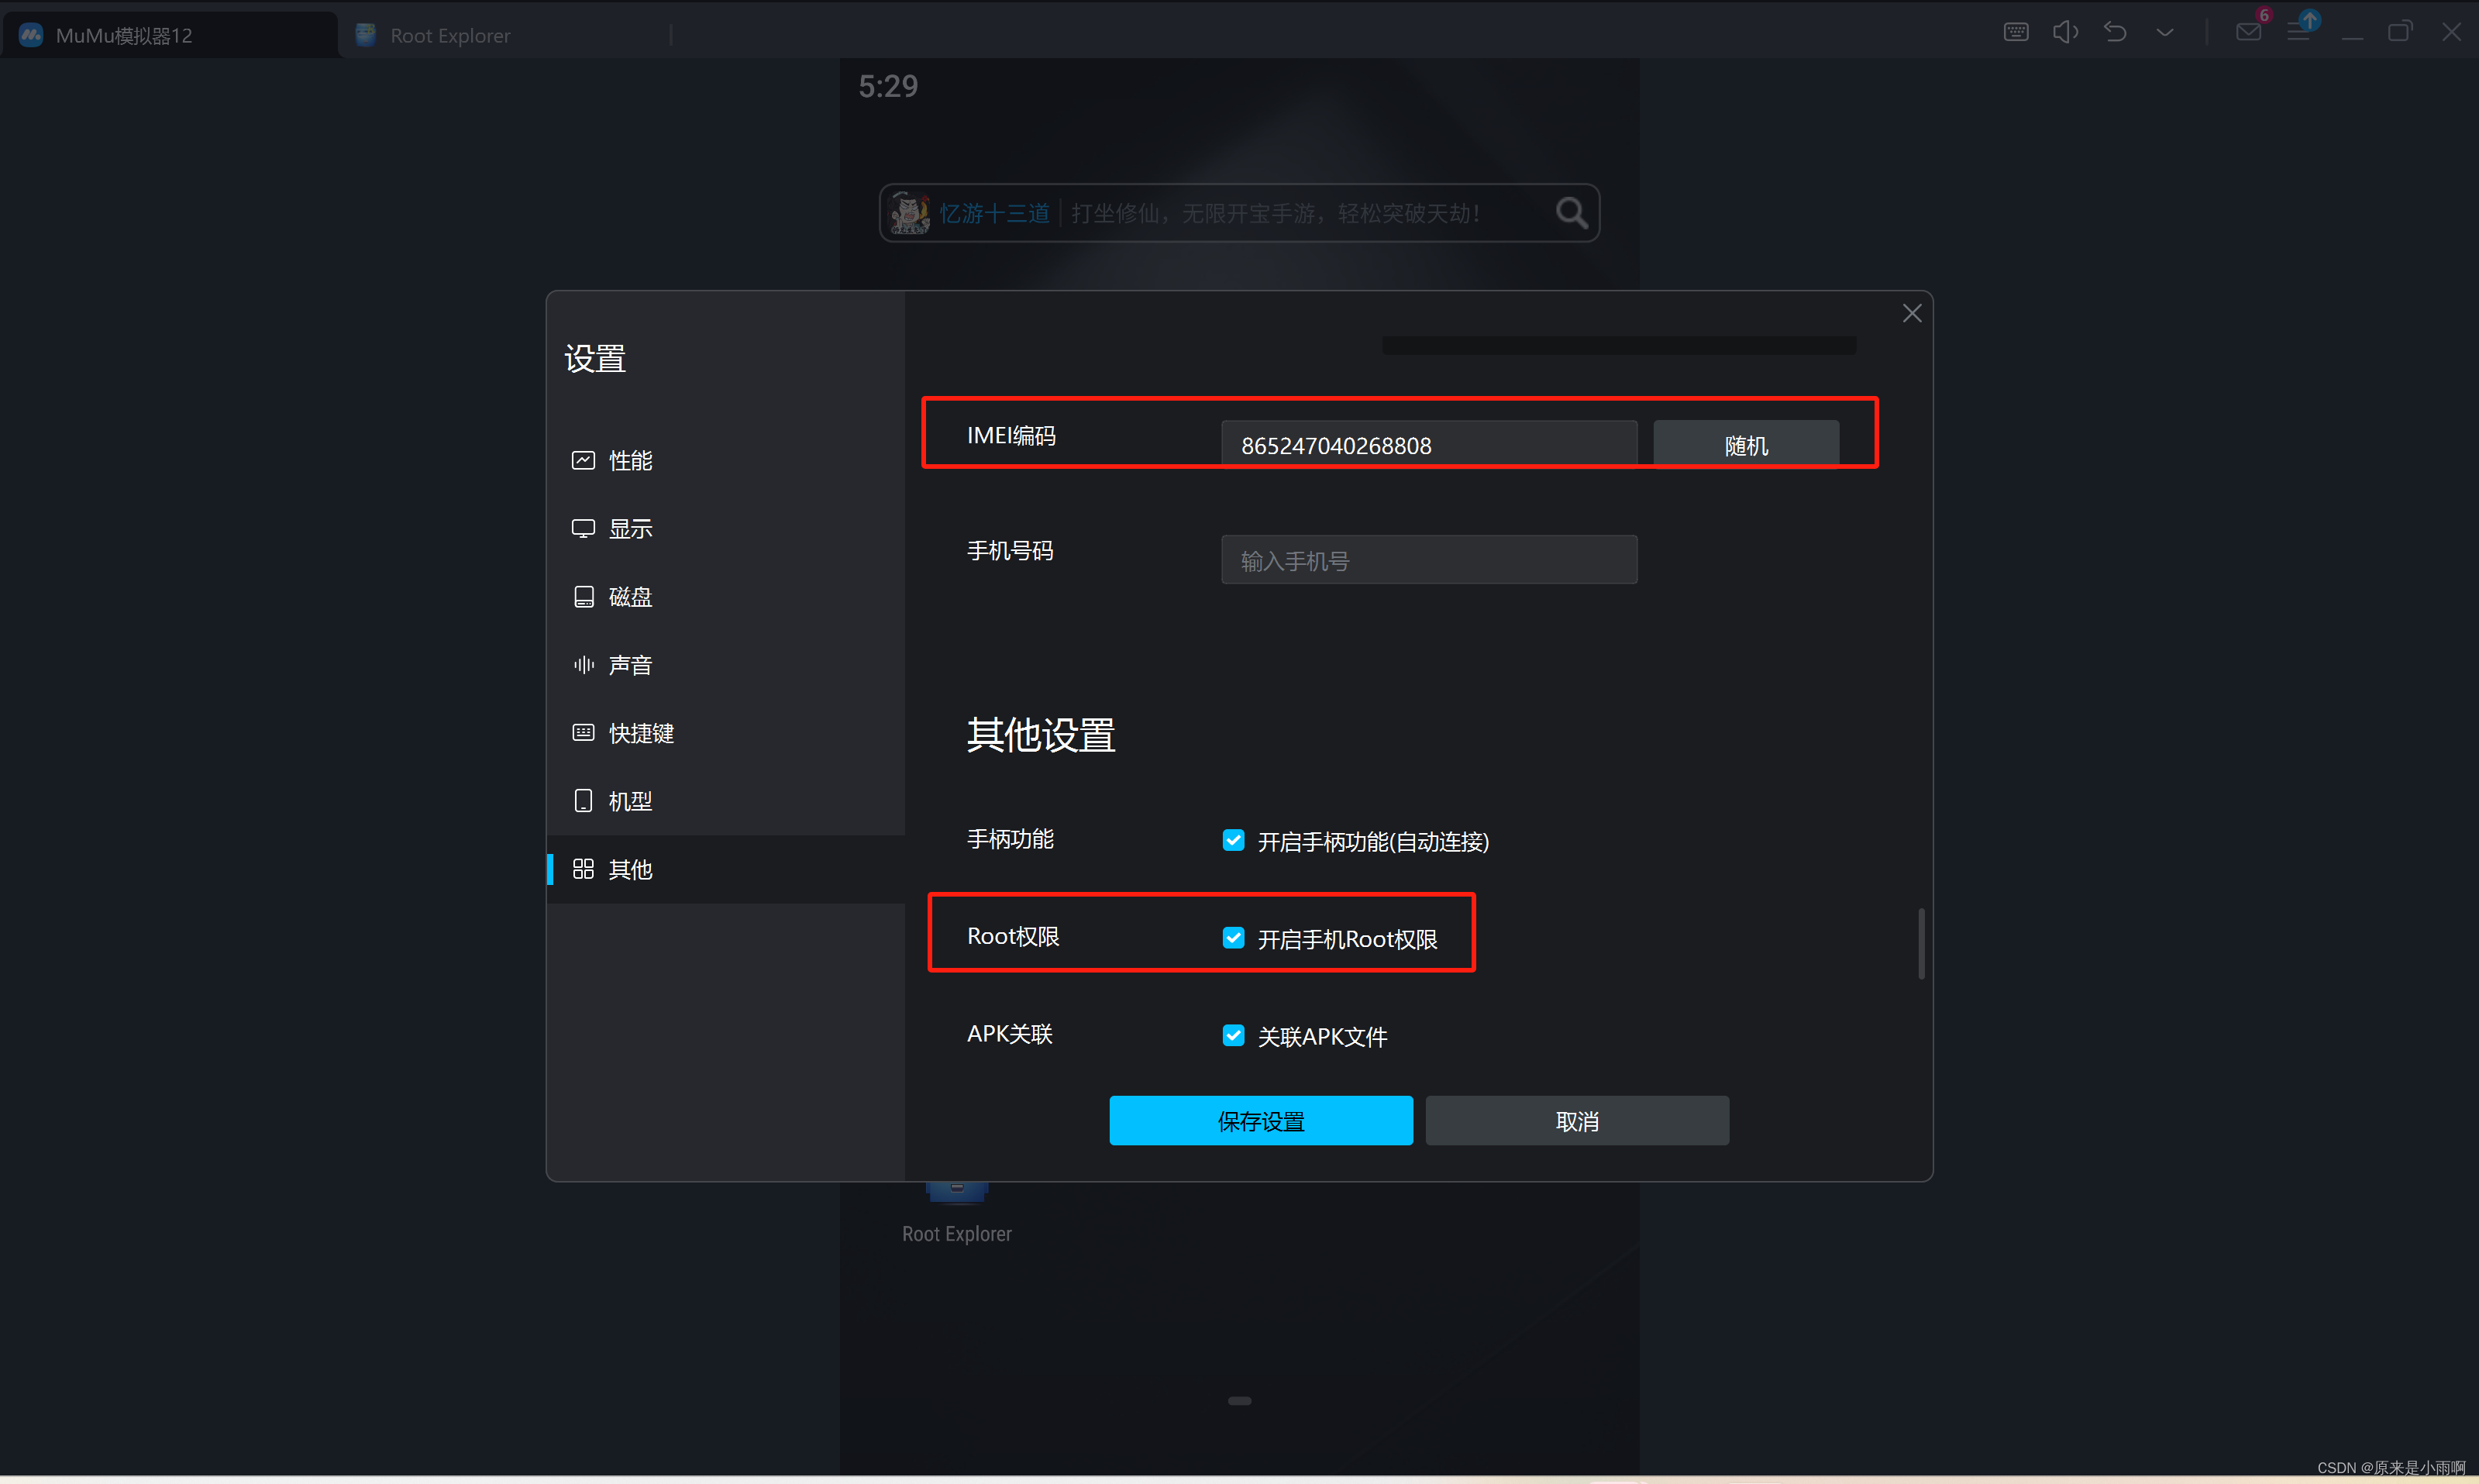
- 开启root权限,并且记录IMEI编码。
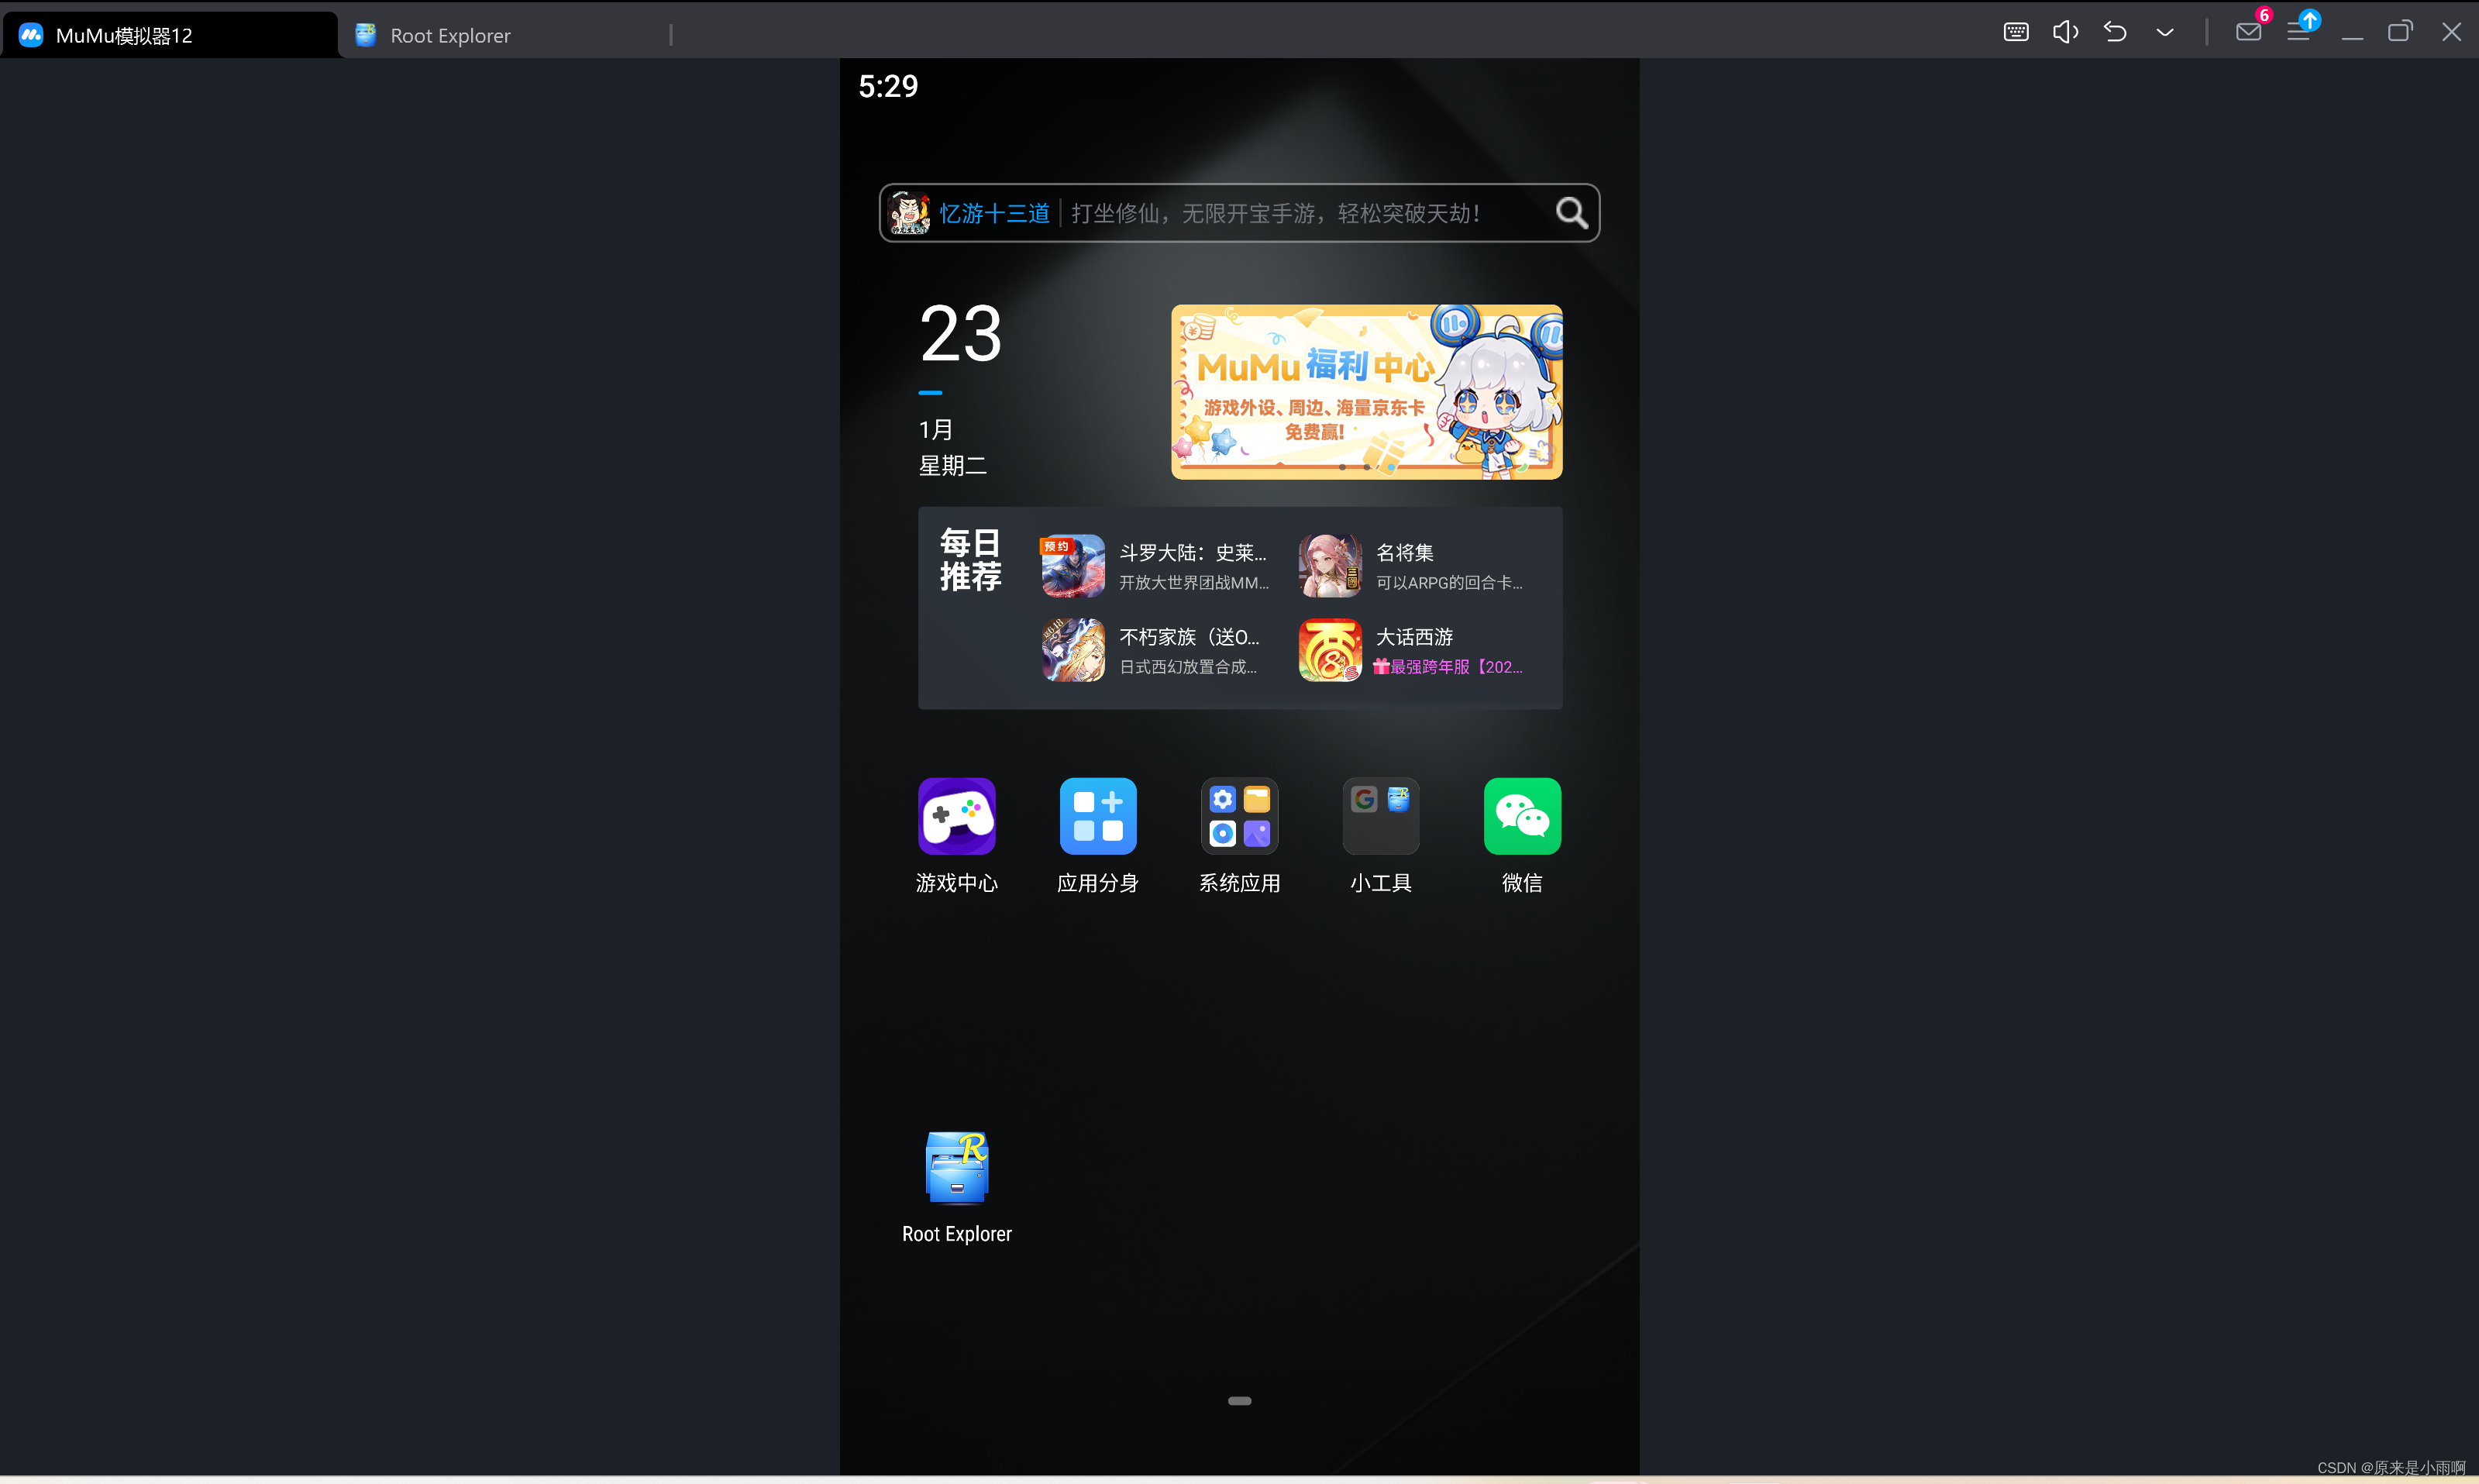
- 下载微信与RE文件管理器
(二)微信数据备份与恢复
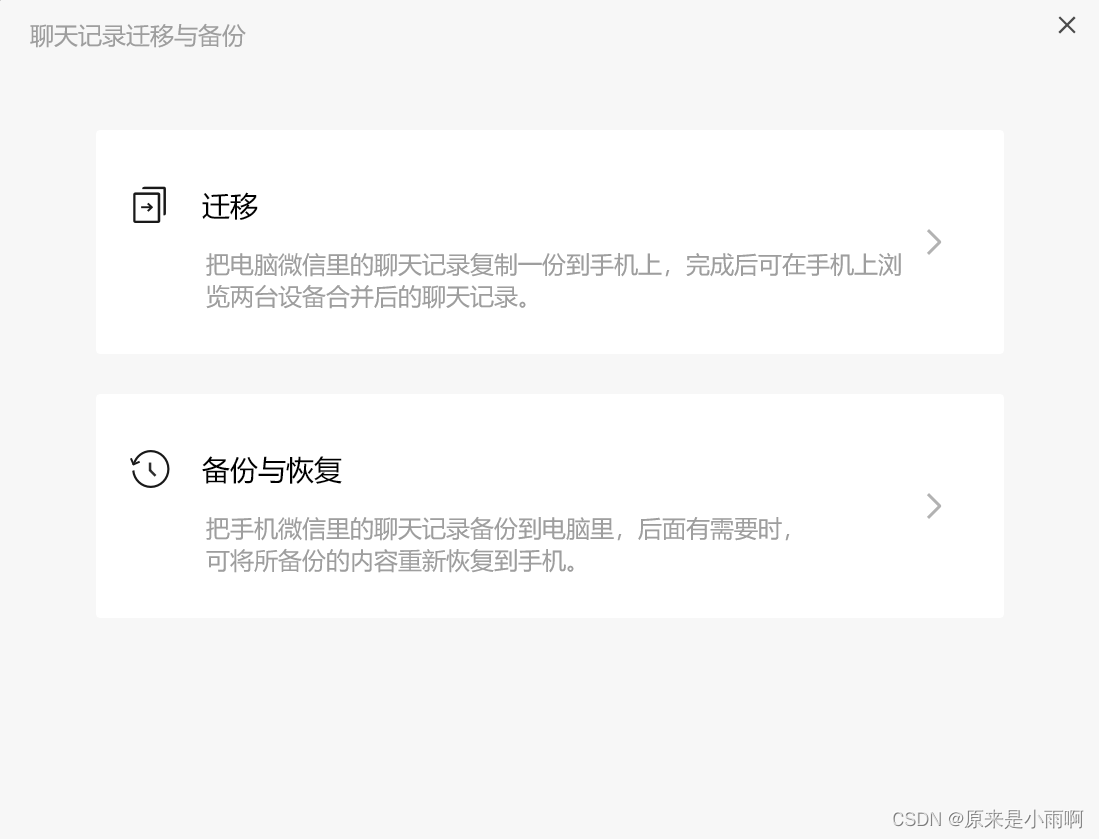
手机与电脑连接同一网络,利用微信的备份与恢复,将手机上的聊天记录备份至电脑。(这里可以指定联系人的聊天记录)
备份完成后,进入模拟器中的微信,登录后恢复聊天记录到模拟器中。(这里需要重新登陆微信)
(三)获取微信聊天记录文件至电脑
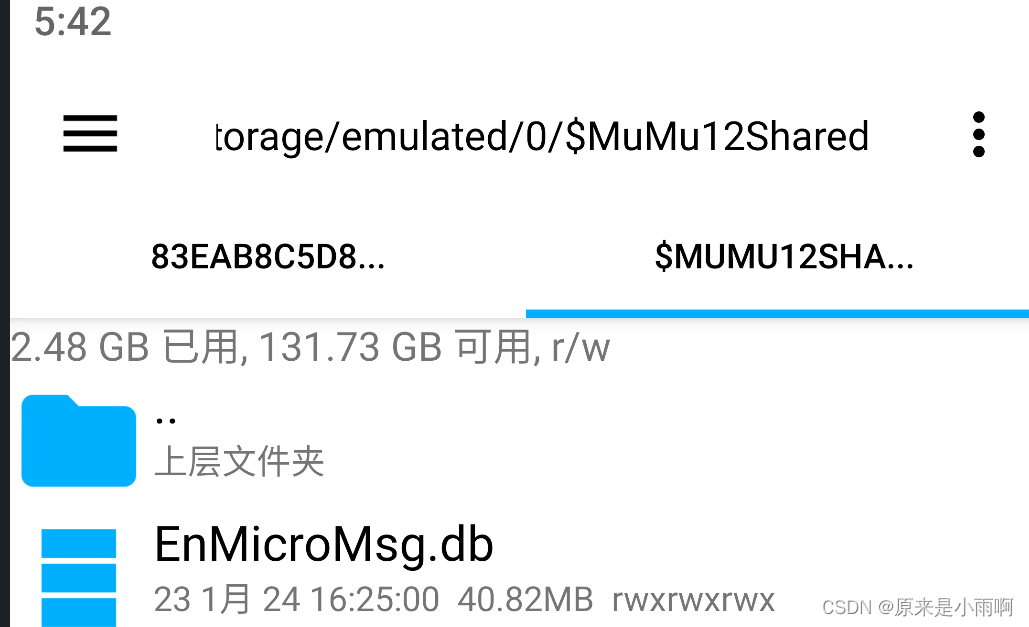
打开RE文件管理器,从根目录/下开始,路径为:/data/data/com.tencent.mm/MicroMsg/xxx/EnMicroMsg.db,其中,为一数字字母组成的字符串,因微信号不同而不同,EnMicroMsg.db就是我们的数据库文件了。
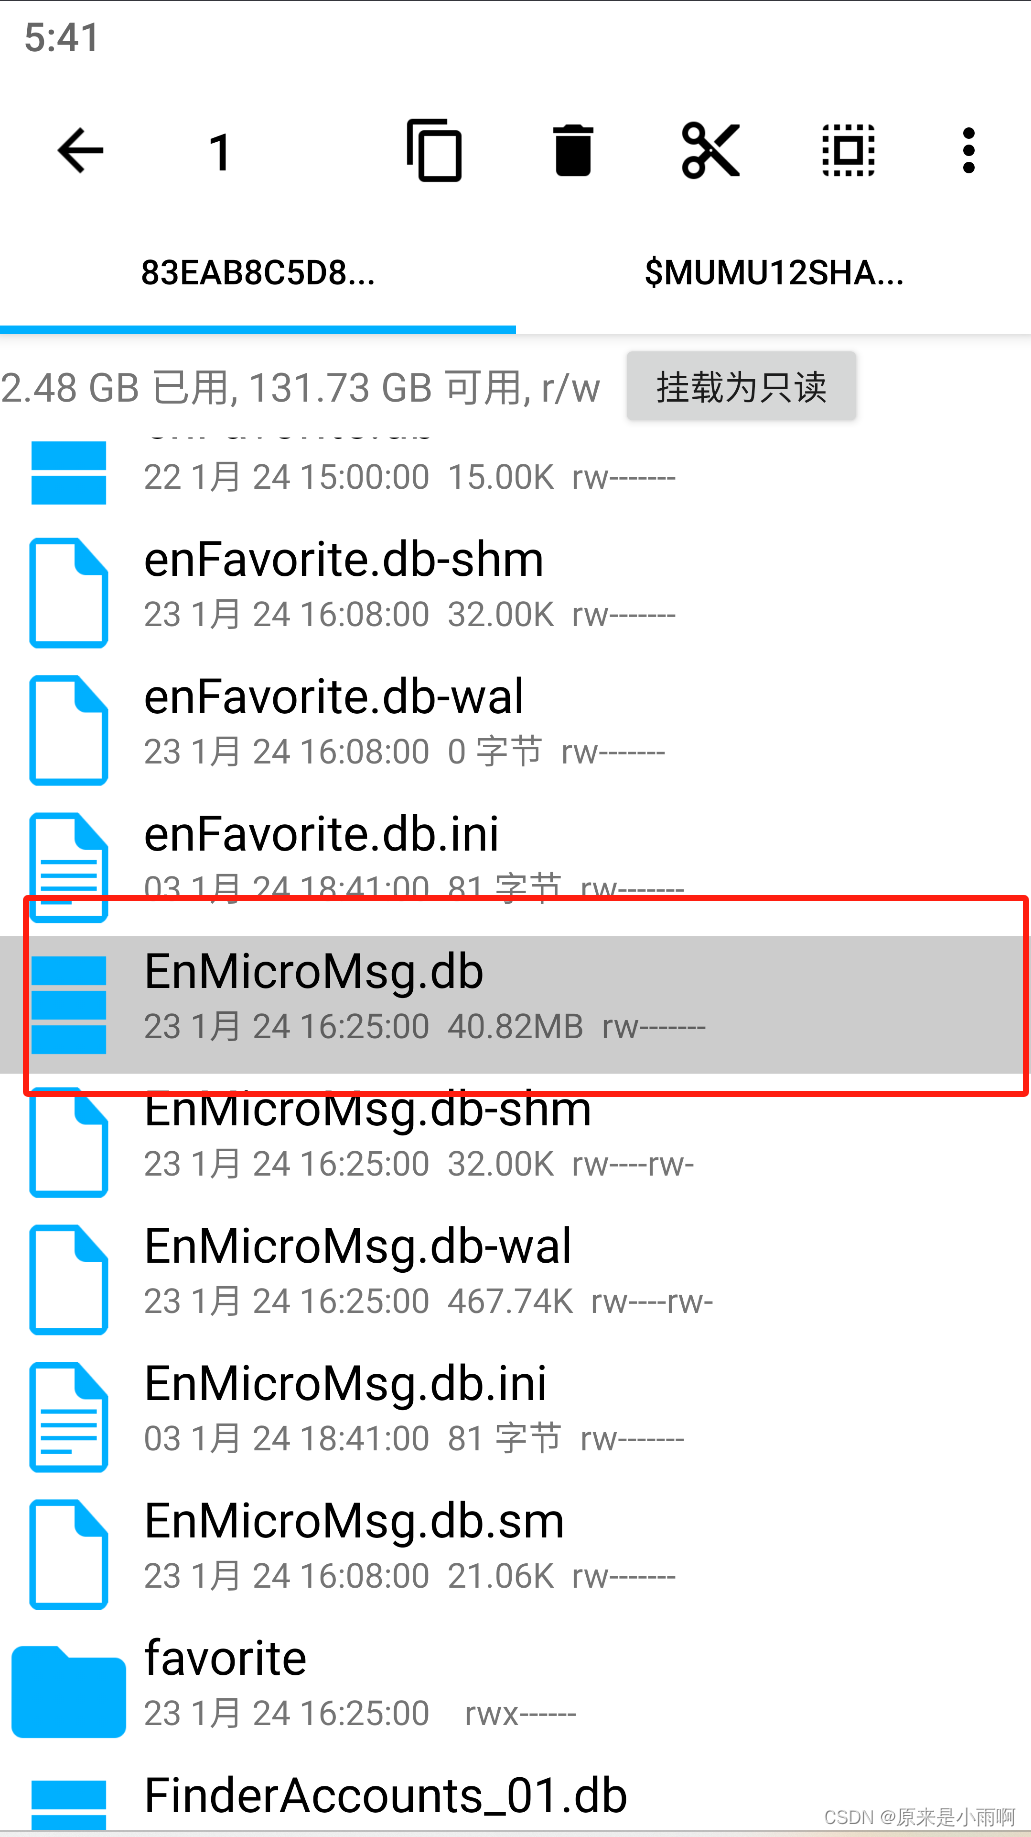
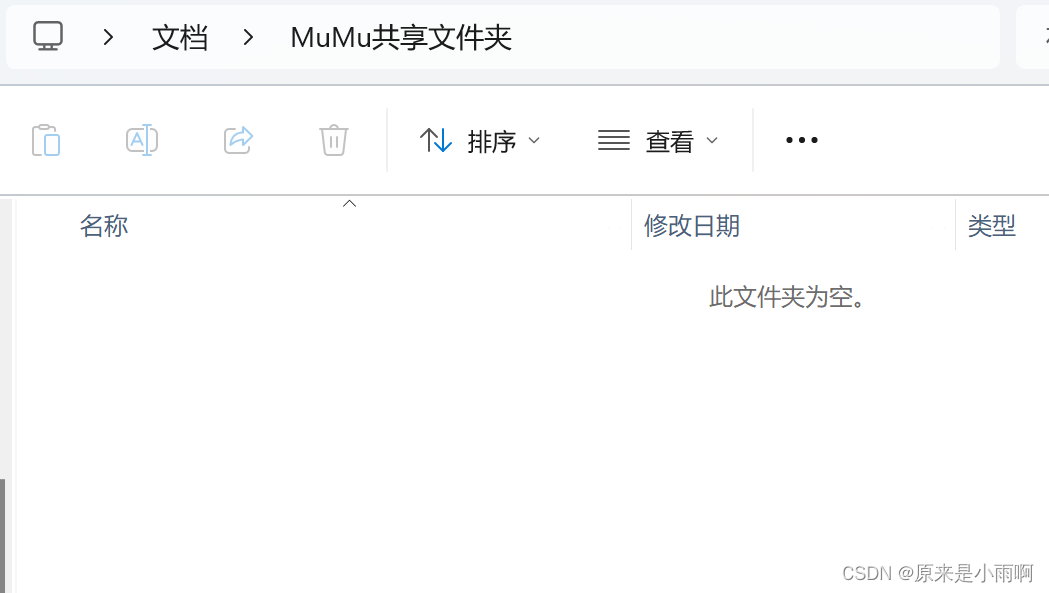
将此文件复制到共享文件夹中,这样在电脑的文档中即可看到。
(四)获取EnMicroMsg.db的密钥
微信对该数据库文件进行了加密,加密规则是:先对IMEI和UIN进行拼接,然后利用MD5算法对拼接后的字符串进行转换,转换后的前7位字符为密码。
由于我们使用的是模拟器,所以IMEI为:1234567890ABCDEF
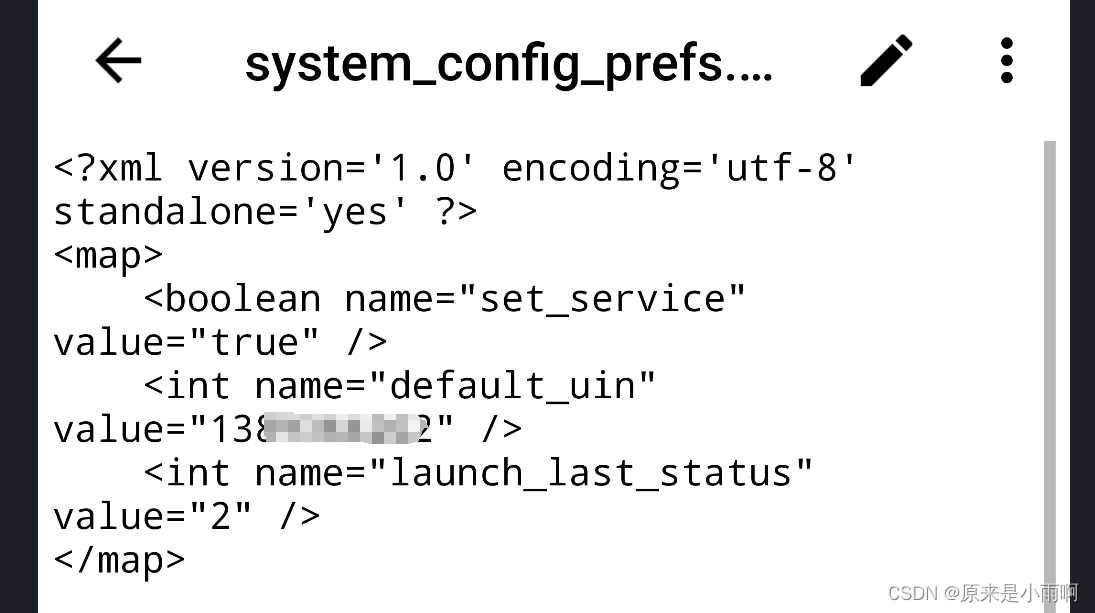
UIN是微信的用户信息号,你可以在模拟器中的RE根据以下路径找到:/data/data/com.tencent.mm/shared_prefs,然后直接用RE打开其中的system_config_prefs.xml,找到其中name为default_uin的标签所对应的value的值,就是UIN。
至此,我们已经拿到了IMEI和UIN的信息,打开这个网站MD5散列计算器然后把你的IMEI和UIN输入进去(UIN我乱输的,你们就输入你们的UIN就好) ,如果你的UIN前面有“-”或者“+”一定要输进去!!!然后得到的散列值前7位即为密钥。
(五)使用SQLcipher解密
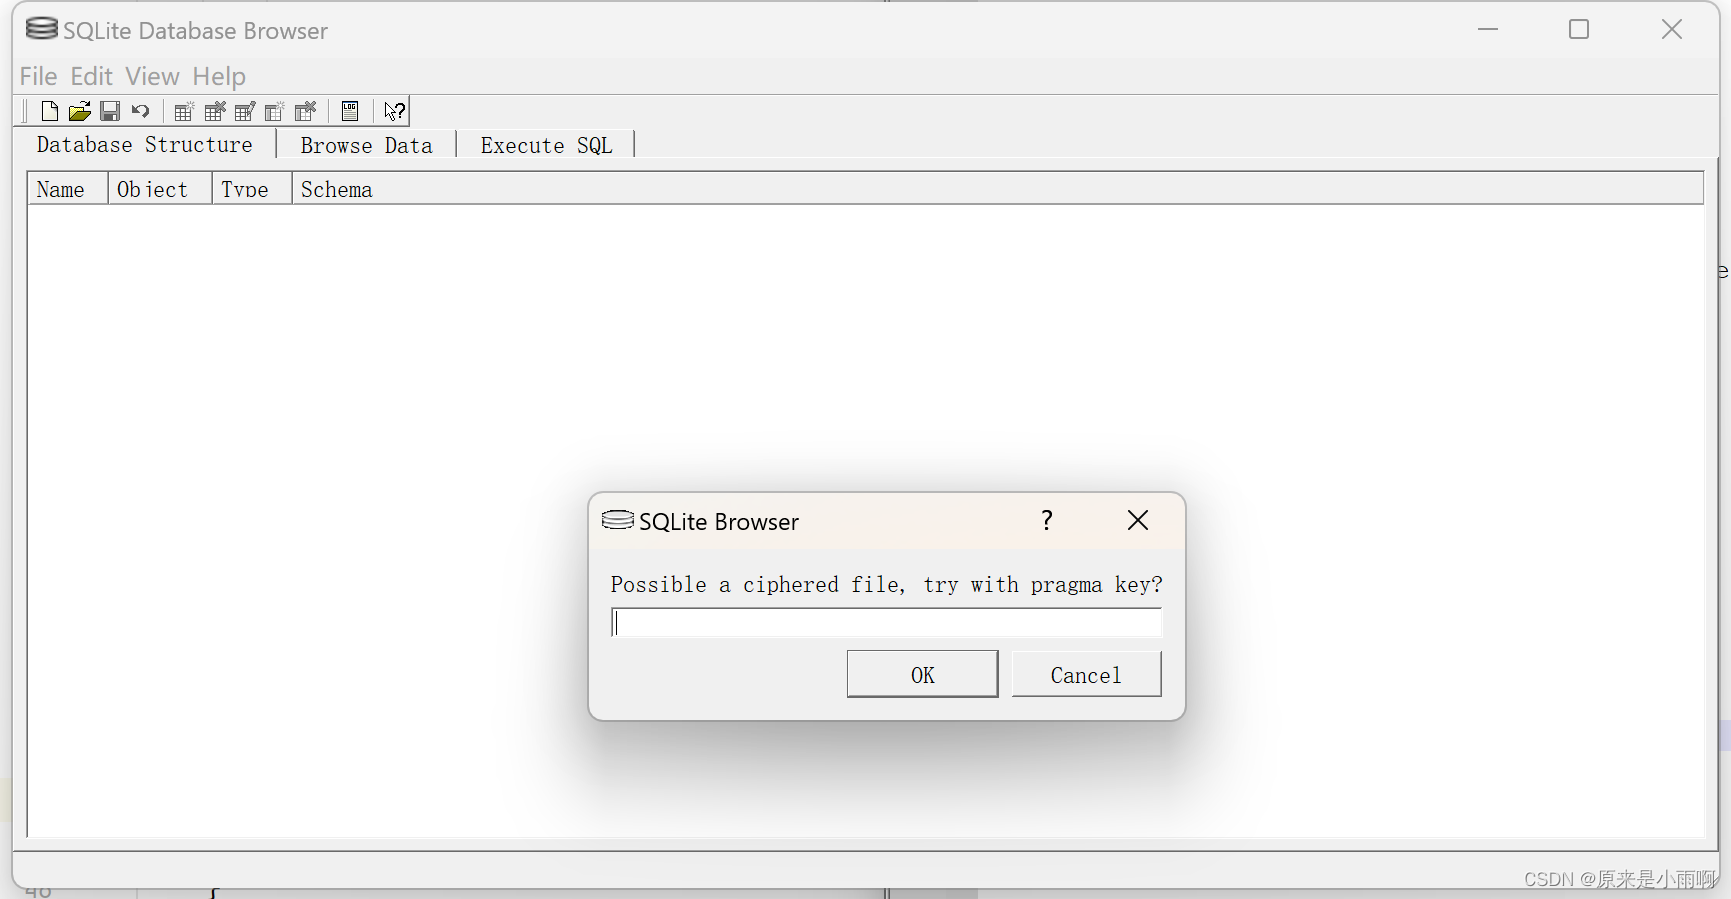
打开SQLcipher,然后右上角Open Database,然后选中EnMicroMsg.db文件。输入上面的七位密钥,即可打开。
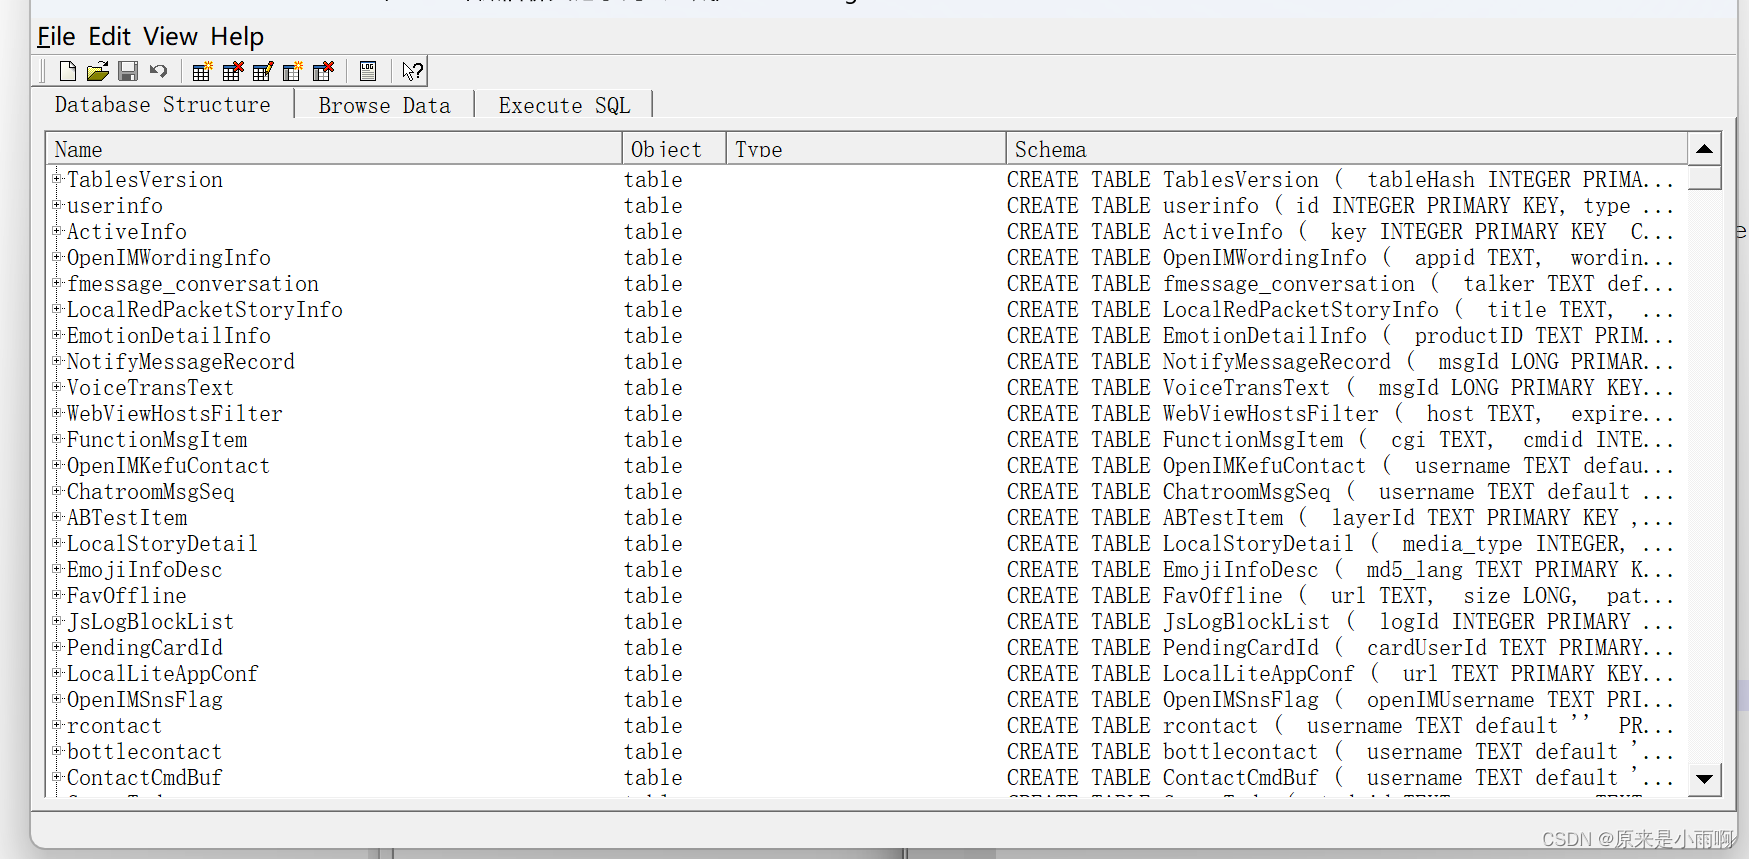
(六)导出message
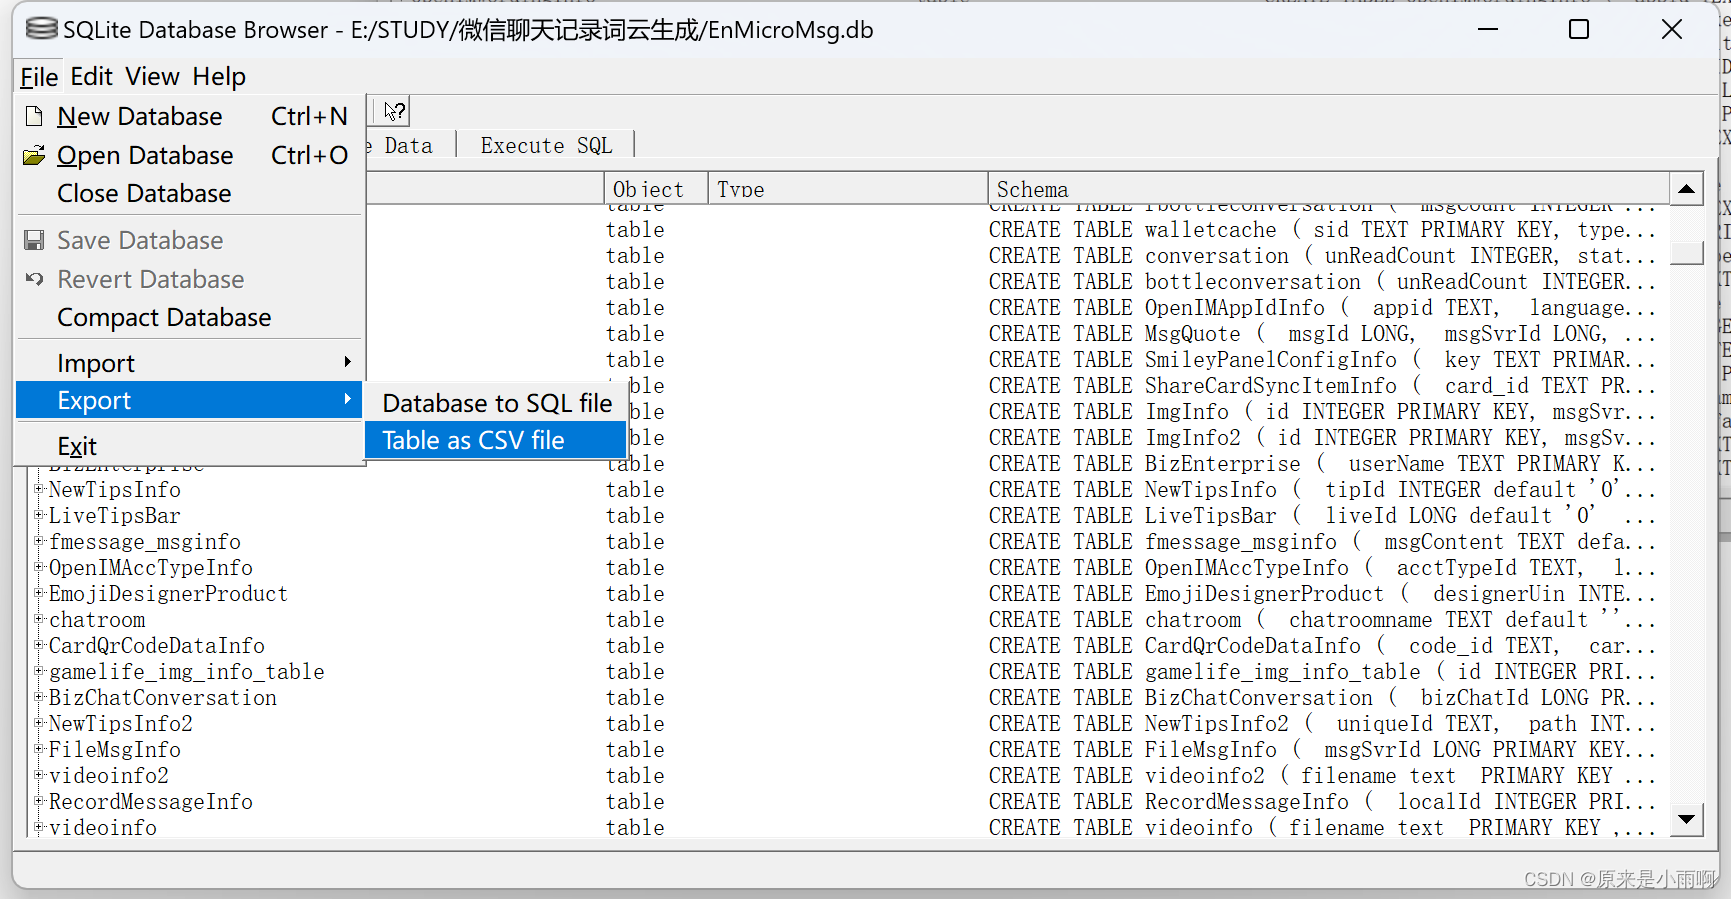
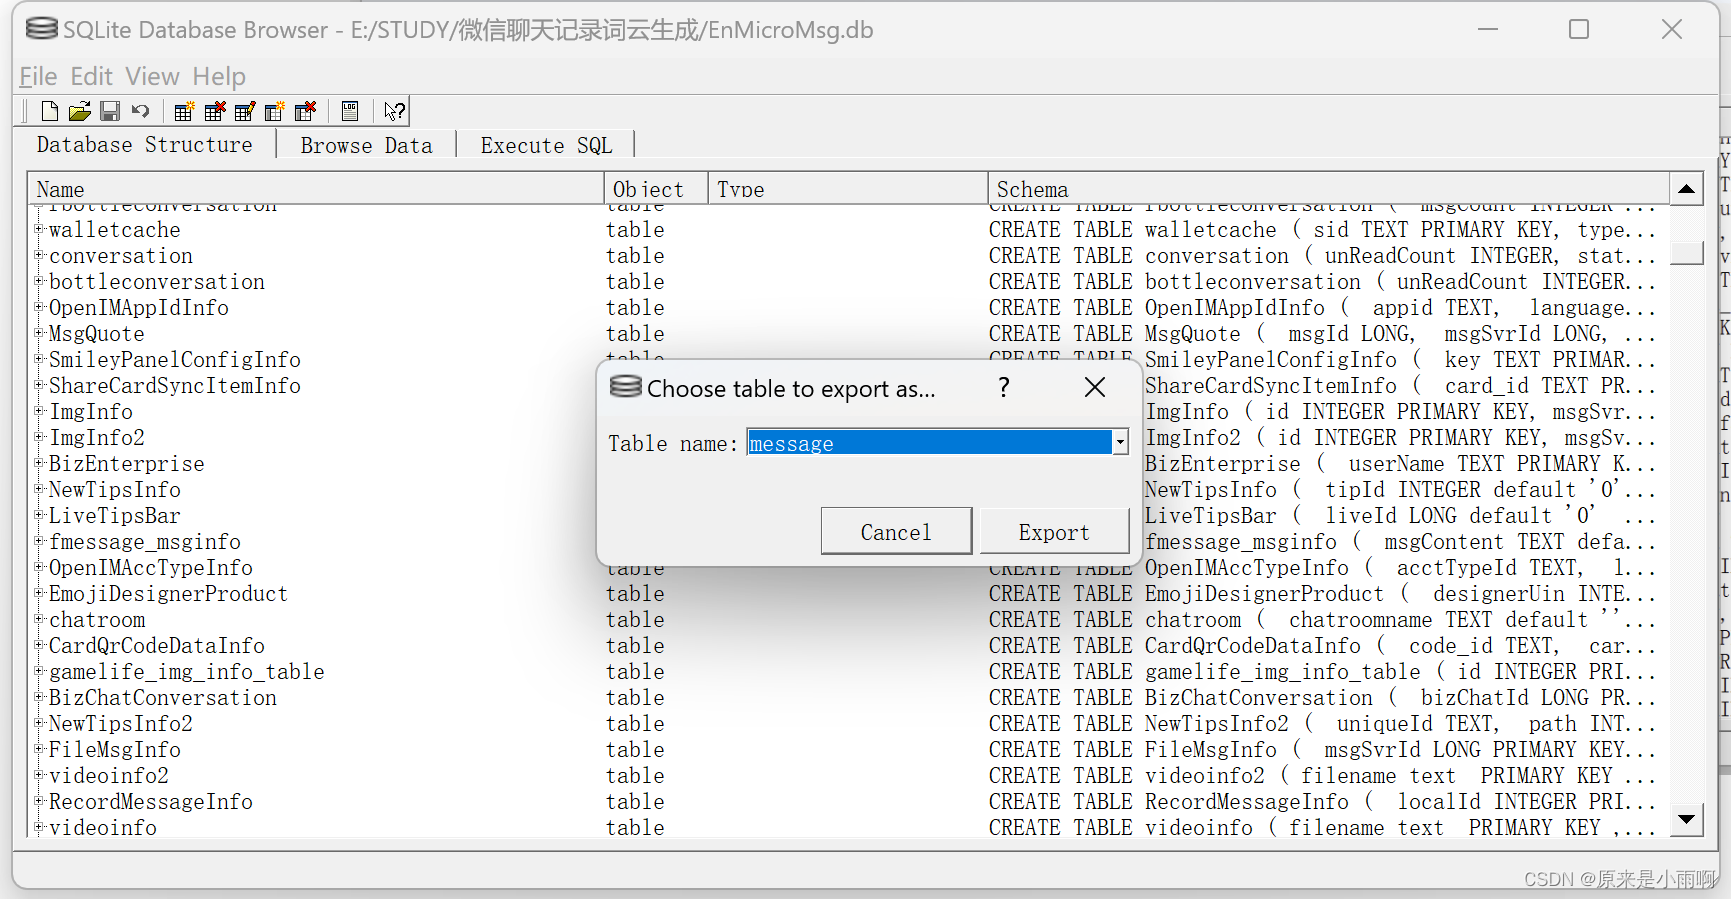
选中message,点击export,导出为csv。
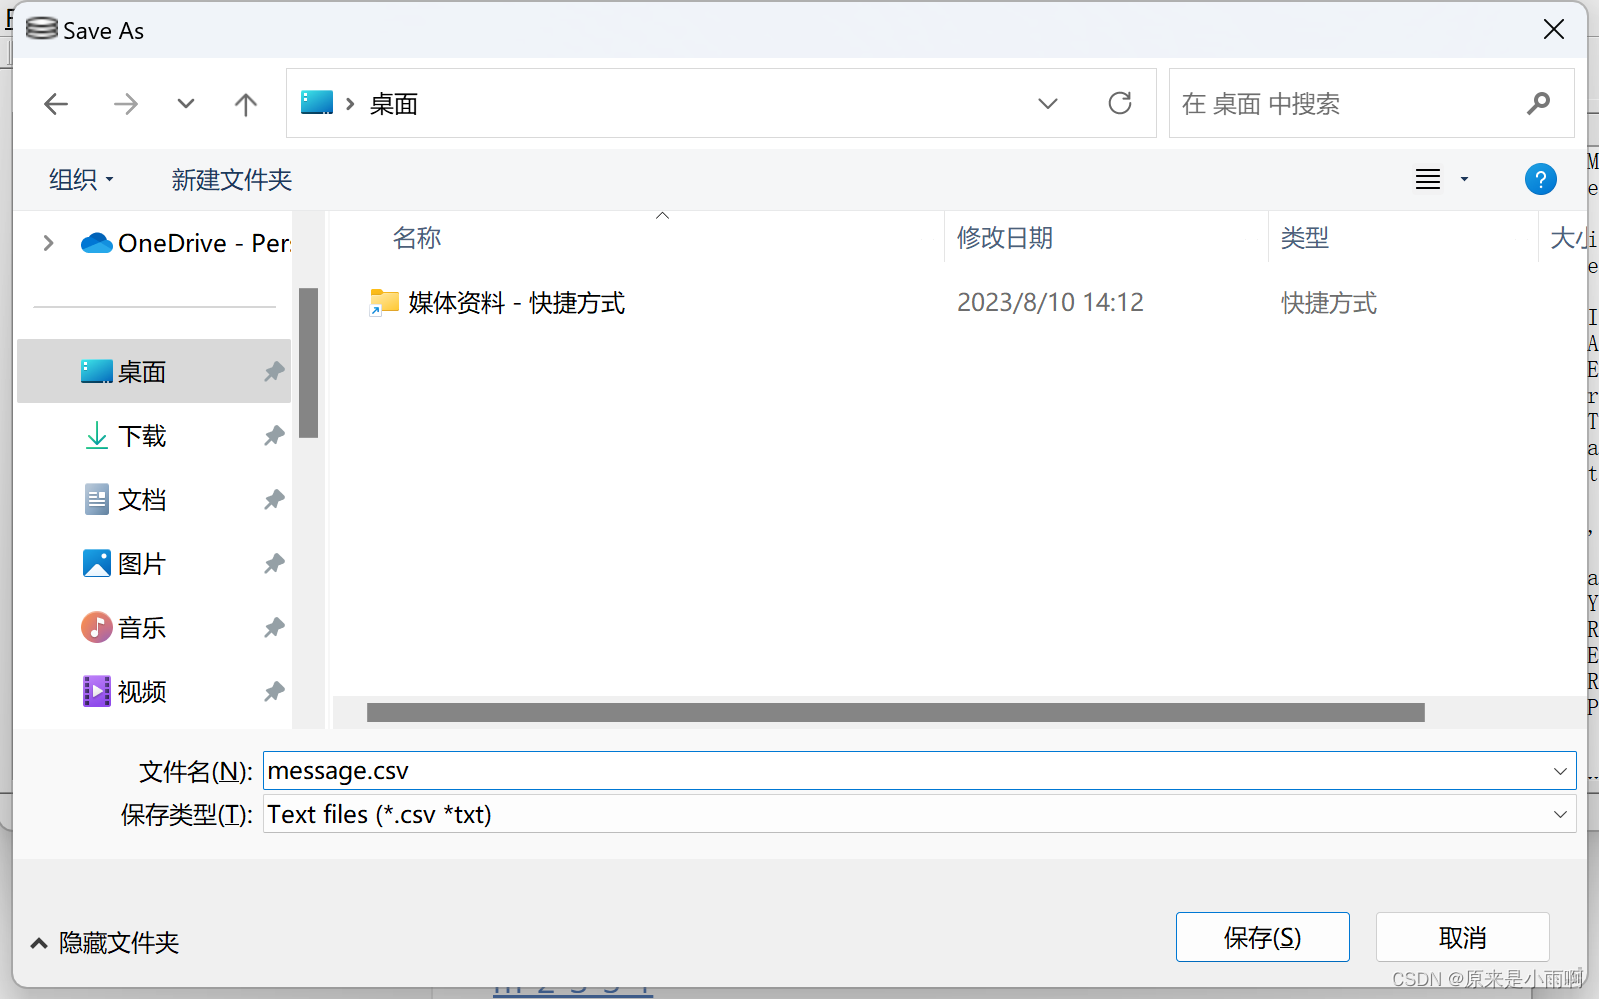
打开之后,即可获得微信聊天记录了,可以把content的无效信息删除,然后粘贴进入txt文件,一定要保存为UTF8编码。
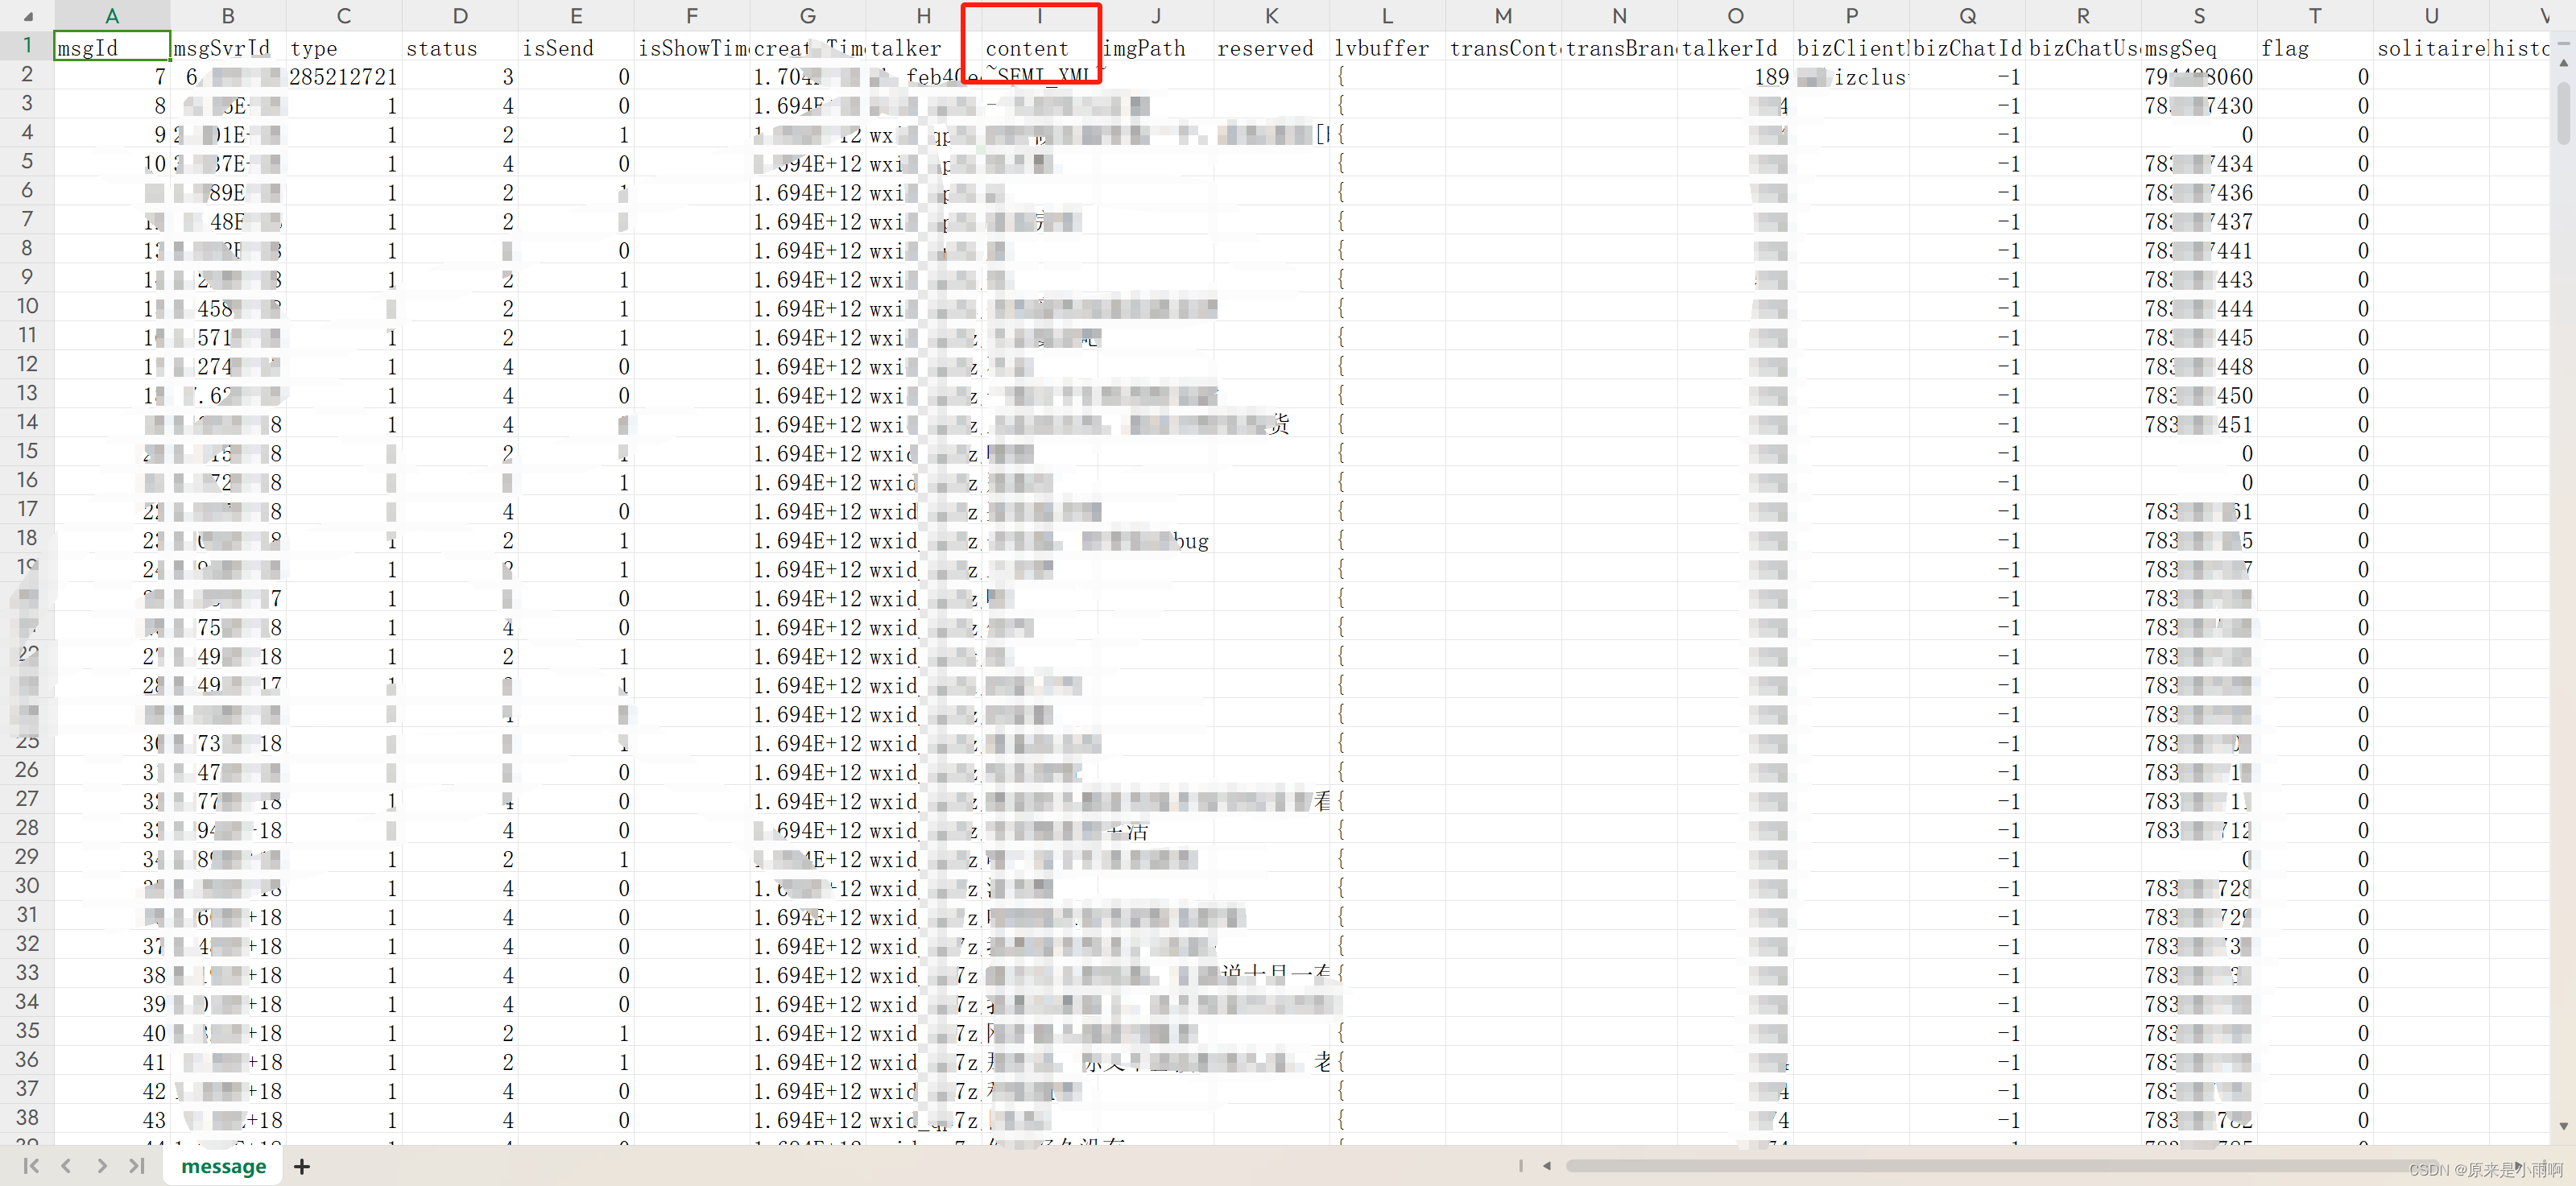
至此,我们就得到了一份完整的聊天记录了。后面就是使用python处理这些数据了。
二、根据聊天记录生成词云
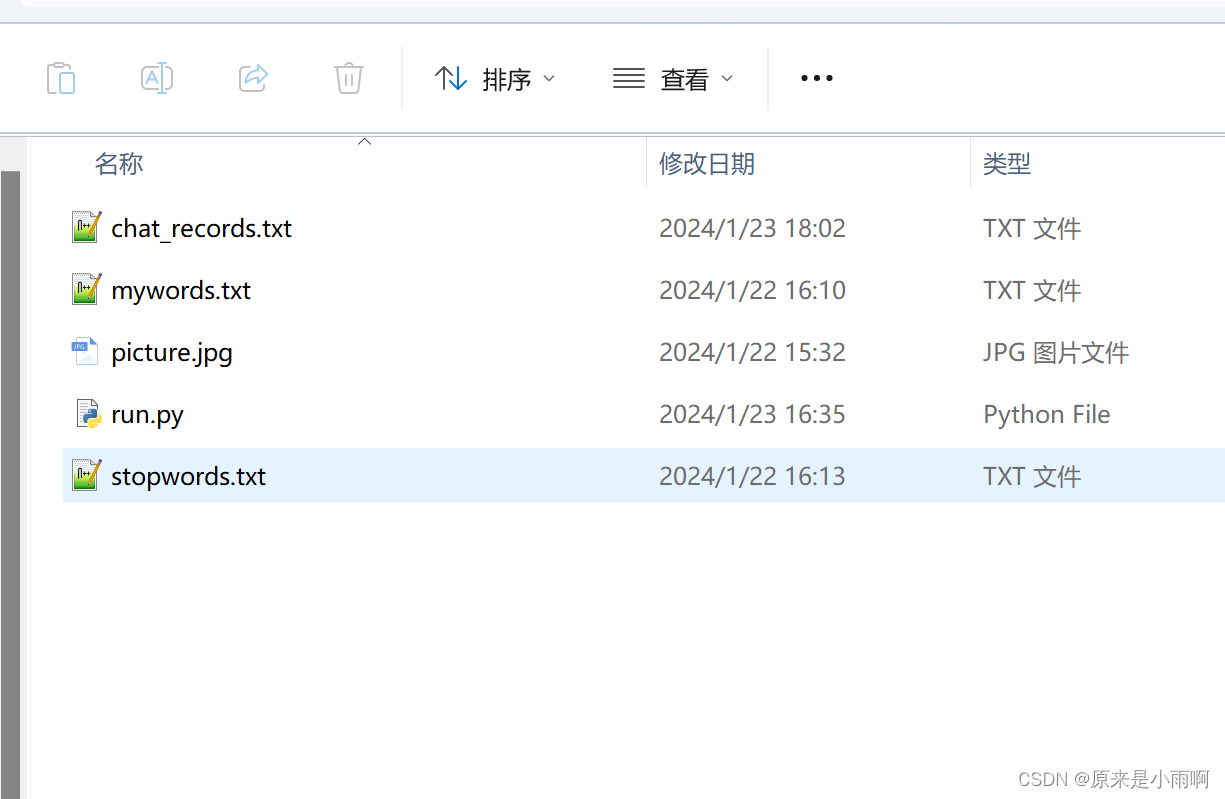
照着下图,准备这几个文件:
- chat_records.txt (这里就是微信聊天记录)
- mywords.txt (自己创建空文件夹)
- picture.jpg (词云形状)
- run.py (下面有)
- stopwords.txt (需要过滤的字符串,可以点击从这里复制过去)
run.py
# coding: utf-8
import jieba
import re
import pandas as pd
import matplotlib.pyplot as plt
from wordcloud import WordCloud, ImageColorGenerator
from imageio import imread

def load_file_segment():
    # Load the text file and segment words
    jieba.load_userdict(r"E:\STUDY\word_cloud\mywords.txt")
    # Load our own dictionary
    with open(r"E:\STUDY\word_cloud\chat_records.txt",'r',encoding='utf-8') as f:
        # Open the file
        content = f.read()
        # Read the file content

    # Retain Chinese content
    content = re.sub(r'[^\u4e00-\u9fa5]', '', content)

    # cut word modle: https://zhuanlan.zhihu.com/p/611419520
    segs = jieba.cut(content, cut_all=False)
    # Segment the whole text
    segment = [seg for seg in segs if 2 <= len(seg) <= 4 and seg != '\r\n']
    # Add results to list if the length of the segmented word is between 2-4, and is not a newline character
    return segment

def get_words_count_dict():
    segment = load_file_segment()
    # Get the segmented result
    df = pd.DataFrame({'segment':segment})
    # Convert segmented array to pandas DataFrame
    stopwords = pd.read_csv(r"E:\STUDY\word_cloud\stopwords.txt", index_col=False, quoting=3, sep="\t", names=['stopword'], encoding="utf-8")
    # Load stop words
    df = df[~df.segment.isin(stopwords.stopword)]
    # Exclude stop words
    words_count = df.groupby('segment')['segment'].size().reset_index(name='count')
    # Group by word, calculate the count of each word
    words_count = words_count.reset_index().sort_values(by="count",ascending=False)
    # Reset index to retain segment field and sort in descending order of count
    return words_count

words_count = get_words_count_dict()
# Get word count

bimg = imread(r'E:\STUDY\word_cloud\picture.jpg')
# Read the template image for word cloud generation

wordcloud = WordCloud(width=1080,
                     height=1080,
                     background_color='white',
                     mask=bimg,
                     font_path='simhei.ttf',
                     max_words=200,
                     scale=10
                     )
# Get WordCloud object, set the background color, image, font of the word cloud

# If your background color is transparent, replace above two lines with these two
# bimg = imread('ai.png')
# wordcloud = WordCloud(background_color=None, mode='RGBA', mask=bimg, font_path='simhei.ttf')

words = words_count.set_index("segment").to_dict()
# Convert words and frequencies to dictionary
wordcloud = wordcloud.fit_words(words["count"])
# Map the words and frequencies to the WordCloud object
bimgColors = ImageColorGenerator(bimg)
# Generate colors
plt.axis("off")
# Turn off the axes
plt.imshow(wordcloud.recolor(color_func=bimgColors))
# Apply colors
plt.show()
picture.jpg

启动run.py,有缺少的类库,使用下述命令安装:
xxxxxx为类库名称
pip install -i https://pypi.tuna.tsinghua.edu.cn/simple xxxxxx
三、参考博客
-
【微信聊天记录制作词云】超详细保姆级教学!!!(详细步骤+代码)https://blog.csdn.net/m0_53943702/article/details/132018093
-
Python——jieba优秀的中文分词库(基础知识+实例)https://blog.csdn.net/m0_63244368/article/details/126837925
本文来自互联网用户投稿,该文观点仅代表作者本人,不代表本站立场。本站仅提供信息存储空间服务,不拥有所有权,不承担相关法律责任。 如若内容造成侵权/违法违规/事实不符,请联系我的编程经验分享网邮箱:chenni525@qq.com进行投诉反馈,一经查实,立即删除!