【Vue】高级系列(二)消息订阅与发布--$nextTick--动画效果
发布时间:2023年12月28日
2.1 消息订阅与发布(pubsub)
-
一种组件间通信的方式,适用于任意组件间通信。
-
使用步骤:
-
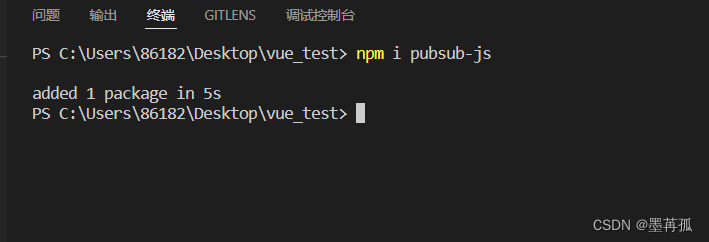
安装
pubsub:npm i pubsub-js -
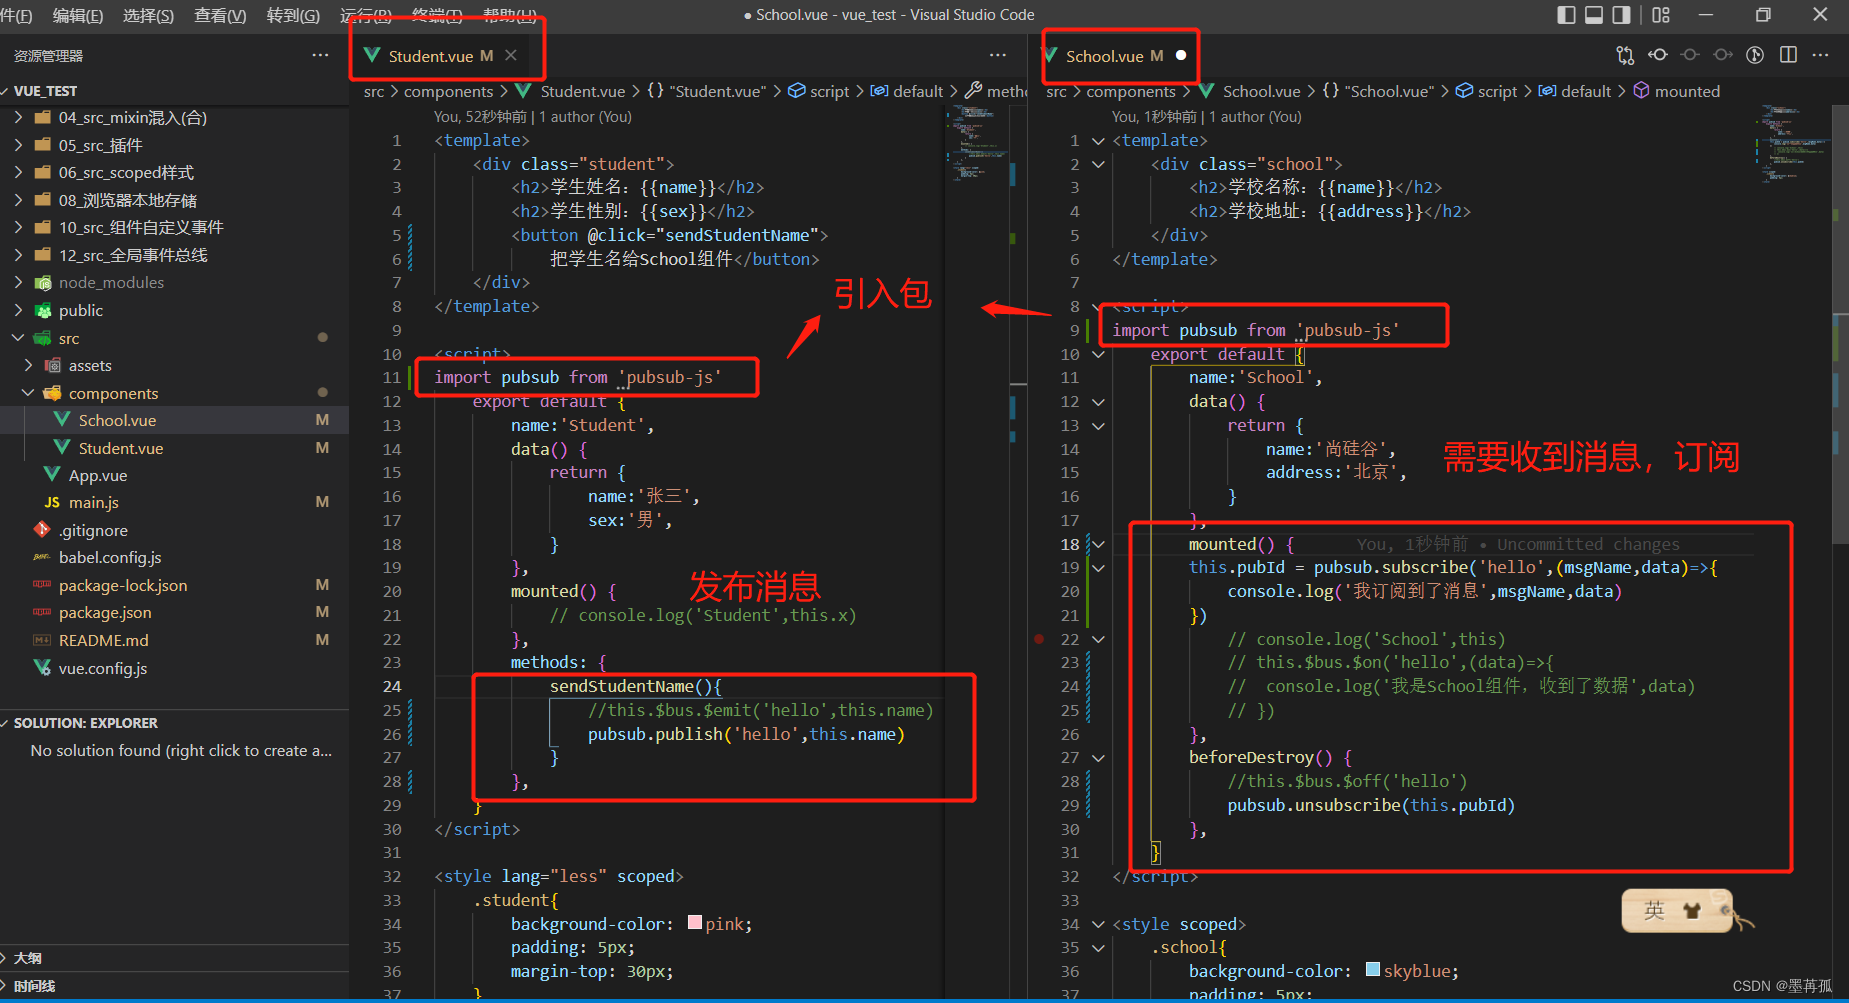
引入:
import pubsub from 'pubsub-js' -
接收数据:A组件想接收数据,则在A组件中订阅消息,订阅的回调留在A组件自身。(通俗点说,我订阅了消息,就可以收到别人发布的消息)
-
methods(){
    demo(data){......}
  }
  ......
  mounted() {
    this.pid = pubsub.subscribe('xxx',this.demo) //订阅消息
  }
-
提供数据:
pubsub.publish('xxx',数据) -
最好在beforeDestroy钩子中,用
PubSub.unsubscribe(pid)去取消订阅。
下面是 安装并使用的案例
npm i pubsub-js

2.2 nextTick
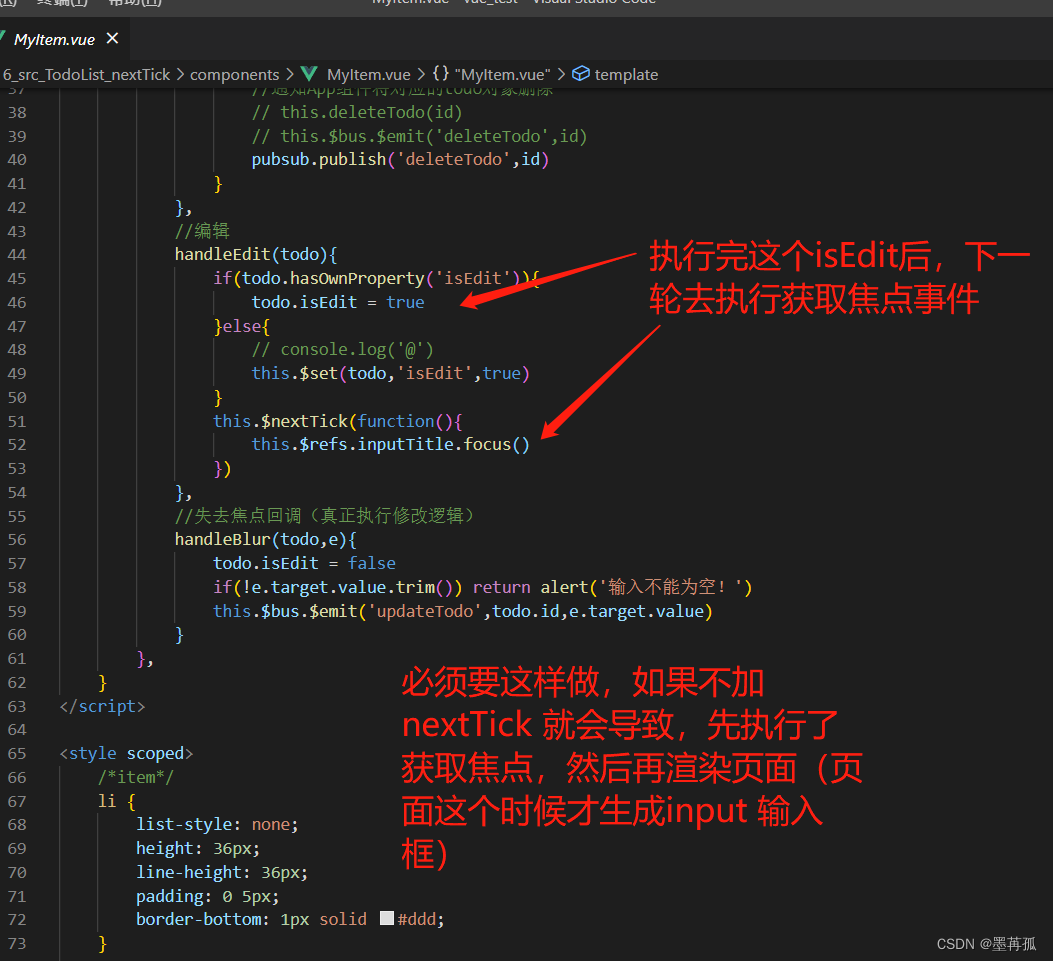
- 语法:
this.$nextTick(回调函数) - 作用:在下一次
DOM更新结束后执行其指定的回调。 - 什么时候用:当改变数据后,要基于更新后的新
DOM进行某些操作时,要在nextTick所指定的回调函数中执行。
2.3 动画效果
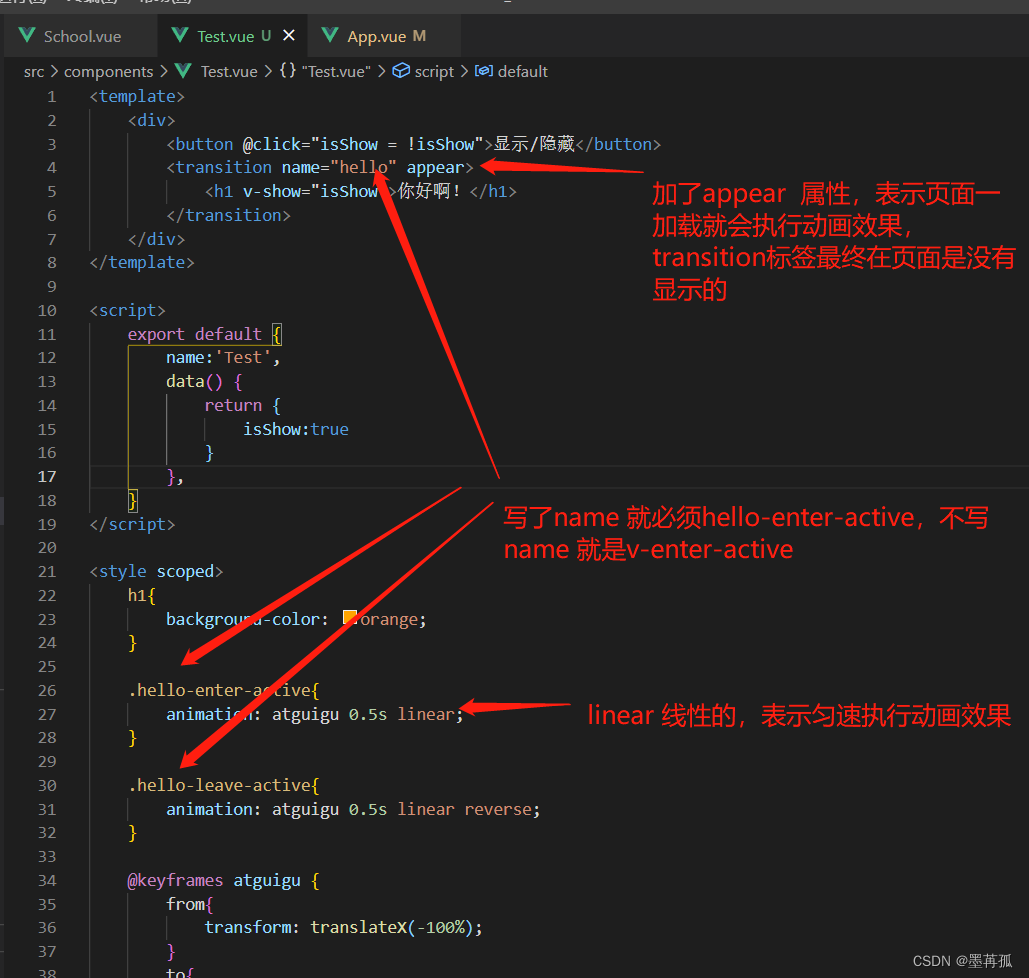
<template>
	<div>
		<button @click="isShow = !isShow">显示/隐藏</button>
		<transition name="hello" appear>
			<h1 v-show="isShow">你好啊!</h1>
		</transition>
	</div>
</template>

<script>
	export default {
		name:'Test',
		data() {
			return {
				isShow:true
			}
		},
	}
</script>

<style scoped>
	h1{
		background-color: orange;
	}

	.hello-enter-active{
		animation: atguigu 0.5s linear;
	}

	.hello-leave-active{
		animation: atguigu 0.5s linear reverse;
	}

	@keyframes atguigu {
		from{
			transform: translateX(-100%);
		}
		to{
			transform: translateX(0px);
		}
	}
</style>
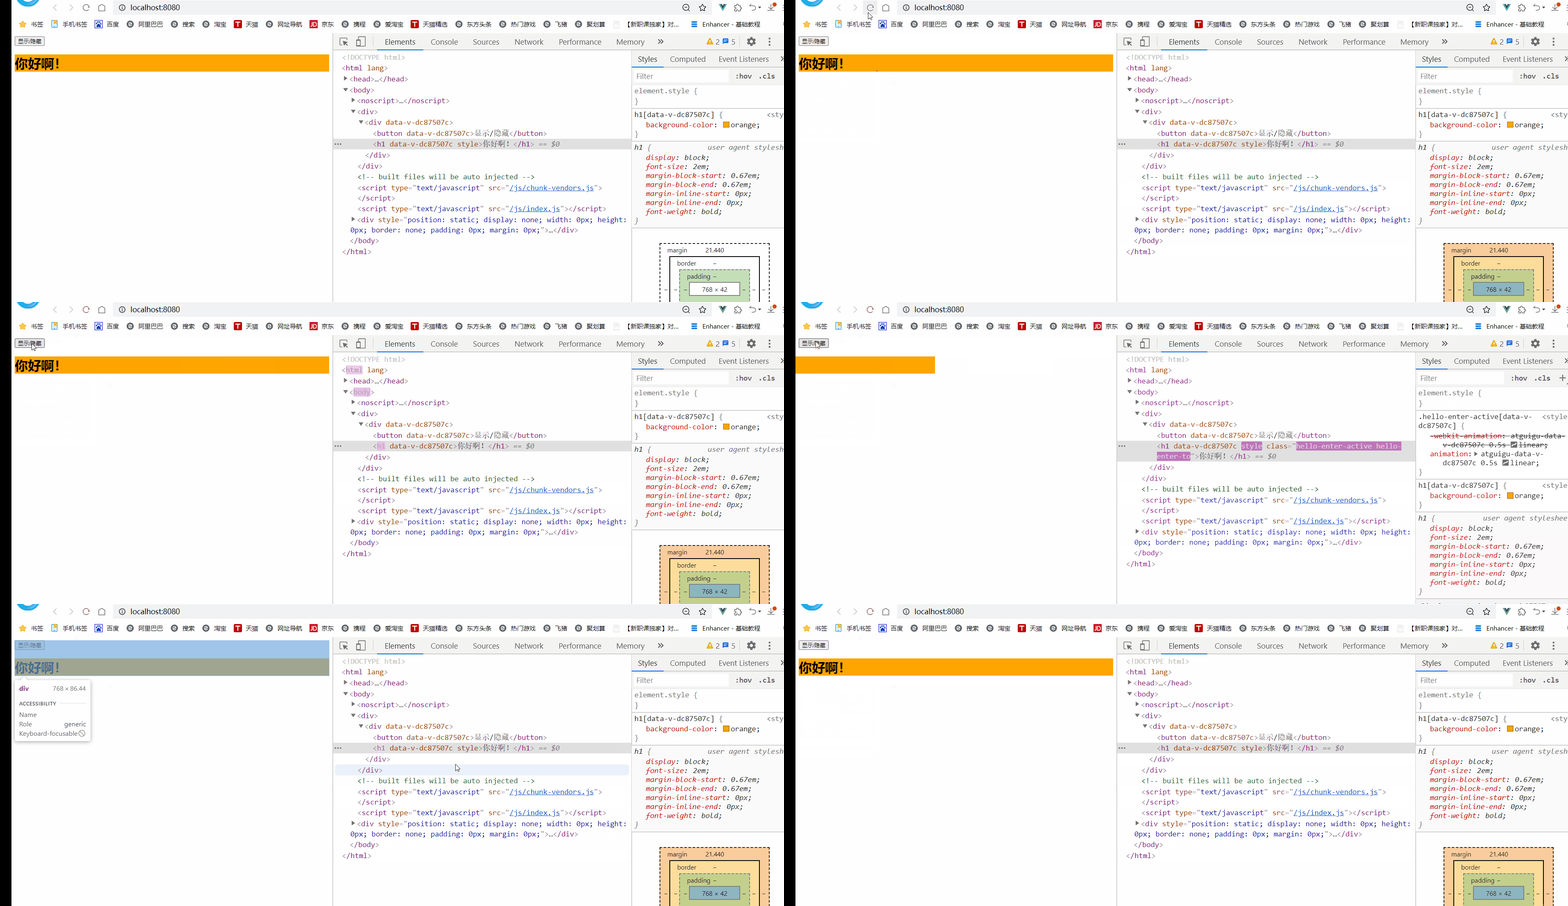
2.3.1 过渡效果
<template>
	<div>
		<button @click="isShow = !isShow">显示/隐藏</button>
		<transition name="hello" appear>
			<h1 v-show="isShow" >尚硅谷!</h1>
		</transition>
	</div>
</template>

<script>
	export default {
		name:'Test',
		data() {
			return {
				isShow:true
			}
		},
	}
</script>

<style scoped>
	h1{
		background-color: orange;
	}
	/* 进入的起点、离开的终点 */
	.hello-enter,.hello-leave-to{
		transform: translateX(-100%);
	}
	.hello-enter-active,.hello-leave-active{
		transition: 0.5s linear;
	}
	/* 进入的终点、离开的起点 */
	.hello-enter-to,.hello-leave{
		transform: translateX(0);
	}

</style>
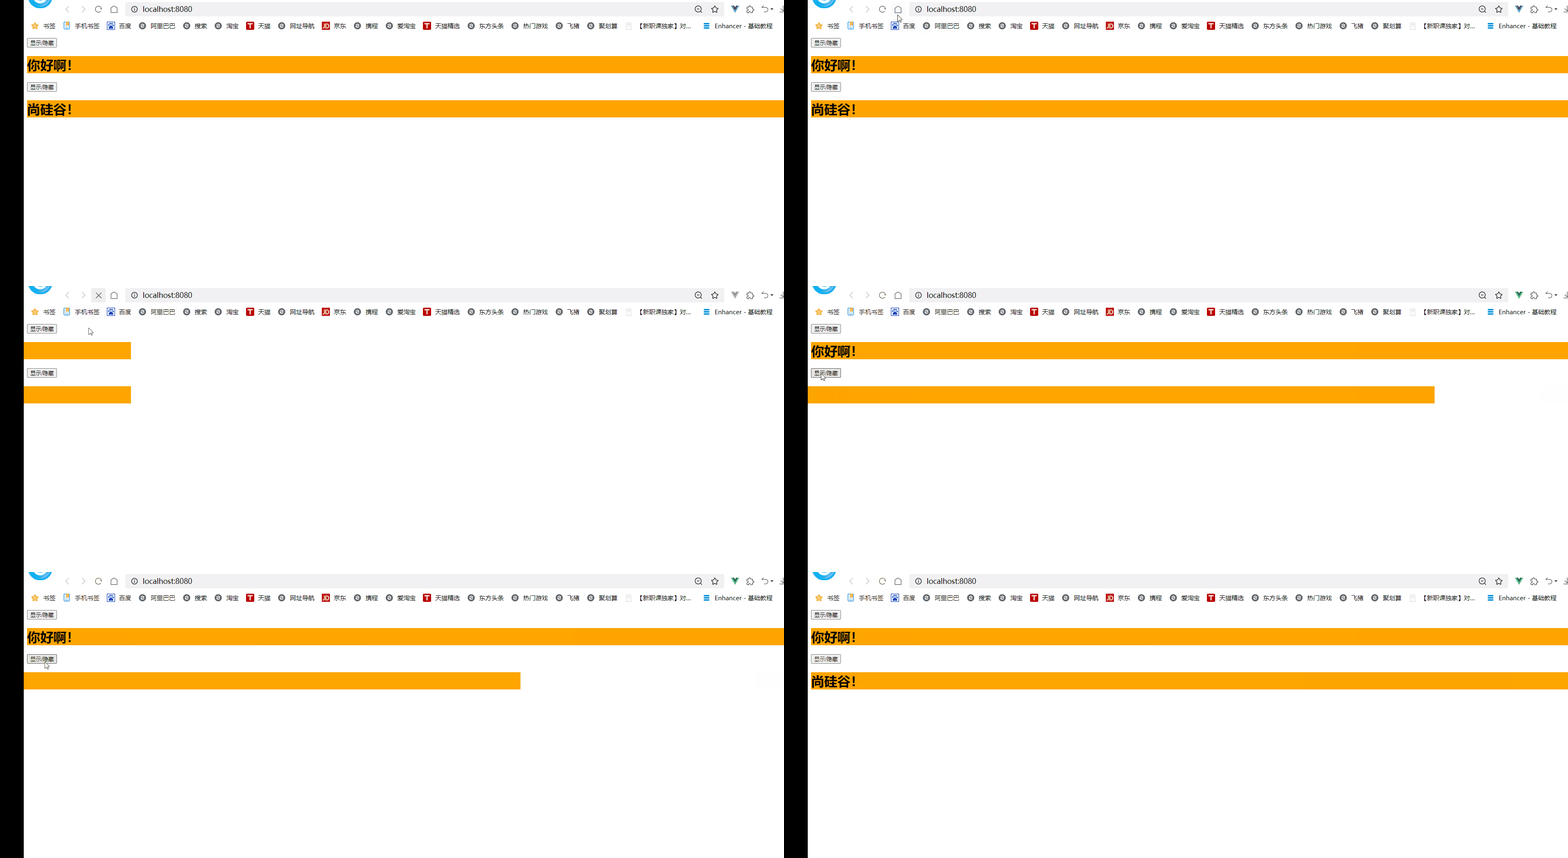
和上面的效果一致
2.3.2 多个元素过渡
<template>
	<div>
		<button @click="isShow = !isShow">显示/隐藏</button>
		<transition-group name="hello" appear>
			<h1 v-show="!isShow" key="1">你好啊!</h1>
			<h1 v-show="isShow" key="2">尚硅谷!</h1>
		</transition-group>
	</div>
</template>

<script>
	export default {
		name:'Test',
		data() {
			return {
				isShow:true
			}
		},
	}
</script>

<style scoped>
	h1{
		background-color: orange;
	}
	/* 进入的起点、离开的终点 */
	.hello-enter,.hello-leave-to{
		transform: translateX(-100%);
	}
	.hello-enter-active,.hello-leave-active{
		transition: 0.5s linear;
	}
	/* 进入的终点、离开的起点 */
	.hello-enter-to,.hello-leave{
		transform: translateX(0);
	}

</style>
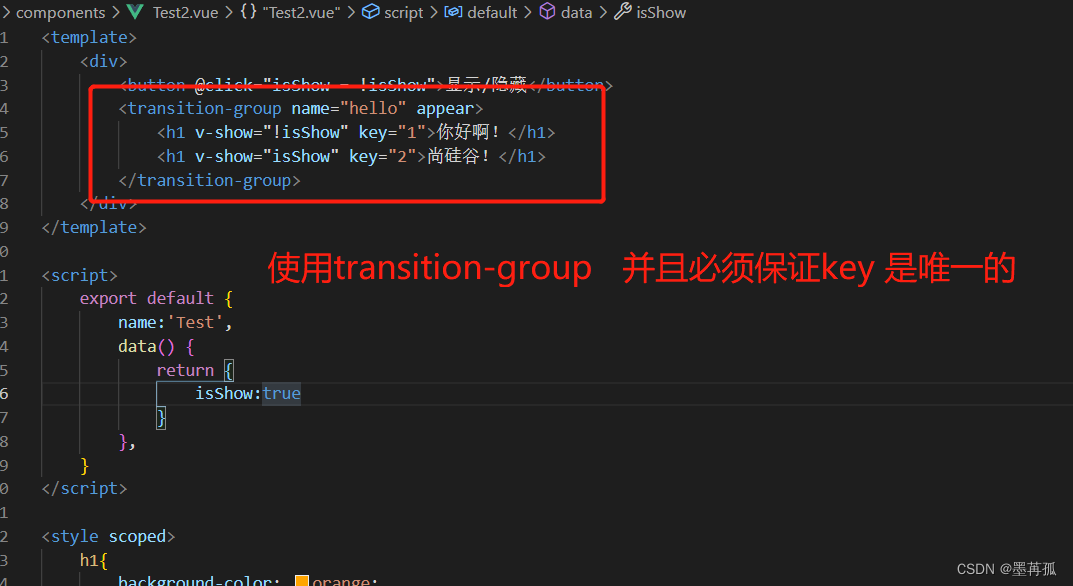
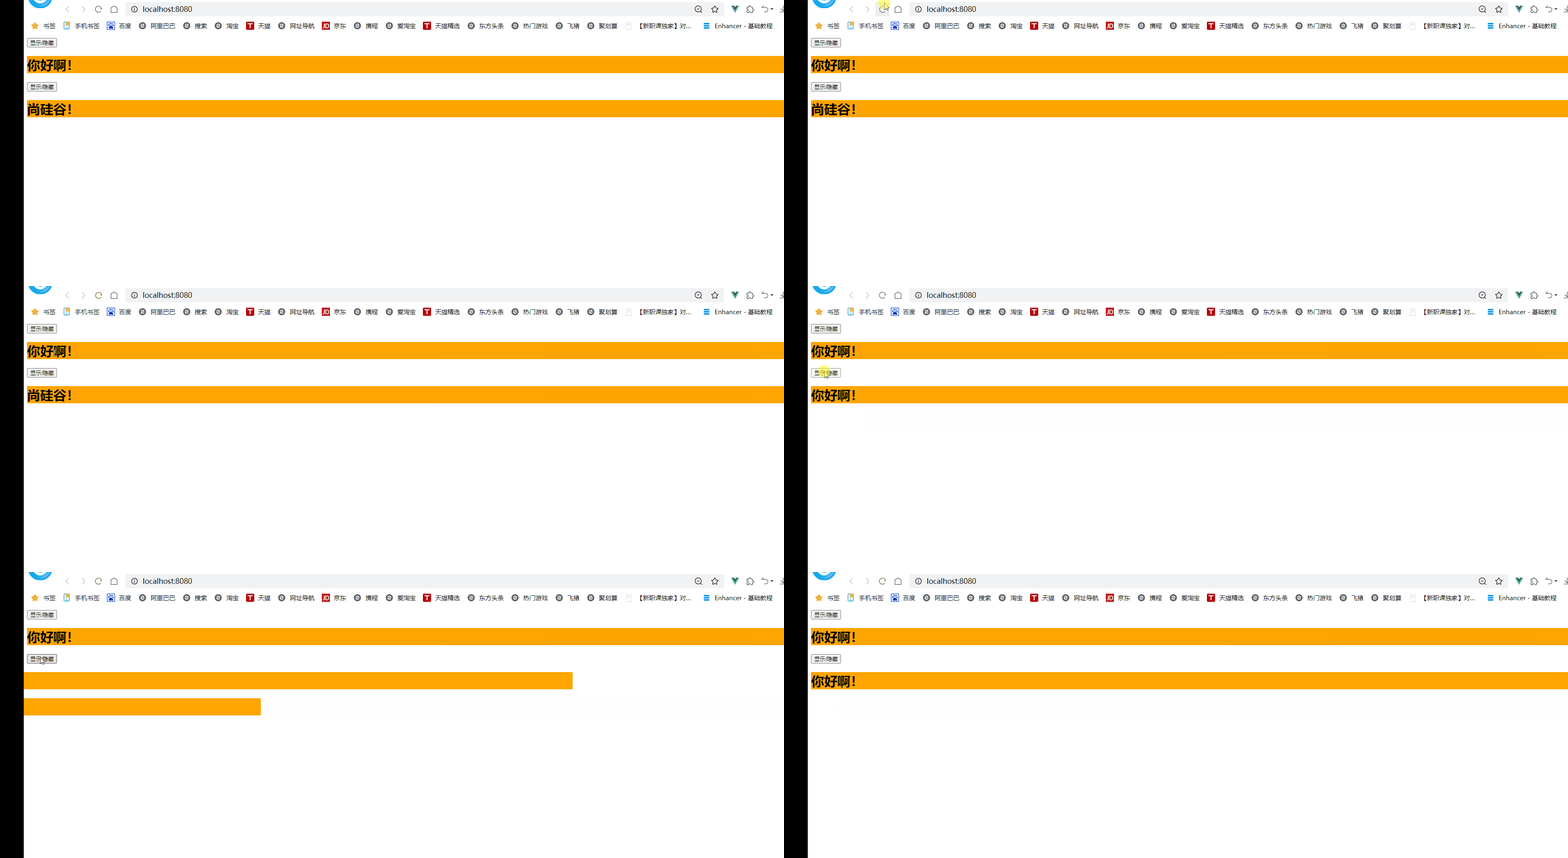
2.3.3 集成第三方动画库
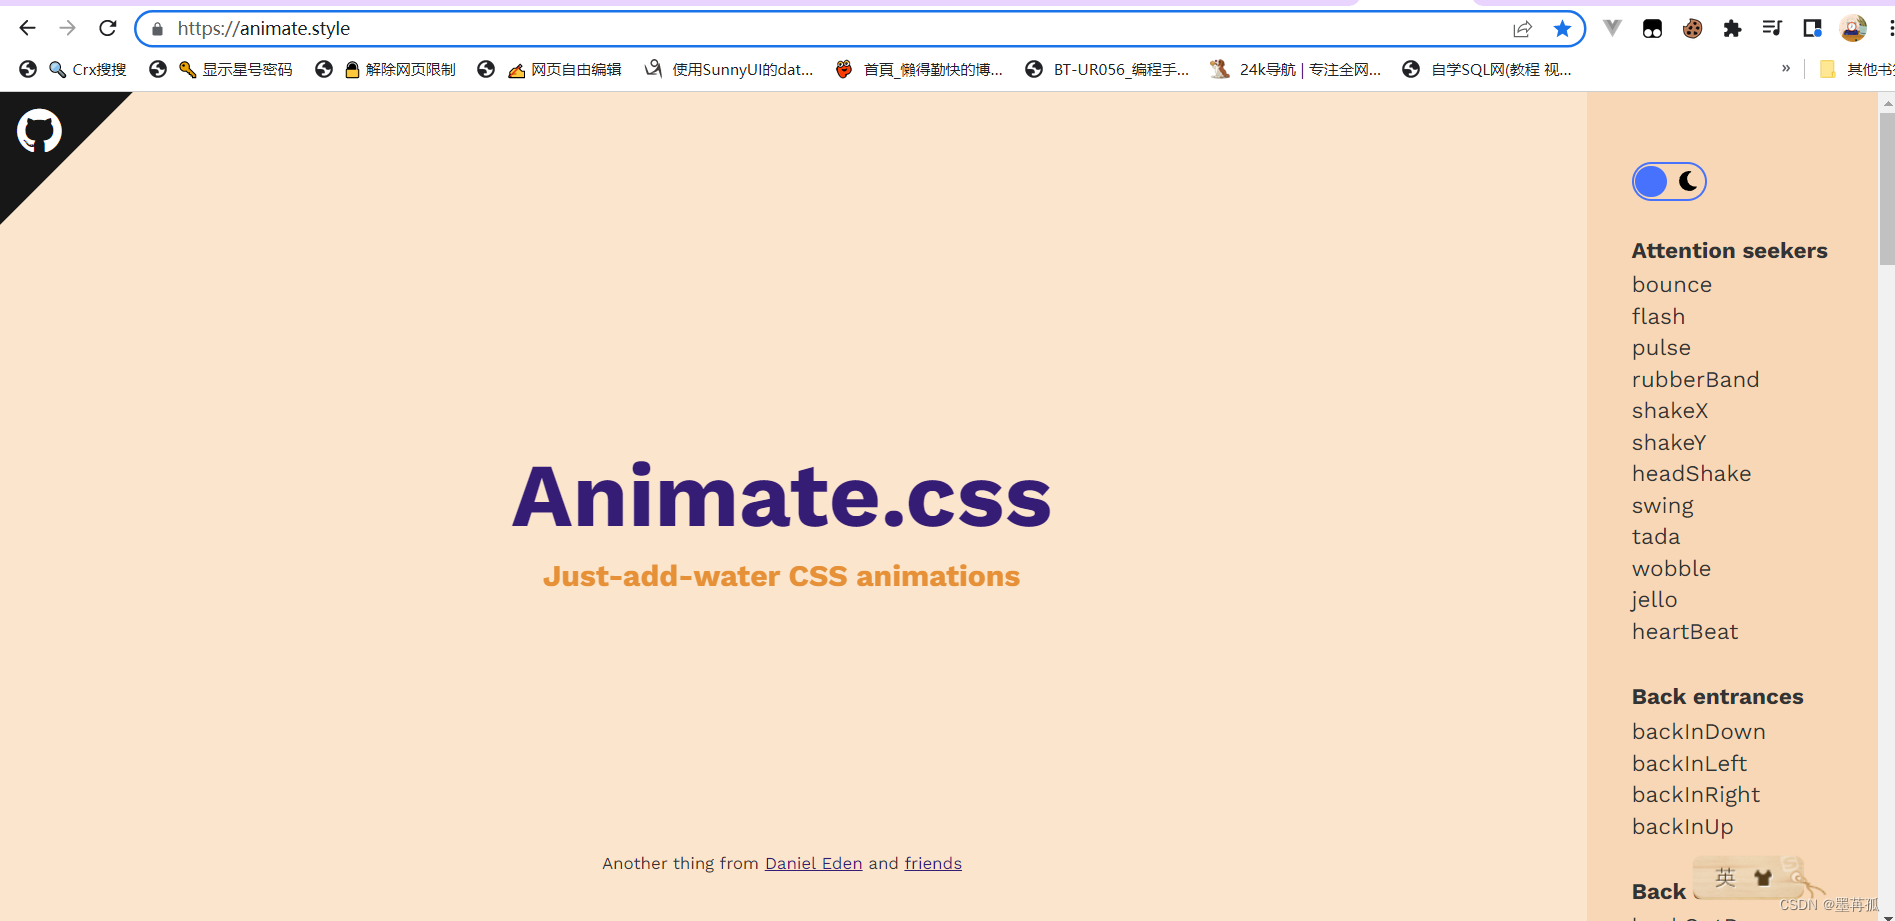
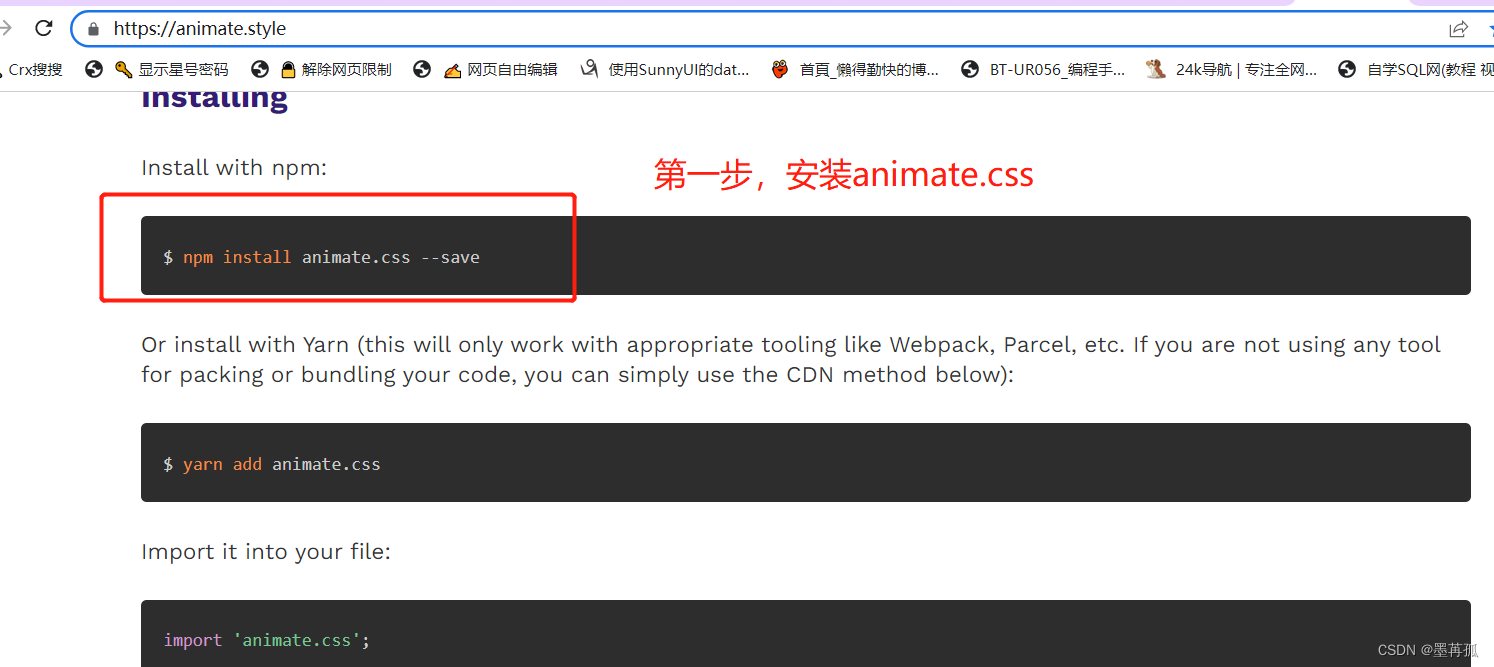

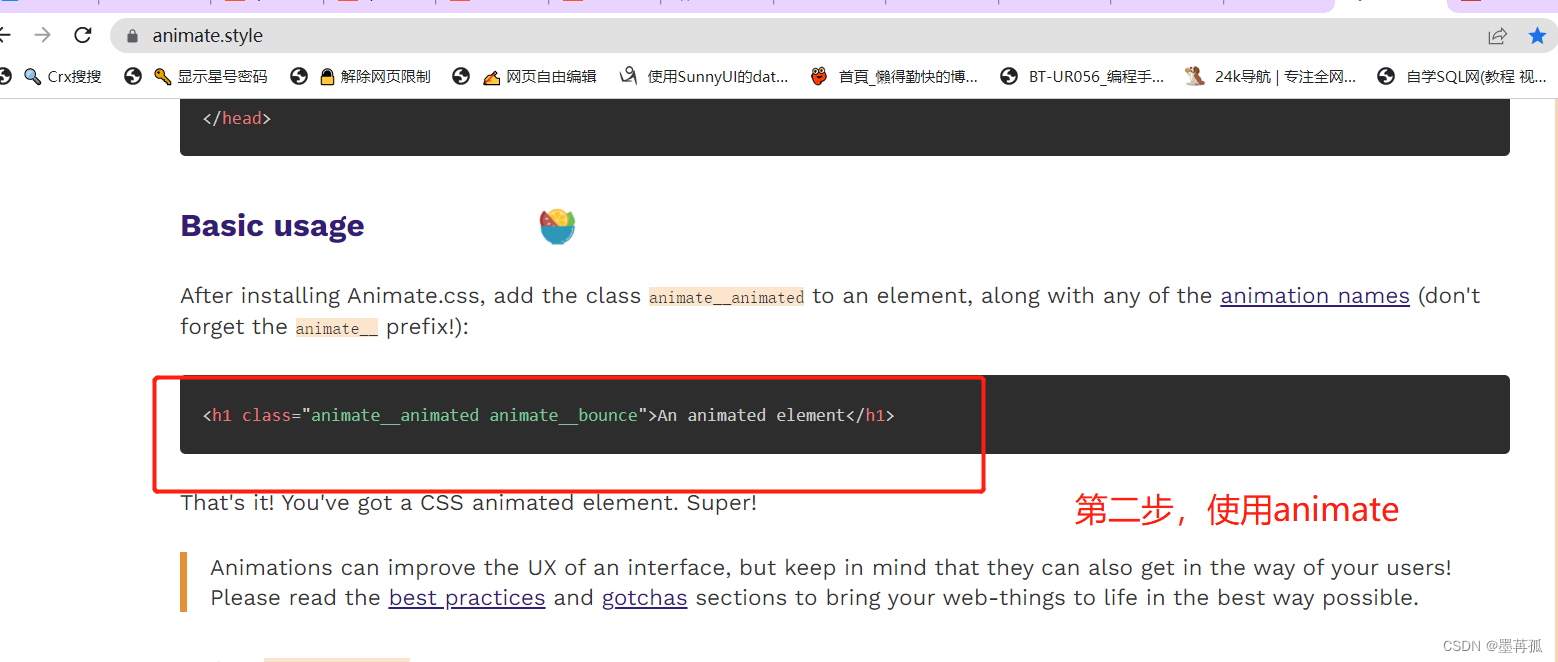
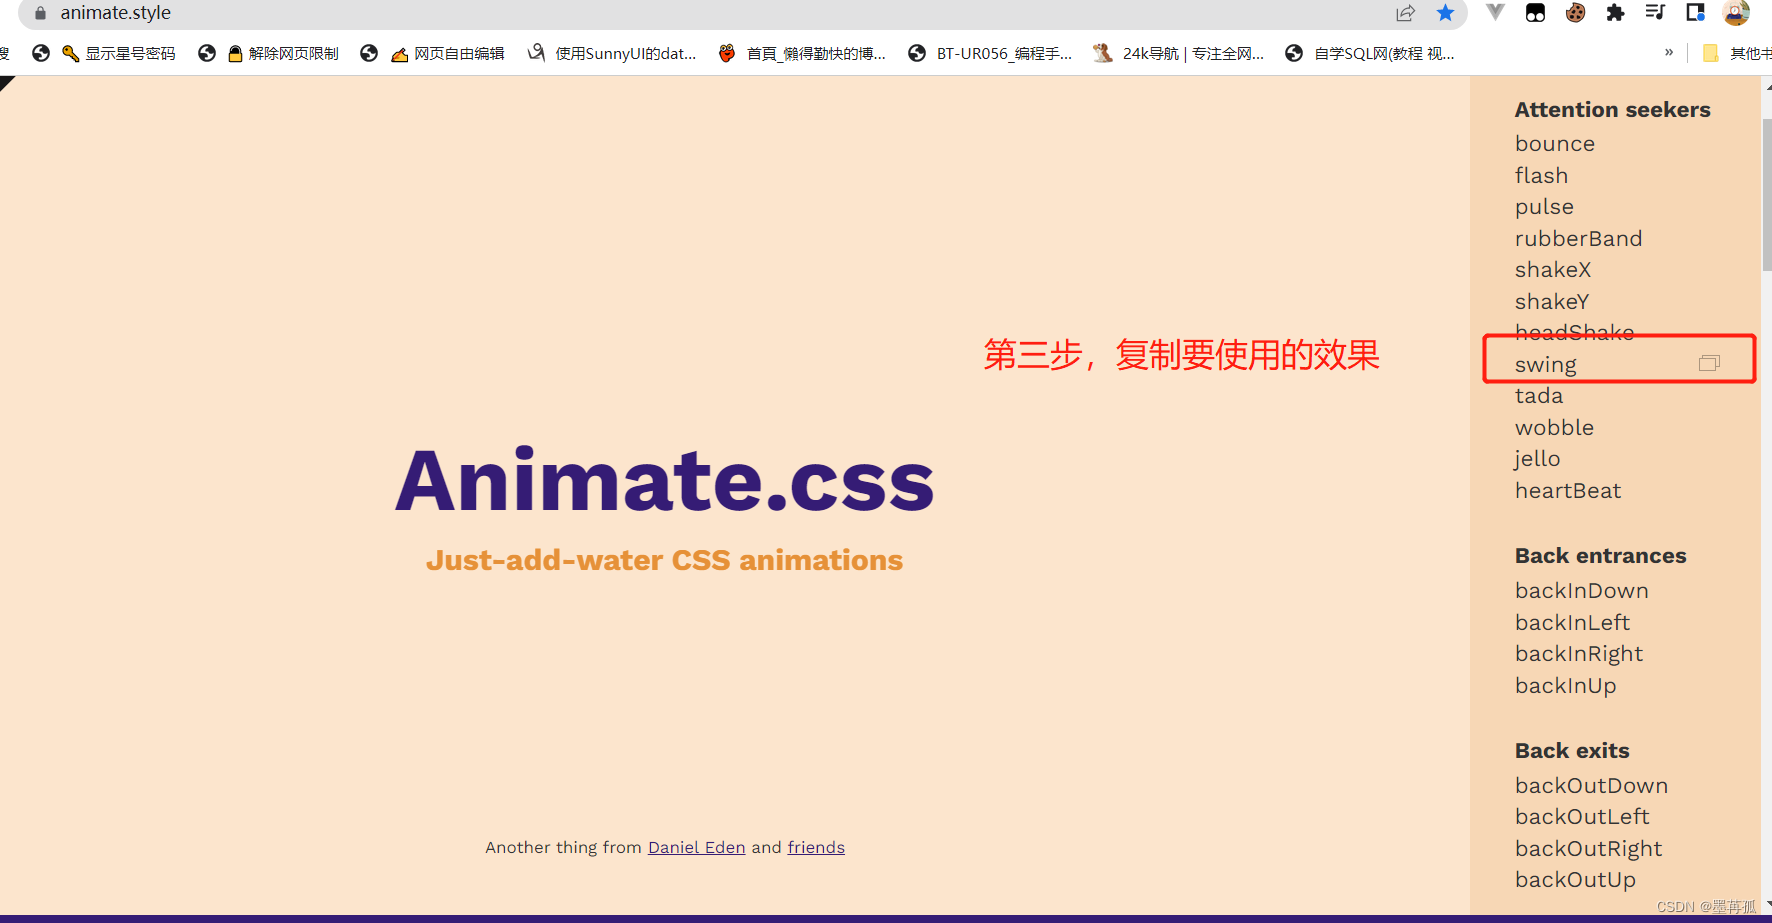
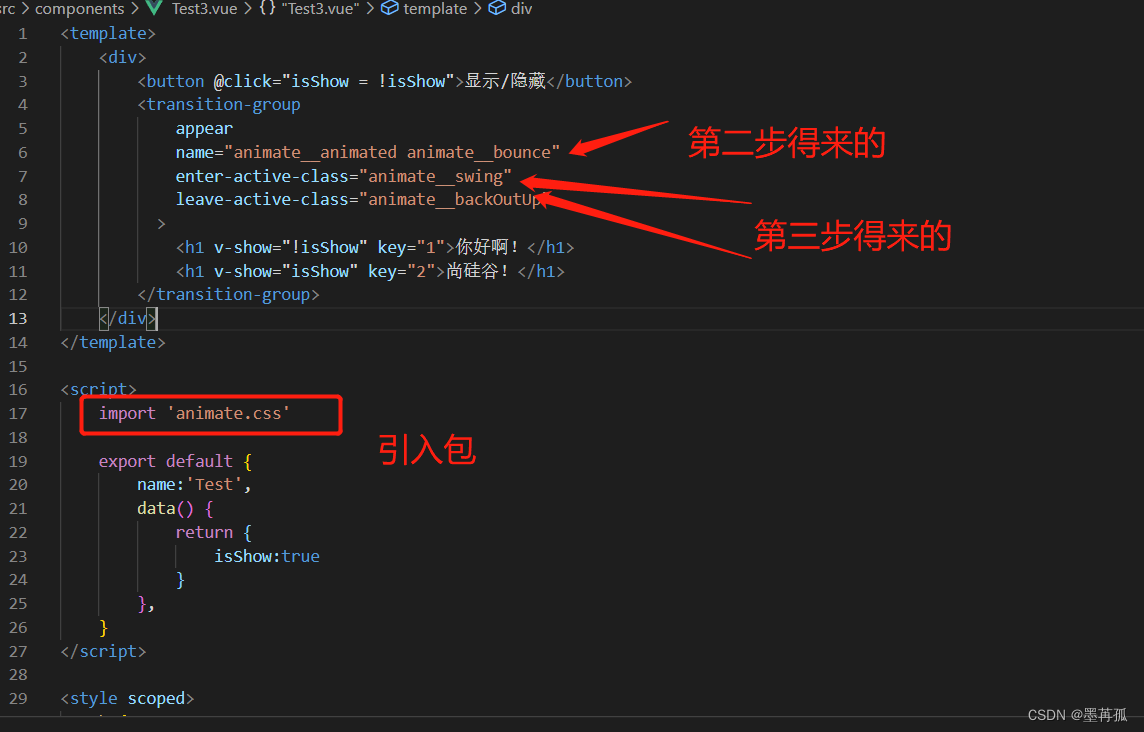
完整代码如下
<template>
	<div>
		<button @click="isShow = !isShow">显示/隐藏</button>
		<transition-group
		    appear
		    name="animate__animated animate__bounce"
			enter-active-class="animate__swing"
			leave-active-class="animate__backOutUp"
		  >
			<h1 v-show="!isShow" key="1">你好啊!</h1>
			<h1 v-show="isShow" key="2">尚硅谷!</h1>
		</transition-group>
	</div>
</template>

<script>
    import 'animate.css'

	export default {
		name:'Test',
		data() {
			return {
				isShow:true
			}
		},
	}
</script>

<style scoped>
	h1{
		background-color: orange;
	}

</style>
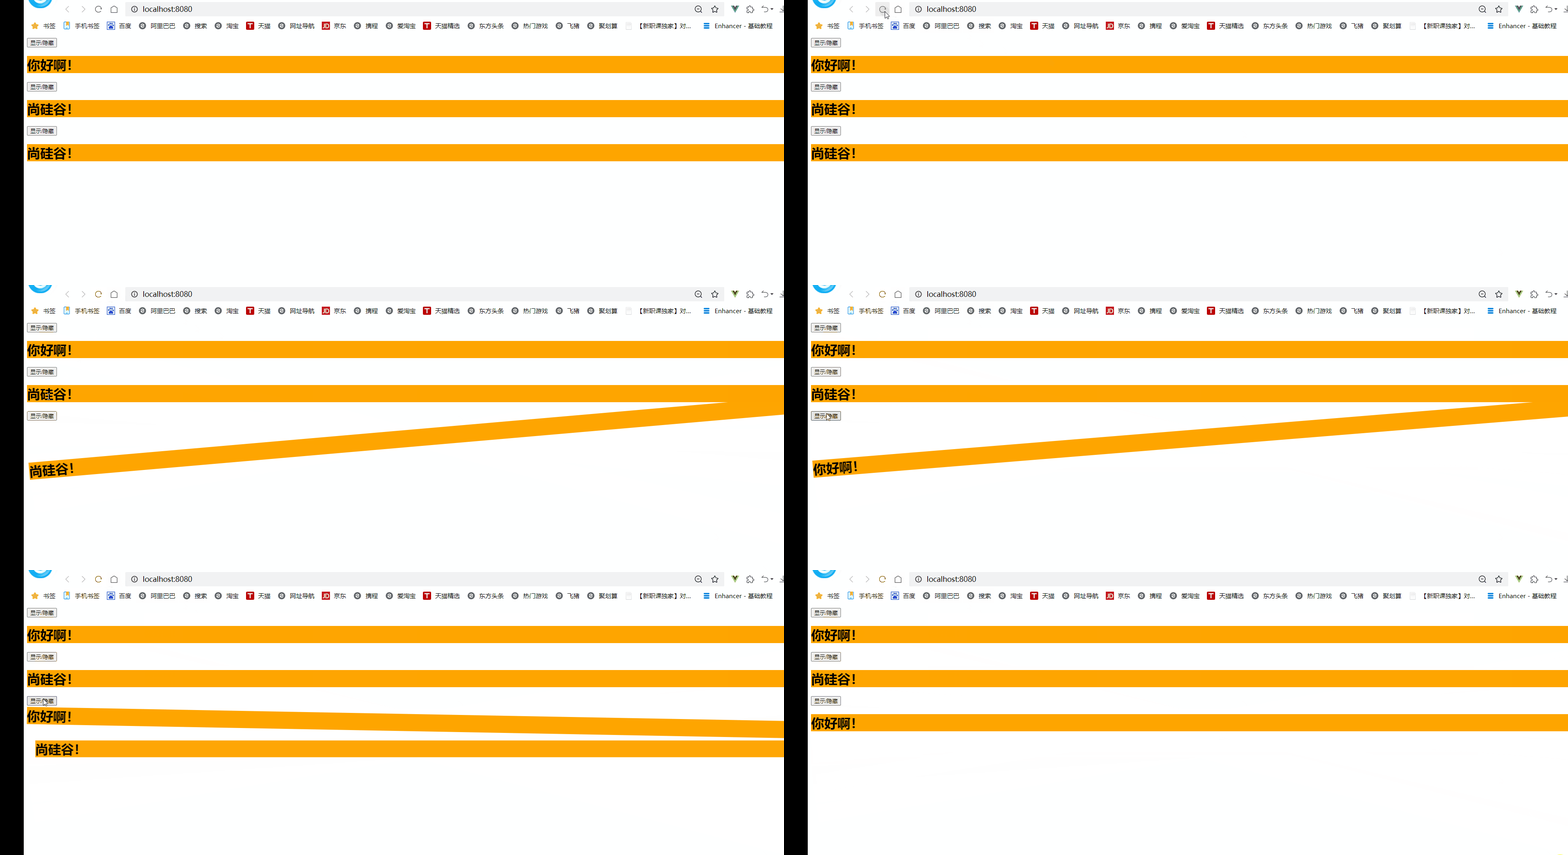
2.3.4 总结Vue封装的过度与动画
-
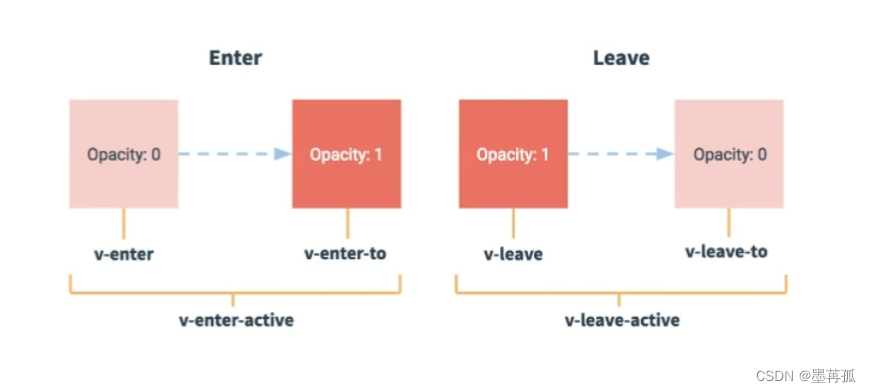
作用:在插入、更新或移除 DOM元素时,在合适的时候给元素添加样式类名。
-
图示:
-
写法:
-
准备好样式:
- 元素进入的样式:
- v-enter:进入的起点
- v-enter-active:进入过程中
- v-enter-to:进入的终点
- 元素离开的样式:
- v-leave:离开的起点
- v-leave-active:离开过程中
- v-leave-to:离开的终点
- 元素进入的样式:
-
使用
<transition>包裹要过度的元素,并配置name属性:<transition name="hello"> <h1 v-show="isShow">你好啊!</h1> </transition> -
备注:若有多个元素需要过度,则需要使用:
<transition-group>,且每个元素都要指定key值。
-
vue脚手架配置代理
方法一
? 在vue.config.js中添加如下配置:
devServer:{
  proxy:"http://localhost:5000"
}
说明:
- 优点:配置简单,请求资源时直接发给前端(8080)即可。
- 缺点:不能配置多个代理,不能灵活的控制请求是否走代理。
- 工作方式:若按照上述配置代理,当请求了前端不存在的资源时,那么该请求会转发给服务器 (优先匹配前端资源)
方法二
? 编写vue.config.js配置具体代理规则:
module.exports = {
	devServer: {
      proxy: {
      '/api1': {// 匹配所有以 '/api1'开头的请求路径
        target: 'http://localhost:5000',// 代理目标的基础路径
        changeOrigin: true,
        pathRewrite: {'^/api1': ''}// 路径重写 去掉以/api1开头的路径
      },
      '/api2': {// 匹配所有以 '/api2'开头的请求路径
        target: 'http://localhost:5001',// 代理目标的基础路径
        changeOrigin: true,
        pathRewrite: {'^/api2': ''}
      }
    }
  }
}
/*
   changeOrigin设置为true时,服务器收到的请求头中的host为:localhost:5000
   changeOrigin设置为false时,服务器收到的请求头中的host为:localhost:8080
   changeOrigin默认值为true
*/
说明:
- 优点:可以配置多个代理,且可以灵活的控制请求是否走代理。
- 缺点:配置略微繁琐,请求资源时必须加前缀。
文章来源:https://blog.csdn.net/qq_43322436/article/details/125379661
本文来自互联网用户投稿,该文观点仅代表作者本人,不代表本站立场。本站仅提供信息存储空间服务,不拥有所有权,不承担相关法律责任。 如若内容造成侵权/违法违规/事实不符,请联系我的编程经验分享网邮箱:chenni525@qq.com进行投诉反馈,一经查实,立即删除!
本文来自互联网用户投稿,该文观点仅代表作者本人,不代表本站立场。本站仅提供信息存储空间服务,不拥有所有权,不承担相关法律责任。 如若内容造成侵权/违法违规/事实不符,请联系我的编程经验分享网邮箱:chenni525@qq.com进行投诉反馈,一经查实,立即删除!
最新文章
- Python教程
- 深入理解 MySQL 中的 HAVING 关键字和聚合函数
- Qt之QChar编码(1)
- MyBatis入门基础篇
- 用Python脚本实现FFmpeg批量转换
- django在线音乐推荐系统 计算机毕设源码61561
- Vue3+Vite打包跨平台(七牛、阿里OSS)上传部署前端项目
- iptables 防火墙(二)
- 代码训练营第31天|● 455.分发饼干 ● 376. 摆动序列 ● 53. 最大子序和
- 热门资产管理工具最新功能大盘点
- NLP论文阅读记录 - AAAI-23 | 01 Cogito Ergo Summ:通过语义解析图和一致性奖励对生物医学论文进行抽象总结
- 微服务实战系列之ZooKeeper(下)
- Python数据处理库之blaze使用详解
- 【docker】Docker Stack 详细使用及注意事项
- 苍穹外卖学习Day2