WEB 3D技术 简述React Hook/Class 组件中使用three.js方式
发布时间:2023年12月17日
之前 已经讲过了 用vue结合three.js进行开发
那么 自然是少不了react
我们 还是先创建一个文件夹
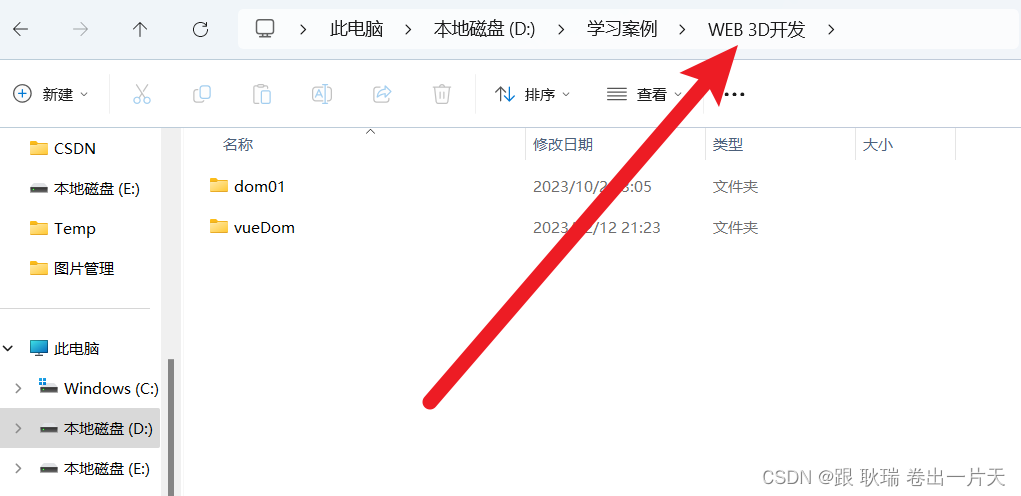
终端执行
npm init vite@latest
输入一下项目名称 然后技术选择 react
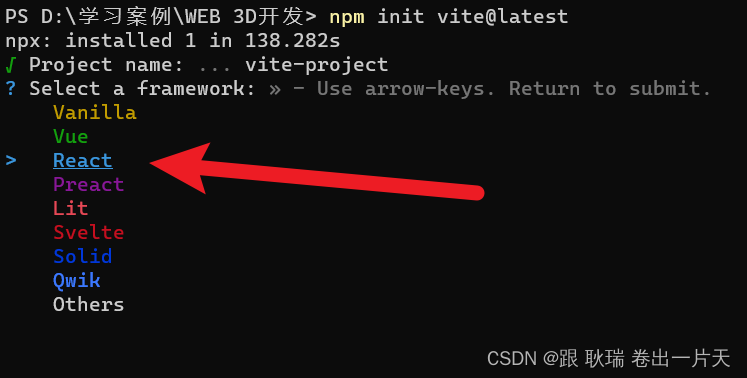
也不太清楚大家的基础 那就选择最简单的js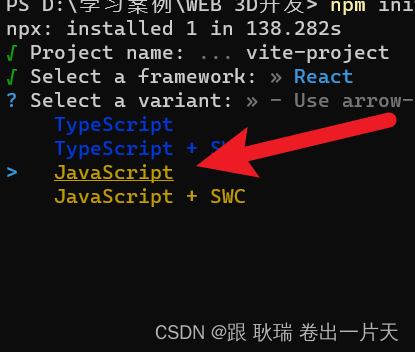
然后 我们就创建完成了
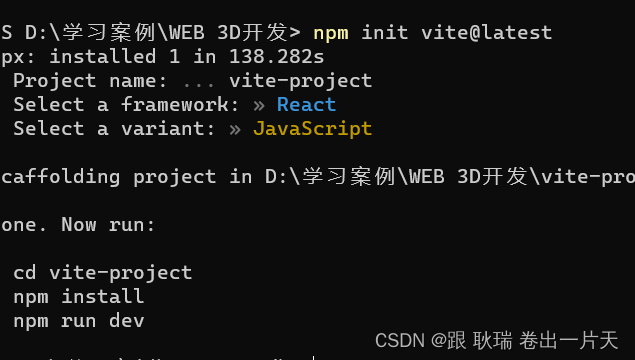
然后 我们用编辑器打开创建好的项目目录
然后 在终端执行
npm install three
引入threeJS 因为我们肯定要用的

然后 我们执行
npm install
重新整体引入一下项目依赖
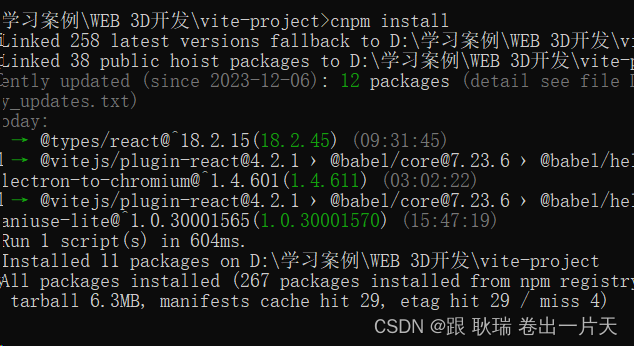
如果node版本不合适 是会出现一点问题
可以用cnpm
然后安装好之后执行
npm run dev
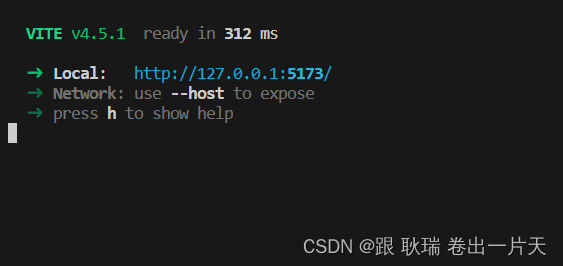
然后浏览器访问
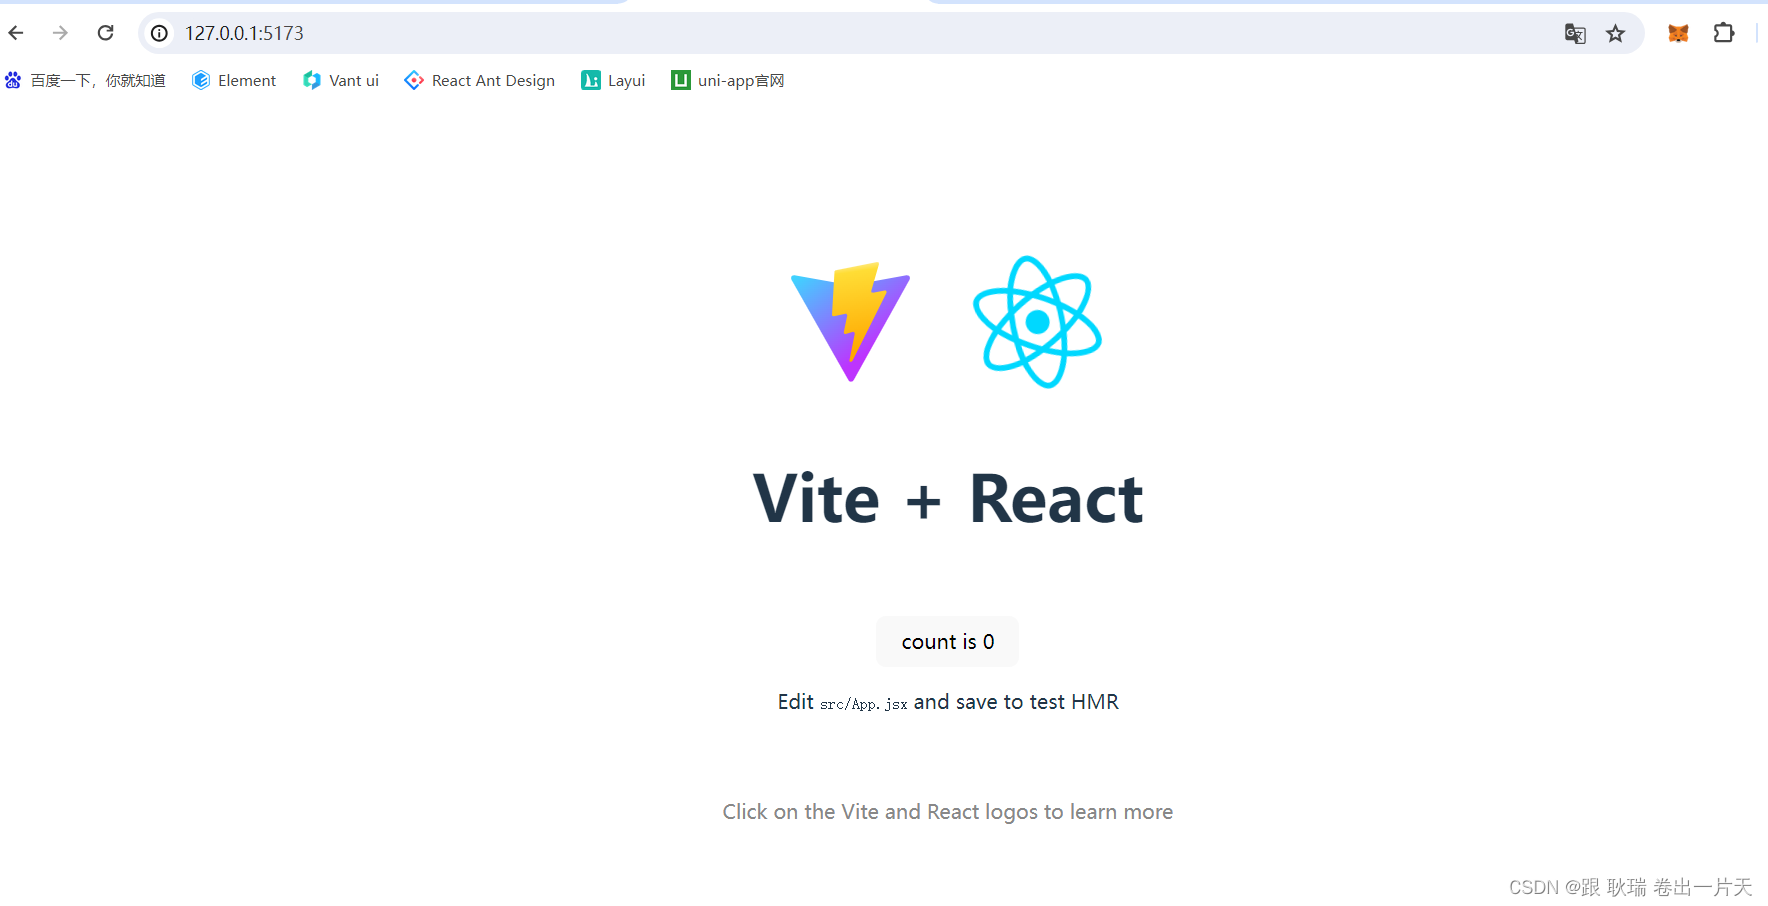
没有任何问题
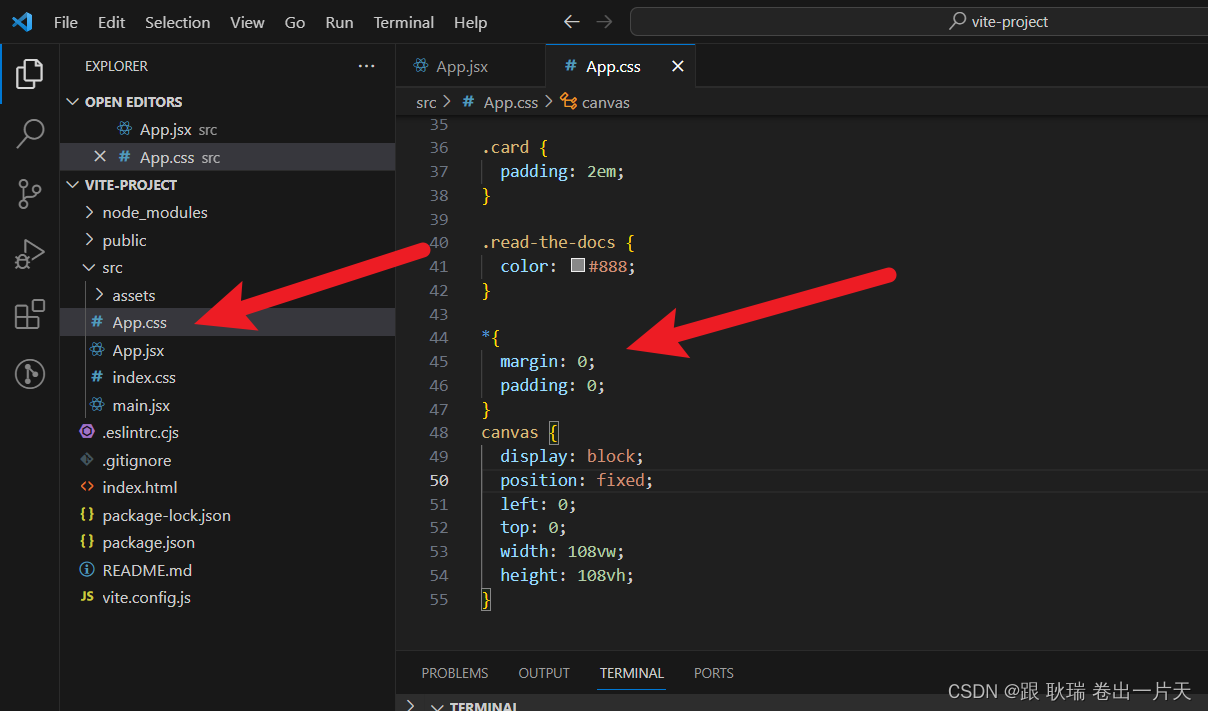
然后 我们找到src下的 App.css
加上如下代码
*{
  margin: 0;
  padding: 0;
}
canvas {
  display: block;
  position: fixed;
  left: 0;
  top: 0;
  width: 108vw;
  height: 108vh;
}
然后 将App.jsx代码更改如下
import { useEffect } from 'react'
import * as THREE from "three";
import './App.css'

function App() {

  useEffect(()=>{
    //创建场景
    const scene = new THREE.Scene();

    //创建相机
    const camera = new THREE.PerspectiveCamera(
        45, //视角 视角越大  能看到的范围就越大
        window.innerWidth / window.innerHeight,//相机的宽高比  一般和画布一样大最好
        0.1,  //近平面  相机能看到最近的距离
        1000  //远平面  相机能看到最远的距离
    );

    //c创建一个canvas容器  并追加到 body上
    const renderer = new THREE.WebGLRenderer(0);
    renderer.setSize(window.innerWidth, window.innerHeight);
    document.body.appendChild(renderer.domElement);

    //创建一个几何体
    const geometry = new THREE.BoxGeometry(1, 1, 1);
    //创建材质
    const material = new THREE.MeshBasicMaterial({ color:0x08ffe });
    //创建网格
    const cube = new THREE.Mesh(geometry, material);
    //将网格添加到场景中
    scene.add(cube);
    //设置相机位置   这里 我们设置Z轴  大家可以试试  S Y 和 Z  都是可以的
    camera.position.z = 5;
    //设置相机默认看向哪里   三个 0  代表 默认看向原点
    camera.lookAt(0, 0, 0);
    //将内容渲染到元素上
    renderer.render(scene, camera);
    function animate() {
        requestAnimationFrame(animate);
        cube.rotation.x += 0.01;
        cube.rotation.y += 0.01;
        renderer.render(scene, camera);
    }
    animate();
  },[])

  return (
    <div id = "app"></div>
  )
}

export default App
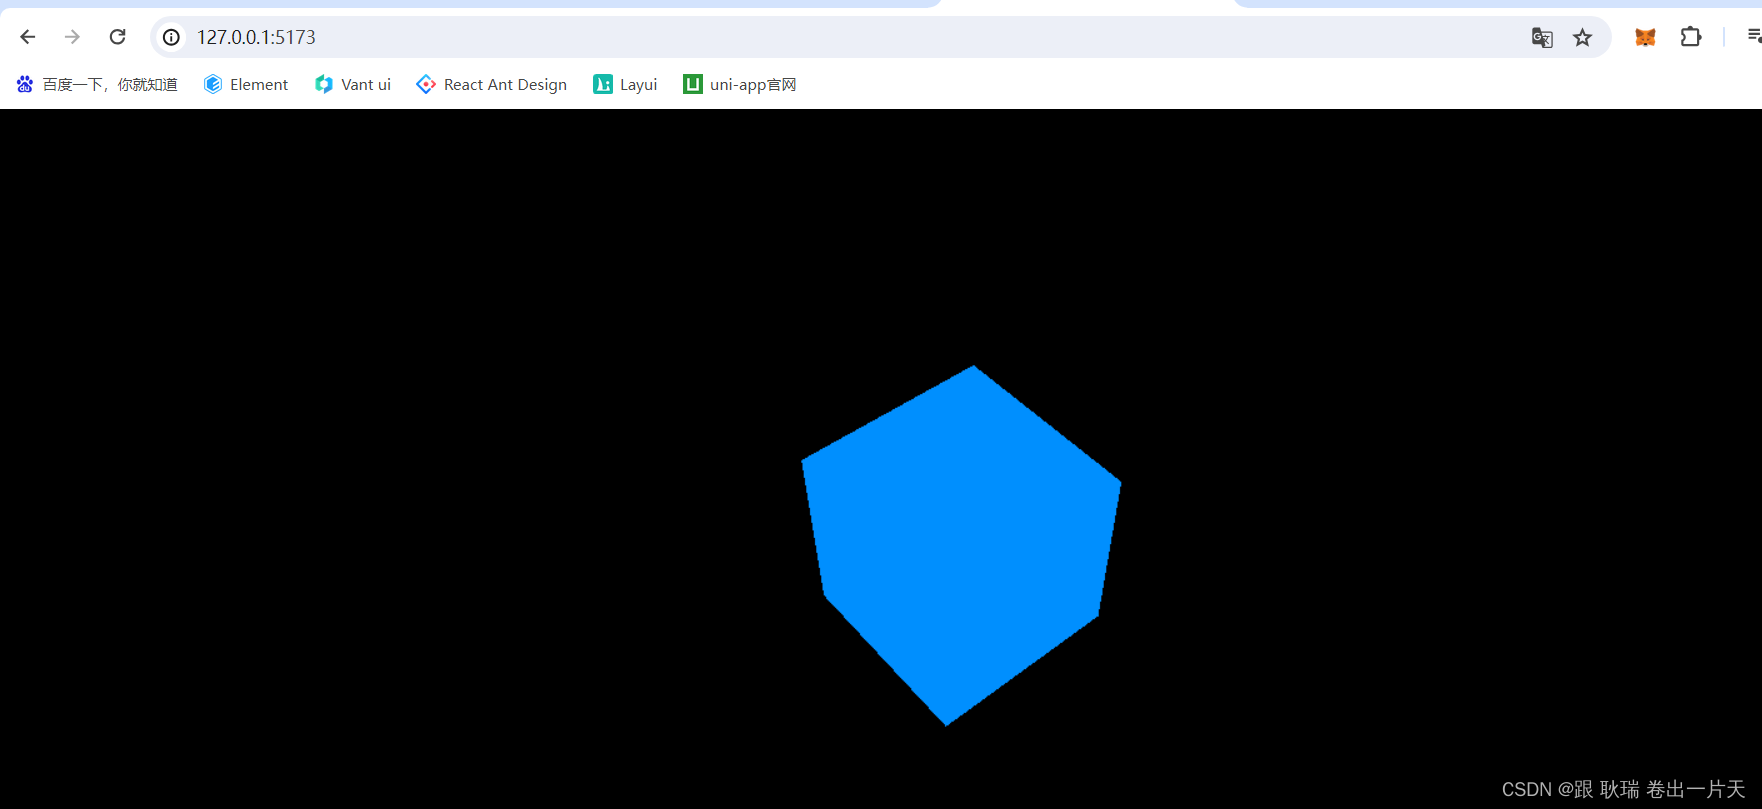
这是 Hook的一种写法 先 引入three
然后直接在useEffect这个声明周期中使用显然逻辑就OK了
如果是类组件直接这样
import { Component } from 'react'
import * as THREE from "three";
import './App.css'

class App extends Component{

  componentDidMount() {
    //创建场景
    const scene = new THREE.Scene();

    //创建相机
    const camera = new THREE.PerspectiveCamera(
        45, //视角 视角越大  能看到的范围就越大
        window.innerWidth / window.innerHeight,//相机的宽高比  一般和画布一样大最好
        0.1,  //近平面  相机能看到最近的距离
        1000  //远平面  相机能看到最远的距离
    );

    //c创建一个canvas容器  并追加到 body上
    const renderer = new THREE.WebGLRenderer(0);
    renderer.setSize(window.innerWidth, window.innerHeight);
    document.body.appendChild(renderer.domElement);

    //创建一个几何体
    const geometry = new THREE.BoxGeometry(1, 1, 1);
    //创建材质
    const material = new THREE.MeshBasicMaterial({ color:0x08ffe });
    //创建网格
    const cube = new THREE.Mesh(geometry, material);
    //将网格添加到场景中
    scene.add(cube);
    //设置相机位置   这里 我们设置Z轴  大家可以试试  S Y 和 Z  都是可以的
    camera.position.z = 5;
    //设置相机默认看向哪里   三个 0  代表 默认看向原点
    camera.lookAt(0, 0, 0);
    //将内容渲染到元素上
    renderer.render(scene, camera);
    function animate() {
        requestAnimationFrame(animate);
        cube.rotation.x += 0.01;
        cube.rotation.y += 0.01;
        renderer.render(scene, camera);
    }
    animate();
  }

  render() {
    return <div id = "app"></div>
  }
}

export default App
因为 componentDidMount 可以拿到dom节点 我们用它挂载 其实都一样
文章来源:https://blog.csdn.net/weixin_45966674/article/details/134979649
本文来自互联网用户投稿,该文观点仅代表作者本人,不代表本站立场。本站仅提供信息存储空间服务,不拥有所有权,不承担相关法律责任。 如若内容造成侵权/违法违规/事实不符,请联系我的编程经验分享网邮箱:chenni525@qq.com进行投诉反馈,一经查实,立即删除!
本文来自互联网用户投稿,该文观点仅代表作者本人,不代表本站立场。本站仅提供信息存储空间服务,不拥有所有权,不承担相关法律责任。 如若内容造成侵权/违法违规/事实不符,请联系我的编程经验分享网邮箱:chenni525@qq.com进行投诉反馈,一经查实,立即删除!
最新文章
- Python教程
- 深入理解 MySQL 中的 HAVING 关键字和聚合函数
- Qt之QChar编码(1)
- MyBatis入门基础篇
- 用Python脚本实现FFmpeg批量转换
- [机缘参悟-121] :实修 - 什么是实修、正见、开悟
- 2023年12月青少年软件编程Python等级考试(六级)真题试卷
- 【马来西亚站 | SPIE独立出版,ISSN: 0277-786X | 往届均已ei检索】诚邀投稿参会
- Android权限控制---自定义权限
- redis总结--常见问题与解决办法,推荐等级
- 基于深度学习的热红外图像增强算法
- 猫罐头评测:五大平价猫罐头排行榜揭晓!
- 奇偶大冒险(判断奇偶,逆序输出)
- 事件触发、事件捕获与事件冒泡(js的问题)
- RabbitMQ(七)ACK 消息确认机制