Unity中URP下实现深度贴花(雾效支持和BRP适配)
发布时间:2024年01月13日
文章目录
前言
在上一篇文章中,我们实现了贴花的效果。但是,细节效果需要优化。
我们在这篇文章中,来优化一下贴花Shader的细节。
一、让我们的贴画支持雾效
- 原雾效使用方法是只支持不透明对象的。
- 但是,我们的贴画是半透明的。所以,需要对其进行调整。
1、我们舍弃内部的MixFog方法
col.rgb = MixFog(col.rgb,i.fogCoord);
2、使用 雾效混合因子 对最后输出颜色进行线性插值相乘
- 这样就可以实现 贴花 融入 雾 的效果
- 针对Blend One One 的半透明雾效混合
col.rgb*=col.a;
col.rgb *= saturate(lerp(0.5,0,i.fogCoord));
二、在Shader中,限制贴花纹理的采样方式
- 防止在Unity中,针对单独的纹理设置了不同的重和平铺方式,影响最终效果。
1、申明 纹理 和 限制采样方式的采样器
TEXTURE2D(_MainTex);
#define smp _linear_clamp
SAMPLER(smp);
2、在片元着色器进行纹理采样
half4 mainTex = SAMPLE_TEXTURE2D(_MainTex, smp, uv);
三、BRP适配
1、C#脚本中,打开摄像机深度图
Camera.main.depthTextureMode = DepthTextureMode.Depth;
2、适配代码
	SubShader
    {
        Tags
        {
            //渲染类型
            "RenderType"="Transparent"
            //渲染队列
            "Queue"="Transparent"
        }
        Pass
        {
            Blend One One
            ZWrite Off
            Name "Unlit"

            CGPROGRAM
            #pragma vertex vert
            #pragma fragment frag
            #pragma multi_compile_fog
            // Pragmas
            #pragma target 2.0

            // Includes
            #include "UnityCG.cginc"


            sampler2D _MainTex;
            float4 _MainTex_ST;
            sampler2D _CameraDepthTexture;

            struct appdata
            {
                float3 positionOS : POSITION;
                float2 uv : TEXCOORD0;
            };

            struct v2f
            {
                float4 positionCS : SV_POSITION;
                float2 uv : TEXCOORD0;
                float3 positionOS : TEXCOORD1;
                float3 positionVS : TEXCOORD2;
            };

            v2f vert(appdata v)
            {
                v2f o;
                o.positionCS = UnityObjectToClipPos(v.positionOS);
                o.uv = TRANSFORM_TEX(v.uv, _MainTex);
                o.positionOS = v.positionOS;
                //2、通过模型面片的求出像素在观察空间下的坐标值
                o.positionVS = UnityWorldToViewPos(mul(unity_ObjectToWorld,o.positionOS));

                return o;
            }

            half4 frag(v2f i) : SV_TARGET
            {
                //思路:
                float4 depthVS = 1;
                //1、通过深度图求出像素所在视图空间的Z值
                float2 screenUV = i.positionCS.xy / _ScreenParams.xy;
                half4 depthTex = tex2D(_CameraDepthTexture, screenUV);
                half depthZ = LinearEyeDepth(depthTex.r);

                //2、通过模型面片的求出像素在观察空间下的坐标值
                //这个在顶点着色器中完成

                //3、结合两者求出 深度图中像素的 XYZ值
                depthVS.z = depthZ;
                depthVS.xy = i.positionVS.xy * depthZ / -i.positionVS.z;
                //4、再将此坐标转换到模型的本地空间,把XY作为UV来进行纹理采样
                float4 depthWS = mul(unity_CameraToWorld, depthVS);
                float4 depthOS = mul(unity_WorldToObject, depthWS);
                float2 uv = depthOS.xz+0.5;

                half4 col = 0;
                half4 mainTex = tex2D(_MainTex,uv);
                col += mainTex;
                //针对Blend One One 的半透明雾效混合
                col.rgb*=col.a;

                return col;
            }
            ENDCG
        }
    }
四、最终代码
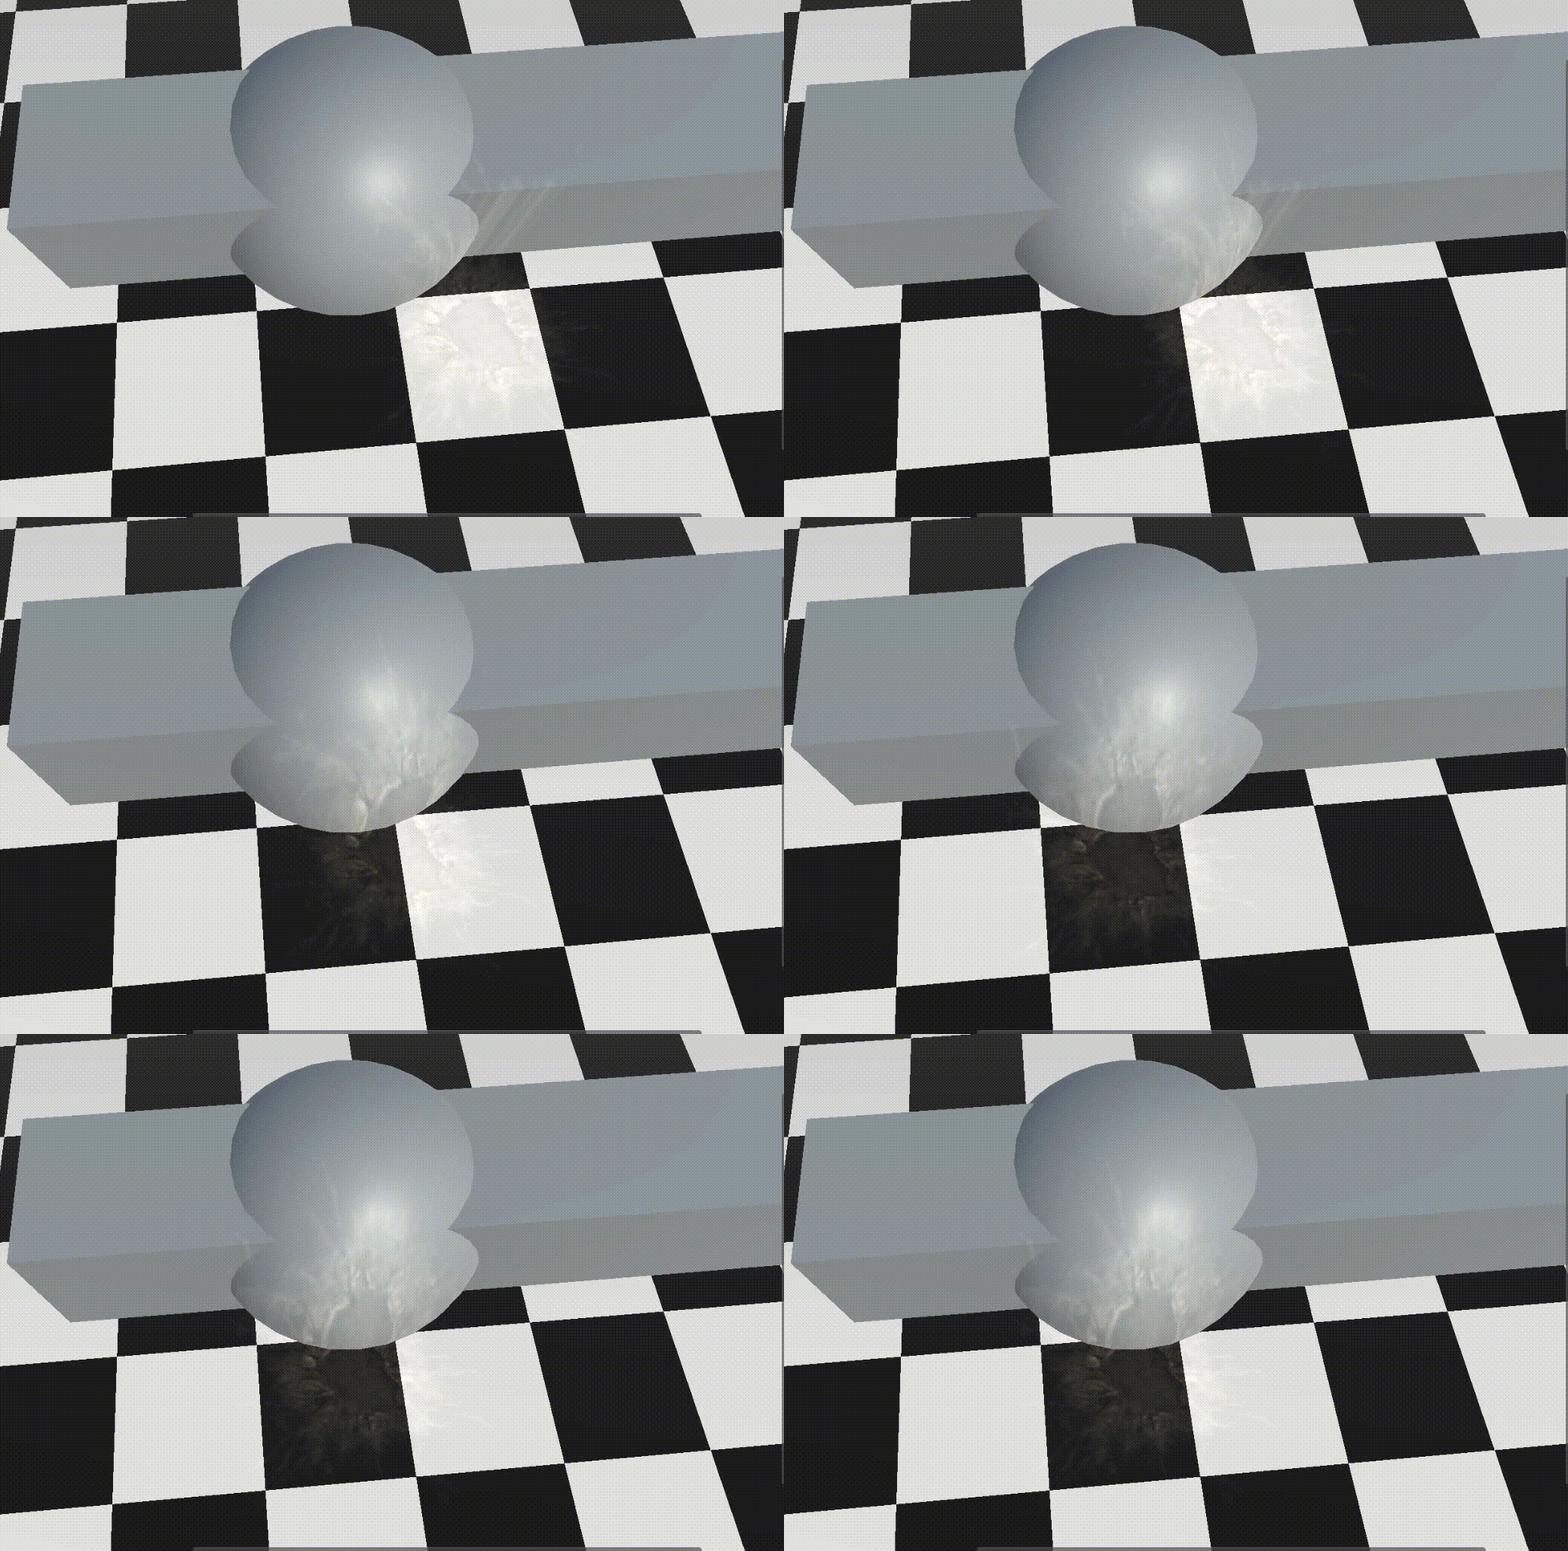
1、地缝效果

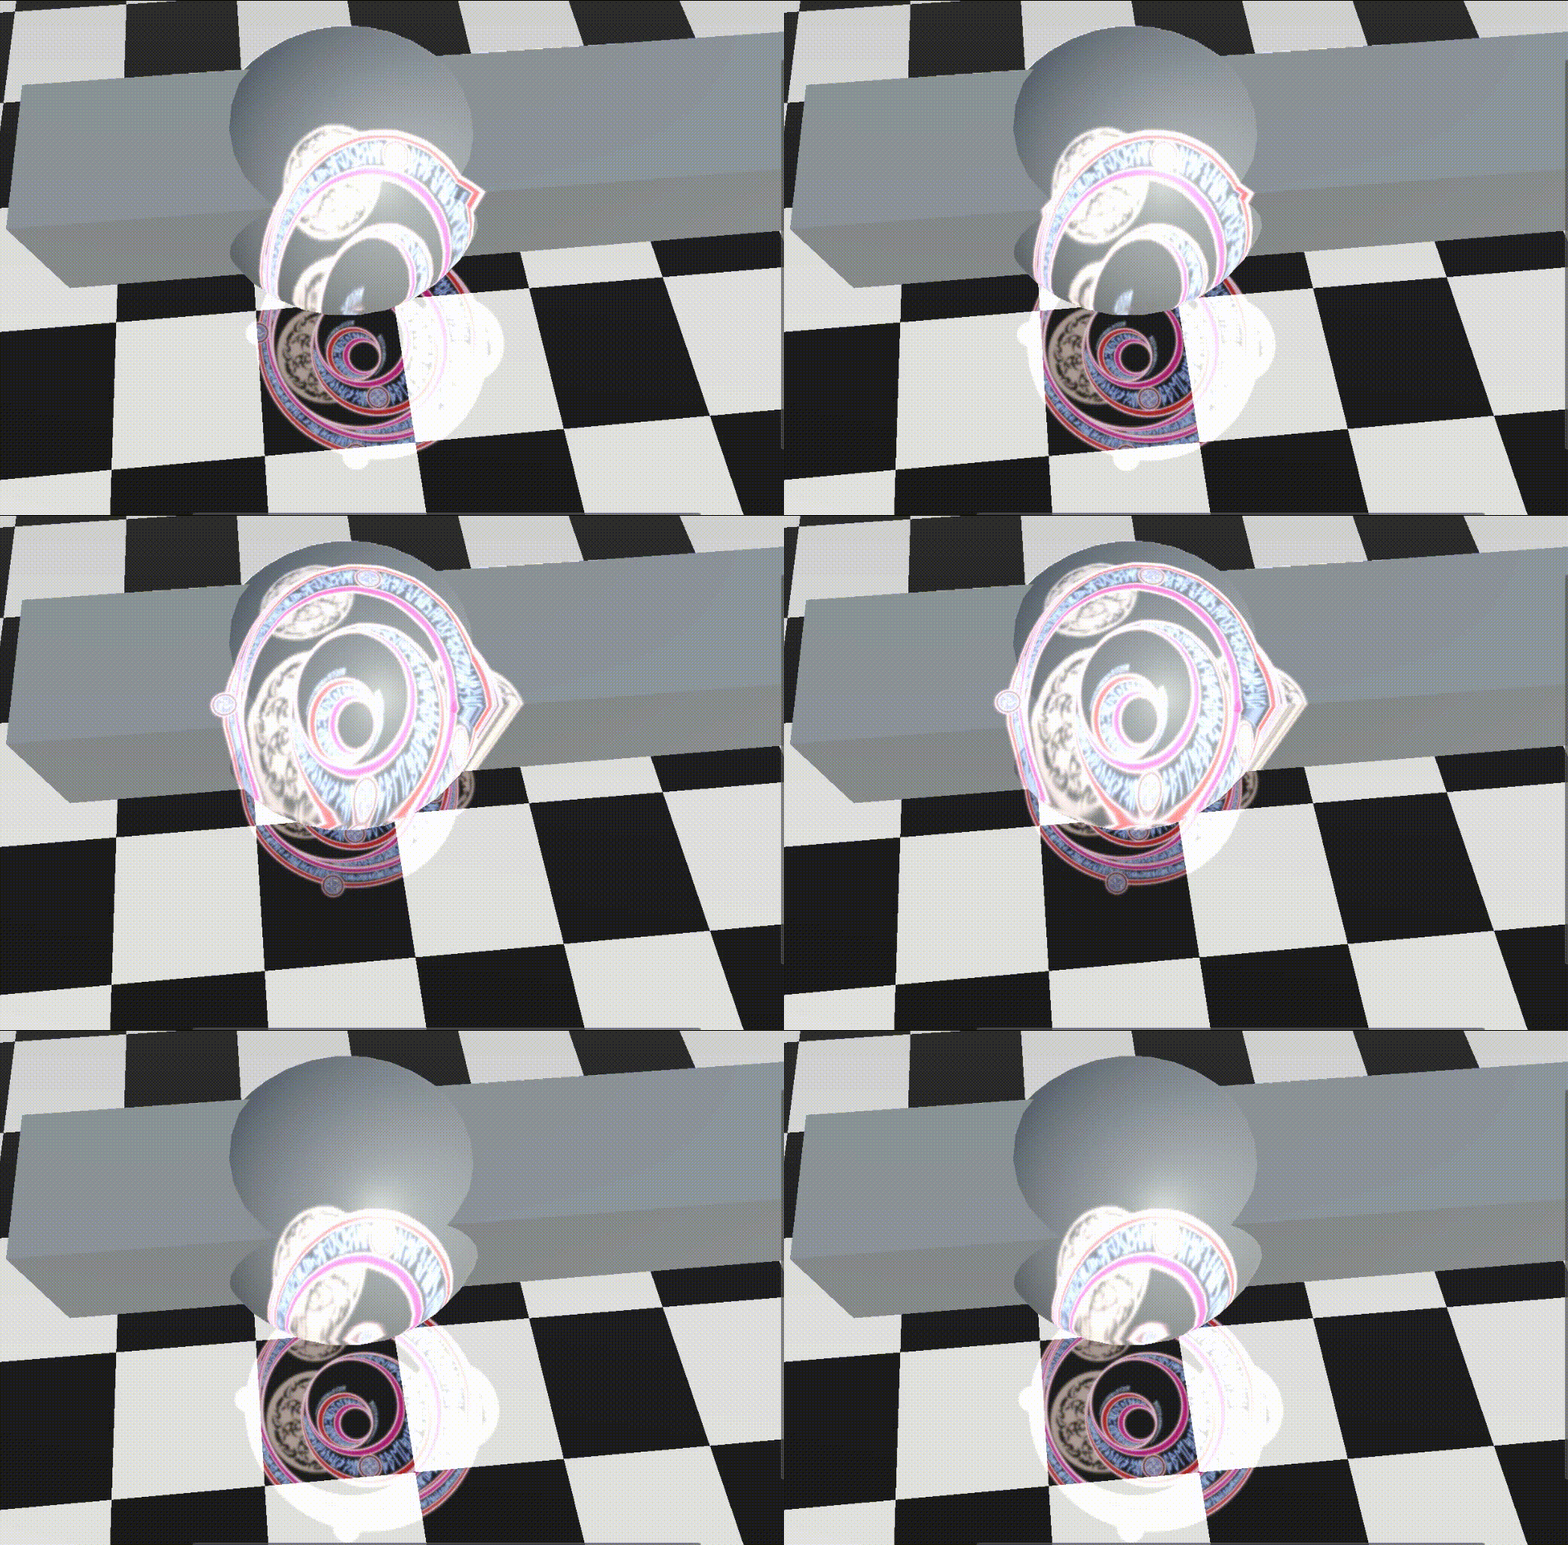
2、魔法阵

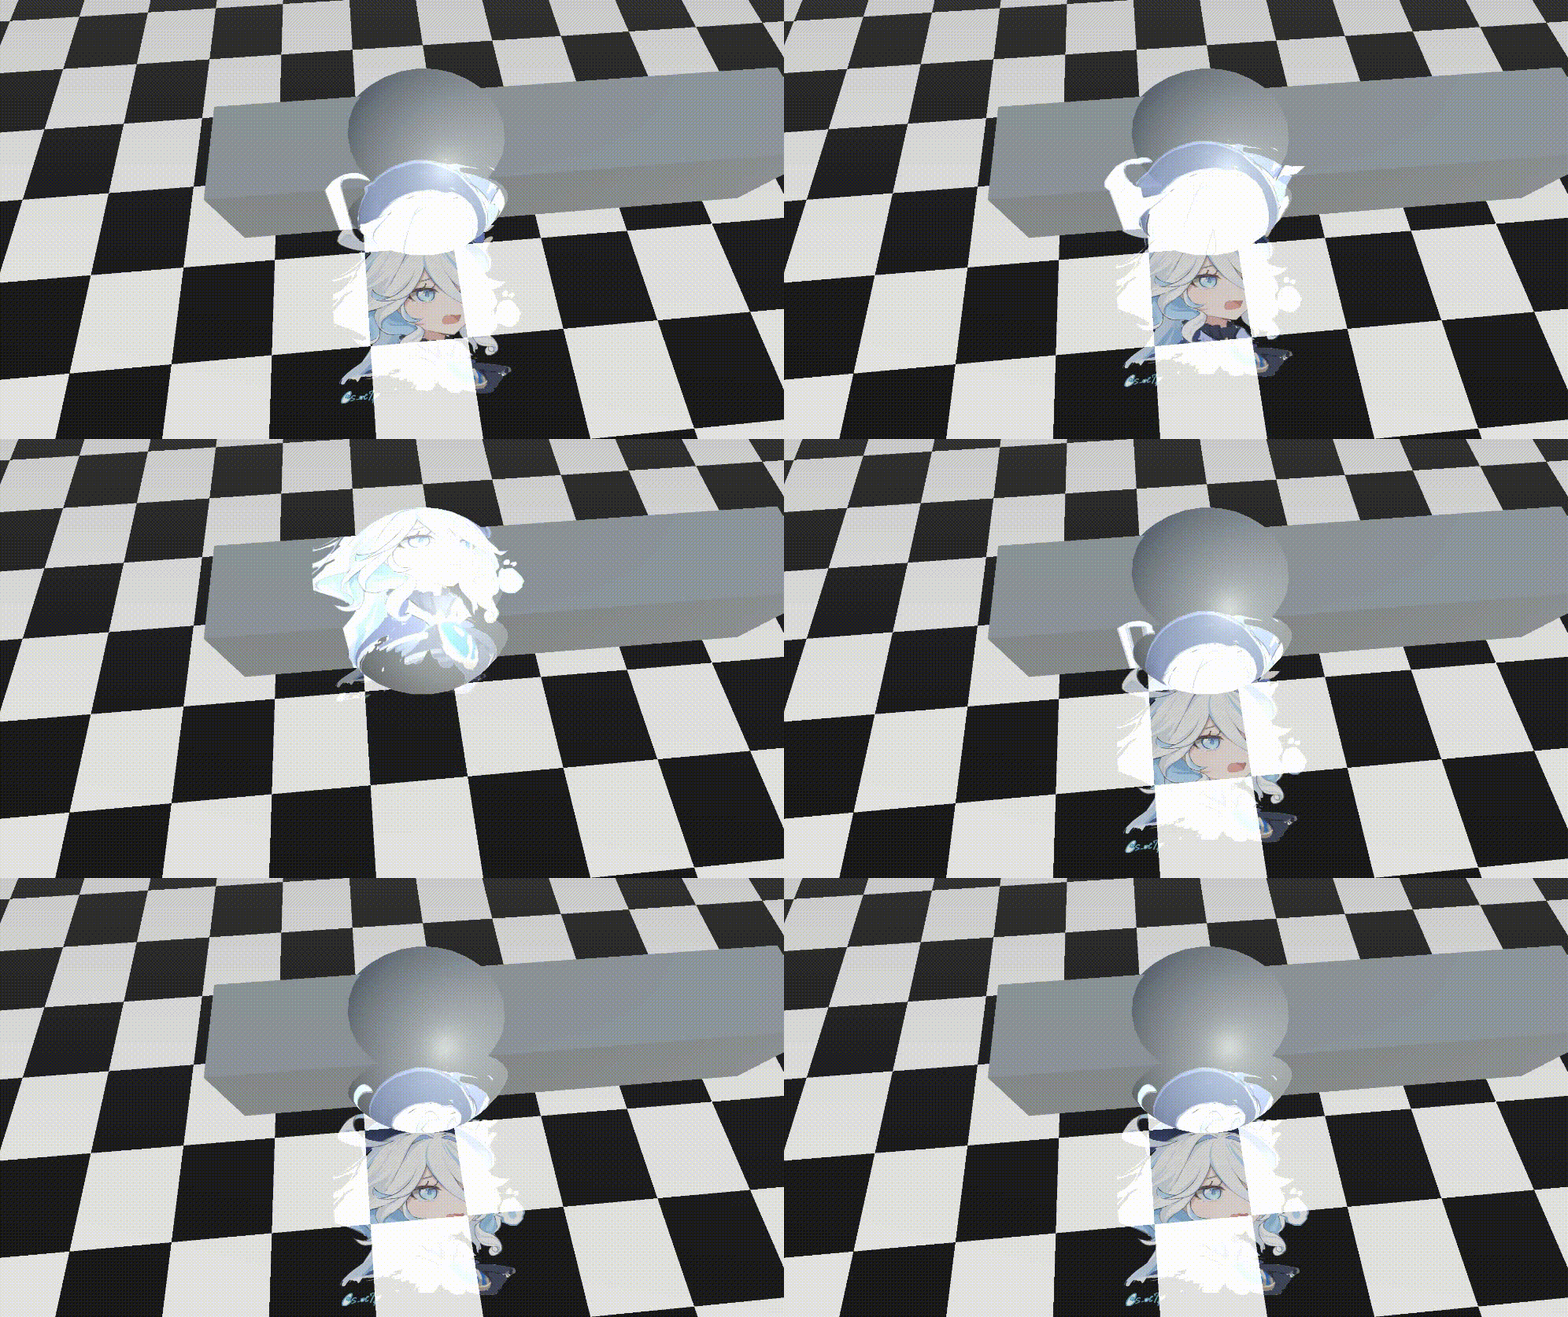
3、芙宁娜贴花

//深度贴花
Shader "MyShader/URP/P4_4_2"
{
    Properties
    {
        [Header(MainTex)]
        _MainTex("MainTex",2D) = "white"{}

    }
    SubShader
    {
        Tags
        {
            //告诉引擎,该Shader只用于 URP 渲染管线
            "RenderPipeline"="UniversalPipeline"
            //渲染类型
            "RenderType"="Transparent"
            //渲染队列
            "Queue"="Transparent"
        }

        Pass
        {
            Blend One One
            ZWrite Off
            Name "Unlit"

            HLSLPROGRAM
            #pragma vertex vert
            #pragma fragment frag
            #pragma multi_compile_fog
            // Pragmas
            #pragma target 2.0

            // Includes
            #include "Packages/com.unity.render-pipelines.core/ShaderLibrary/Color.hlsl"
            #include "Packages/com.unity.render-pipelines.universal/ShaderLibrary/Core.hlsl"
            #include "Packages/com.unity.render-pipelines.universal/ShaderLibrary/Input.hlsl"

            CBUFFER_START(UnityPerMaterial)
                float4 _MainTex_ST;
            CBUFFER_END

            TEXTURE2D(_CameraDepthTexture);
            SAMPLER(sampler_CameraDepthTexture);
            TEXTURE2D(_MainTex);
            //SAMPLER(sampler_MainTex);
            #define smp _linear_clamp
            SAMPLER(smp);
            //struct appdata
            //顶点着色器的输入
            struct Attributes
            {
                float3 positionOS : POSITION;
                float2 uv : TEXCOORD0;
            };

            //struct v2f
            //片元着色器的输入
            struct Varyings
            {
                float4 positionCS : SV_POSITION;
                float2 uv : TEXCOORD0;
                float fogCoord : TEXCOORD1;
                float3 positionOS : TEXCOORD2;
                float3 positionVS : TEXCOORD3;
            };

            //v2f vert(Attributes v)
            //顶点着色器
            Varyings vert(Attributes v)
            {
                Varyings o;
                o.positionCS = TransformObjectToHClip(v.positionOS);
                o.uv = TRANSFORM_TEX(v.uv, _MainTex);
                o.fogCoord = ComputeFogFactor(o.positionCS.z);
                o.positionOS = v.positionOS;
                //2、通过模型面片的求出像素在观察空间下的坐标值
                o.positionVS = TransformWorldToView(TransformObjectToWorld(o.positionOS));
                return o;
            }

            //fixed4 frag(v2f i) : SV_TARGET
            //片元着色器
            half4 frag(Varyings i) : SV_TARGET
            {
                //思路:
                float4 depthVS = 1;
                //1、通过深度图求出像素所在视图空间的Z值
                float2 screenUV = i.positionCS.xy / _ScreenParams.xy;
                half4 depthTex = SAMPLE_TEXTURE2D(_CameraDepthTexture, sampler_CameraDepthTexture, screenUV);
                half depthZ = LinearEyeDepth(depthTex.r, _ZBufferParams);

                //2、通过模型面片的求出像素在观察空间下的坐标值
                //这个在顶点着色器中完成

                //3、结合两者求出 深度图中像素的 XYZ值
                depthVS.z = depthZ;
                depthVS.xy = i.positionVS.xy * depthZ / -i.positionVS.z;
                //4、再将此坐标转换到模型的本地空间,把XY作为UV来进行纹理采样
                float4 depthWS = mul(unity_CameraToWorld, depthVS);
                float4 depthOS = mul(unity_WorldToObject, depthWS);
                float2 uv = depthOS.xz + 0.5;

                half4 col = 0;
                half4 mainTex = SAMPLE_TEXTURE2D(_MainTex, smp, uv);
                col += mainTex;
                //针对Blend One One 的半透明雾效混合
                col.rgb *= col.a;
                col.rgb *= saturate(lerp(1, 0, i.fogCoord));
                //col.rgb = MixFog(col.rgb,i.fogCoord);
                return col;
            }
            ENDHLSL
        }
    }
    SubShader
    {
        Tags
        {
            //渲染类型
            "RenderType"="Transparent"
            //渲染队列
            "Queue"="Transparent"
        }
        Pass
        {
            Blend One One
            ZWrite Off
            Name "Unlit"

            CGPROGRAM
            #pragma vertex vert
            #pragma fragment frag
            #pragma multi_compile_fog
            // Pragmas
            #pragma target 2.0

            // Includes
            #include "UnityCG.cginc"


            sampler2D _MainTex;
            float4 _MainTex_ST;
            sampler2D _CameraDepthTexture;

            struct appdata
            {
                float3 positionOS : POSITION;
                float2 uv : TEXCOORD0;
            };

            struct v2f
            {
                float4 positionCS : SV_POSITION;
                float2 uv : TEXCOORD0;
                float3 positionOS : TEXCOORD1;
                float3 positionVS : TEXCOORD2;
            };

            v2f vert(appdata v)
            {
                v2f o;
                o.positionCS = UnityObjectToClipPos(v.positionOS);
                o.uv = TRANSFORM_TEX(v.uv, _MainTex);
                o.positionOS = v.positionOS;
                //2、通过模型面片的求出像素在观察空间下的坐标值
                o.positionVS = UnityWorldToViewPos(mul(unity_ObjectToWorld, o.positionOS));

                return o;
            }

            half4 frag(v2f i) : SV_TARGET
            {
                //思路:
                float4 depthVS = 1;
                //1、通过深度图求出像素所在视图空间的Z值
                float2 screenUV = i.positionCS.xy / _ScreenParams.xy;
                half4 depthTex = tex2D(_CameraDepthTexture, screenUV);
                half depthZ = LinearEyeDepth(depthTex.r);

                //2、通过模型面片的求出像素在观察空间下的坐标值
                //这个在顶点着色器中完成

                //3、结合两者求出 深度图中像素的 XYZ值
                depthVS.z = depthZ;
                depthVS.xy = i.positionVS.xy * depthZ / -i.positionVS.z;
                //4、再将此坐标转换到模型的本地空间,把XY作为UV来进行纹理采样
                float4 depthWS = mul(unity_CameraToWorld, depthVS);
                float4 depthOS = mul(unity_WorldToObject, depthWS);
                float2 uv = depthOS.xz + 0.5;

                half4 col = 0;
                half4 mainTex = tex2D(_MainTex, uv);
                col += mainTex;
                //针对Blend One One 的半透明雾效混合
                col.rgb *= col.a;

                return col;
            }
            ENDCG
        }
    }
}
文章来源:https://blog.csdn.net/qq_51603875/article/details/135567467
本文来自互联网用户投稿,该文观点仅代表作者本人,不代表本站立场。本站仅提供信息存储空间服务,不拥有所有权,不承担相关法律责任。 如若内容造成侵权/违法违规/事实不符,请联系我的编程经验分享网邮箱:chenni525@qq.com进行投诉反馈,一经查实,立即删除!
本文来自互联网用户投稿,该文观点仅代表作者本人,不代表本站立场。本站仅提供信息存储空间服务,不拥有所有权,不承担相关法律责任。 如若内容造成侵权/违法违规/事实不符,请联系我的编程经验分享网邮箱:chenni525@qq.com进行投诉反馈,一经查实,立即删除!
最新文章
- Python教程
- 深入理解 MySQL 中的 HAVING 关键字和聚合函数
- Qt之QChar编码(1)
- MyBatis入门基础篇
- 用Python脚本实现FFmpeg批量转换
- [问题记录] vue-router中导航守卫默认跳转login失败
- 【powershell】Windows环境powershell 运维之历史文件压缩清理
- 脑力劳动者,下班之后该做些什么
- 考研人为什么纷纷转战中国人民大学与加拿大女王大学中外合作办学金融硕士?
- 集成测试:确保软件系统无缝协同的关键
- 华为OD机试 - 分积木 - 二进制运算(Java 2023 B卷 200分)
- 设计模式-规格模式
- 前后端分离下的鸿鹄电子招投标系统:使用Spring Boot、Mybatis、Redis和Layui实现源码与立项流程
- 【每日一题】寻找峰值 II
- CSS||选择器