用 CSS 实现一个三角形、用 CSS 实现一个自适应的正方形、CSS写一个简单的幻灯片页面效果
发布时间:2024年01月06日
用 CSS 实现一个三角形
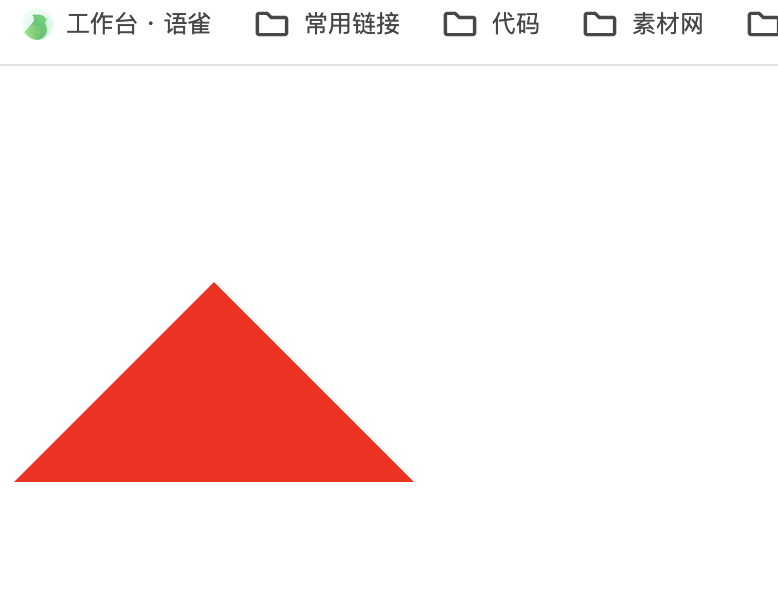
效果:

参考代码:
<!DOCTYPE html>
<html>
<head>
  <style>
    .triangle {
      width: 0;
      height: 0;
      border: 100px solid red;
      border-top-color: transparent;
      border-left-color: transparent;
      border-right-color: transparent;
    }
  </style>
</head>
<body>
  <div class="triangle"></div>
</body>
</html>
以上代码会在页面中创建一个边长为 100px 的红色三角形。您可以根据需要调整 border 属性和 width/height 属性的值来改变三角形的大小。 请注意,为了演示方便,我使用了一个 div 元素来容纳三角形,您可以根据实际需要将其放入其他元素或适当调整样式。
用 CSS实现一个自适应的正方形

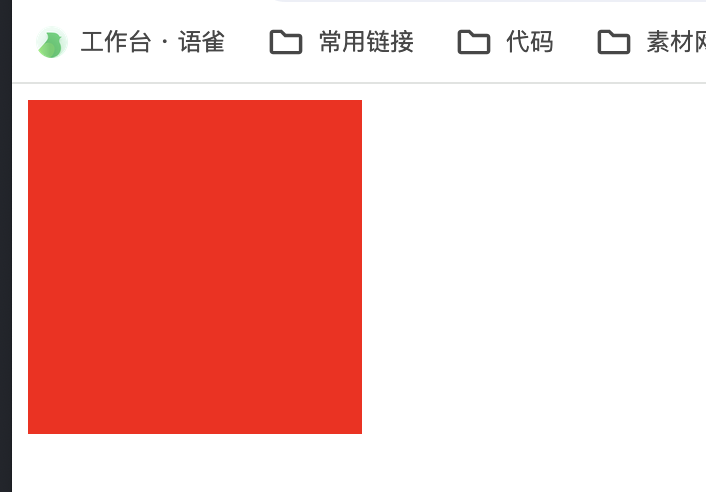
方法1:利用 CSS3 的 vw 单位
vw 会把视口的宽度平均分为 100 份
.square {
  width: 10vw;
  height: 10vw;
  background: red;
}
方法2:利用 margin 或者 padding 的百分比计算是参照父元素的 width 属性
.square {
  width: 10%;
  padding-bottom: 10%;
  /* 防止内容撑开多余的高度 */
  height: 0;
  background: red;
}
CSS写一个简单的幻灯片页面效果
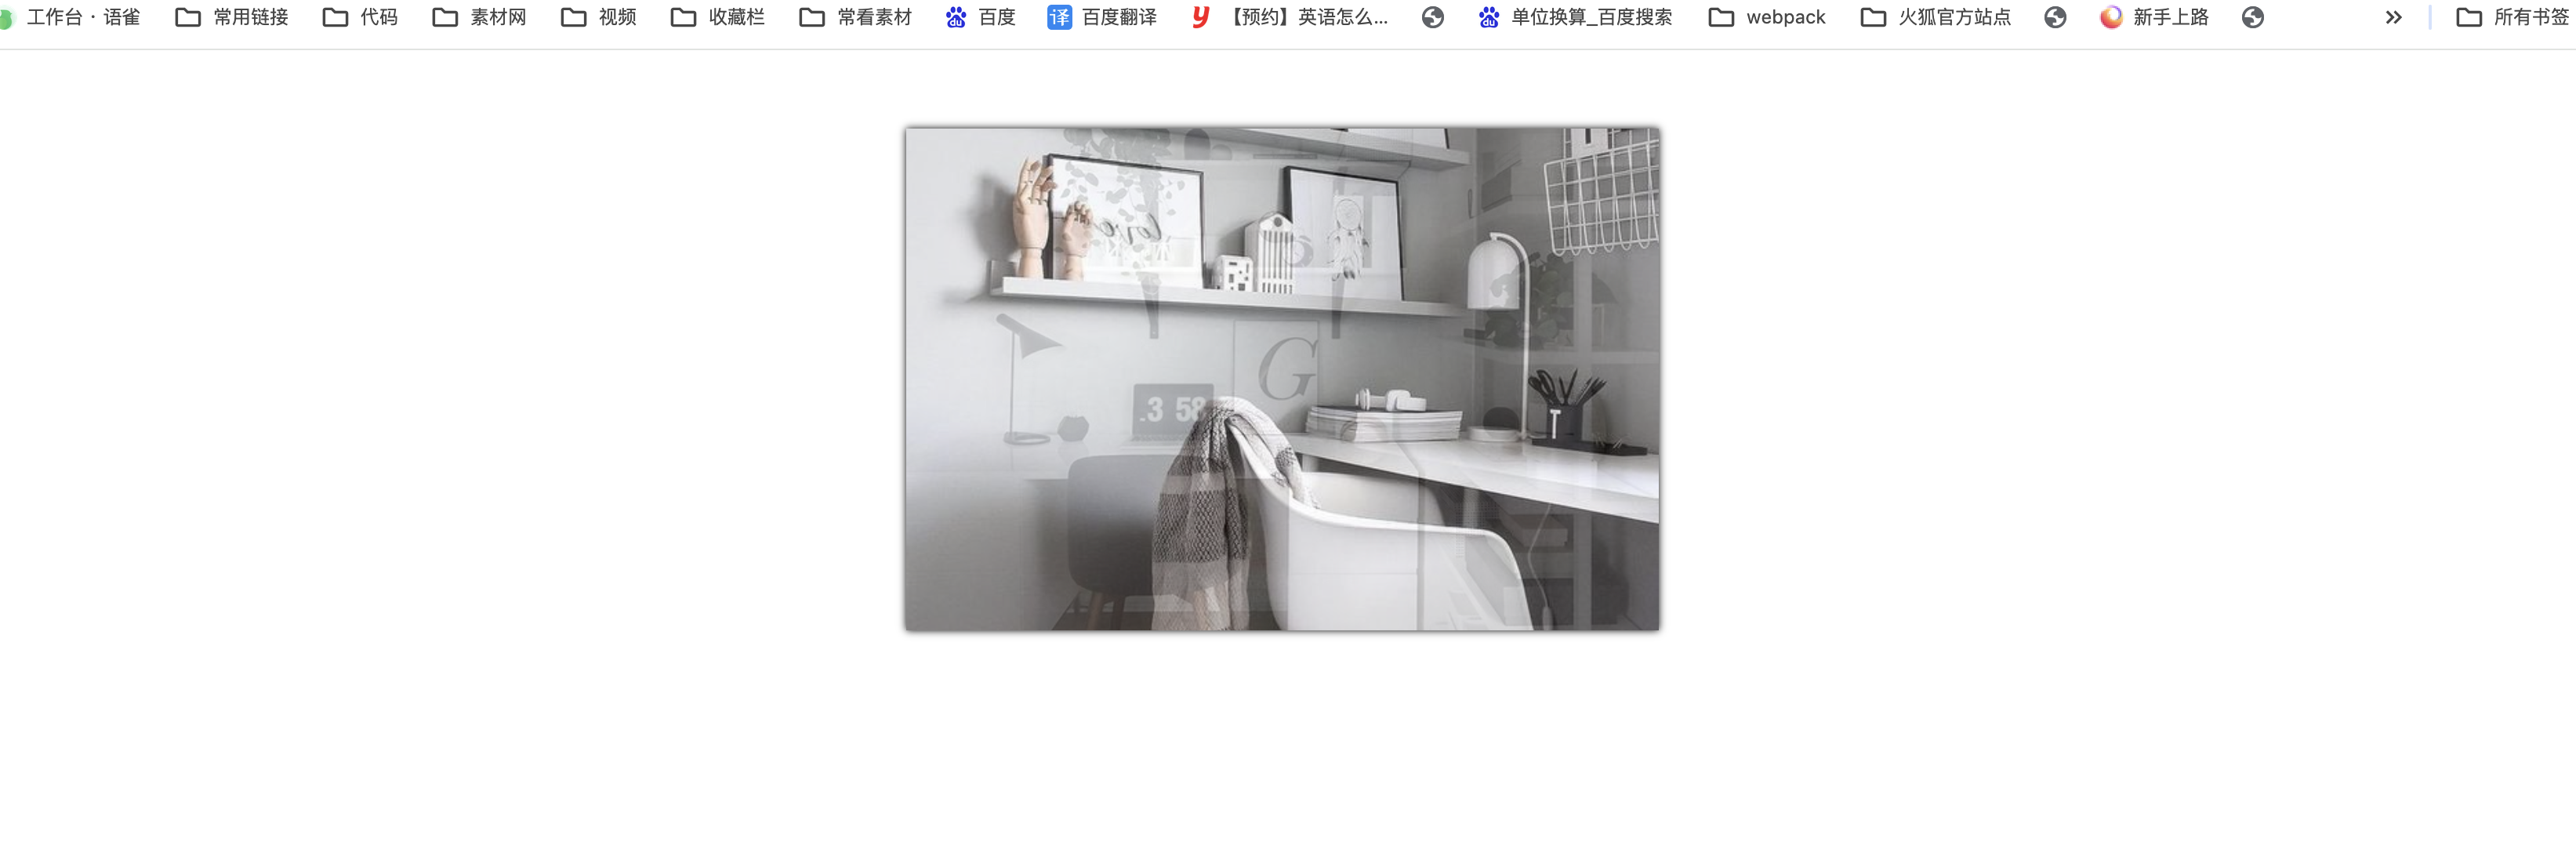
用 CSS3,使用 animation 动画实现一个简单的幻灯片效果

参考代码:
<!DOCTYPE html>
<html lang="en">
<head>
  <meta charset="UTF-8">
  <meta name="viewport" content="width=device-width, initial-scale=1.0">
  <style>
    .ani {
      width: 480px;
      height: 320px;
      margin: 50px auto;
      overflow: hidden;
      box-shadow: 0 0 5px rgba(0, 0, 0, 1);
      background-size: cover;
      background-position: center;
      -webkit-animation-name: "loops";
      -webkit-animation-duration: 20s;
      -webkit-animation-iteration-count: infinite;
    }

    @keyframes loops {
      0% {
        background-image: url(./img/1.jpeg);
      }

      25% {
        background-image: url(./img/2.jpeg);
      }

      50% {
        background-image: url(./img/3.jpeg);
      }

      75% {
        background-image: url(./img/4.jpeg);
      }

      100% {
        background-image: url(./img/5.jpeg);
      }
    }
  </style>
</head>

<body>
  <div class="ani">
    <!-- 幻灯片内容 -->
  </div>
</body>

</html>
文章来源:https://blog.csdn.net/qq_37255976/article/details/134447171
本文来自互联网用户投稿,该文观点仅代表作者本人,不代表本站立场。本站仅提供信息存储空间服务,不拥有所有权,不承担相关法律责任。 如若内容造成侵权/违法违规/事实不符,请联系我的编程经验分享网邮箱:chenni525@qq.com进行投诉反馈,一经查实,立即删除!
本文来自互联网用户投稿,该文观点仅代表作者本人,不代表本站立场。本站仅提供信息存储空间服务,不拥有所有权,不承担相关法律责任。 如若内容造成侵权/违法违规/事实不符,请联系我的编程经验分享网邮箱:chenni525@qq.com进行投诉反馈,一经查实,立即删除!
最新文章
- Python教程
- 深入理解 MySQL 中的 HAVING 关键字和聚合函数
- Qt之QChar编码(1)
- MyBatis入门基础篇
- 用Python脚本实现FFmpeg批量转换
- 49道Spring Boot面试题带答案(很全)
- STM32入门教程-2023版【3-4】总结GPIO使用方法
- 【视野提升】智能座舱SoC芯片应用需求趋势分析
- EntityExistsException(实体已存在异常)可能的原因和解决方法
- 想要抓住鸿蒙HarmonyOS开发这泼天富贵的岗位,还得看《鸿蒙(HarmonyOS)开发学习笔记》
- mybatis-PageInterceptor-获取count值
- Upload靶场通关教程(旧版20关)
- 【StarUML】组件图
- Spring 4.x较上一版本的主要特性
- 安装运行Minikube