代码随想录算法训练营第三天 | 链表理论基础 203.移除链表元素 707.设计链表 206.反转链表
发布时间:2024年01月21日
链表理论基础
- 链表是一种通过指针串连在一起的线性结构,每一个节点由两部分组成,一个是数据域,一个是指针域(存放指向下一个节点的指针)。最后一个节点的指针指向 null。
- 链表的存储方式:数组在内存中是连续存储的,但链表不是连续存储的,各个节点分布在内存的不同地址空间中,用指针串联在一起。
- 链表的定义:
// 单链表
struct ListNode{
	int val;  // 节点上存储的值
	ListNode *next;  // 指向下一个节点的指针
	ListNode(int x) : val(x), next(NULL) {}  // 链表节点的构造函数
};
C++ 也默认生成了一个构造函数,但这个构造函数不会初始化任何成员变量:
我们自己的构造函数初始化链表节点:ListNode* head = new ListNode(5);
使用默认的构造函数初始化:ListNode* head = new ListNode(); head->val = 5;
- 删除或增加节点:这个操作与其他节点是无关的,时间复杂度为 O(1)。但是在指定位置操作,还需要有查询操作。另外注意删除节点时只是改变指针指向,删除的节点仍在内存中,最好去主动释放。
- 查找:链表只能从一端开始遍历,因此时间复杂度为 O(n)。
- 性能分析:数组固定长度,连续存储,在删除或插入元素时,需要逐个移动元素,时间复杂度 O(n),但查找方便,时间复杂度 O(1)。链表长度并不固定,不连续存储,增删元素时间复杂度为 O(1),但查找 O(n)。
因此数组适用于数据量固定,查找频繁,较少增删;链表适用于数据量不固定,增删频繁,较少查找的情景。
移除链表元素

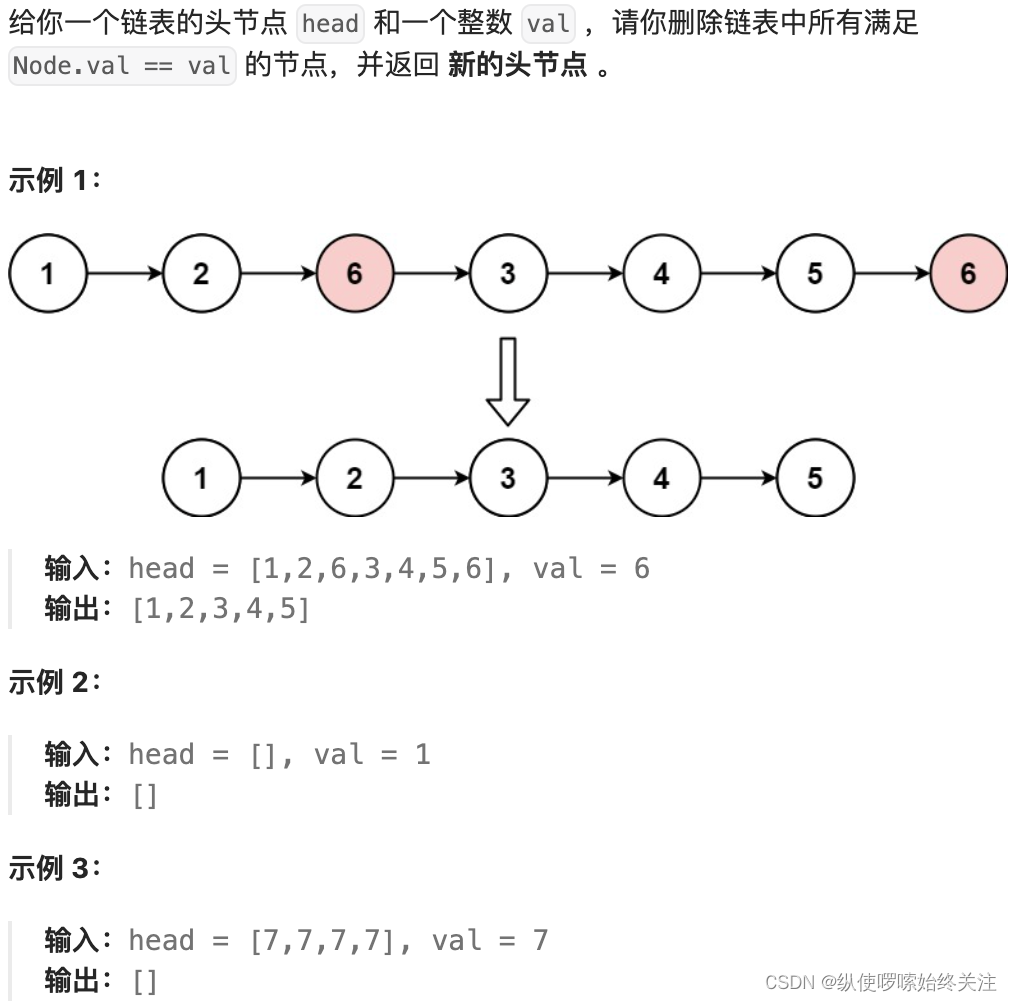
之前我们做过一道移除链表元素的题,其难点在于数组连续存储,所以移除元素之后还需要移动其他元素保证连续。但是链表不需要保证连续存储,移除操作与其他元素无关的,其实我们直接遍历整条链表就可以了。
处理过程需要注意的问题:头节点与其他节点不同的处理办法。其他节点都是改变前一个节点的指针指向,但删除头节点的话需要不断向后更新头节点。可以添加一个虚拟节点 dummy 使得头节点的处理一般化。
class Solution{
public:
	ListNode* removeElements(ListNode* head, int val){
		ListNode* dummy = new ListNode();
		dummy->next = head;
		ListNode* cur = dummy;
		while(cur->next != NULL){  // 用cur->next进行判断,注意删除节点释放内存的操作
			if(cur->next->val == val){
				ListNode* tmp = cur->next;
				cur->next = cur->next->next;
				delete tmp;
			}
			else  cur = cur->next;
		}
		head = dummy->next;
		delete dummy;
		return head;
	}
};
设计链表

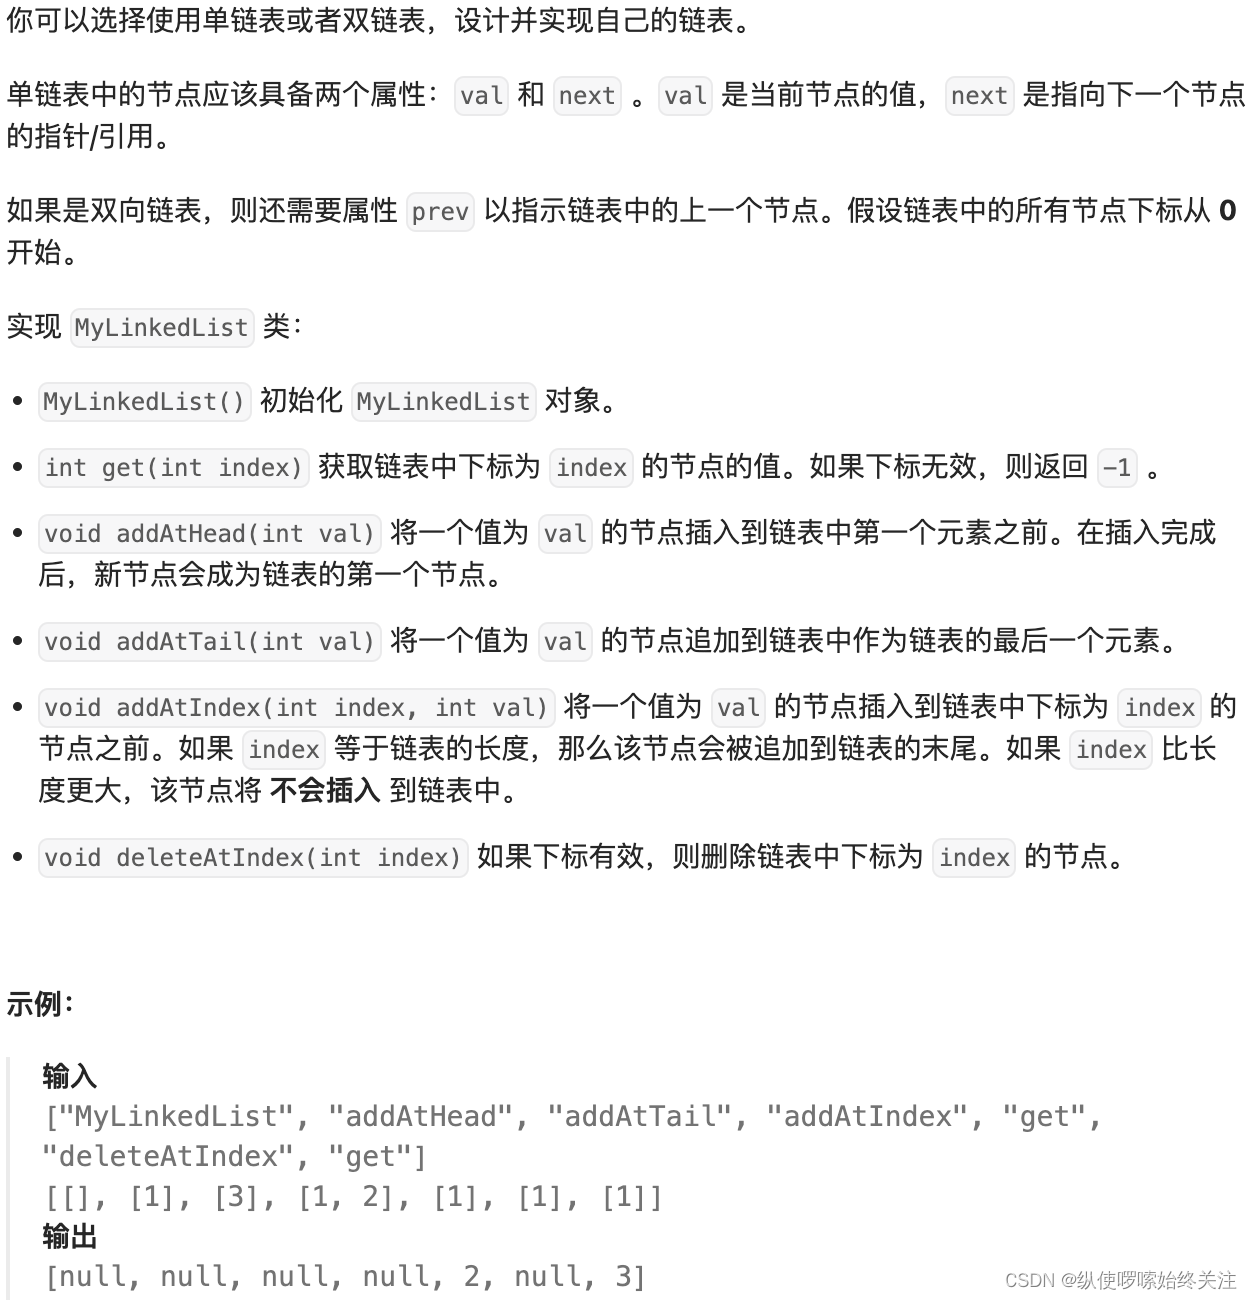
注意C++语法。public 和 private 的前后顺序。维护一个虚拟节点和节点数目会使其他操作更加方便。
class MyLinkedList{
public:
	struct ListNode{
		int val;
		ListNode* next;
		ListNode(int val) : val(val), next(NULL) {}
	};
	MyLinkedList(){
		_dummyHead = new ListNode(0);
		_size = 0;
	}

	int get(int index){
		if(index < 0 || index > _size - 1)  return -1;
		ListNode* cur = _dummyHead->next;
		while(index--){
			cur = cur->next;
		}
		return cur->val;
	}
	void addAtHead(int val){
		ListNode* node = new ListNode(val);
		ListNode* cur = _dummyHead;
		node->next = _dummyHead->next;
		_dummyHead->next = node;
		_size++;
	}
	void addAtTail(int val){
		ListNode* node = new ListNode(val);
		ListNode* cur = _dummyHead;
		while(cur->next){
			cur = cur->next;
		}
		cur->next = node;
		_size++;
	}
	void addAtIndex(int index, int val){
		if(index < 0 || index > _size)  return;
		ListNode* node = new ListNode(val);
		ListNode* cur = _dummyHead;
		while(index--){
			cur = cur->next;
		}
		node->next = cur->next;
		cur->next = node;
		_size++;
	}
	void deleteAtIndex(int index){
		if(index < 0 || index > _size - 1)  return;
		ListNode* cur = _dummyHead;
		while(index--){
			cur = cur->next;
		}
		cur->next = cur->next->next;
		_size--;
	}
private:
	int _size;  // 记录链表中的节点数目
	ListNode* _dummyHead;  // 设计一个虚拟节点,解决头节点的问题
};
反转链表

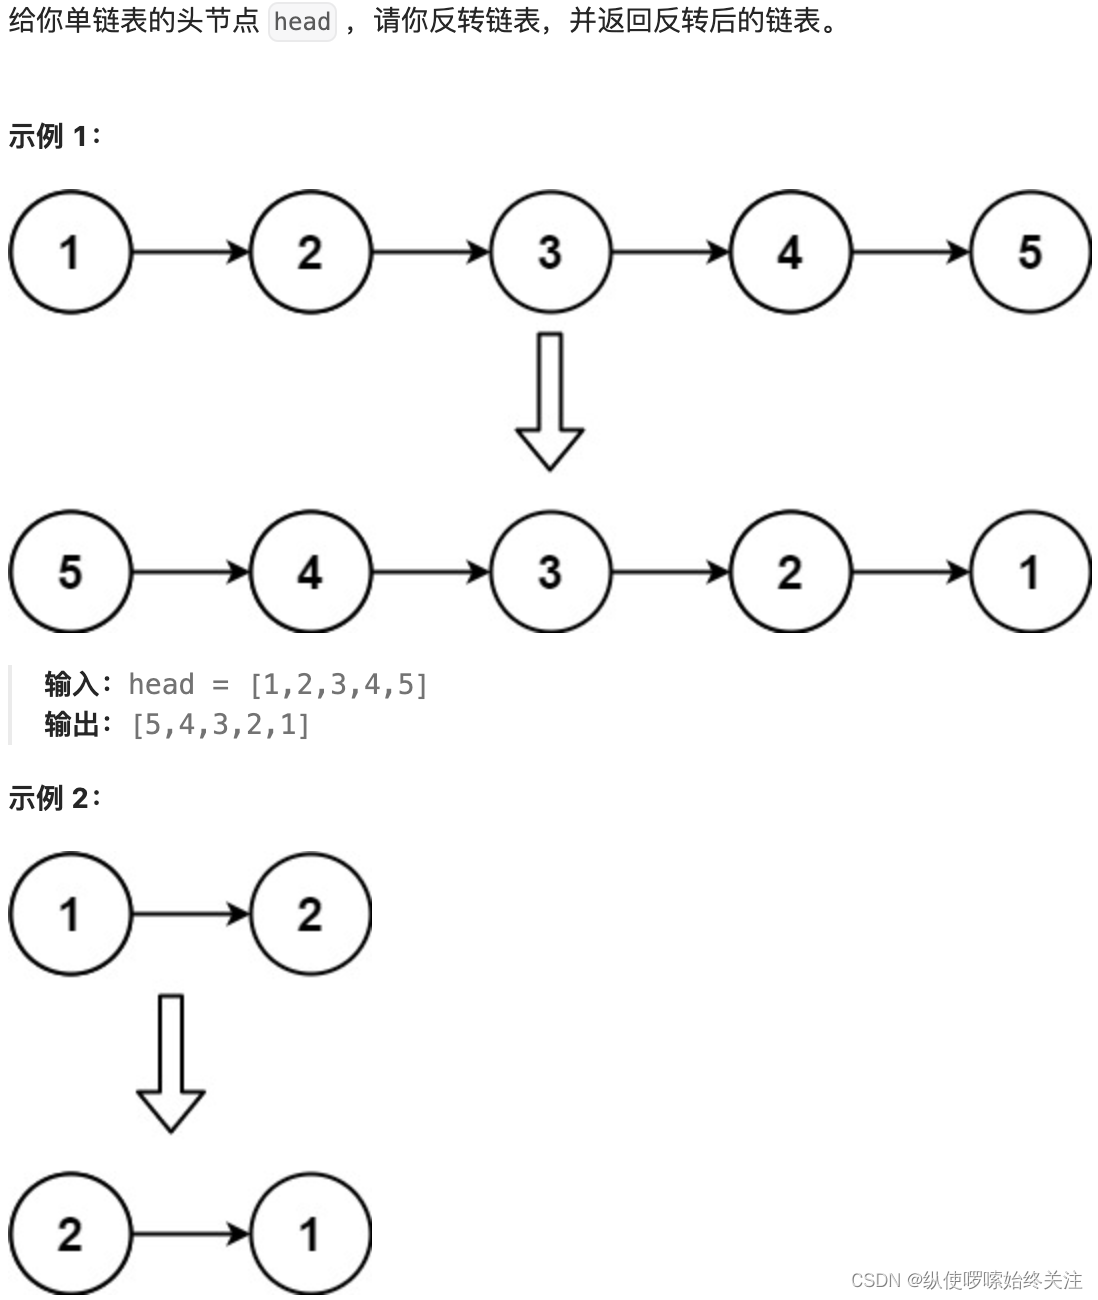
链表只能头节点开始遍历,为了避免新建链表,可以选择使用双指针法。一个指针指向前一个节点,一个指针指向当前节点。注意:在遍历过程中会改变 next 指针的指向,所以要使用中间变量来记录下一个节点,再改变当前节点的 next 指针指向。
class Solution{
public:
	ListNode* reverseList(ListNode* head){
		if(!head)  return head;
		ListNode* cur = head;
		ListNode* pre = NULL;
		while(cur){
			ListNode* tmp = cur->next;  // 记录当前节点的下一个
			cur->next = pre;  // 翻转当前节点的指向
			pre = cur;  // 向后遍历
			cur = tmp;
		}
		return pre;
	}
};
递归法,上面的迭代法可以改写成递归。
class Solution{
public:
	ListNode* reverse(ListNode* pre, ListNode* cur){
		if(!cur)  return pre;
		ListNode* tmp = cur->next;
		cur->next = pre;
		return reverse(cur, tmp);
	}
	ListNode* reverseList(ListNode* head){
		return reverse(NULL, head);
	}
};
还有另一种比较难以想到的方法,是从后往前翻转。
class Solution{
public:
	ListNode* reverseList(ListNode* head){
		if(head == NULL)  return head;
		if(head->next == NULL)  return head;
		ListNode* last = reverseList(head->next);  // 把原链表末尾的节点返回(翻转后的头节点)
		head->next->next = head;  // 将head节点移到队列尾部,注意这一步没有改变原链表中指向head的指针,使得每层递归都能将当前head移动到队尾
		head->next = NULL;  // head移到队尾,指向空节点
		return last;
	}
};
文章来源:https://blog.csdn.net/qq_44173169/article/details/135445669
本文来自互联网用户投稿,该文观点仅代表作者本人,不代表本站立场。本站仅提供信息存储空间服务,不拥有所有权,不承担相关法律责任。 如若内容造成侵权/违法违规/事实不符,请联系我的编程经验分享网邮箱:chenni525@qq.com进行投诉反馈,一经查实,立即删除!
本文来自互联网用户投稿,该文观点仅代表作者本人,不代表本站立场。本站仅提供信息存储空间服务,不拥有所有权,不承担相关法律责任。 如若内容造成侵权/违法违规/事实不符,请联系我的编程经验分享网邮箱:chenni525@qq.com进行投诉反馈,一经查实,立即删除!
最新文章
- Python教程
- 深入理解 MySQL 中的 HAVING 关键字和聚合函数
- Qt之QChar编码(1)
- MyBatis入门基础篇
- 用Python脚本实现FFmpeg批量转换
- vue项目之.env文件.env.dev、test、pro
- 05-微服务Sentinel流量哨兵
- 23. 从零用Rust编写正反向代理,流控小姐姐的温柔一刀!
- ssm培训机构信息管理系统(程序+开题)
- 比亚迪发布璇玑AI大模型;微软推出Copilot Pro;国内首个MoE模型上线
- 语言大模型的分布式训练与高效微调指南
- 【论文复现】Furthering Datalog in the pursuit of program analysis
- Java在线药物配送系统(源码+开题)
- Servlet技术之Filter
- Linux: module: kheaders;CONFIG_IKHEADERS