WEB 3D技术 three.js通过光线投射 完成几何体与外界的事件交互
发布时间:2024年01月01日
本文 我们来说 光线投射

光线投射技术是用于3维空间场景中的交互事件
我们先编写代码如下
import './style.css'
import * as THREE from "three";
import { OrbitControls } from "three/examples/jsm/controls/OrbitControls.js";


const scene = new THREE.Scene();
const sphere1 =new THREE .Mesh(
    new THREE.SphereGeometry(1, 32, 32),
    new THREE.MeshBasicMaterial({
        color: 0x00FF00
    })
)
sphere1.position.x = -2;
scene.add(sphere1);

const sphere2 = new THREE .Mesh(
    new THREE.SphereGeometry(1, 32, 32),
    new THREE.MeshBasicMaterial({
        color: 0x0000FF
    })
)
scene.add(sphere2);

const sphere3 = new THREE .Mesh(
    new THREE.SphereGeometry(1, 32, 32),
    new THREE.MeshBasicMaterial({
        color:  0xFFE0FF
    })
)
sphere3.position.x = 2;
scene.add(sphere3);

//创建相机
const camera = new THREE.PerspectiveCamera(
    45, //视角 视角越大  能看到的范围就越大
    window.innerWidth / window.innerHeight,//相机的宽高比  一般和画布一样大最好
    0.1,  //近平面  相机能看到最近的距离
    1000  //远平面  相机能看到最远的距离
);

//c创建一个canvas容器  并追加到 body上
const renderer = new THREE.WebGLRenderer(0);
renderer.setSize(window.innerWidth, window.innerHeight);
document.body.appendChild(renderer.domElement);

//设置相机位置   这里 我们设置Z轴  大家可以试试  S Y 和 Z  都是可以的
camera.position.z = 5;
//设置相机默认看向哪里   三个 0  代表 默认看向原点
camera.lookAt(0, 0, 0);
//将内容渲染到元素上
renderer.render(scene, camera);
const controls = new OrbitControls(camera, renderer.domElement);

function animate() {
    controls.update();
    requestAnimationFrame(animate);
    /*cube.rotation.x += 0.01;
    cube.rotation.y += 0.01;*/
    renderer.render(scene, camera);
}
animate();
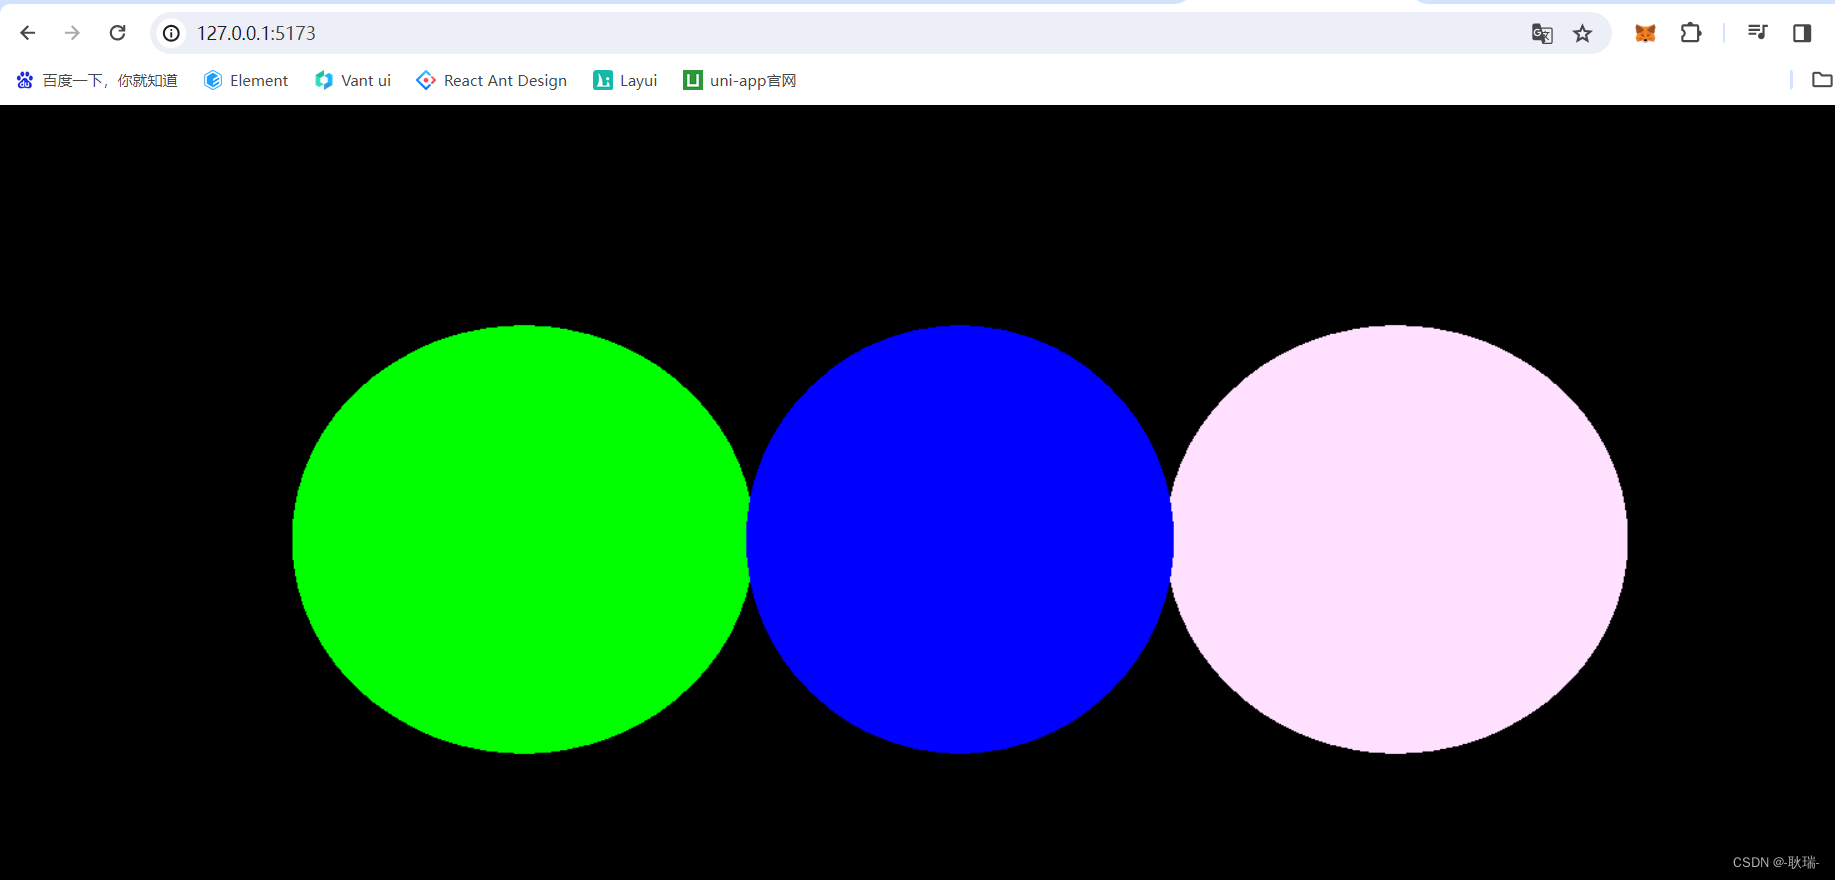
这里 我们声明了三个圆形
运行结果如下
首先 我们加入 这样的代码
const raycaster = new THREE.Raycaster();
//创建鼠标向量 获取当前鼠标点击位置
const mouse = new THREE.Vector2();
window.addEventListener("click",(event) =>{

})
首先 我们定义出 一个射线Raycaster
然后 用Vector2 鼠标点击位置
然后 用window 监听窗口的点击事件
其实 click 的 event 就能拿到点击位置
window.addEventListener("click",(event) =>{
    console.log(event.clientX,event.clientY);
})
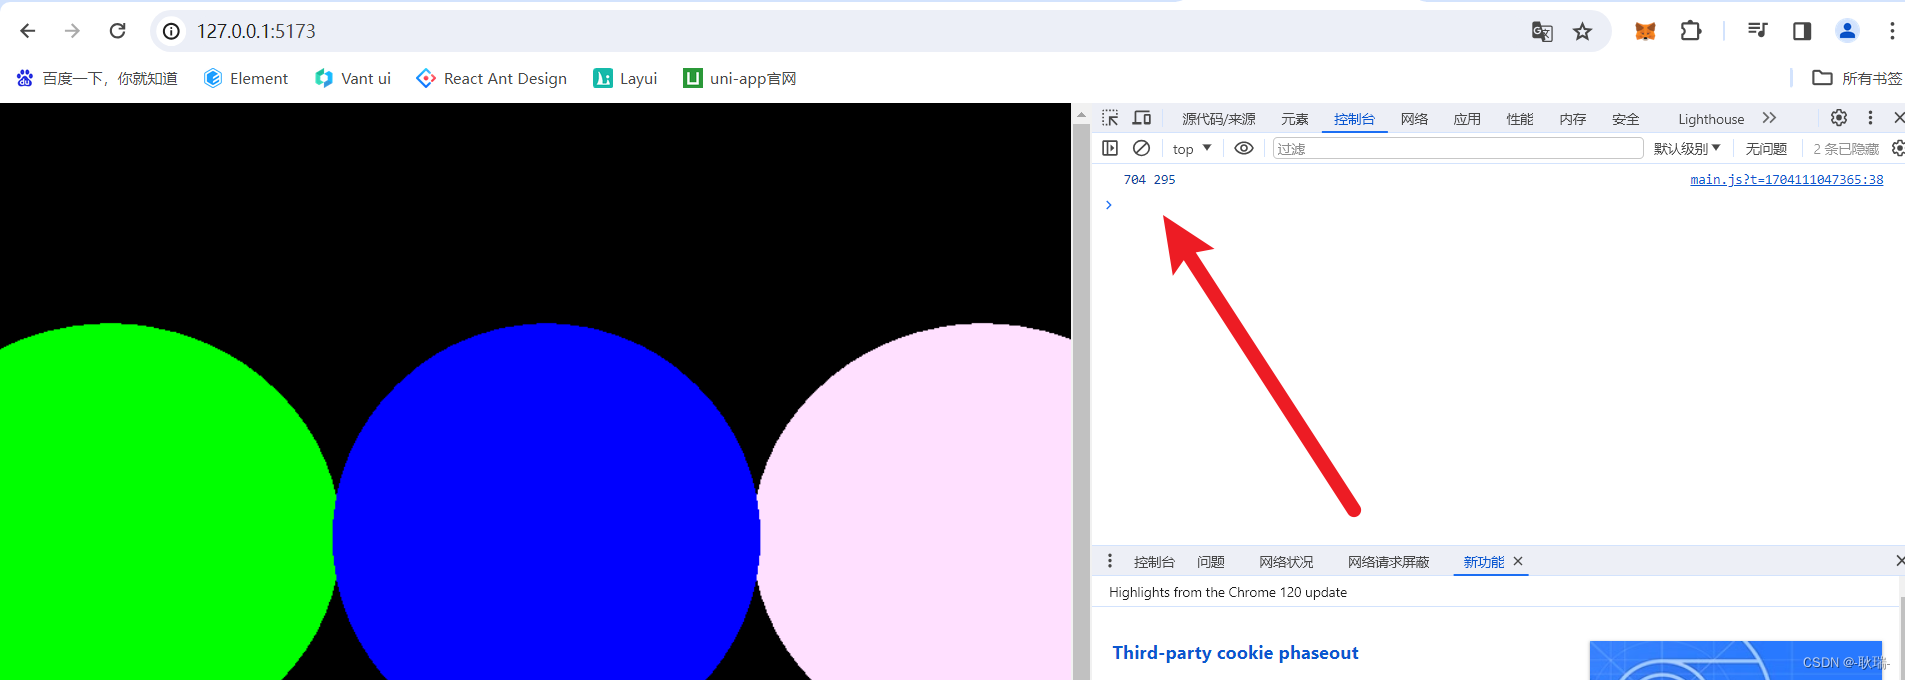
获取 x y轴位置
此时 我们点击
控制台就会输出事件触发的坐标
然后 我们编写代码如下
import './style.css'
import * as THREE from "three";
import { OrbitControls } from "three/examples/jsm/controls/OrbitControls.js";


//创建相机
const camera = new THREE.PerspectiveCamera(
    45, //视角 视角越大  能看到的范围就越大
    window.innerWidth / window.innerHeight,//相机的宽高比  一般和画布一样大最好
    0.1,  //近平面  相机能看到最近的距离
    1000  //远平面  相机能看到最远的距离
);
const scene = new THREE.Scene();
const sphere1 =new THREE .Mesh(
    new THREE.SphereGeometry(1, 32, 32),
    new THREE.MeshBasicMaterial({
        color: 0x00FF00
    })
)
sphere1.position.x = -2;
scene.add(sphere1);

const sphere2 = new THREE .Mesh(
    new THREE.SphereGeometry(1, 32, 32),
    new THREE.MeshBasicMaterial({
        color: 0x0000FF
    })
)
scene.add(sphere2);

const sphere3 = new THREE .Mesh(
    new THREE.SphereGeometry(1, 32, 32),
    new THREE.MeshBasicMaterial({
        color:  0xFFE0FF
    })
)
sphere3.position.x = 2;
scene.add(sphere3);
//创建射线
const raycaster = new THREE.Raycaster();
//创建鼠标向量 获取当前鼠标点击位置
const mouse = new THREE.Vector2();
window.addEventListener("click",(event) =>{
    console.log(event.clientX,event.clientY);
    mouse.x = (event.clientX / window.innerWidth) * 2 - 1;
    mouse.y = -((event.clientY / window.innerHeight) * 2 - 1);

    raycaster.setFromCamera(mouse, camera);

    const intersects = raycaster.intersectObjects([sphere1, sphere2, sphere3]);
    console.log(intersects);
})

//c创建一个canvas容器  并追加到 body上
const renderer = new THREE.WebGLRenderer(0);
renderer.setSize(window.innerWidth, window.innerHeight);
document.body.appendChild(renderer.domElement);

//设置相机位置   这里 我们设置Z轴  大家可以试试  S Y 和 Z  都是可以的
camera.position.z = 5;
//设置相机默认看向哪里   三个 0  代表 默认看向原点
camera.lookAt(0, 0, 0);
//将内容渲染到元素上
renderer.render(scene, camera);
const controls = new OrbitControls(camera, renderer.domElement);

function animate() {
    controls.update();
    requestAnimationFrame(animate);
    /*cube.rotation.x += 0.01;
    cube.rotation.y += 0.01;*/
    renderer.render(scene, camera);
}
animate();
主要是 我们点击事件
先算出 鼠标当前相对坐标
然后 调用射线对象的 setFromCamera 他需要两个参数
第一个 Vector2 对象 x y轴用来确认触发事件的位置
第二个 是我们全局创建的相机对象 我们这里叫 camera
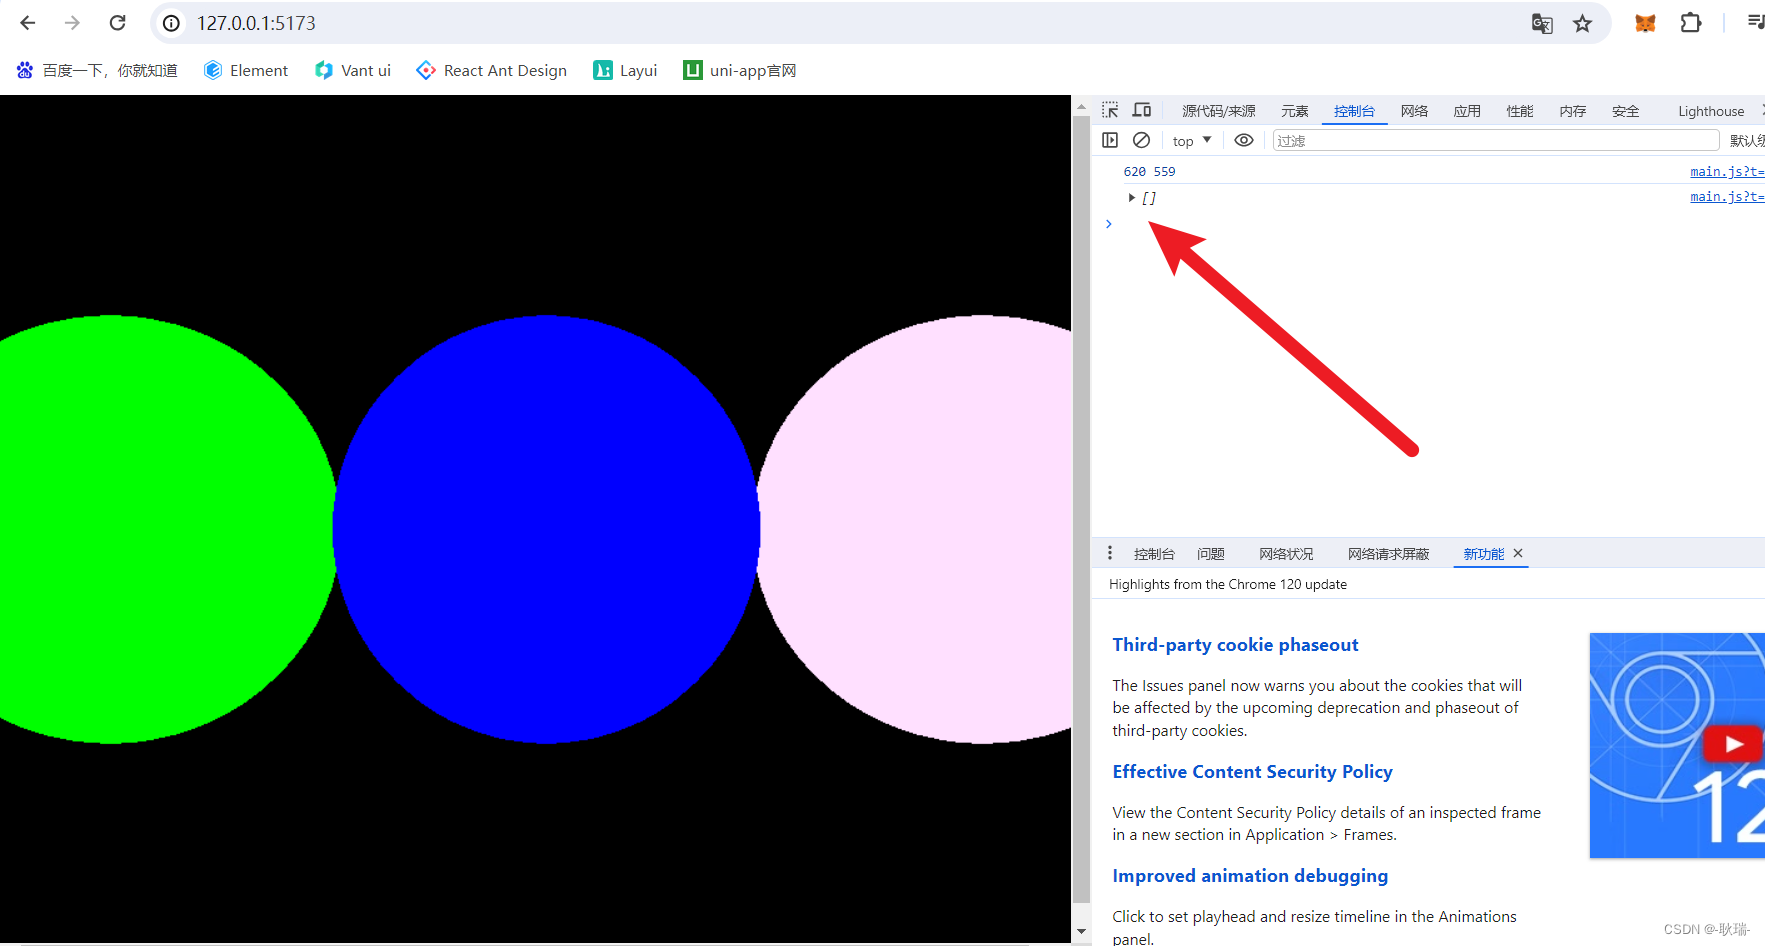
然后 raycaster.intersectObjects 绑定元素 帮助我们获取到被接触的几何体 这里 如果鼠标点击的位置 包括 我们传进去的三个几何体 就会被收集起来
我们运行代码 然后没有物体的位置
收集的数组就是个空的
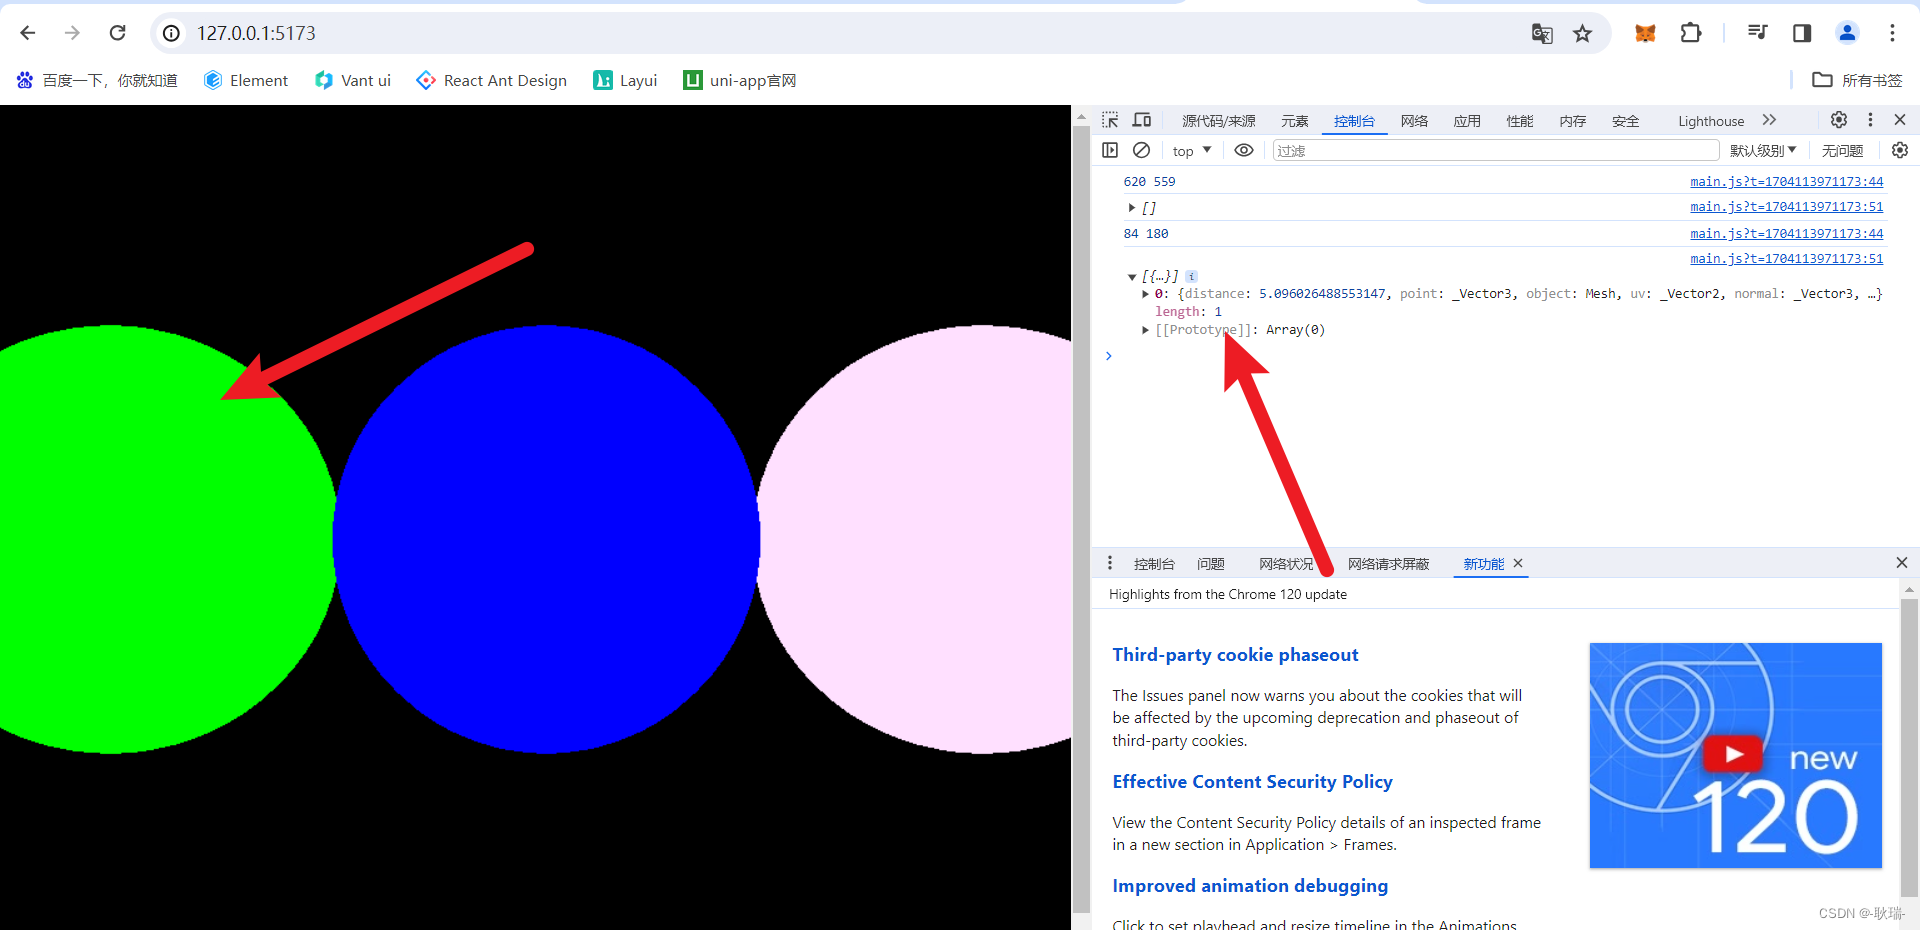
我们点击其中一个几何体
控制台就输出了它收集到的内容
我们将点击事件的代码改成这样
window.addEventListener("click",(event) =>{
    console.log(event.clientX,event.clientY);
    mouse.x = (event.clientX / window.innerWidth) * 2 - 1;
    mouse.y = -((event.clientY / window.innerHeight) * 2 - 1);

    raycaster.setFromCamera(mouse, camera);

    const intersects = raycaster.intersectObjects([sphere1, sphere2, sphere3]);
    if (intersects.length > 0) {
        intersects[0].object.material.color.set(0xff0000);
    }
})
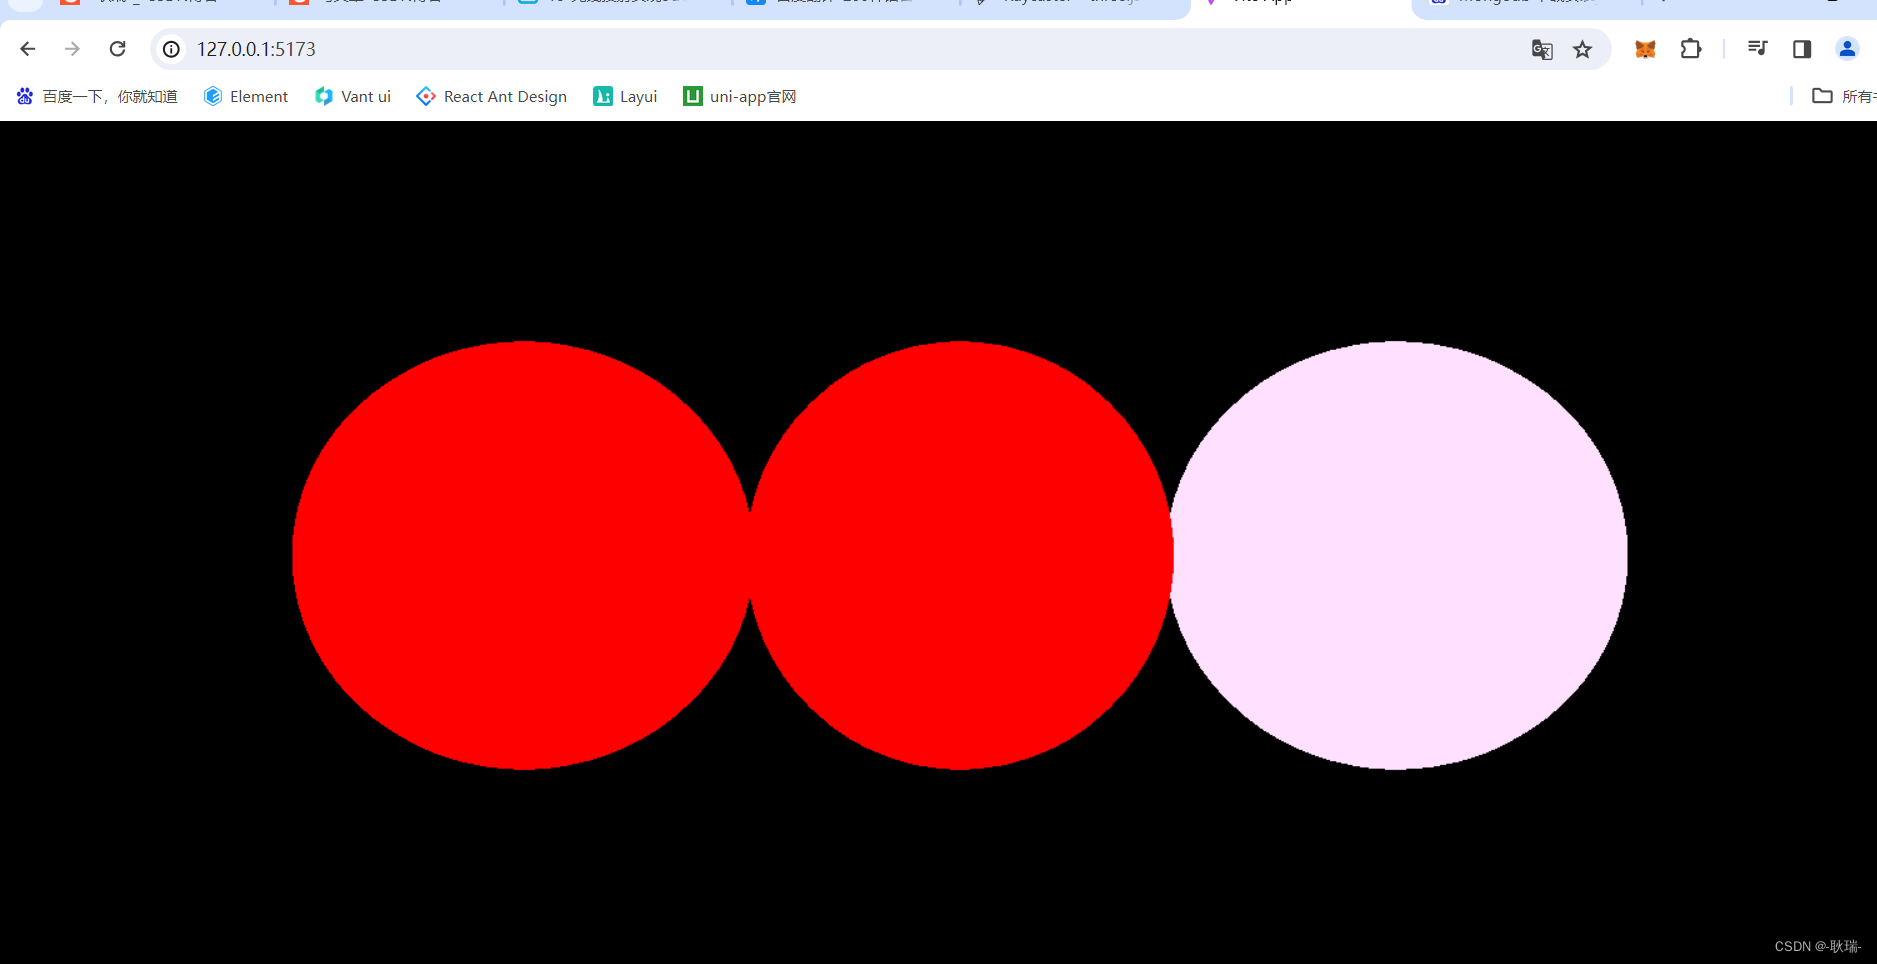
这里 我们看他收集的 intersects 如果长多超过 0 说明是拿到东西了的
我们将被收集的 0下标物体 材质对象中的 color 颜色字段 set成0xff0000 红色
运行代码 我们点击圆形 即可变为红色了
文章来源:https://blog.csdn.net/weixin_45966674/article/details/135327539
本文来自互联网用户投稿,该文观点仅代表作者本人,不代表本站立场。本站仅提供信息存储空间服务,不拥有所有权,不承担相关法律责任。 如若内容造成侵权/违法违规/事实不符,请联系我的编程经验分享网邮箱:chenni525@qq.com进行投诉反馈,一经查实,立即删除!
本文来自互联网用户投稿,该文观点仅代表作者本人,不代表本站立场。本站仅提供信息存储空间服务,不拥有所有权,不承担相关法律责任。 如若内容造成侵权/违法违规/事实不符,请联系我的编程经验分享网邮箱:chenni525@qq.com进行投诉反馈,一经查实,立即删除!
最新文章
- Python教程
- 深入理解 MySQL 中的 HAVING 关键字和聚合函数
- Qt之QChar编码(1)
- MyBatis入门基础篇
- 用Python脚本实现FFmpeg批量转换
- 如何免费搭建私人电影网站(二)
- P1060 [NOIP2006 普及组] 开心的金明
- C语言学习第二十四天(预处理)
- 计算机专业大学生就业指南网设计与实现-附源码061355s
- 【温故而知新】vue运用之探讨下单页面应用(SPA)与多页面应用(MPA)
- B端产品经理学习-B端产品系统调研的工具
- Linux系统中负载较高问题排查思路与解决方法
- 【简单html静态网页代码】 大学生html当当书城仿站 网上书城购物网页作业HTML
- 打造知识付费平台:全 面 解 析 目标群体、优 质 内容、平台工具、价格策略与营 销 推 广
- 【精选】小白学习 Linux的ssh服务(超详细)