12.8-1.8
2023.12.8
- redis容器
-
docker run -p 6379:6379 --name redis
-v /mydata/redis/data:/data
-v /mydata/redis/conf/redis.conf:/etc/redis/redis.conf
-d redis redis-server /etc/redis/redis.conf -
redis.conf不存在,需先在宿主机创建该目录下文件,否则会把redis.conf当作目录
-
虚拟机的6379映射到容器的6379
-
docker exec -it redis redis-cli
- mysql容器
- docker run -p 3306:3306 --name mysql
-v /mydata/mysql/log:/var/log/mysql
-v /mydata/mysql/data:/var/lib/mysql
-v /mydata/mysql/conf:/etc/mysql
-e MYSQL_ROOT_PASSWORD=AGOC0927
-d mysql:5.7.25
12.13
- maven下载配置
- download->maven 3 archives->3.8.1->binaries->apache-maven-3.8.1-bin.zip

- 配置本地仓库地址
<localRepository>D:\software\apache-maven-3.6.1\mvn_repo</localRepository>- 配置阿里云镜像
<mirror> <id>alimaven</id> <name>aliyun maven</name> <url>http://maven.aliyun.com/nexus/content/groups/public/</url> <mirrorOf>central</mirrorOf> </mirror>
12.18
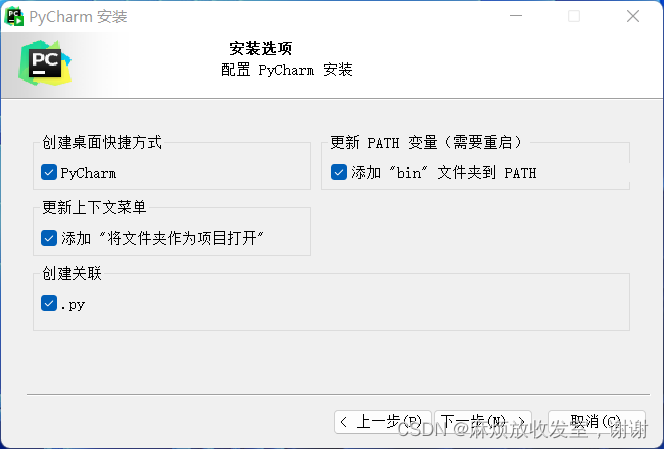
- pycharm下载
12.19
- 下载node16.17.20 npm8.19.4
- https://nodejs.org/zh-cn/download/
- 默认选那四项,直接next,不要巧克力
- docker的mysql连不上重启虚拟机
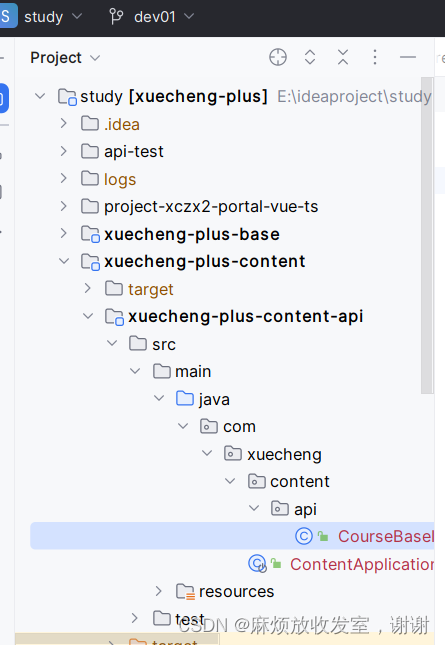
目录名[模块名]
iml文件决定模块名
2023.12.20
- git使用
git init
git status
git config --global user.email “hyh20207@163.com”
git config --global user.name “hyh”
git add 1.txt 添加到暂存区
git add --all
git add .
git add css/
git rm --cached 1.txt 从暂存区移除
git commit -m " "
git log 查看add,commit,push记录
git status 查看工作tree
git reset --hard HEAD^ 倒退一次版本到上次提交到本地库的版本
git reset --hard HEAD~1
git reflog 查看所有操作记录
git reset --hard 记录id
git reset --soft HEAD^ 回退本地库到暂存区,可重新命名提交名
git revert HEAD撤销上次提交,作为一次新的历史版本
git branch查看分支
git branch dev 开辟一个分支
git checkout master 切换分支
git merge dev后git add . git commit -m “解决冲突”
git branch --delete dev 删除分支
git remote add origi https://github.com/hyh/xxx.git 添加远程地址
git remote remove origi
git remote -v 查看远程地址
git push origi master:master 把本地的master推送到远程的master
git push origi master
git branch -a 会显示远程分支
git push -u origi master 默认提交分支
git clone https://github.com/hyh/xxx.git 只能克隆master分支
git pull origi master 把远程origi地址master分支拉到本地并与当前分支合并
git push origi login:login 把本地login分支推送到远程
git pull origi login 拉取分支
git push origi :bugfixed 删除远程分支
12.31
compare方法,返回正数需要换位置,返回负数或0不动。
equals方法判断的是对象地址是否相同,重写后用来判断对象属性是否相同。不能用来判断基本数据类型。
==如果是基本数据类型,比较存储的值,如果是引用数据类型,比较所指对象的地址值。
new一个字符串对象会在栈保存这个new的引用,同时在堆的字符串常量池看有没有这个字符串,如果有则把这个字符串的引用给了new的对象;如果没有则创建该字符串,并保存该字符串的引用到常量池。
//        List<ComposeSource>list=new ArrayList<>();
//        for (int i = 0; i < 11; i++) {
//            ComposeSource composeSource = ComposeSource.builder().bucket("testbucket").object("chunk/" + i).build();
//            list.add(composeSource);
//        }


        List<ComposeSource> sources = Stream.iterate(0, i -> i++).limit(30).map(i -> ComposeSource.builder().bucket("testbucket").object("chunk/" + i).build()).collect(Collectors.toList());
@ApiOperation(value = "上传分块文件")
 @PostMapping("/upload/uploadchunk")
 public RestResponse uploadchunk(@RequestParam("file") MultipartFile file,
                                 @RequestParam("fileMd5") String fileMd5,
                                 @RequestParam("chunk") int chunk) throws Exception {

     //创建一个临时文件
     File tempFile = File.createTempFile("minio", ".temp");
     file.transferTo(tempFile);
     String localFilePath = tempFile.getAbsolutePath();

     RestResponse restResponse = mediaFileService.uploadChunk(fileMd5, chunk, localFilePath);
     return restResponse;
 }
2024.1.1
List<DeleteObject> deleteObjects = Stream.iterate(0, i -> i++).limit(chunkTotal).map(i -> new DeleteObject(chunkFileFolderPath + i)).collect(Collectors.toList());
ffmpeg.exe
视频转码工具
ffmpeg.exe -i 1.avi 1.mp4 转出一个新文件

在任何位置的cmd,把D:\software\ffmpeg加到系统变量的Path。
1.2
maven坐标
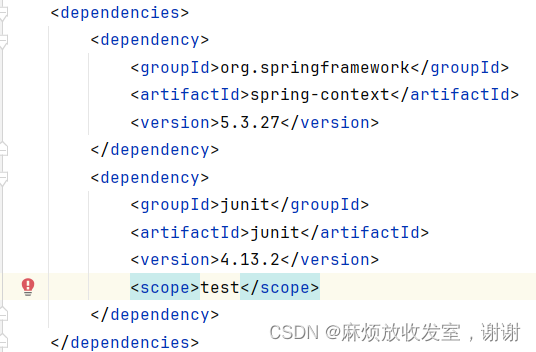
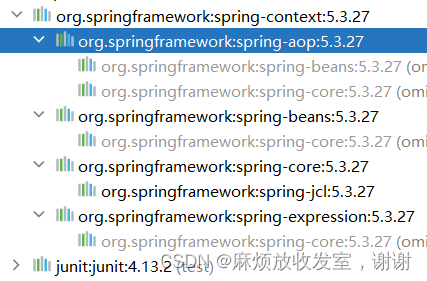
依赖如下
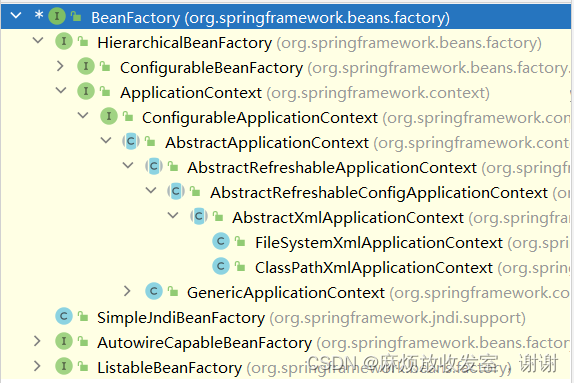
ConfigurableApplicationContext为ApplicationContext的子接口,有refresh()和close(),让ApplicationContext具有启动,关闭,刷新上下文的能力。
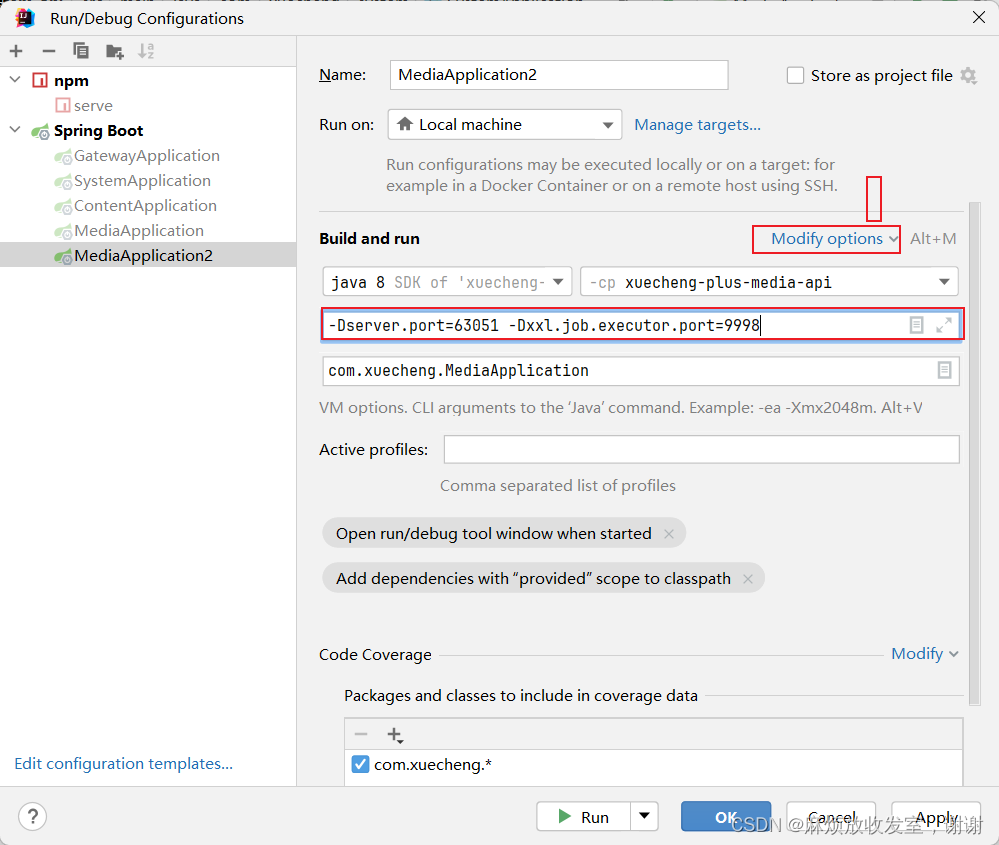
启动另一个端口的服务
1.5


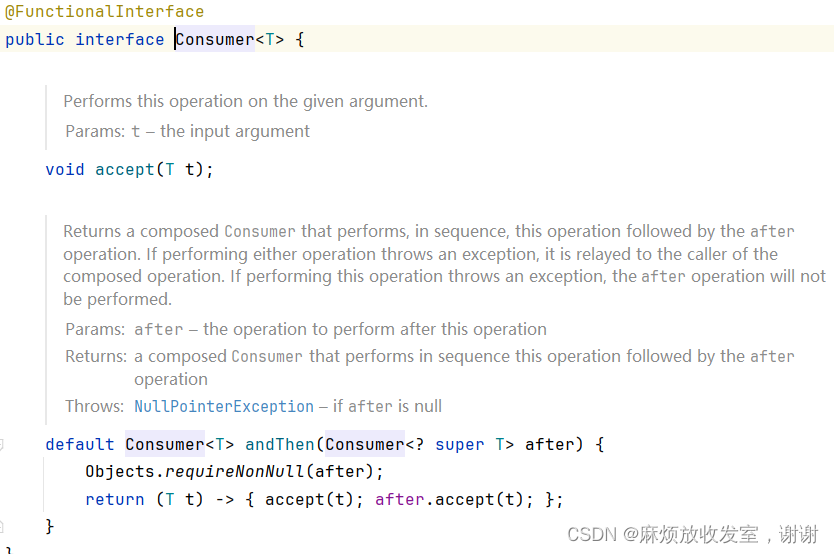
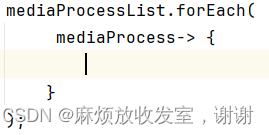
List接口继承了Collector接口继承了Iterable接口,Iterable接口有一个默认方法forEach,接受Consumer接口类型的实现类为参数,该实现类的繁星可以是T或T的父类,
new Consumer接口的实现类重写他的accept方法,这样在foreach的参数里就能用Consumer的引用调用accept方法来处理List数组里的元素。
lambda表达式简化
new 接口的部分不写,new Consumer接口重写的方法也不写包括public 返回值 方法名,重写的accet方法参数类型不写,参数只有一个,括号也不写
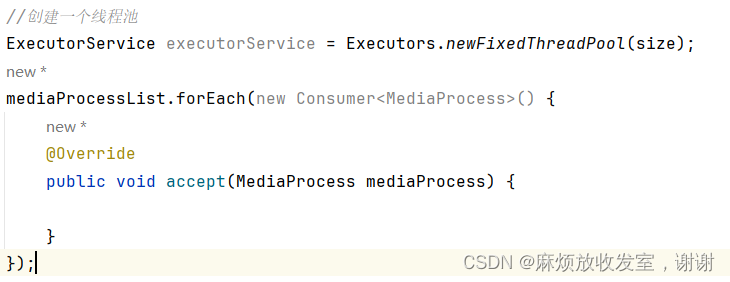
得到下面,用参数名,随便起的,->{}里面写上对accept方法的重写(也就是对List集合中元素的处理)
从nacos拿到值


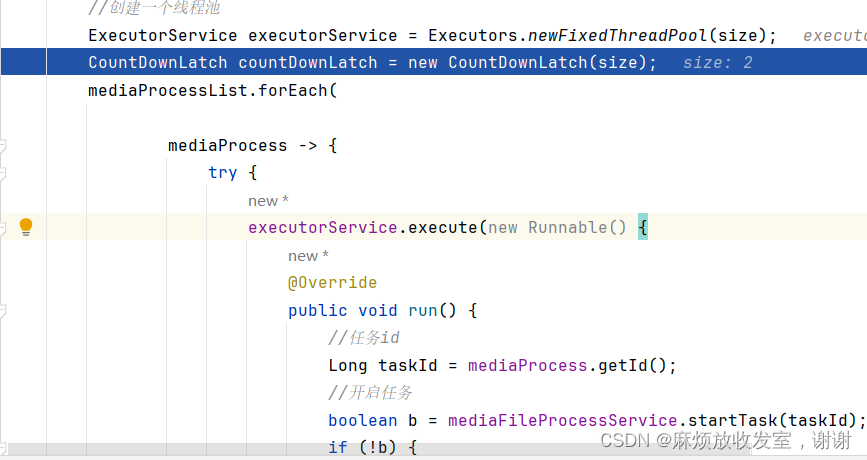
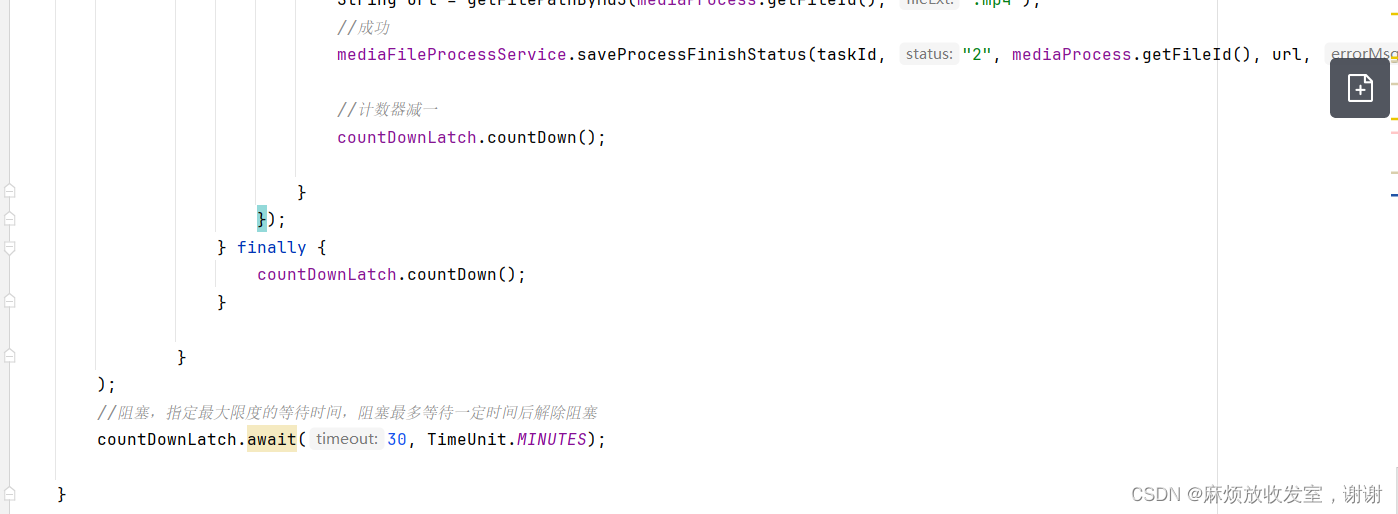
线程池
1.7
content-api的配置idea本地
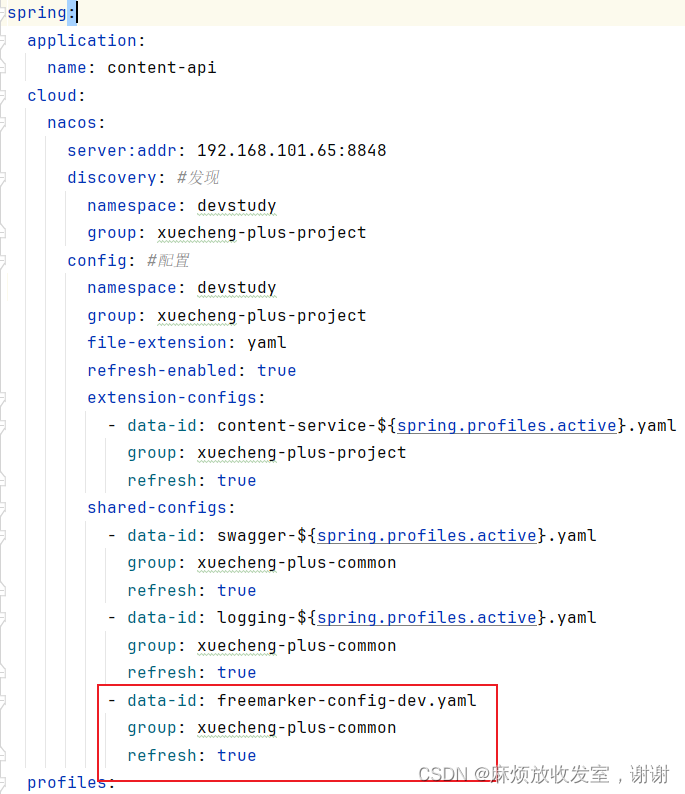
通过content-api的spring.application.name-spring.profiles.active(.spring.cloud.nacos.config.file-extension)组成nacos远程的配置名

nacos的content-api

content-api依赖了content-service,通过extension-configs制定了nacos远程的所依赖的配置名:content-service-dev.yaml。通过shared-configs制定了公用的配置(非application特有的)
content-service-dev.yaml
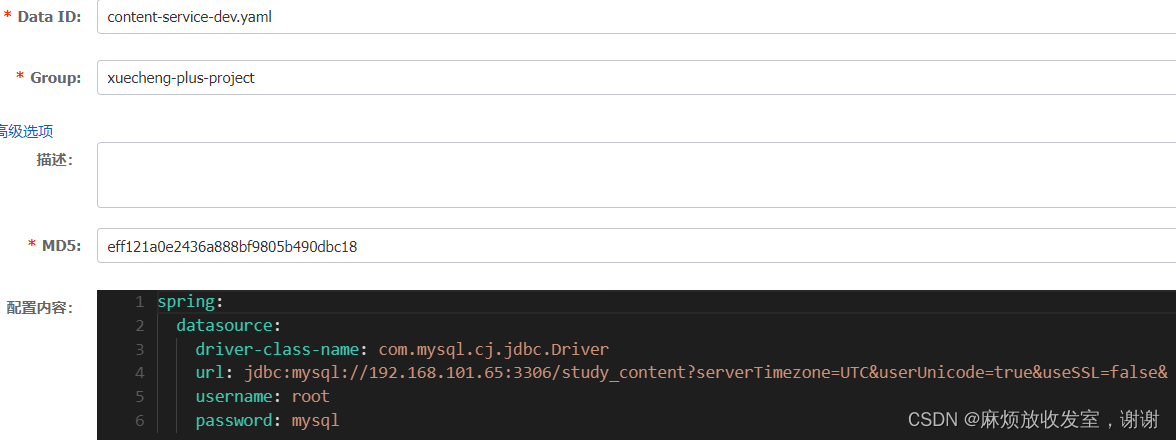
本地的service没有配置文件,在被依赖的api里已制定
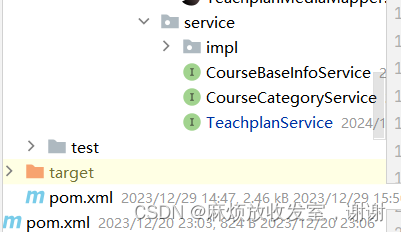
这里的devstudy为namespace,xuecheng-plus-project为项目名(通常来讲)。
查看是否占用端口

当前不占用80端口
C:\Windows\System32\drivers\etc\hosts文件加入了下面那一行

nginx.exe -s reload
或者任务管理器都可使改变的nginx生效
nginx.config可有多个server

上图,通过www.51xuecheng.cn:80或localhost:80都可访问到nginx同级目录下的html下的index.html或index.htm
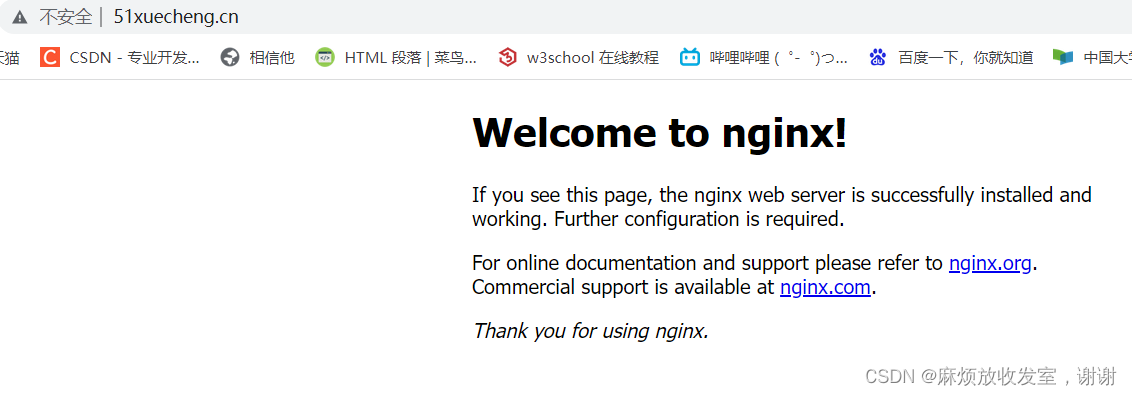
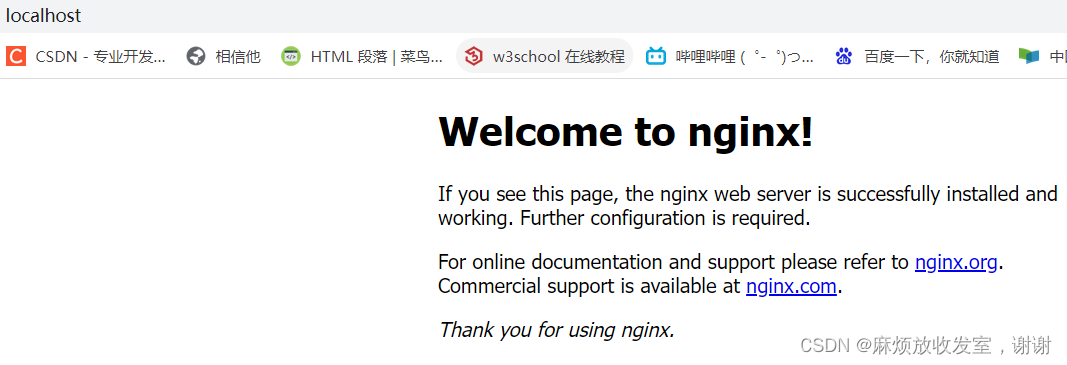

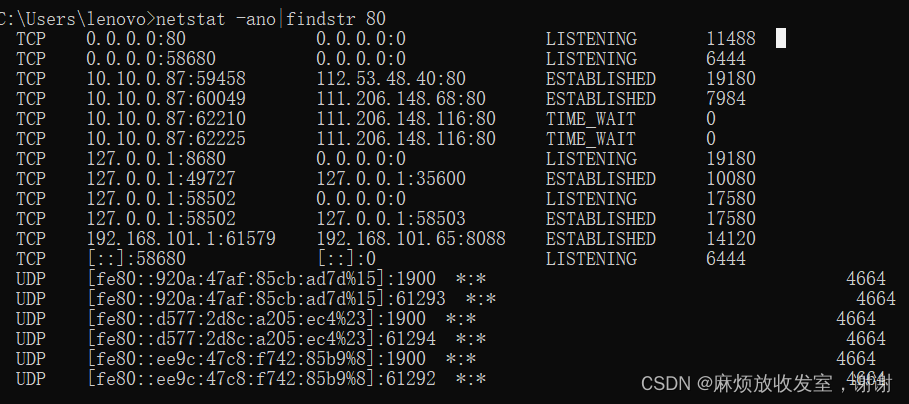
当前80端口被占用
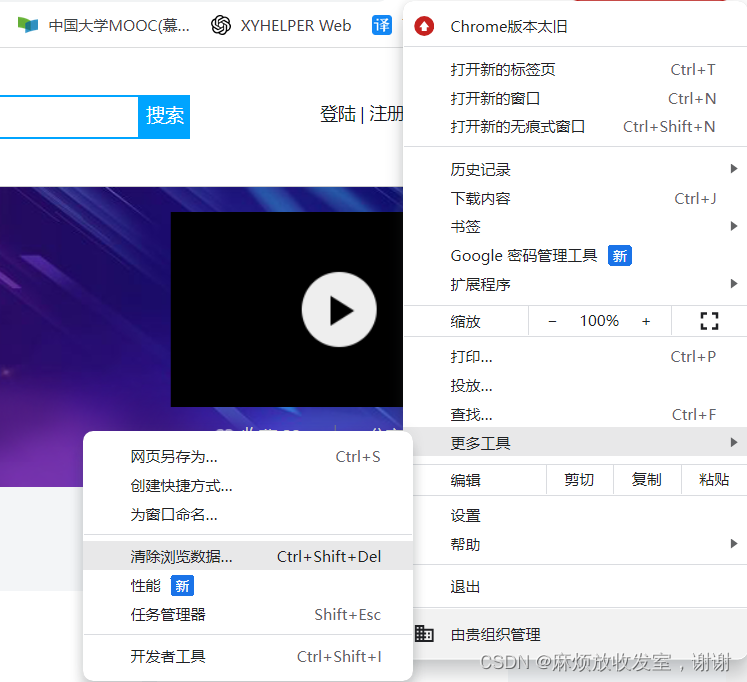
更改nginx的配置后,浏览器有缓存,不能生效,打开谷歌浏览器清掉缓存即可。
一个server就相当于一个虚拟主机
第一个是门户,第二个是文件服务,是study的二级域名

当请求file.51xuecheng.cn的时候,会代理到fileserver,最终请求http://192.168.101.65:9000
server和upstream都在http:{
}下
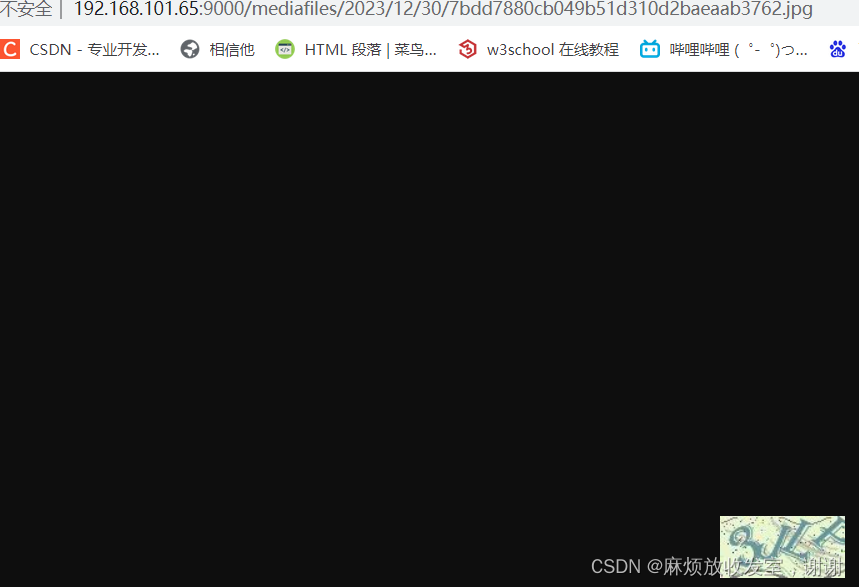
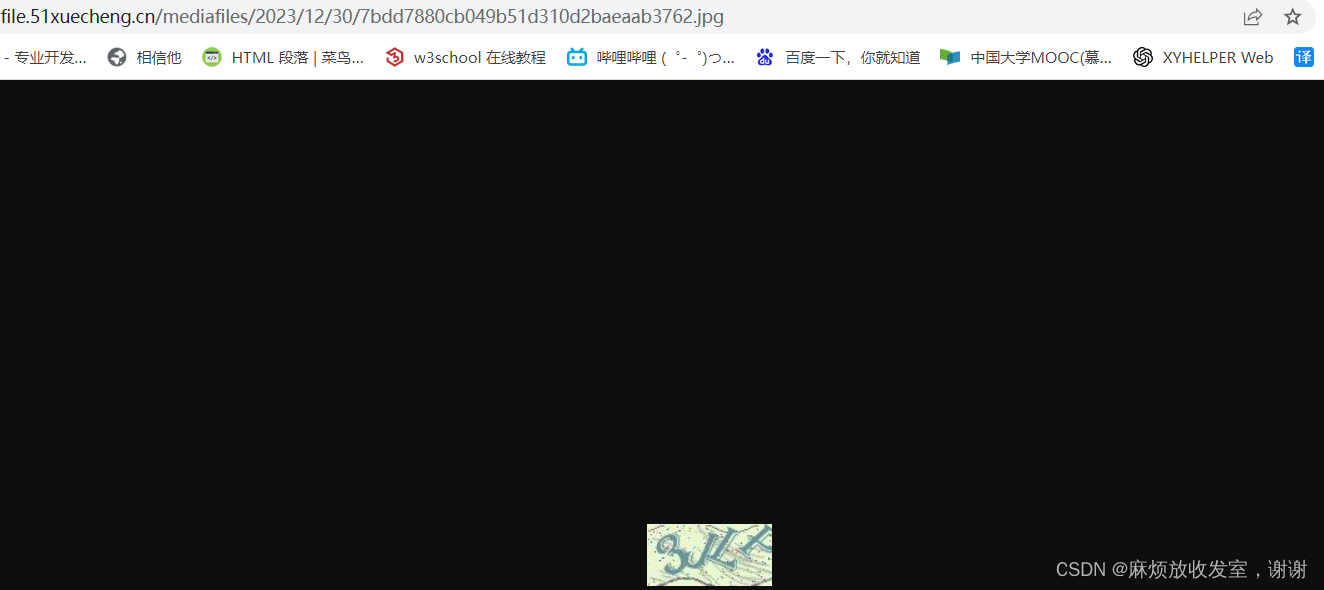
以上两图体现nginx代理
springmvc返回视图


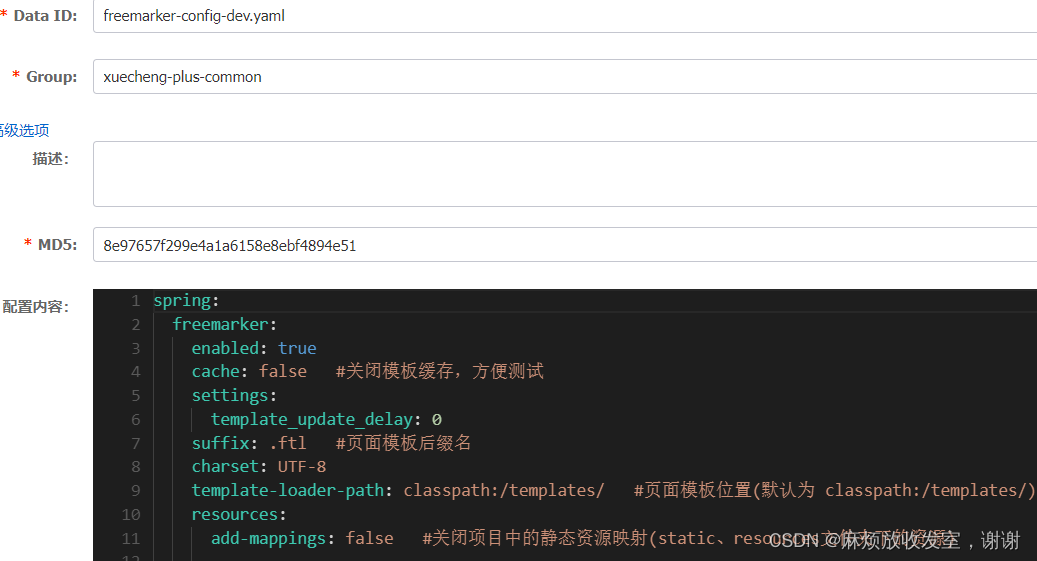
模板引擎
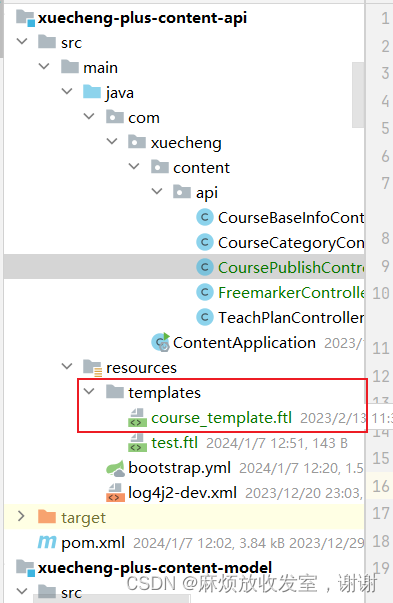
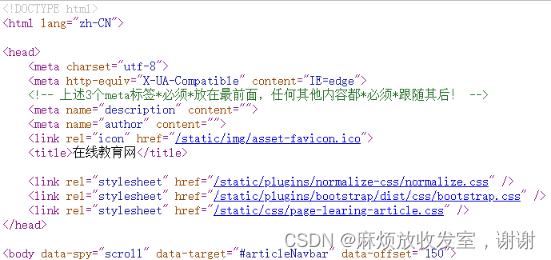
返回上图,访问得到下图,没有样式

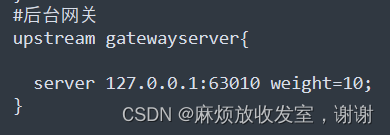
在nginx配置代理

upstream后面的随便起
这样,访问localhost:80/api/content/coursepreview/12就返回idea本地的模板文本和配置门户的那些样式地址。
nginx服务器发现是访问localhost:80且开头是api,就把带api的地址代理给网关,网关把去掉api的地址路由到content-api服务,由content-api服务处理/content/coursepreview/12
如此,得到下图
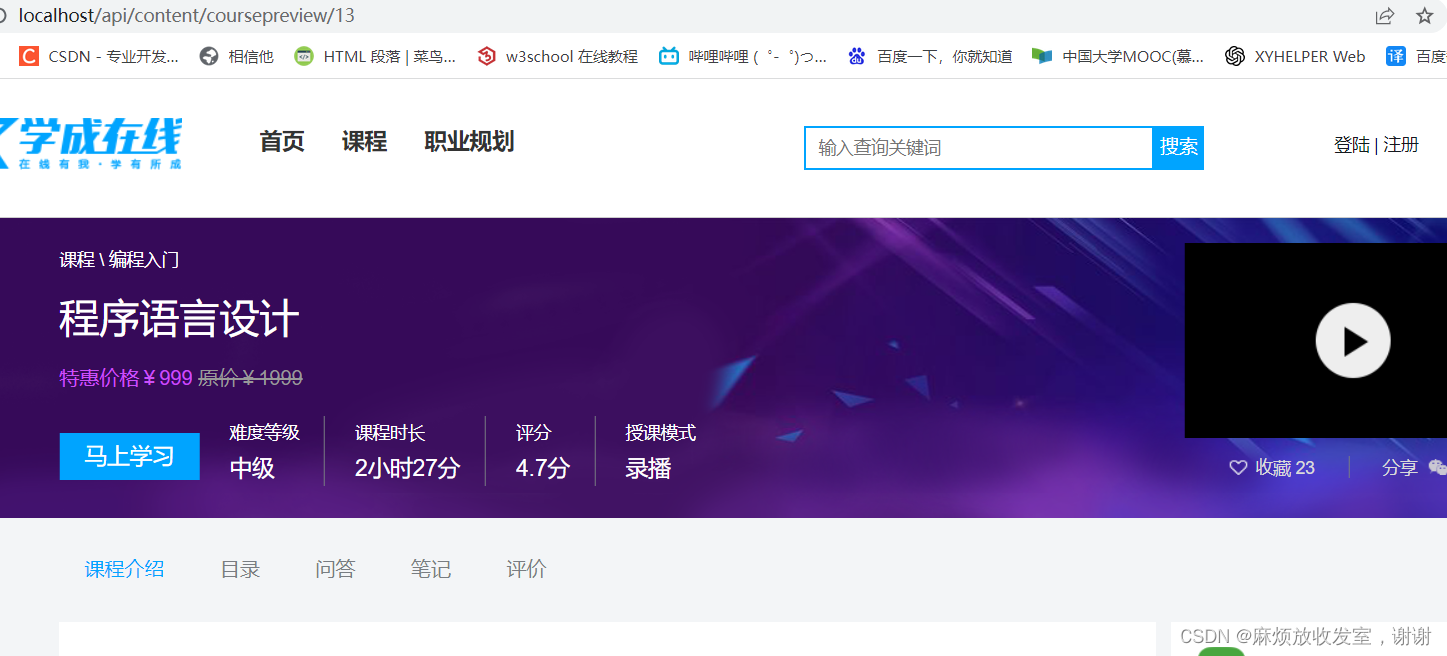
ftl文件

如果属性为空则!''表示设为空字符串
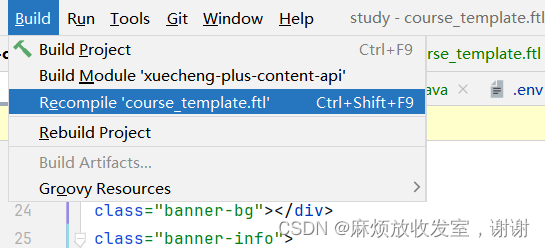
修改静态文件后重新编译该文件即可更新
本文来自互联网用户投稿,该文观点仅代表作者本人,不代表本站立场。本站仅提供信息存储空间服务,不拥有所有权,不承担相关法律责任。 如若内容造成侵权/违法违规/事实不符,请联系我的编程经验分享网邮箱:chenni525@qq.com进行投诉反馈,一经查实,立即删除!
- Python教程
- 深入理解 MySQL 中的 HAVING 关键字和聚合函数
- Qt之QChar编码(1)
- MyBatis入门基础篇
- 用Python脚本实现FFmpeg批量转换
- 北斗三号短报文物联网自动气象远程数据采集方案
- 指针理解B部分
- 配置管理员使用Local方式认证并授权用户级别示例
- MybatisPlus中IService接口有什么用?
- 【职言】三年功能测试,一些测试工作的“吐槽”
- springboot/java/php/node/python博物馆信息管理【计算机毕设】
- 正大杯获奖作品在哪可以看见
- MongoDB高级集群架构设计
- python静态方法和类方法
- element中表格组件的row-class-name和class-name属性的使用以及无效处理